How to Create a New Product Manually in the RetailGo Business Portal
This tutorial shows you how to create a new product.
Go to
retailgo.quicklyservices.com
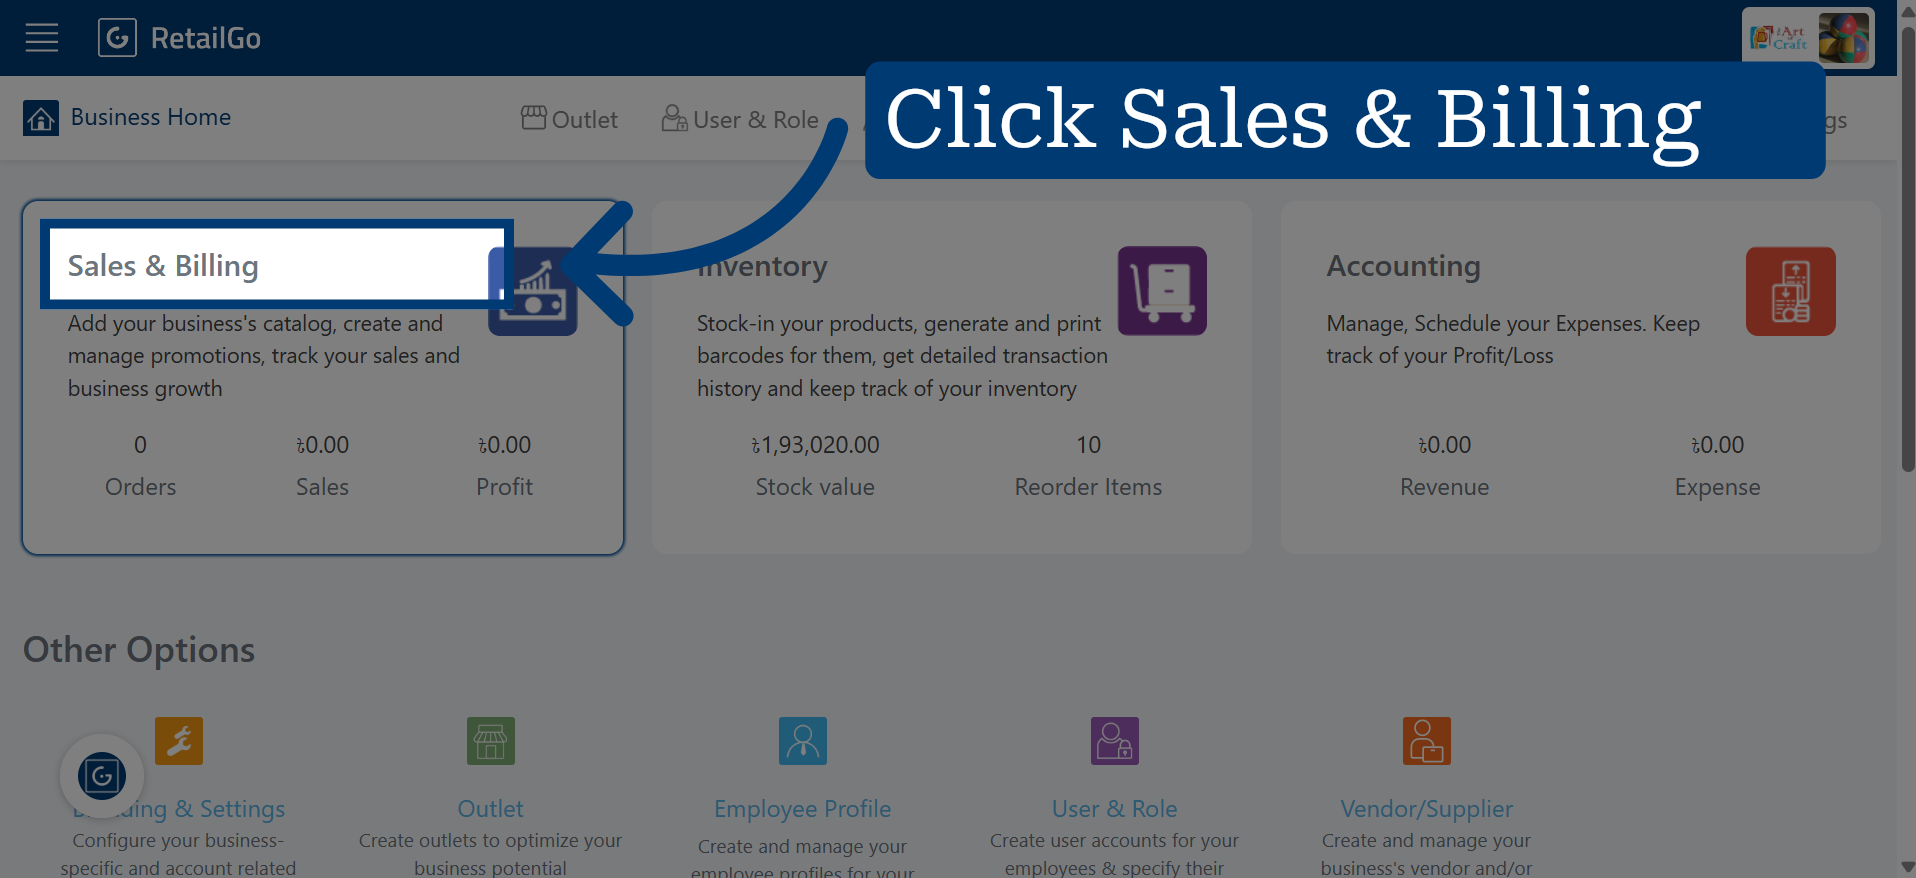
1. Access Sales & Billing Section
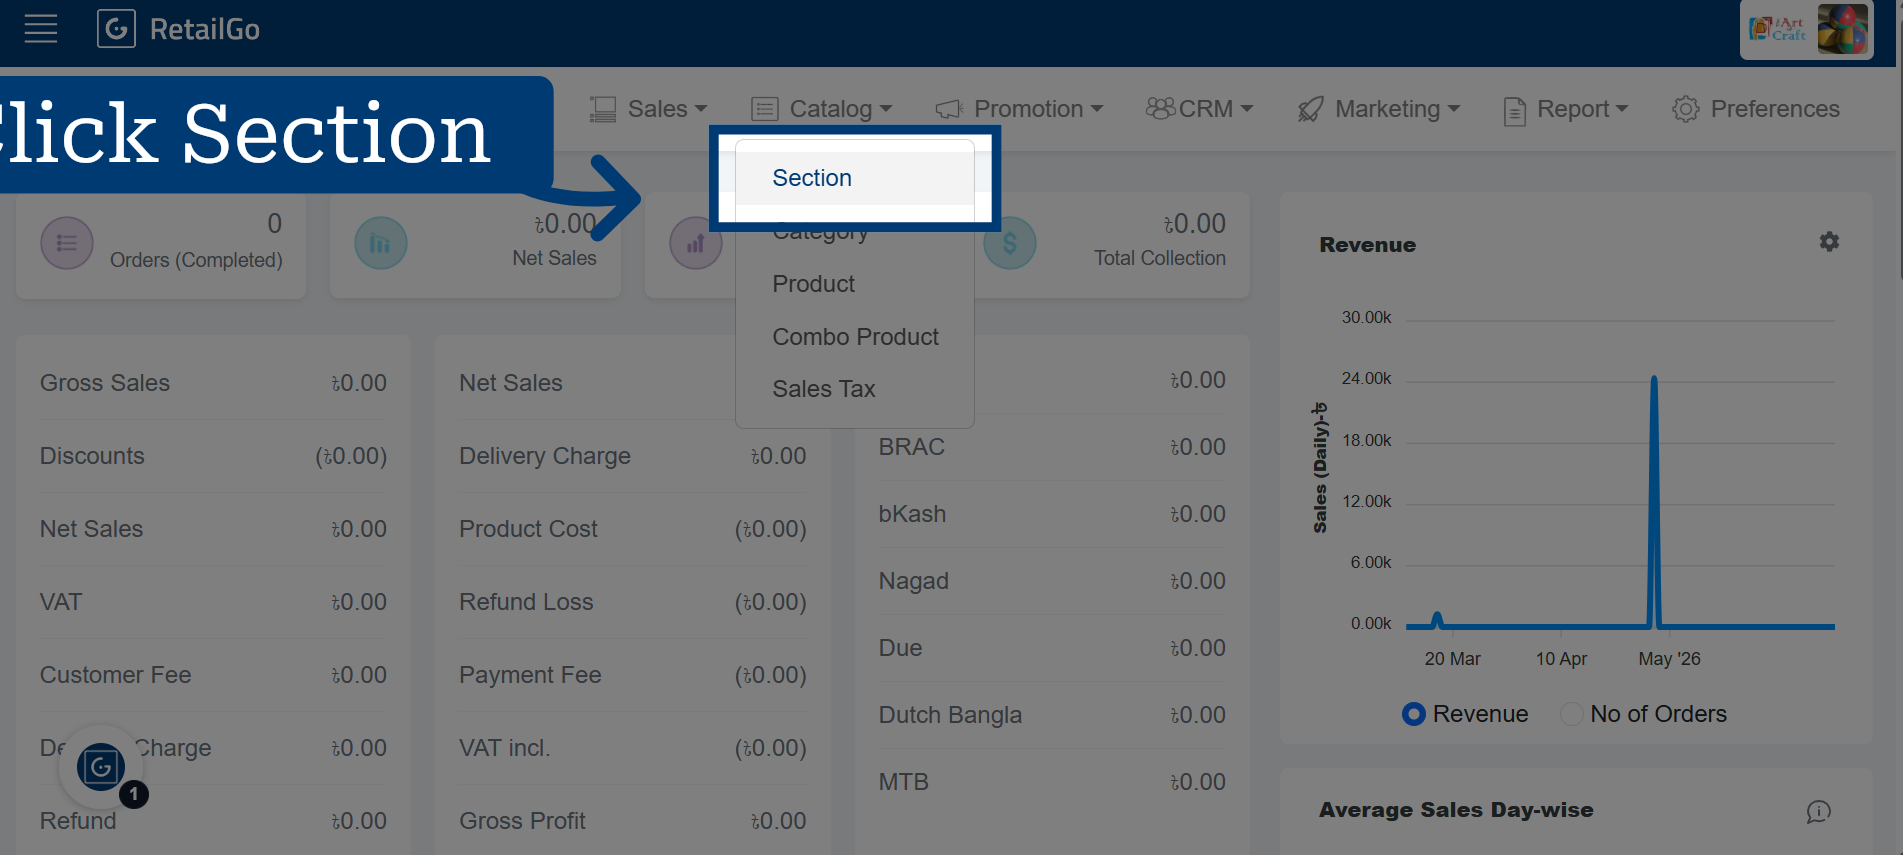
2. Select Section From Catalog
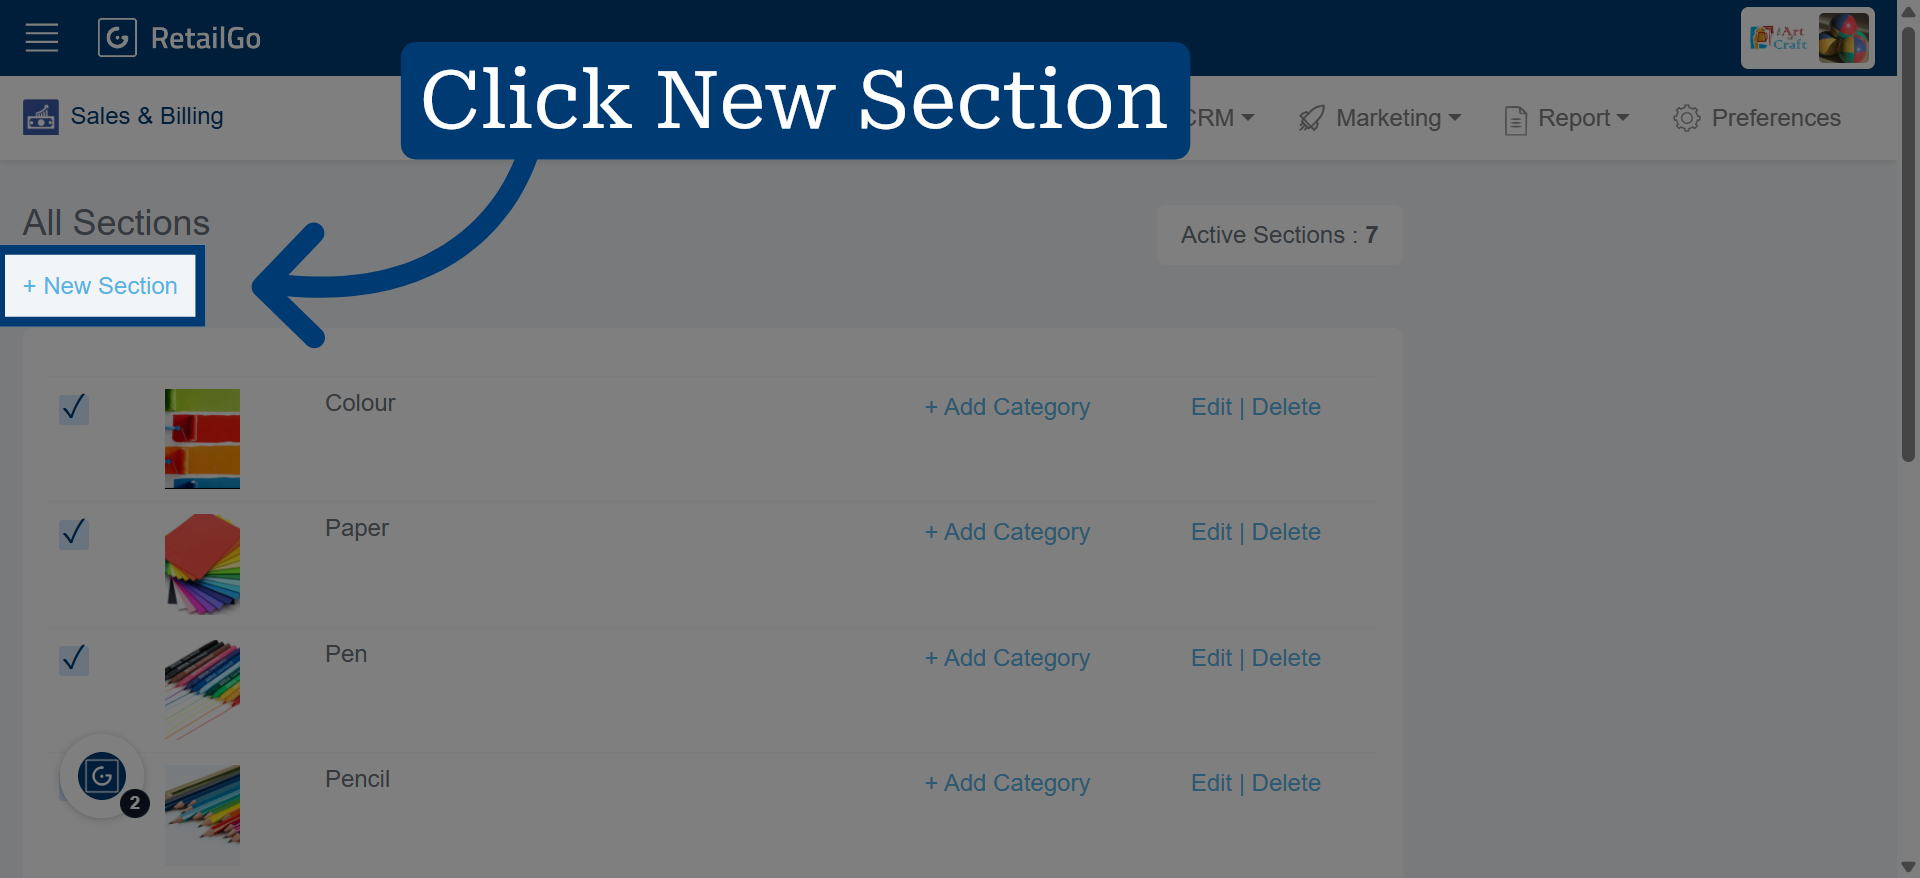
3. Click New Section
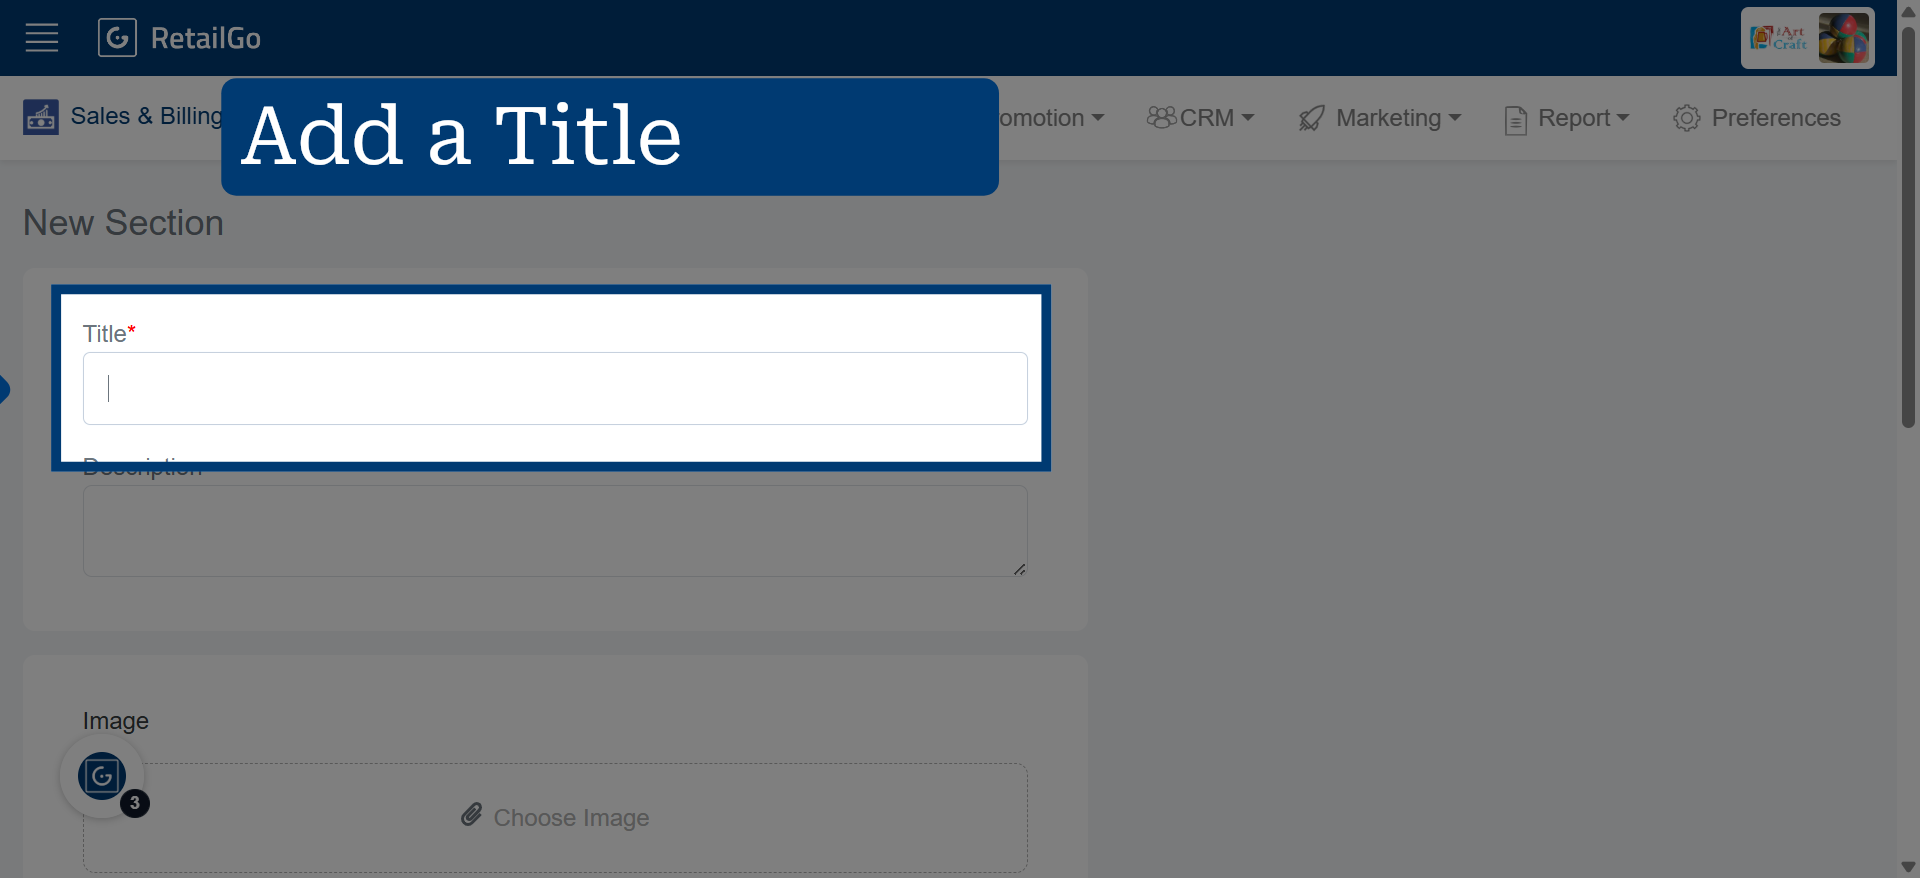
4. Add The Title Accordingly
Example: We have used "Stationery" as the section title.
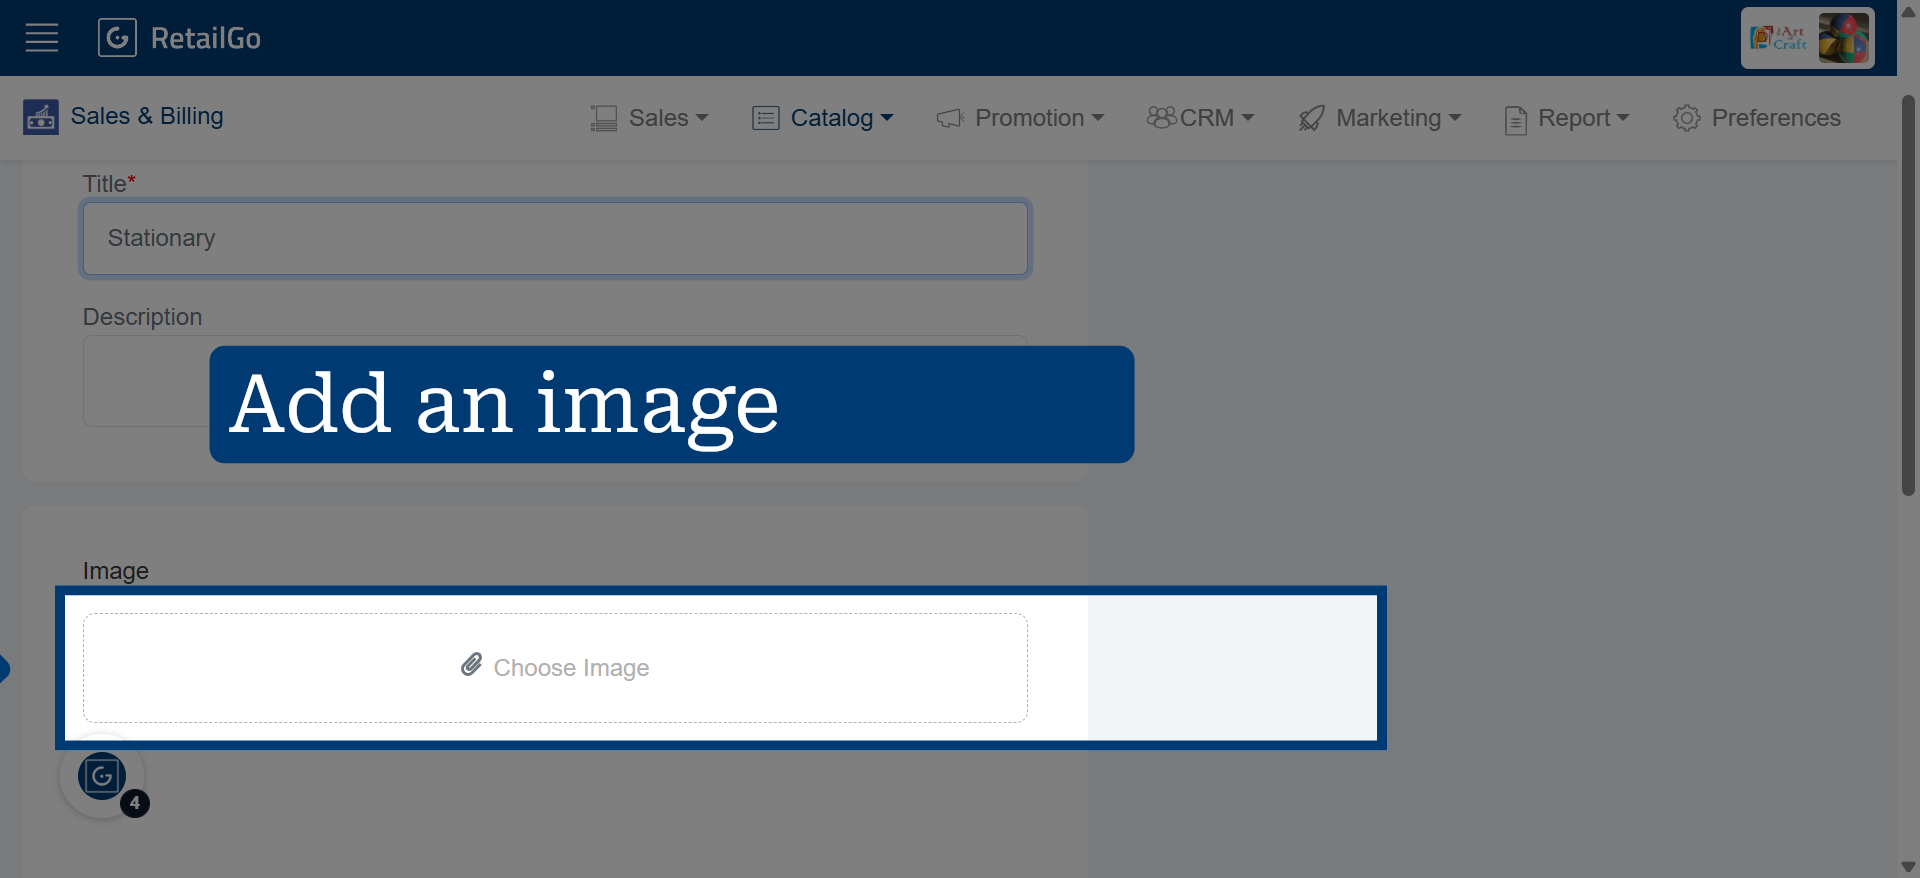
5. Add a 'Section' Image
This image will be visible on the POS app.
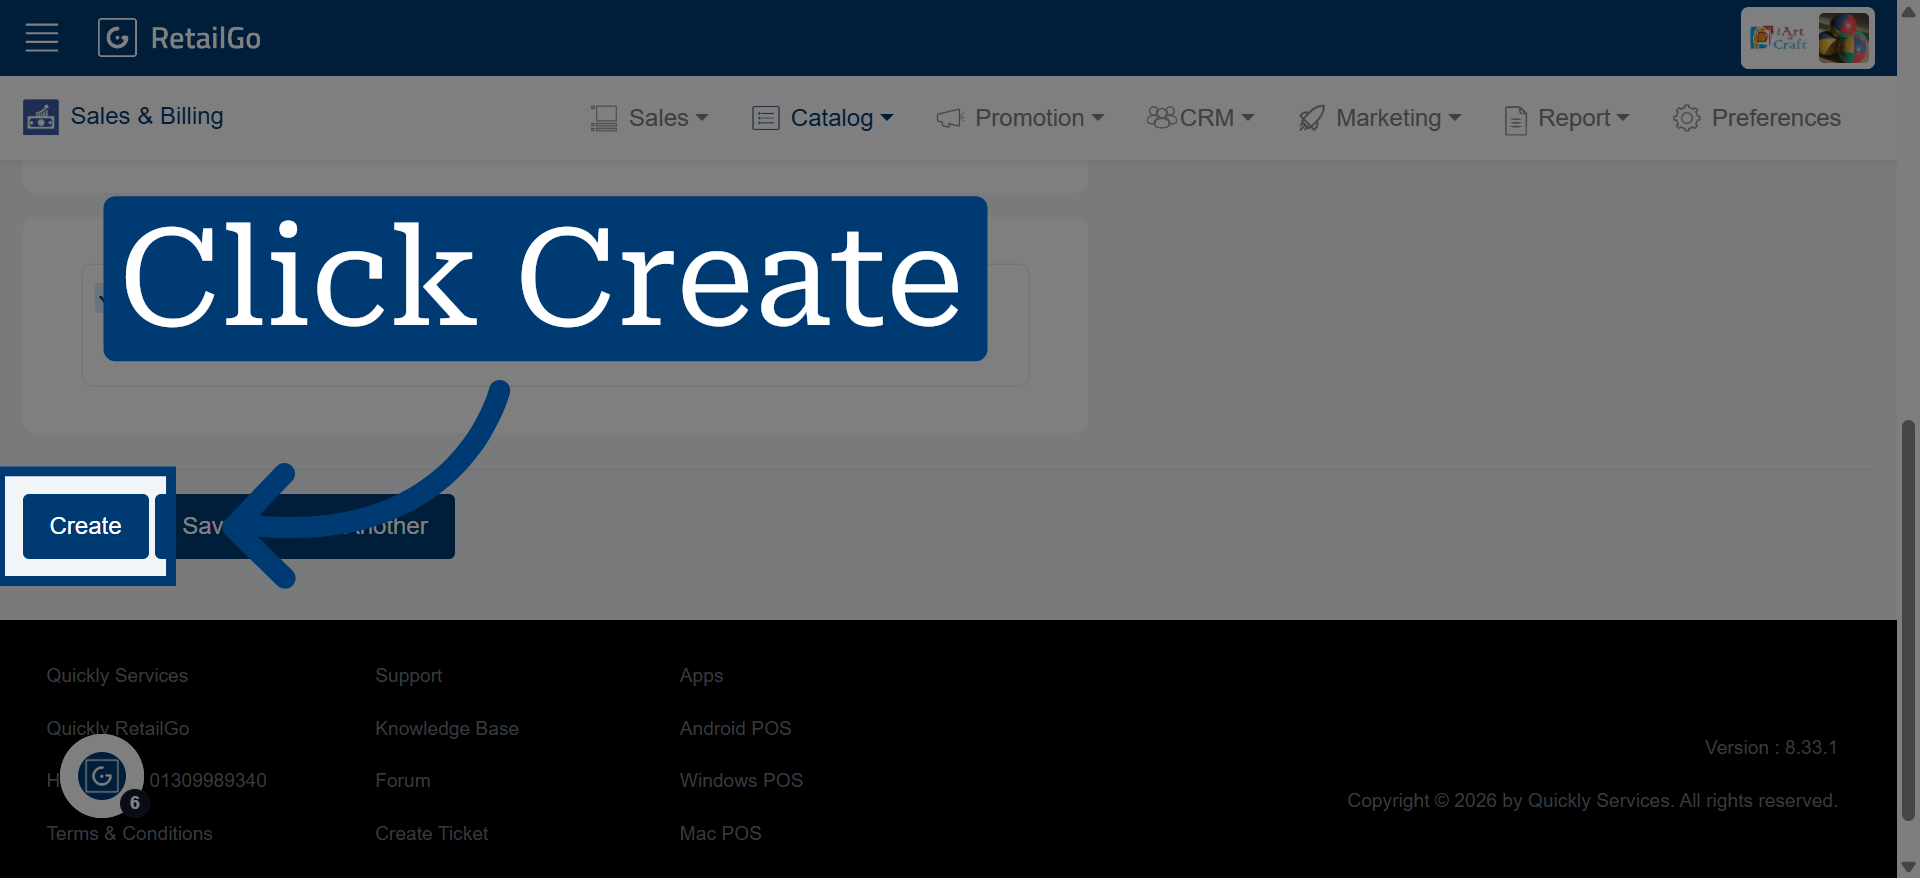
6. Create New Section
7. Now select category from catalog
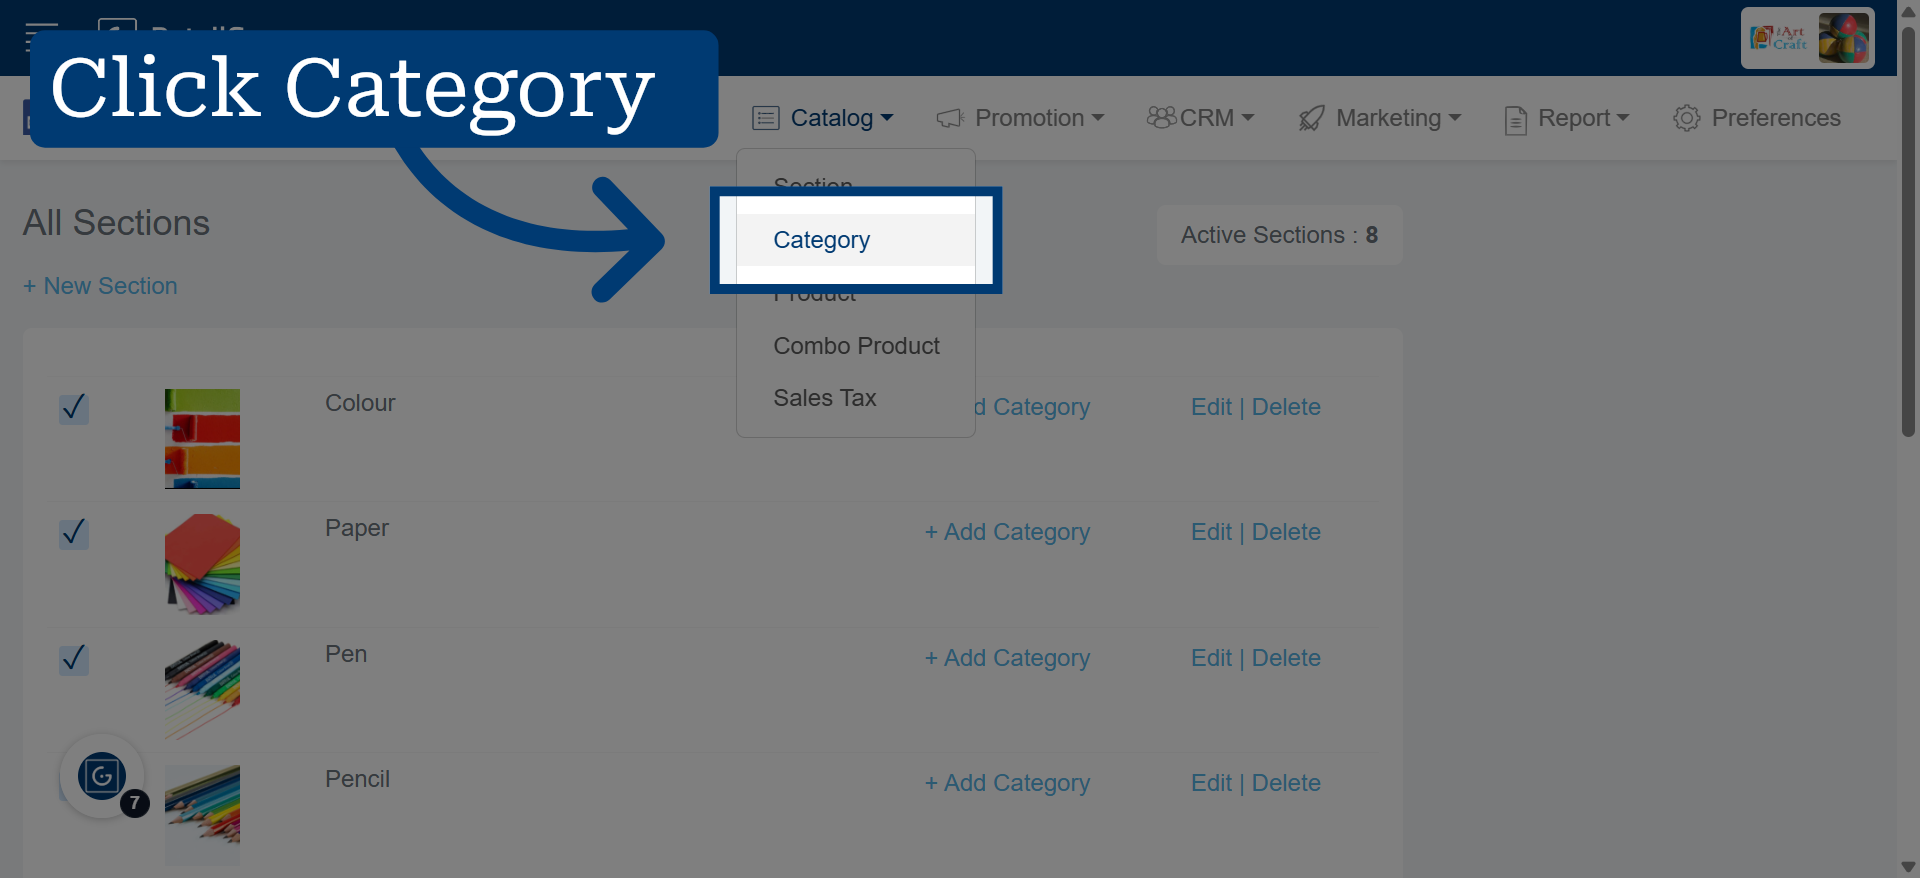
8. Click New Category
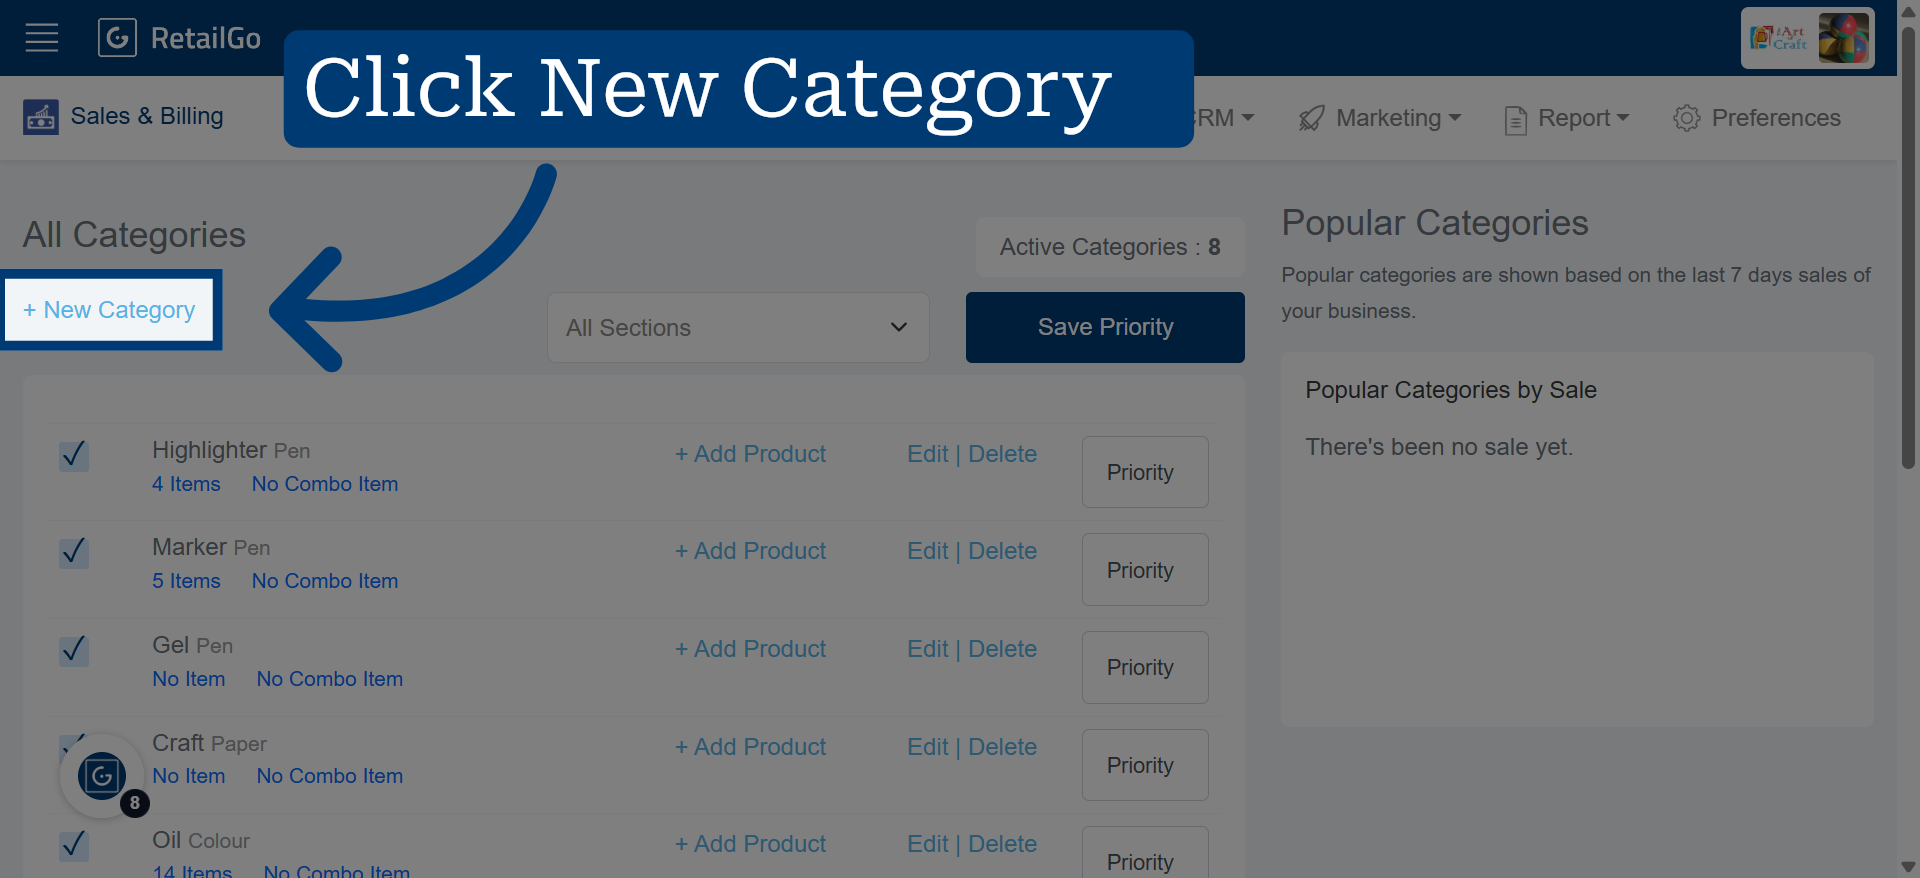
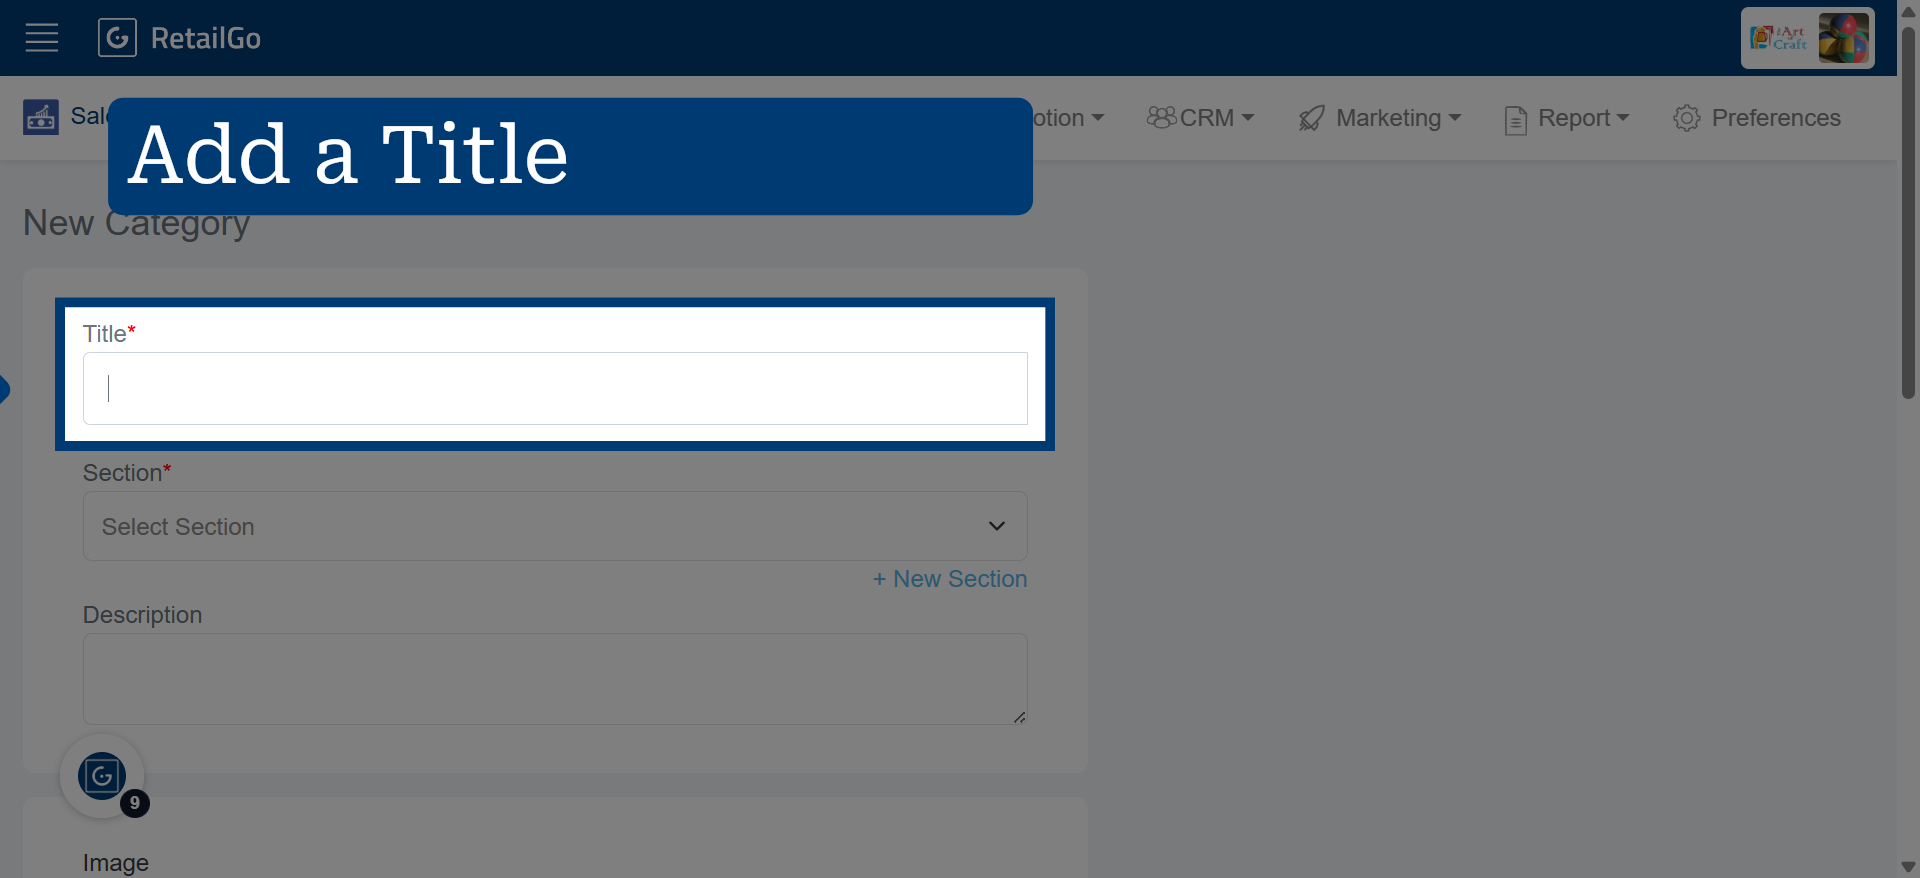
9. Add a 'Category' Title Accordingly
Example: We have used "PEN" as the category title.
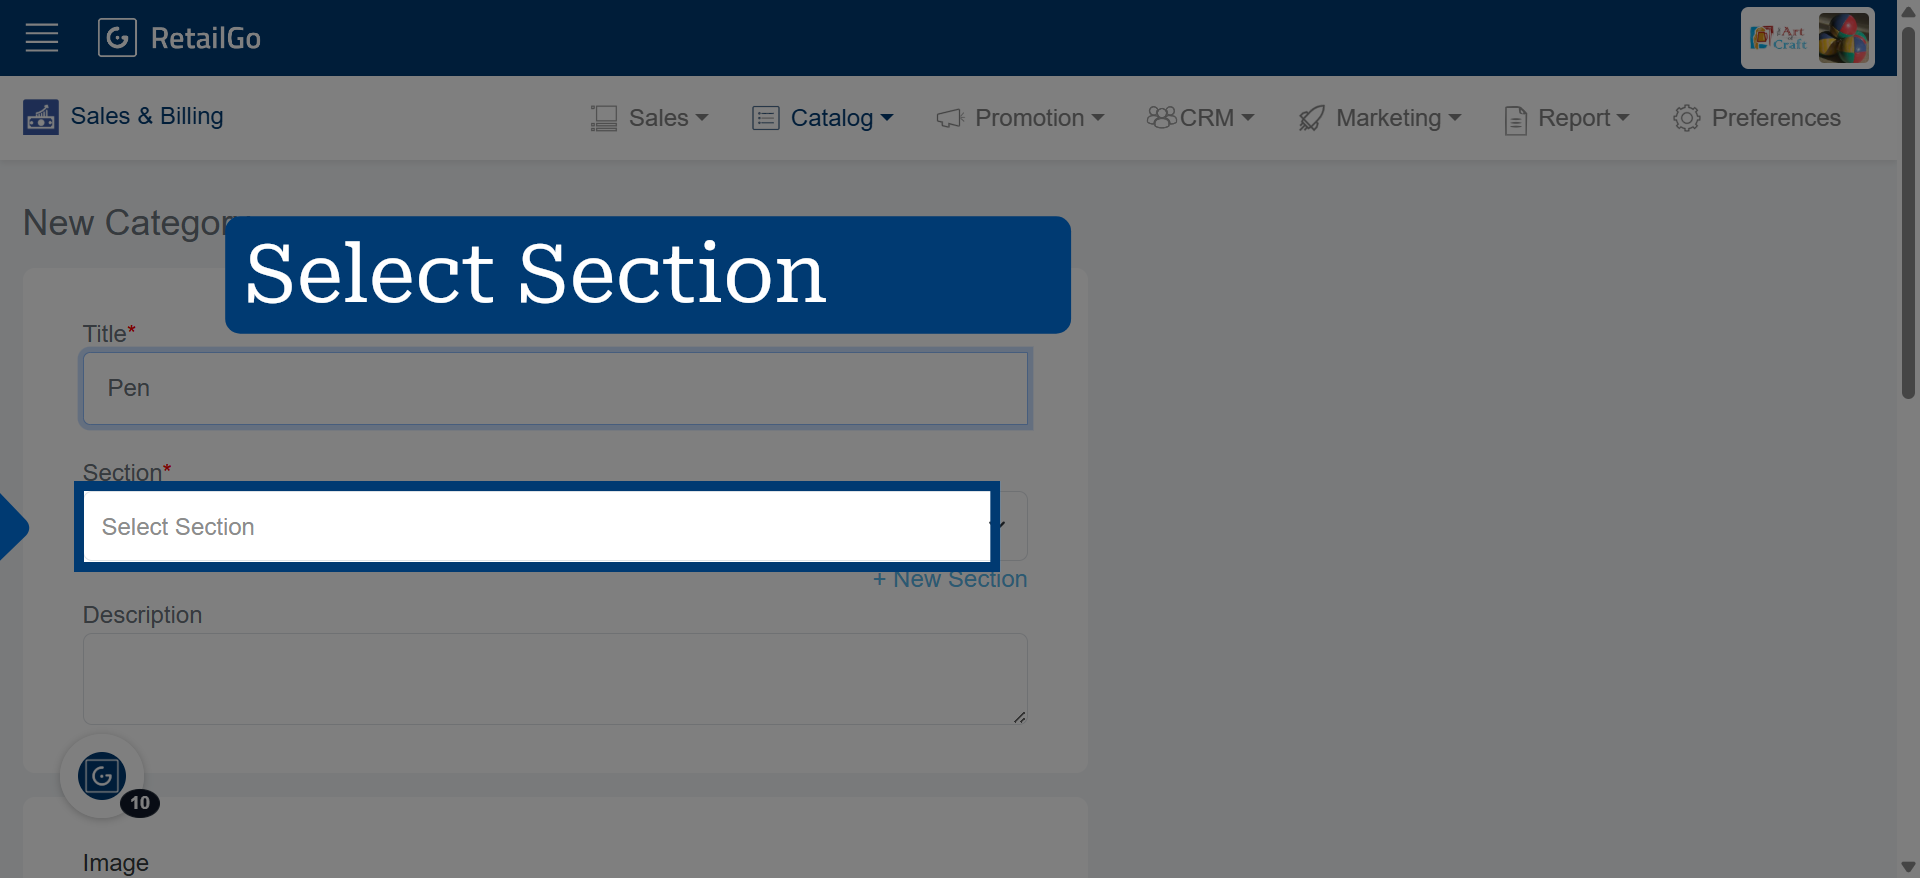
10. Select a Section Under This Category
This category will be shown under the selected section only.
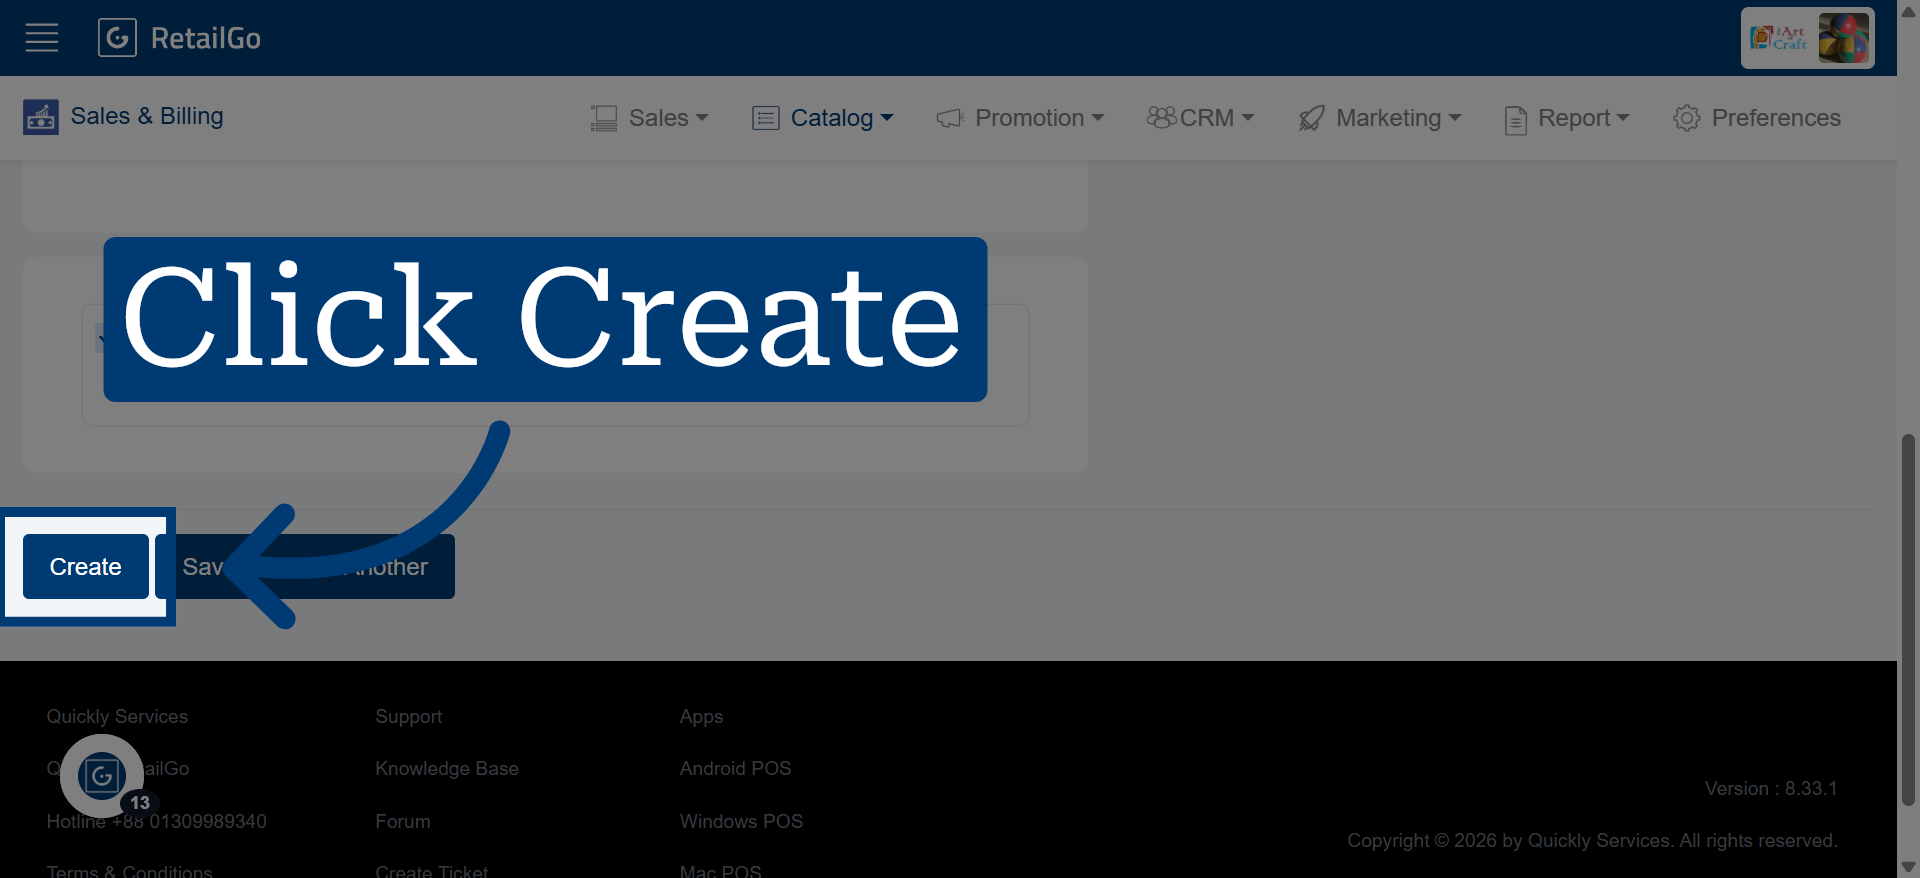
11. Save New Category
Click "Create" to finalize and save the new product category.
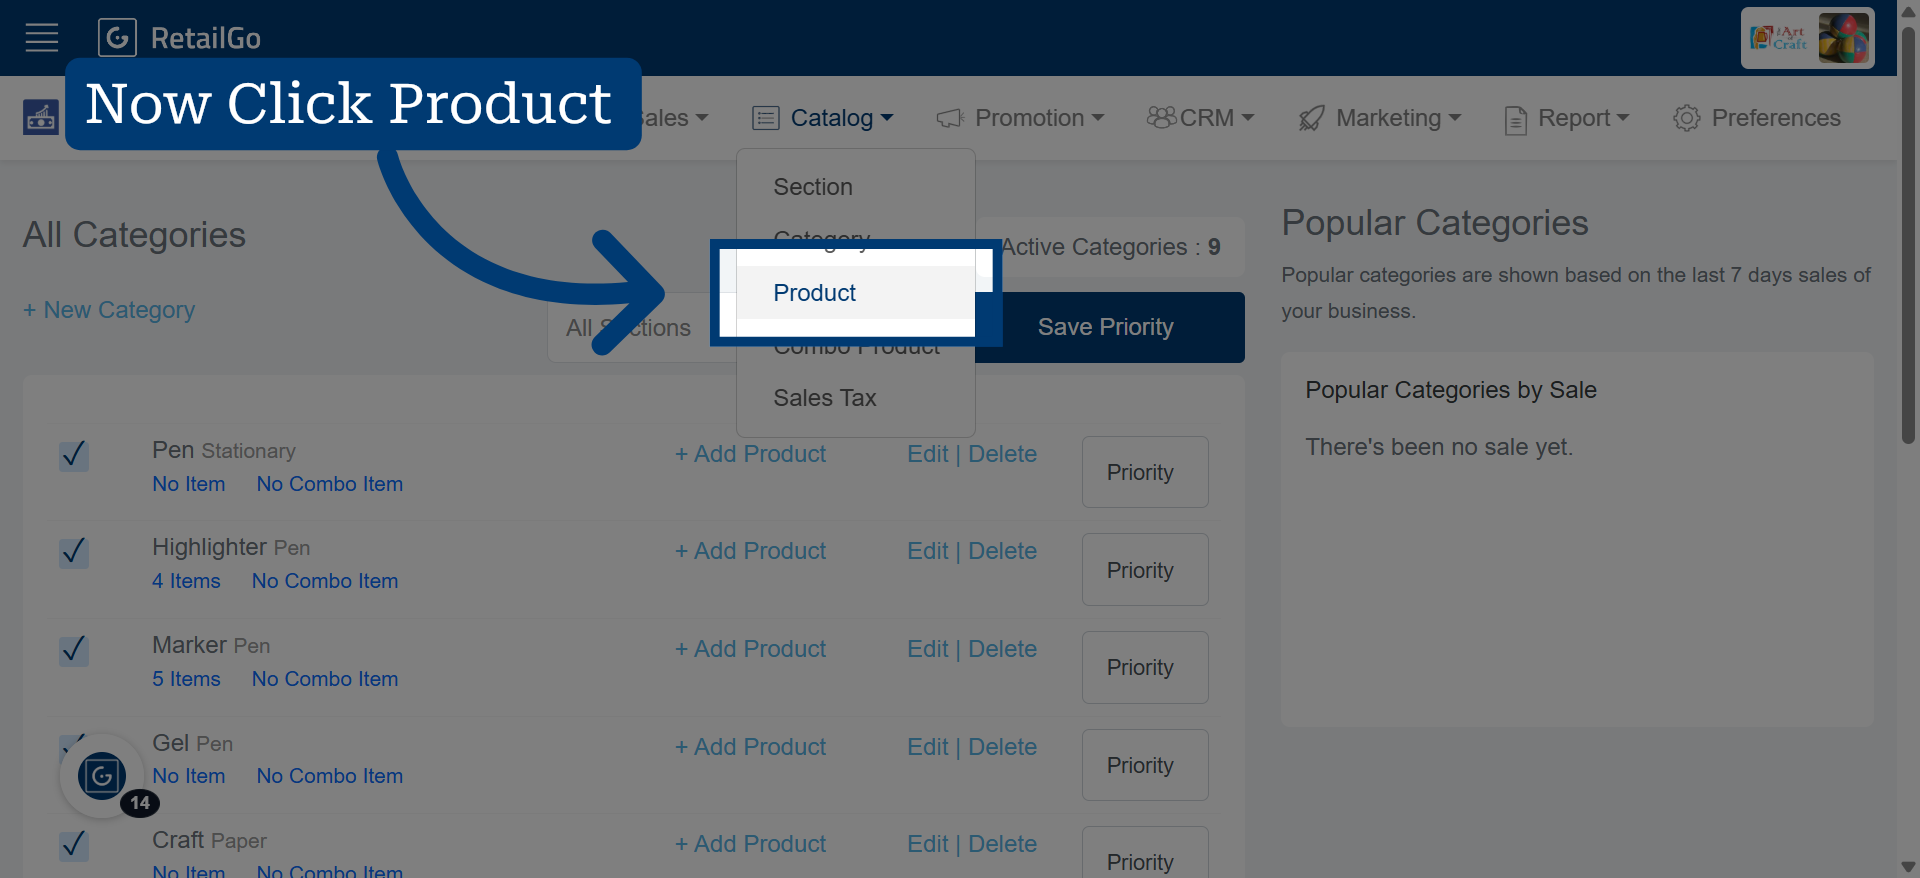
12. Now Select 'Product' From Catalog
Click "Product" to access the product management area in the portal.
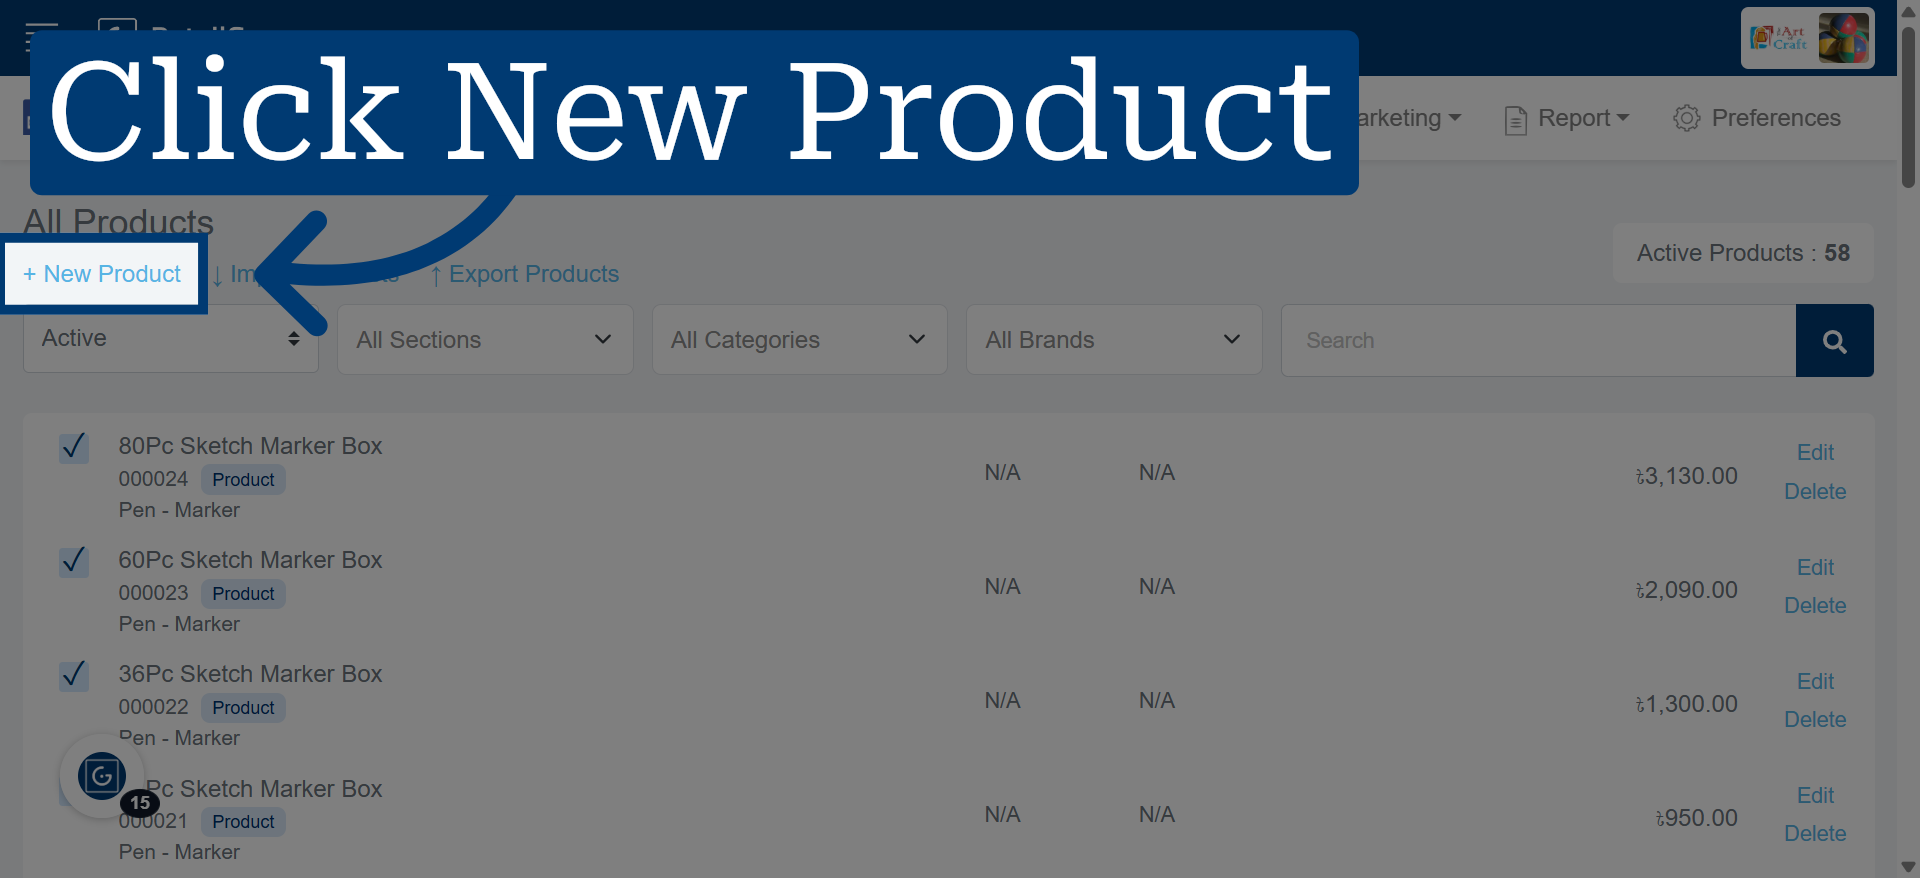
13. Add New Product
Click "+ New Product" to begin adding a new product to your inventory.
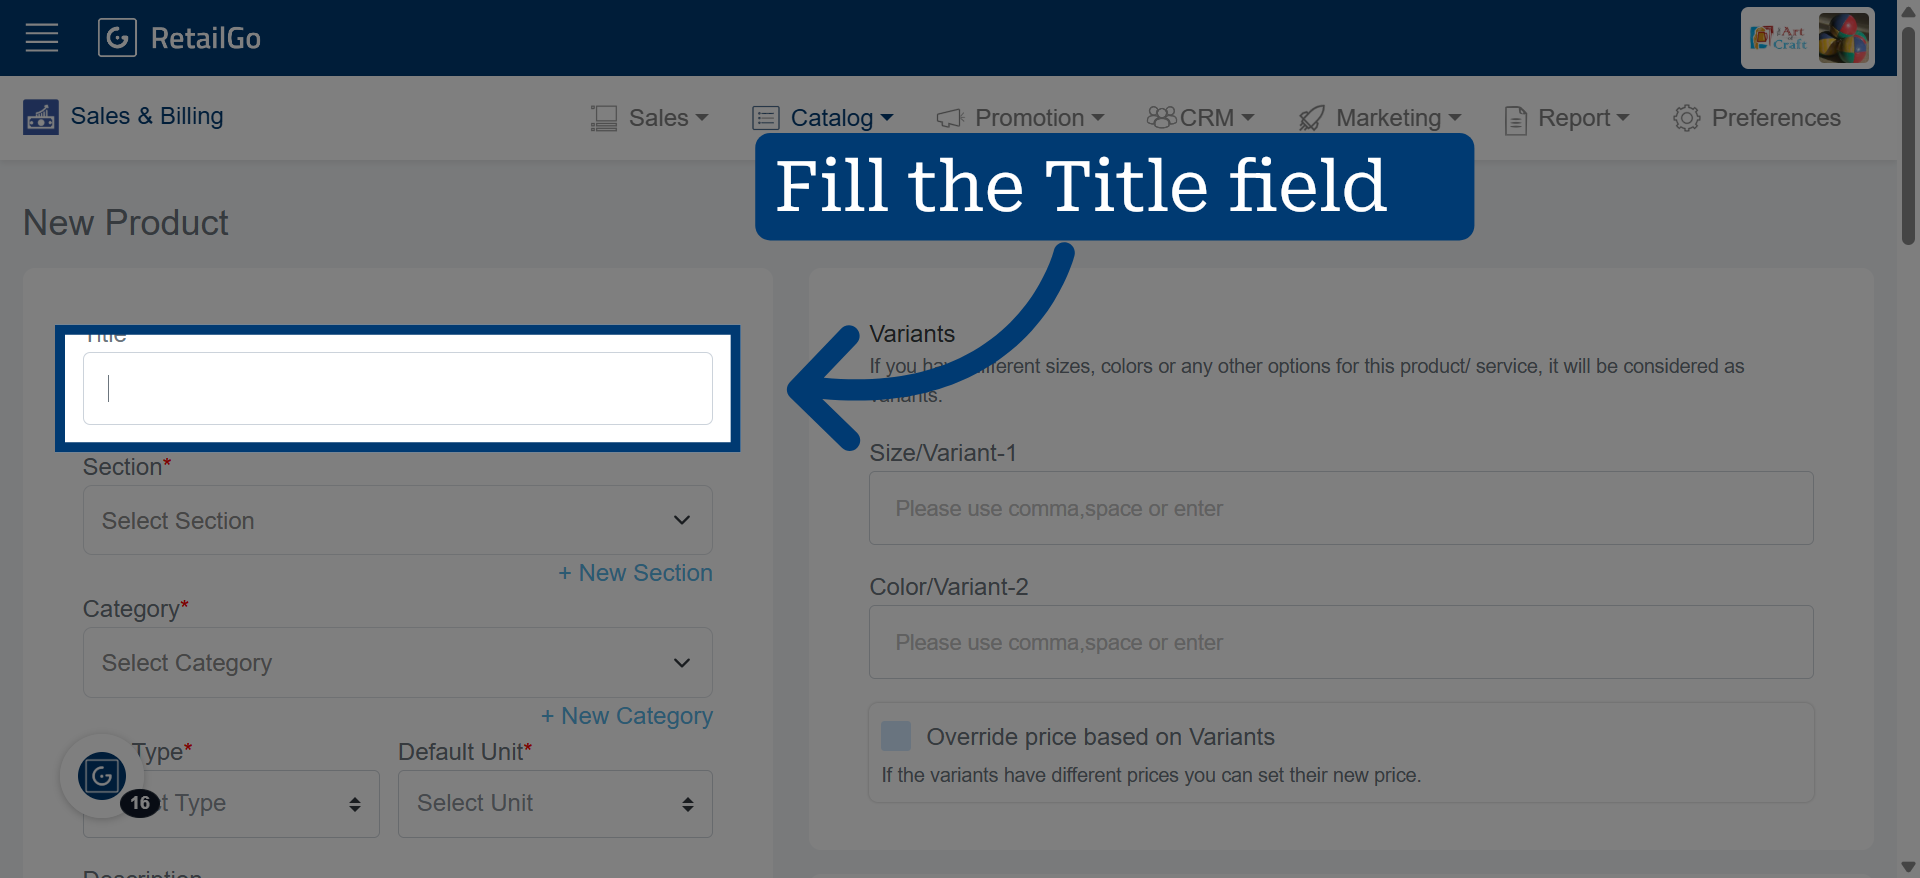
14. Select Product Title Field
Click the "Title" field to enter the product name. Example: We have used "Ball Pen" as the product title.
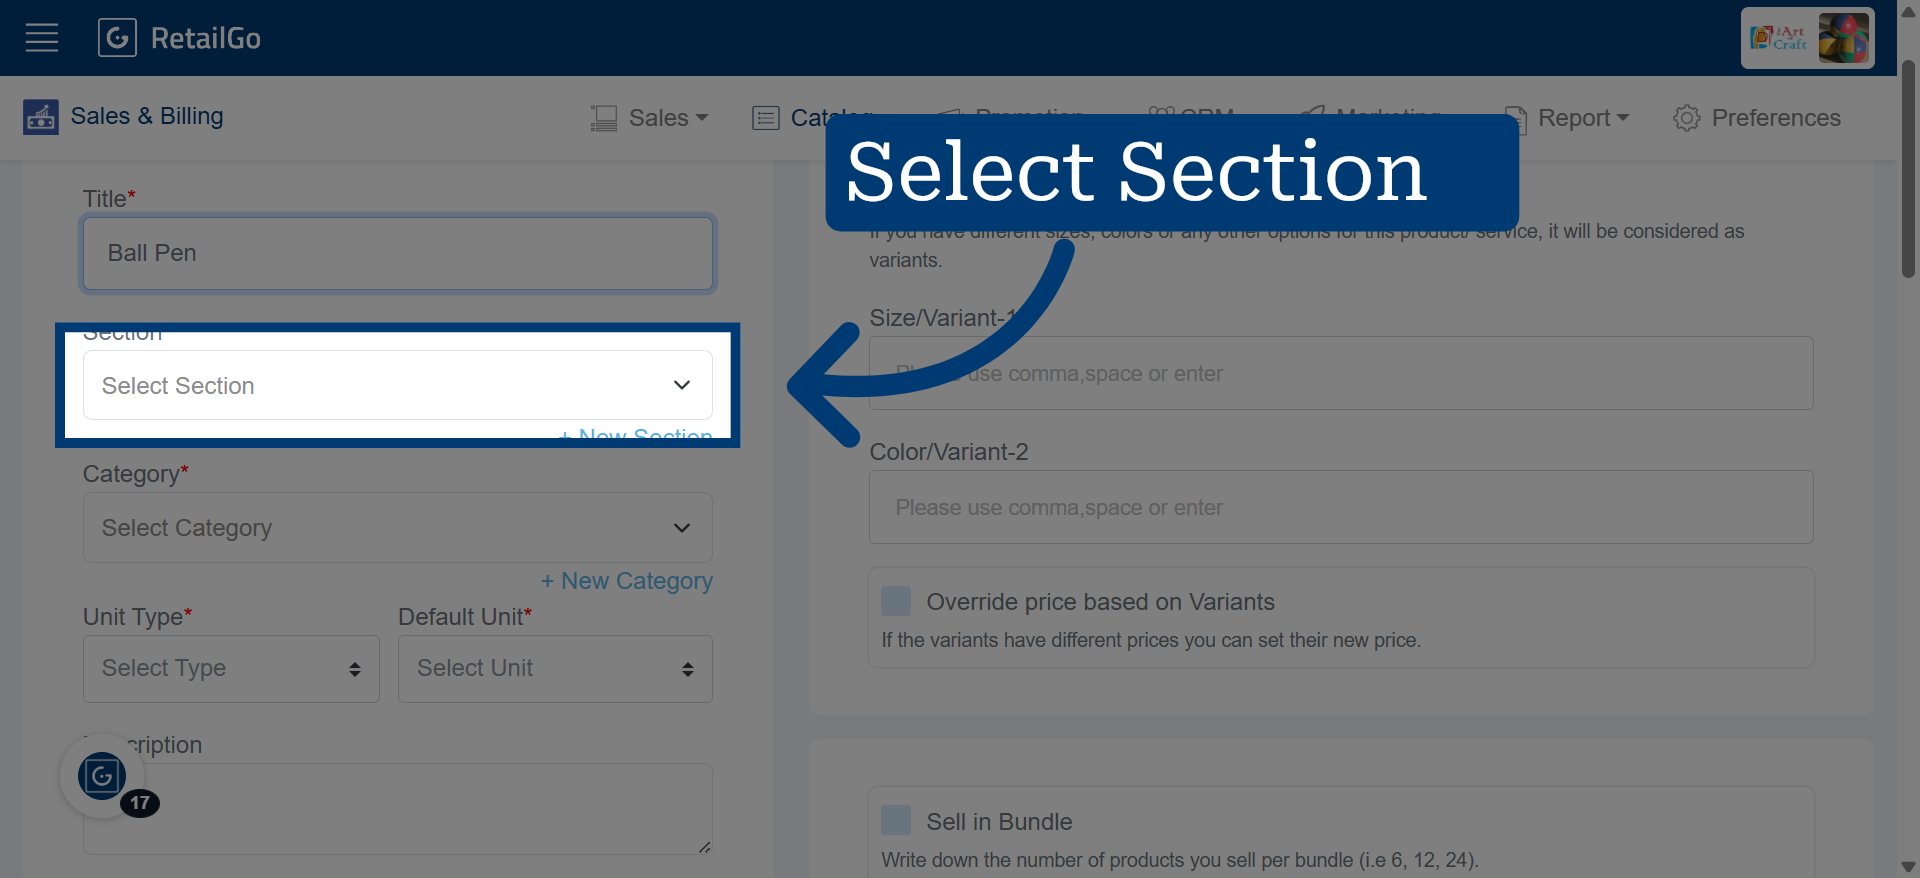
15. Select The Section Accordingly
Click "Select Section" to assign the product to a sales section.
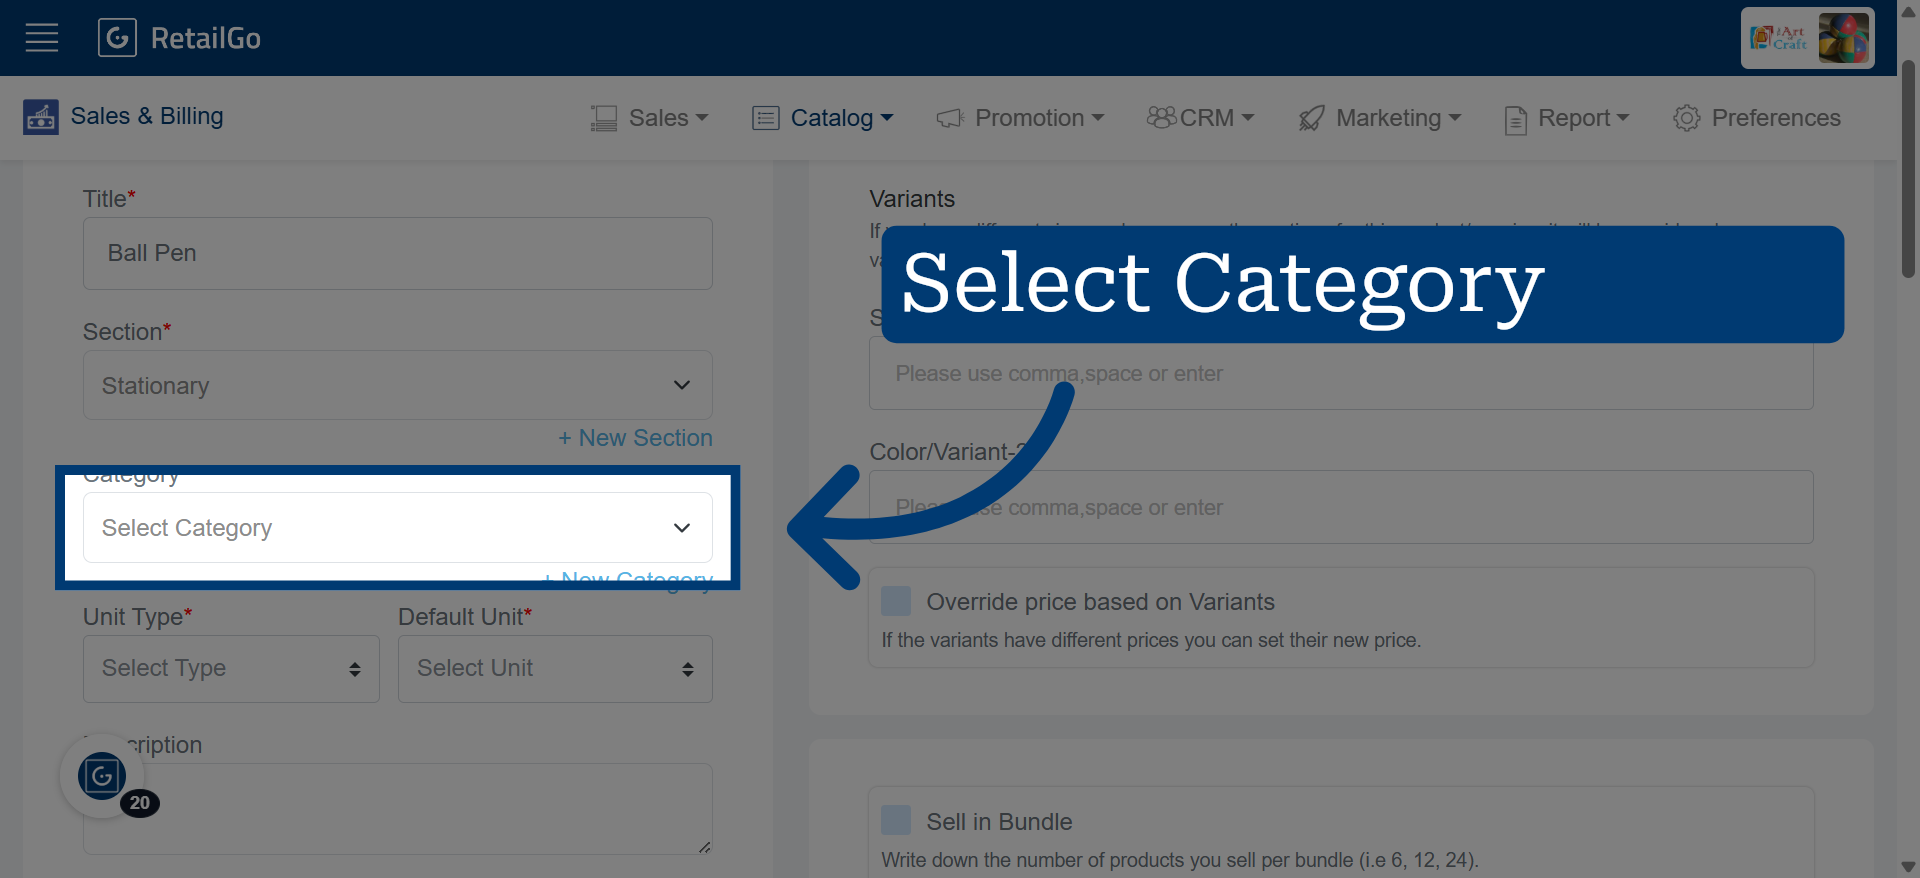
16. Select The 'Category' Accordingly
Click "Select Category" to assign the product to a specific category.
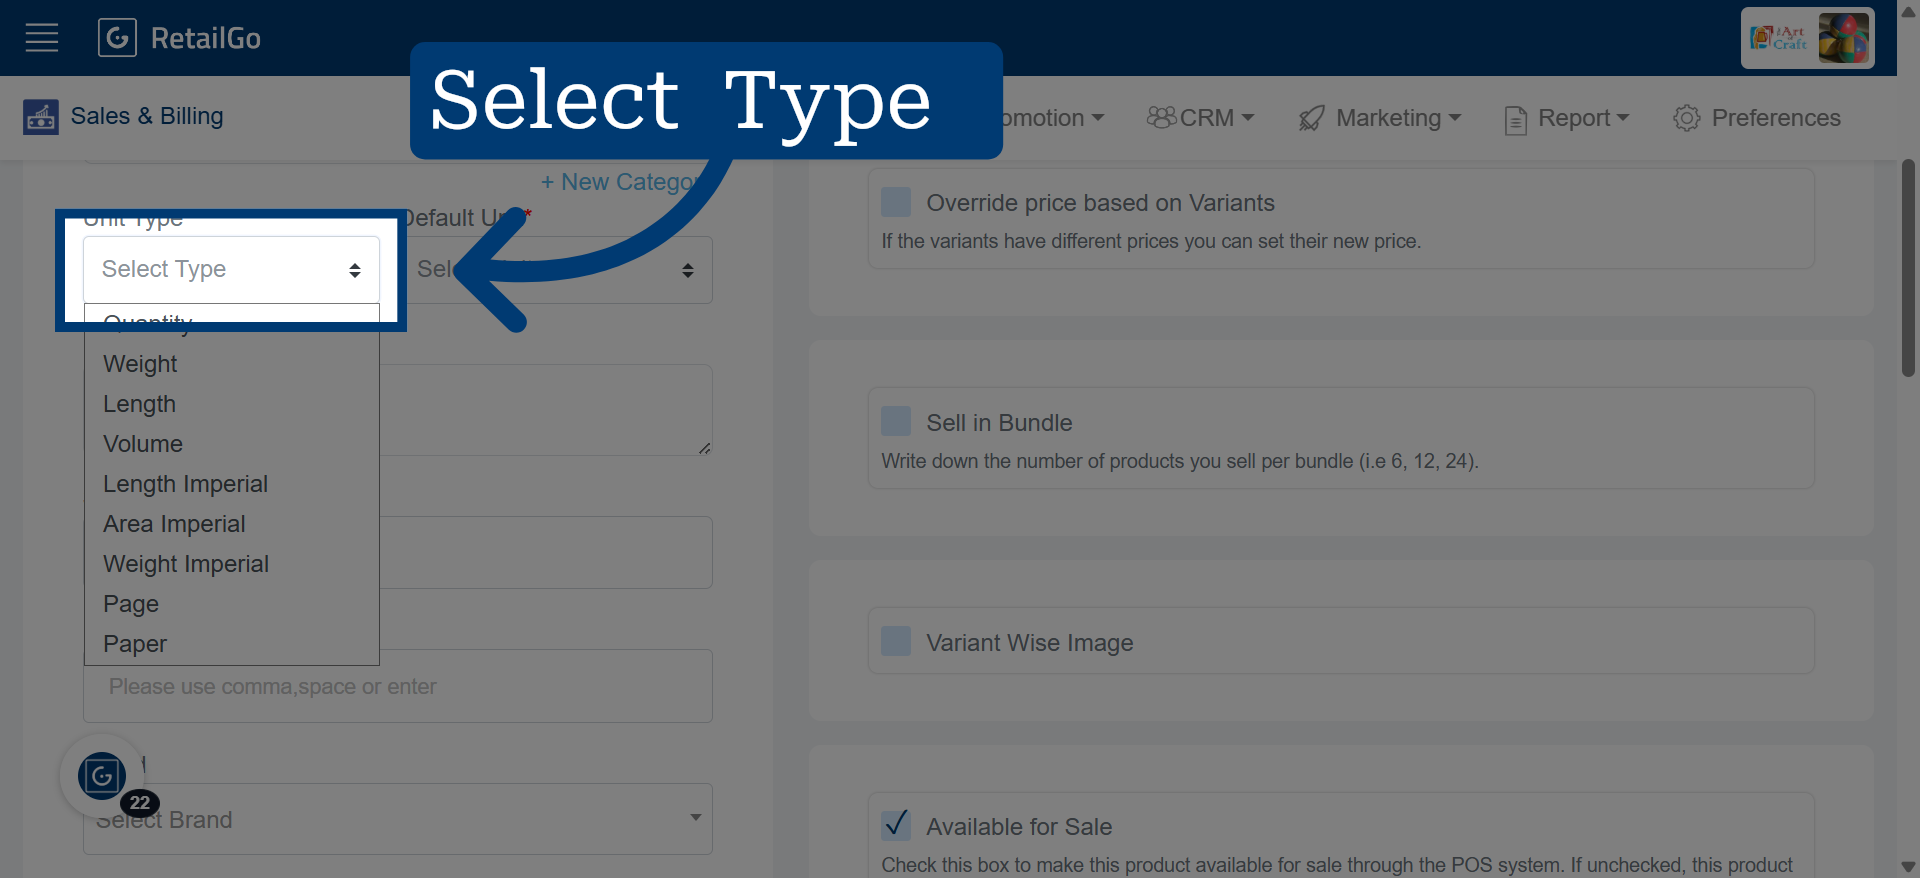
17. Open Product Type Field
Click "Select Type Quantity..." to specify the product type or quantity. Example: If the product is sold by quantity, select Quantity. If it is sold by weight (kg), select Weight.
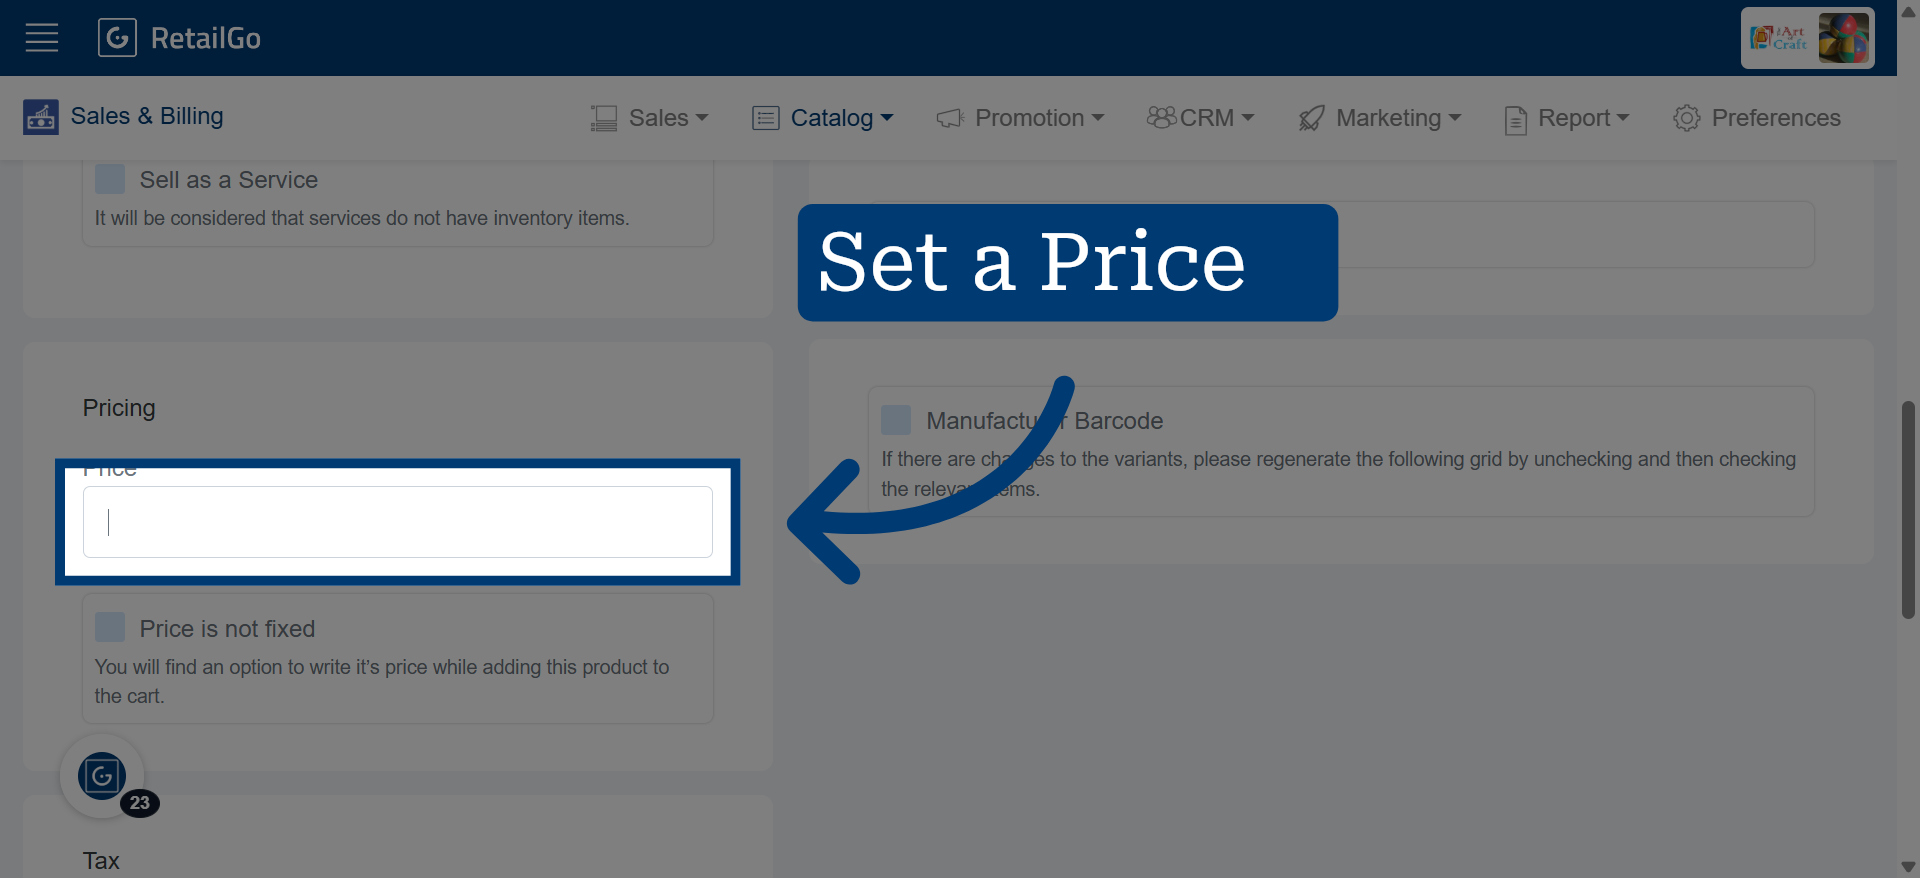
18. Set The Product 'Price'
Click "Price" to input the product's price.
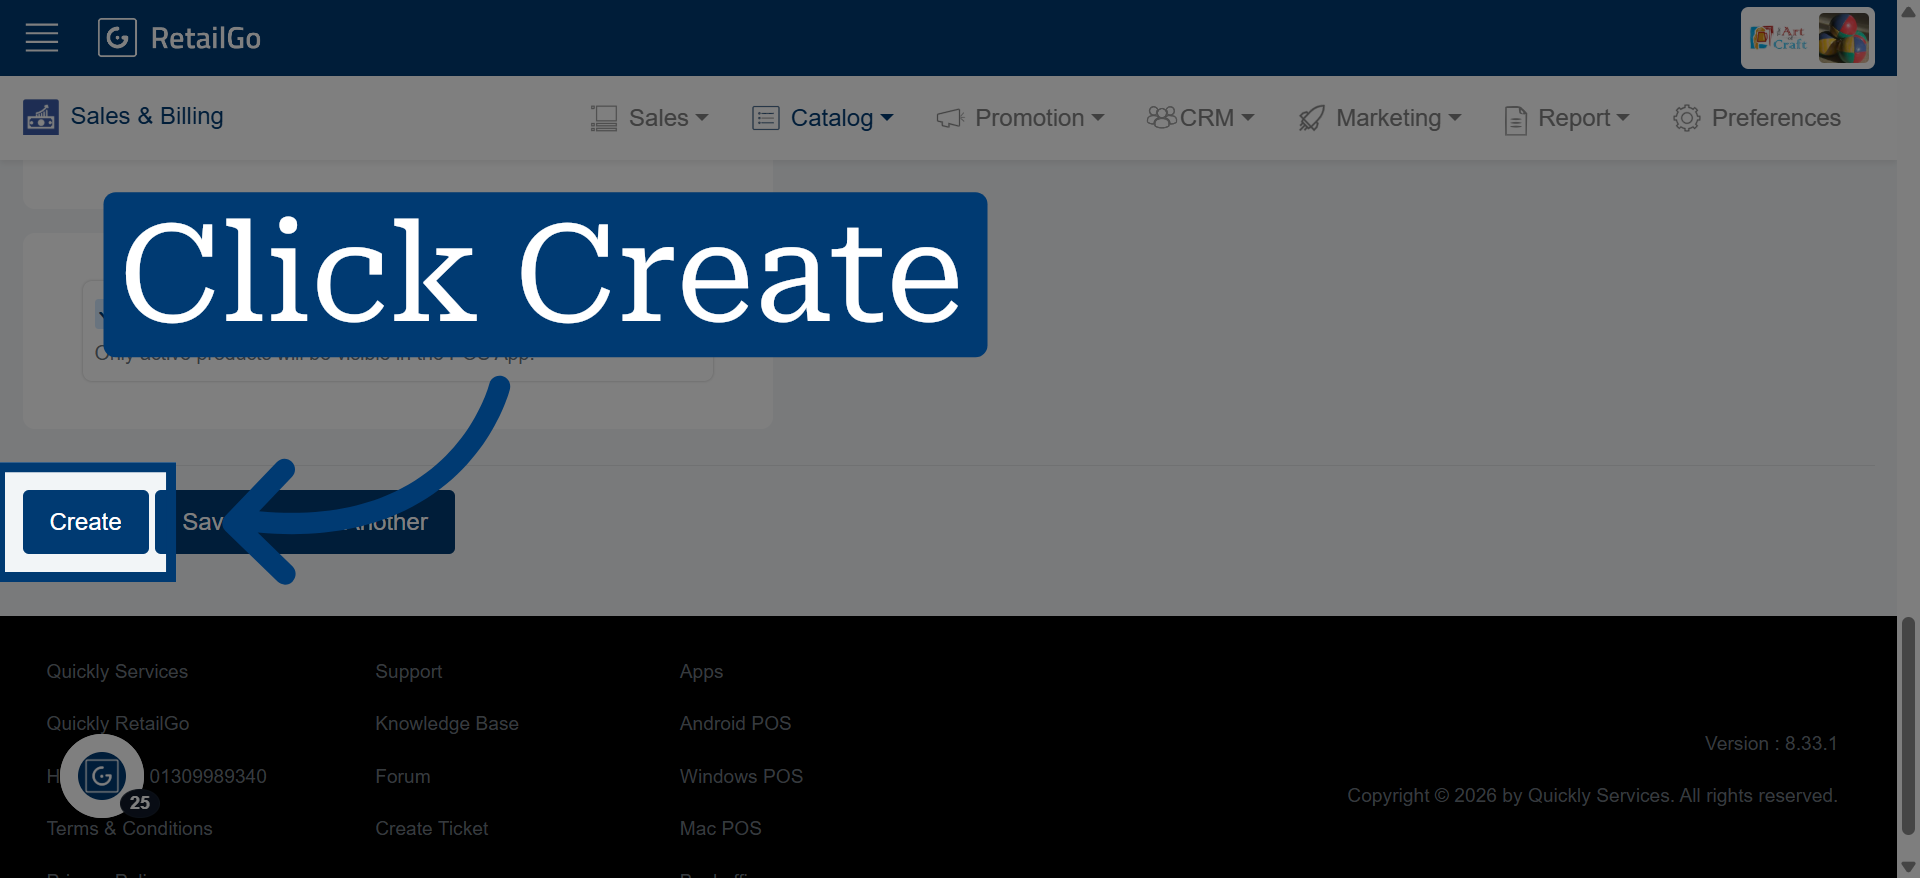
19. Finalize Product Creation
Click "Create" to save the new product with all specified details.
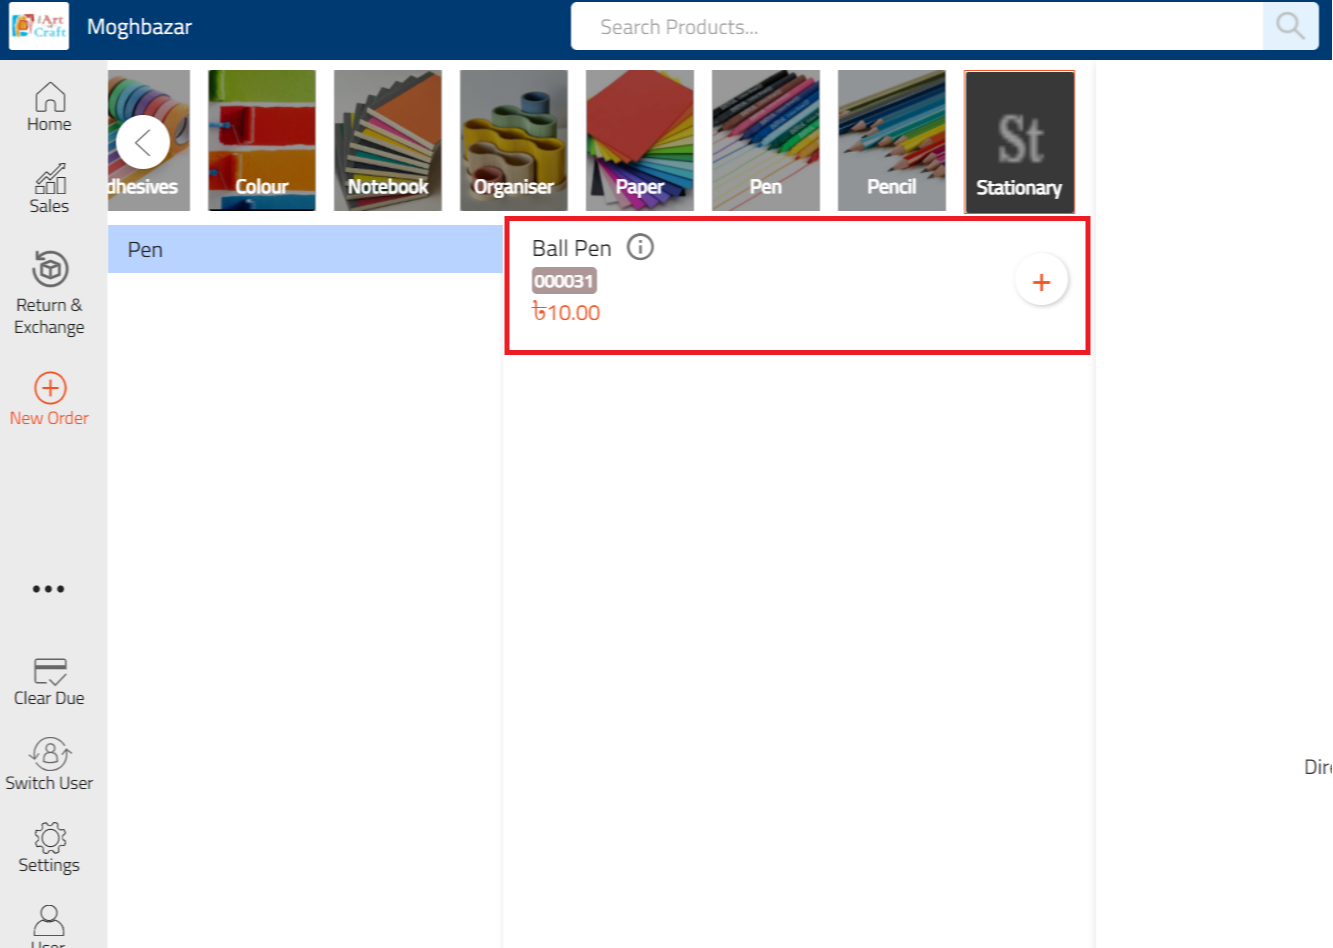
20. Go to the POS app
Once a product is created in the Business Portal, it becomes available in the POS app.