How to Create New Ledger Account in RetailGo Business Portal
This tutorial guides you through adding a new account in the Chart of Accounts within RetailGo.
Creating accounts is an essential step in setting up your accounting system, as these accounts
are used to accurately record and categorize financial transactions. Once created, accounts can
be selected when creating bills, invoices, expenses, journal entries, payments, and other financial
records, ensuring accurate bookkeeping and financial reporting.
Go to
retailgo.quicklyservices.com
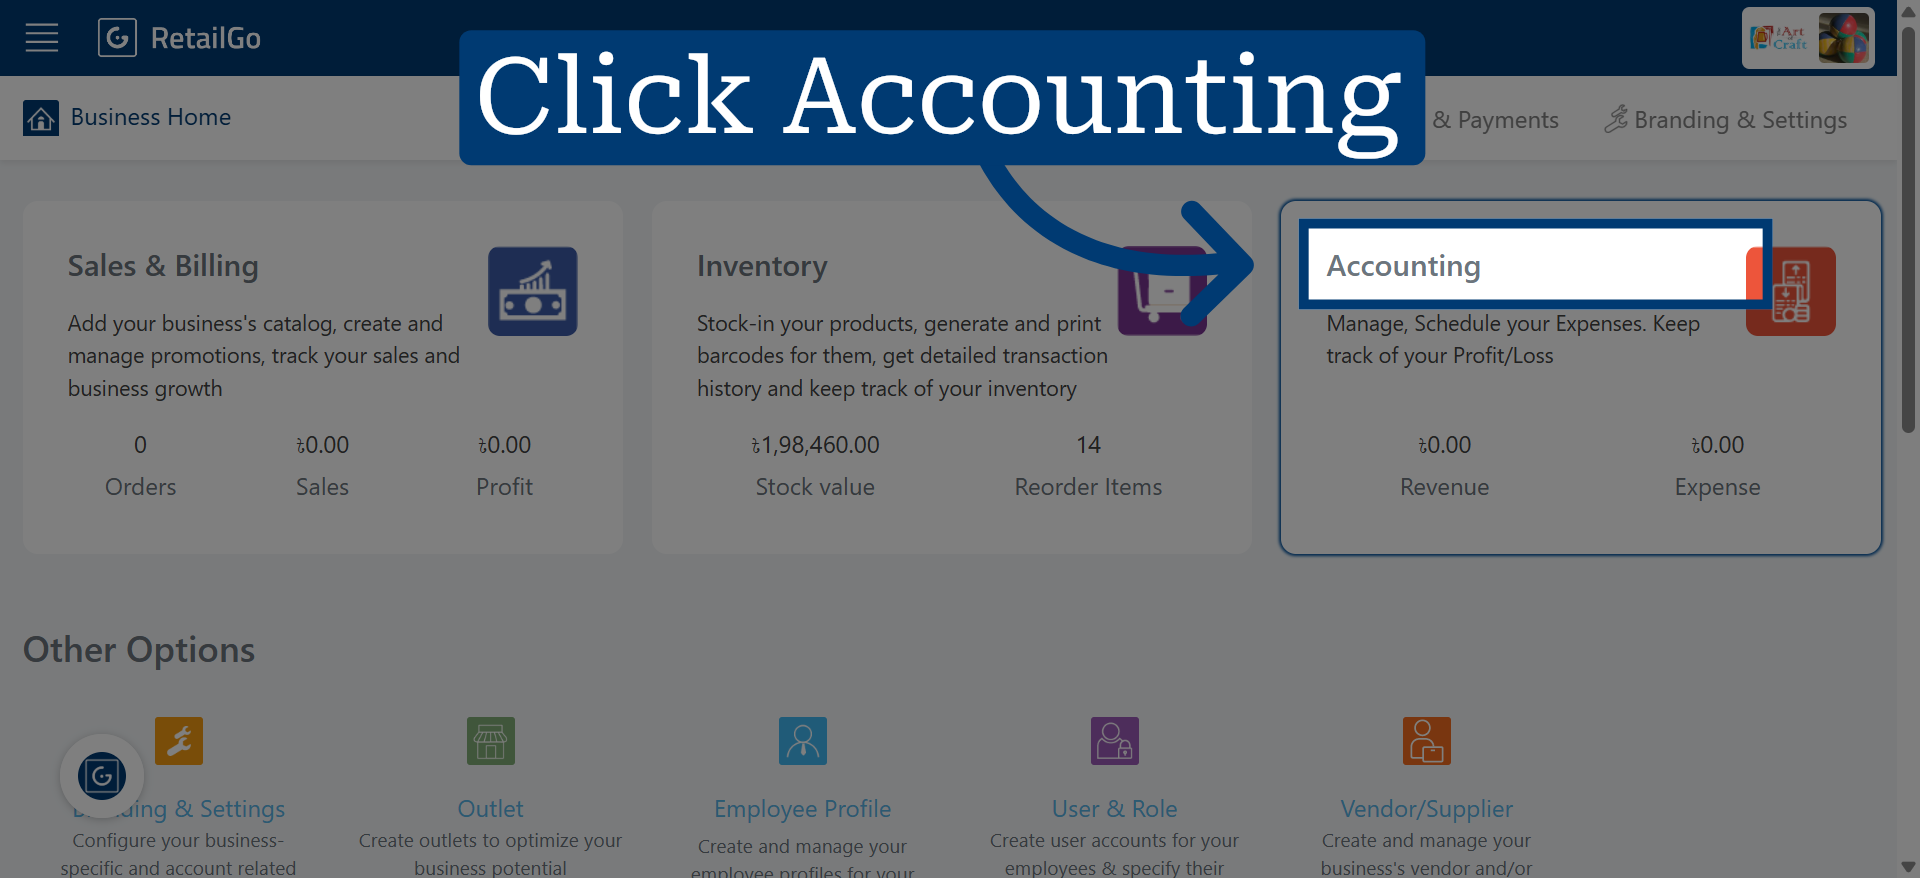
1. Access Accounting Module
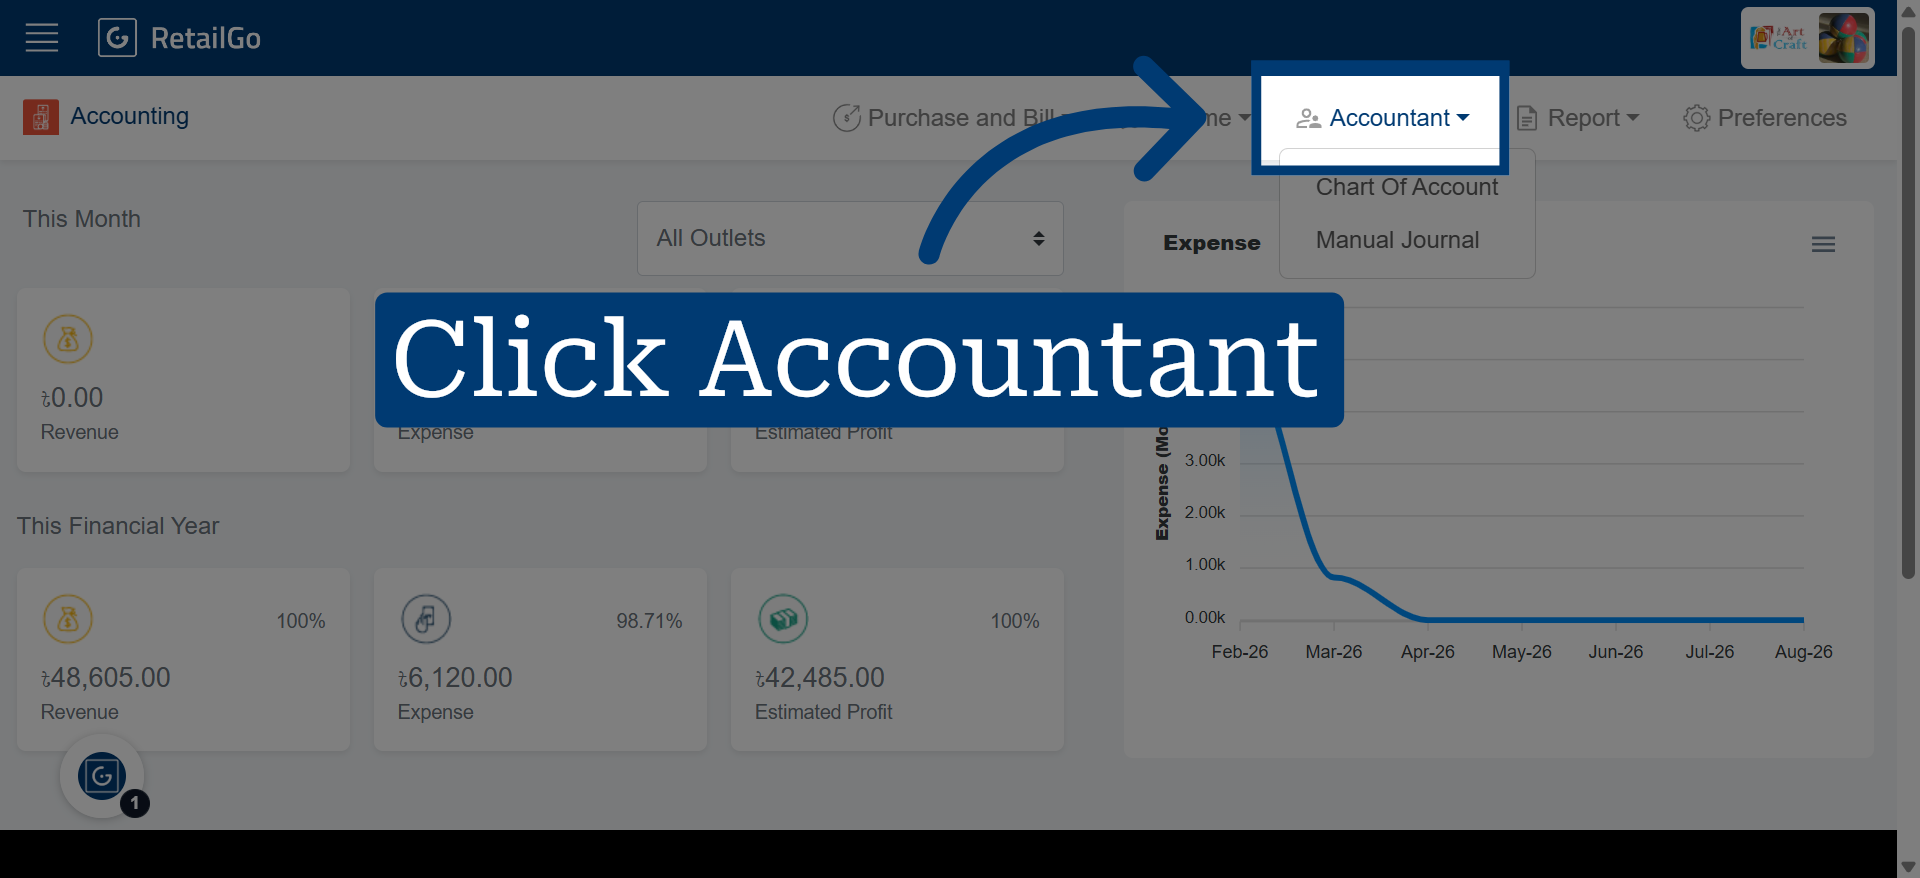
2. Open Accountant Menu
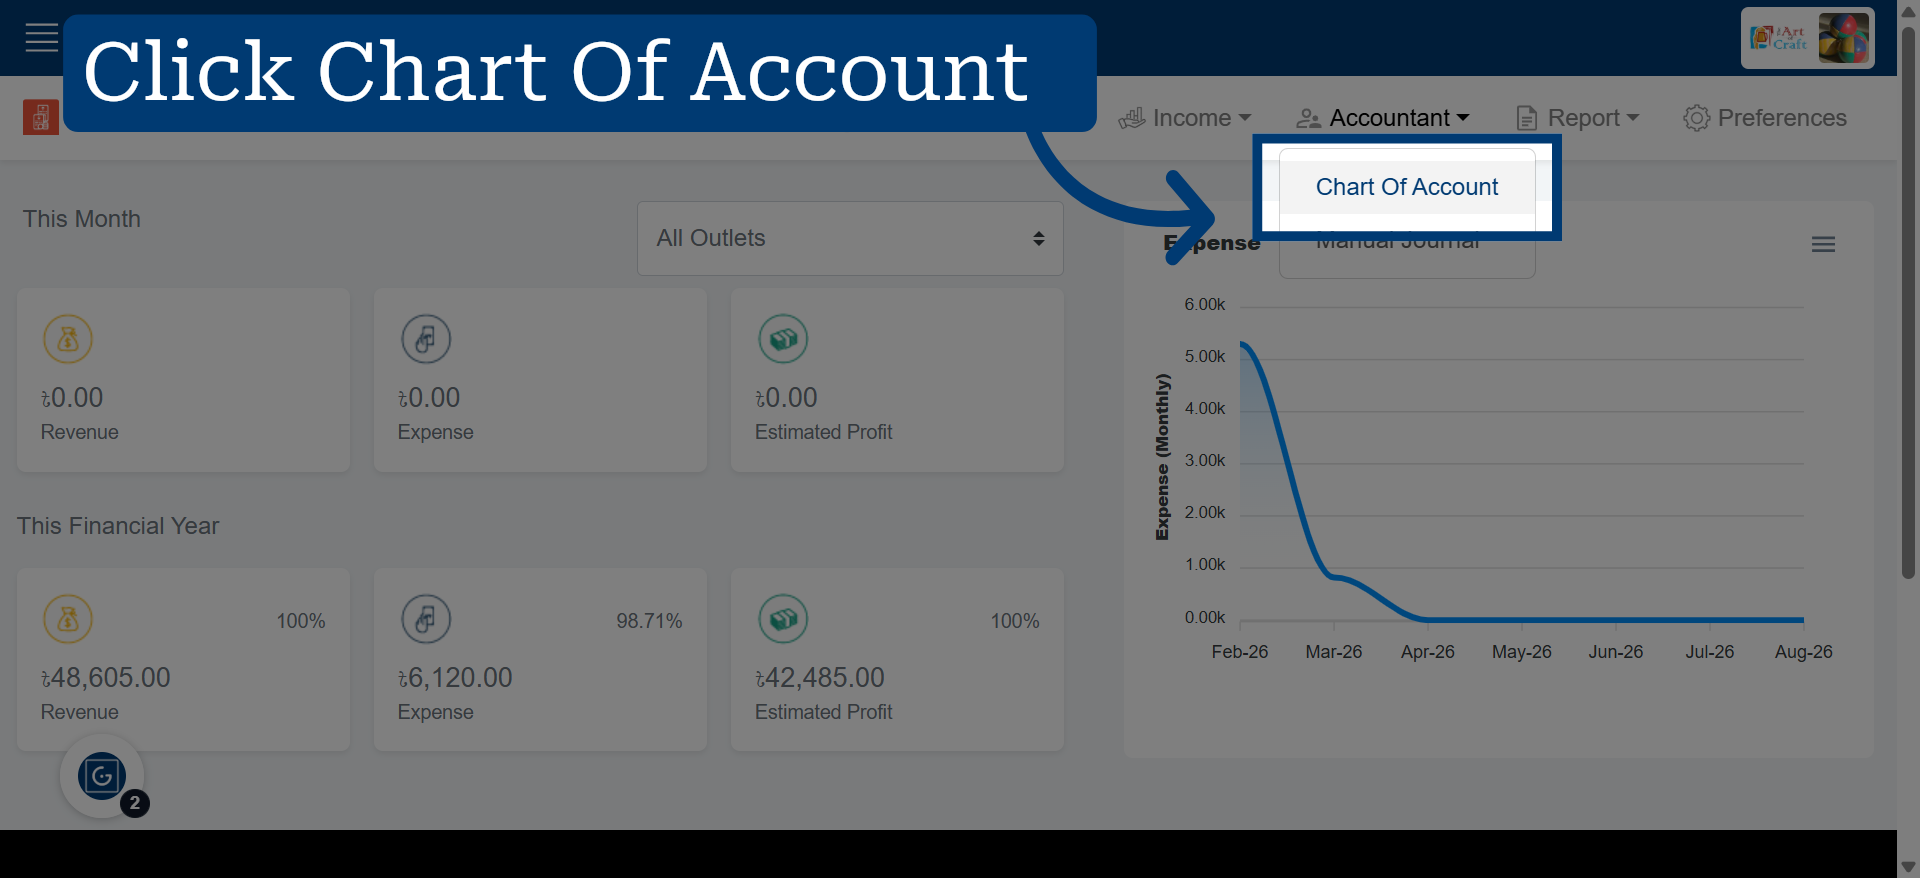
3. Navigate to Chart of Account
4. Initiate New Account Creation
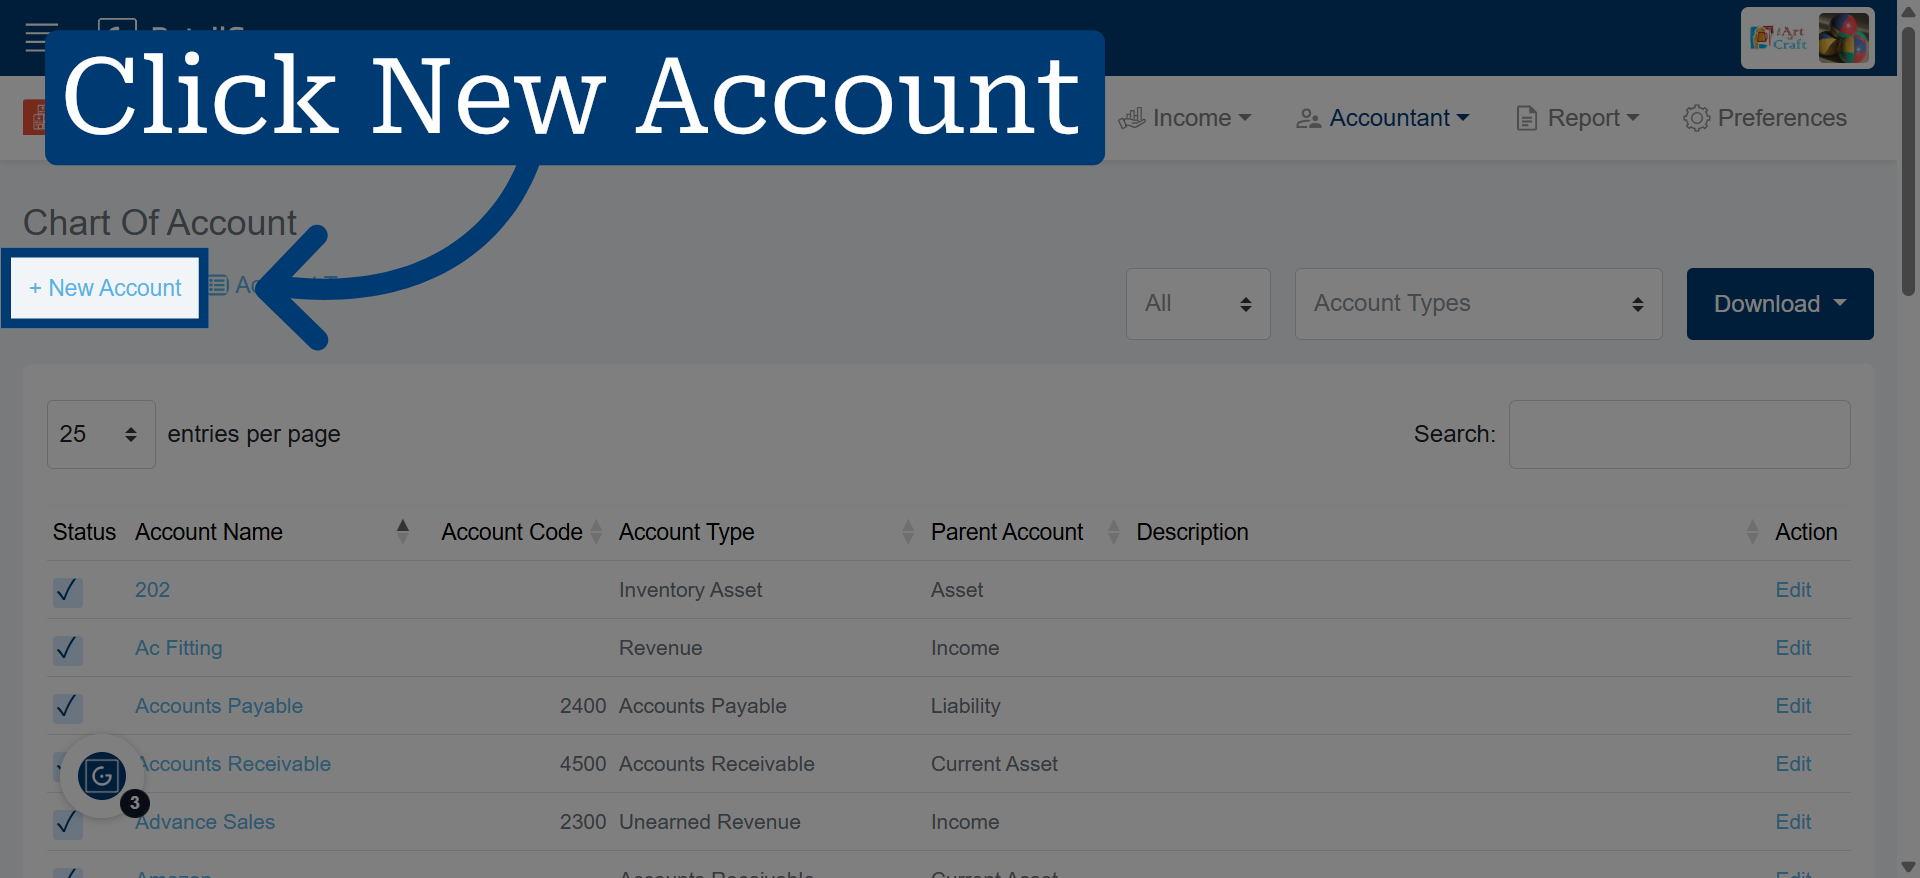
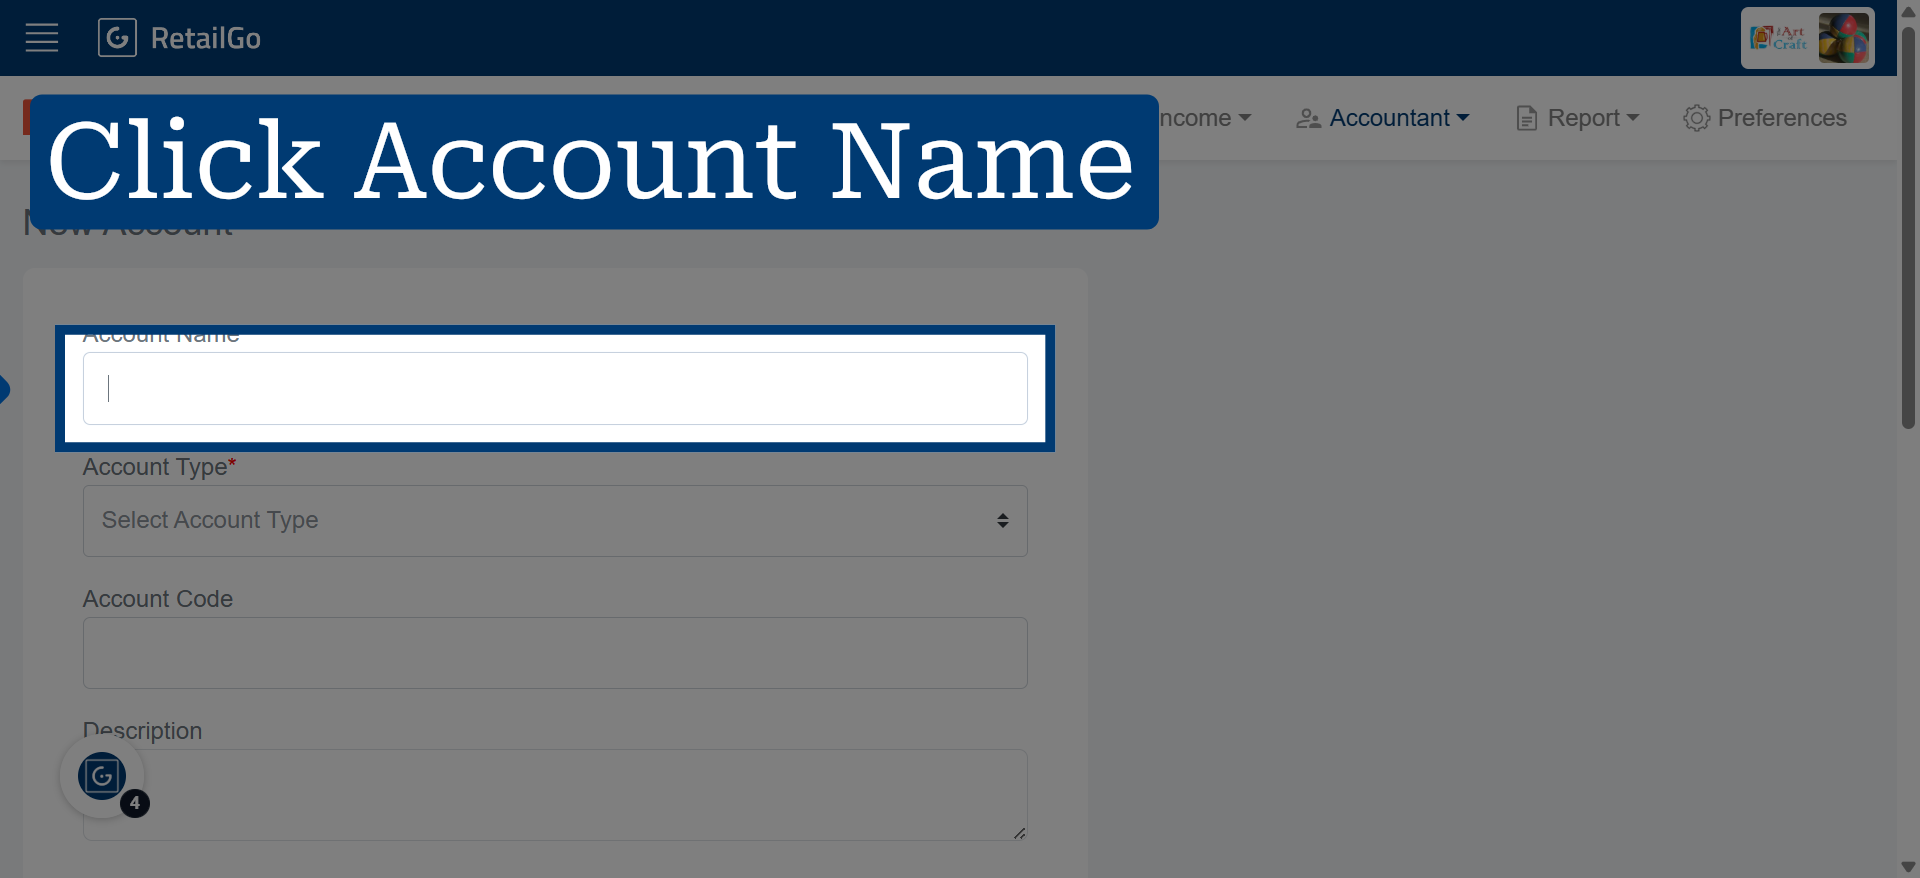
5. Click "Account Name" to enter the name for the new account
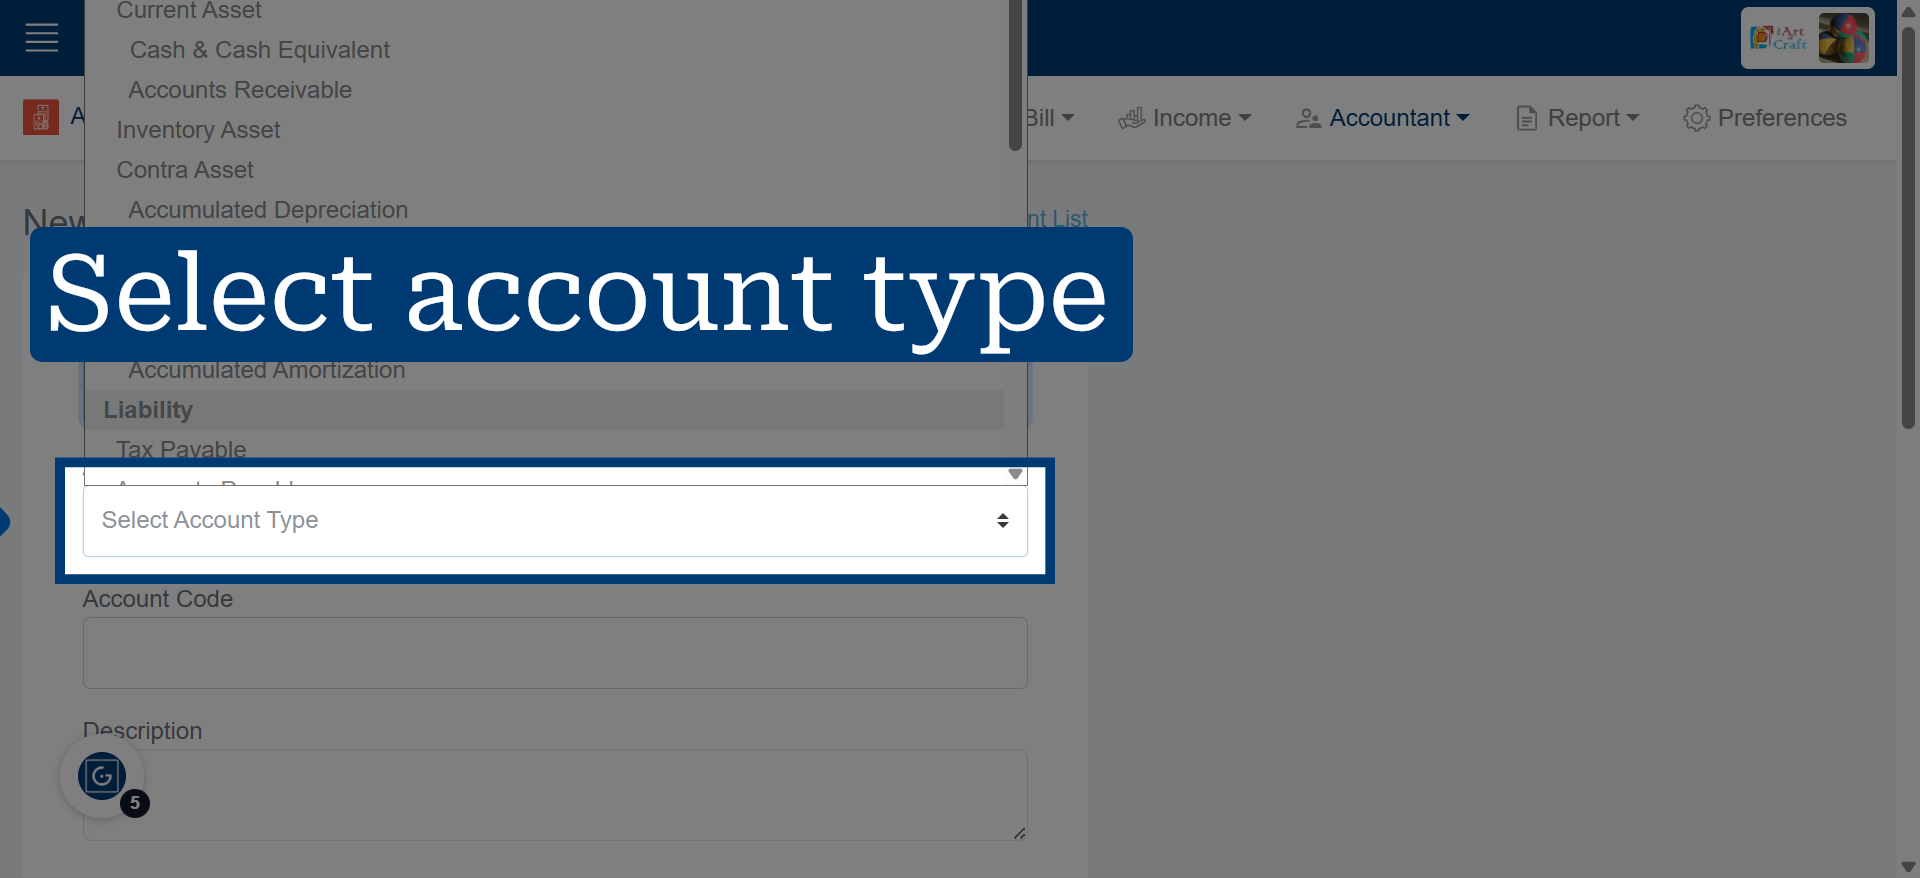
6. Choose Account Type
Click "Select Account Type" to choose the category that best fits the new account.
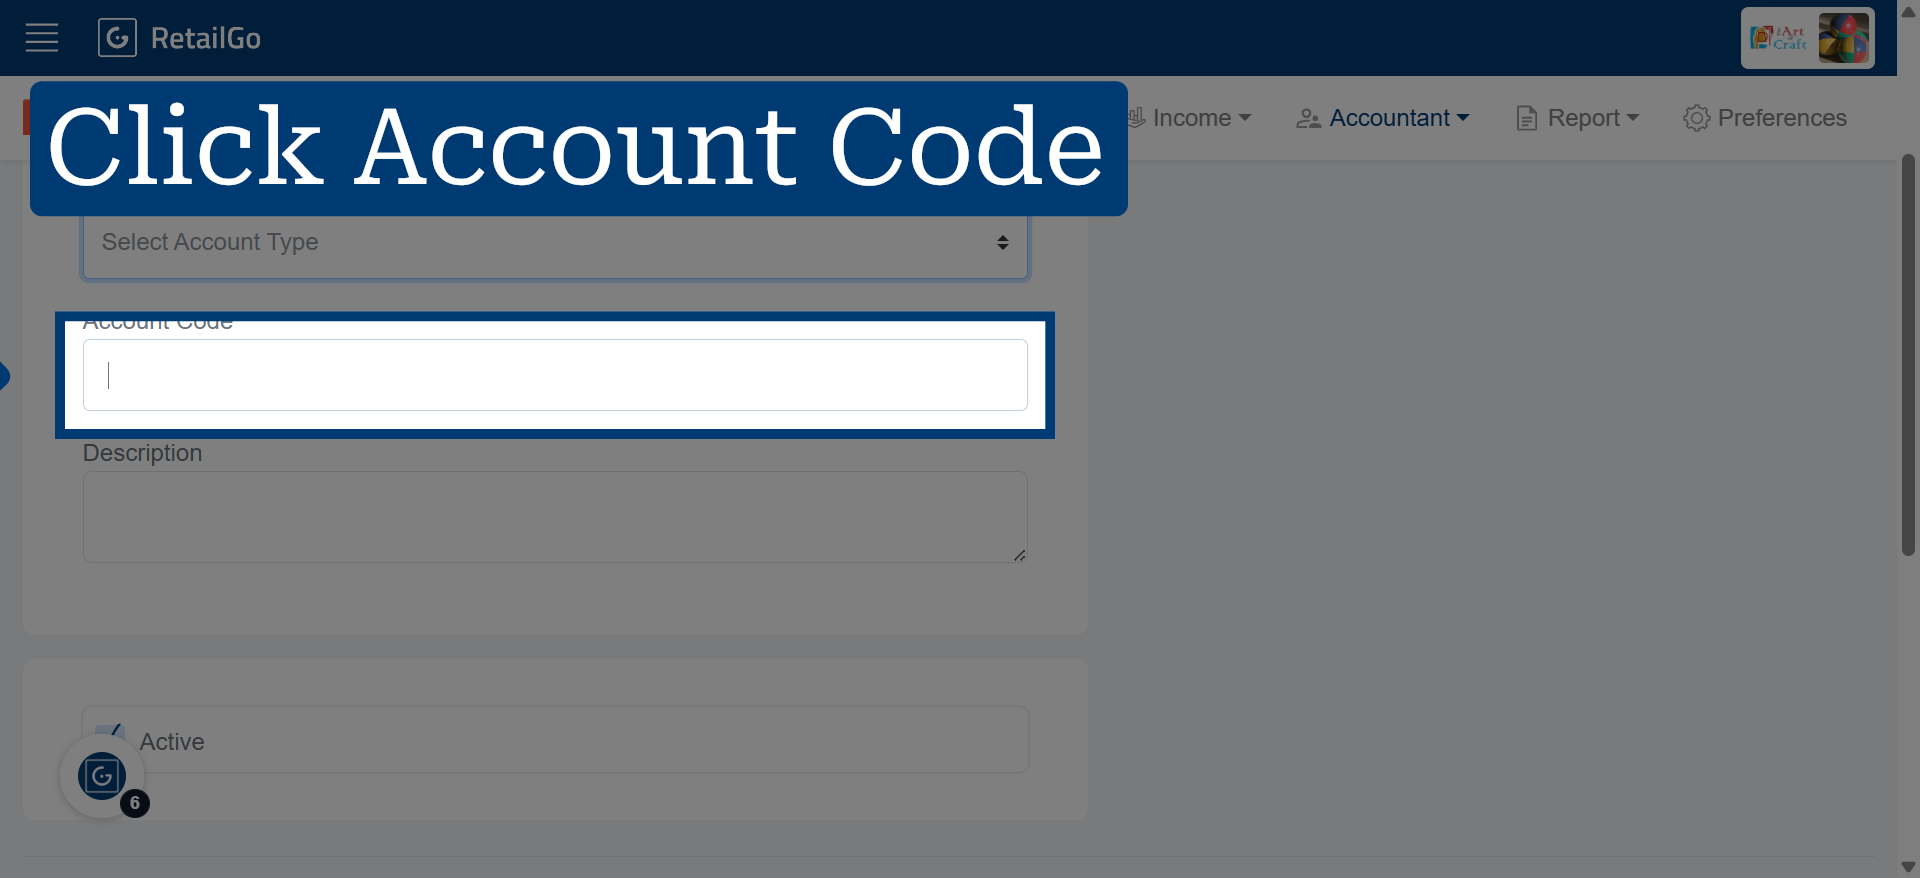
7. Select Account Code Field
Click "Account Code" to input a unique identifier for the new account.
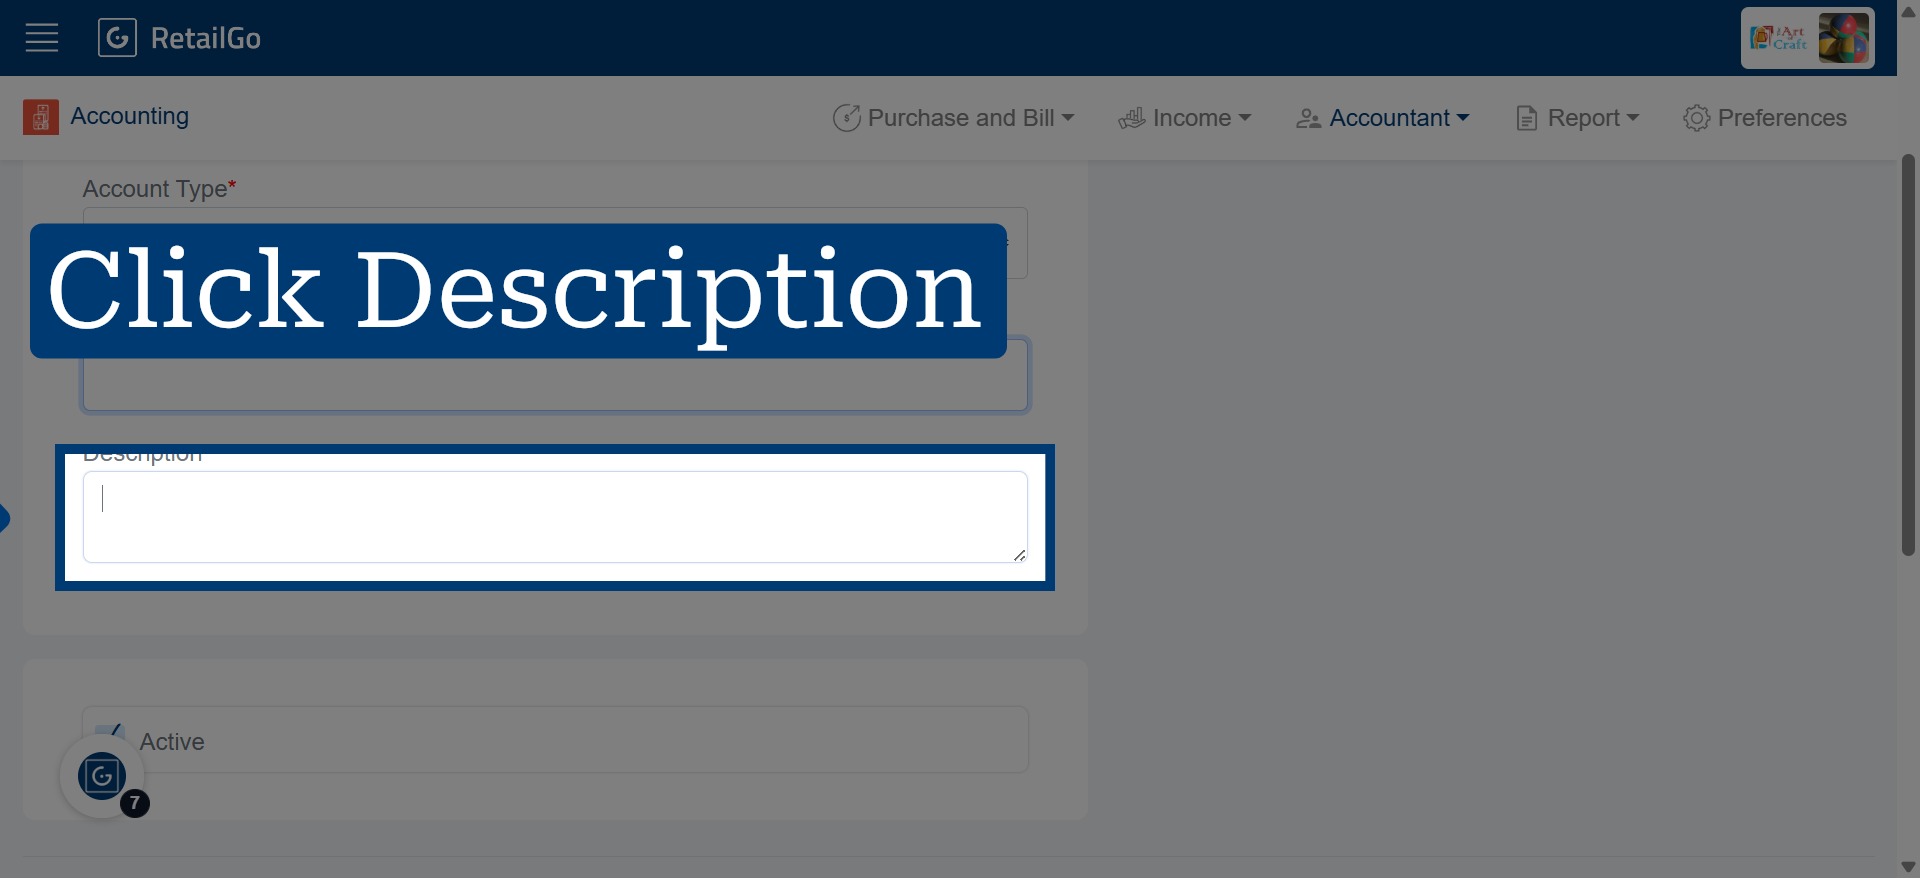
8. Add Account Description
Click "Description" to add details that describe the purpose of the account.
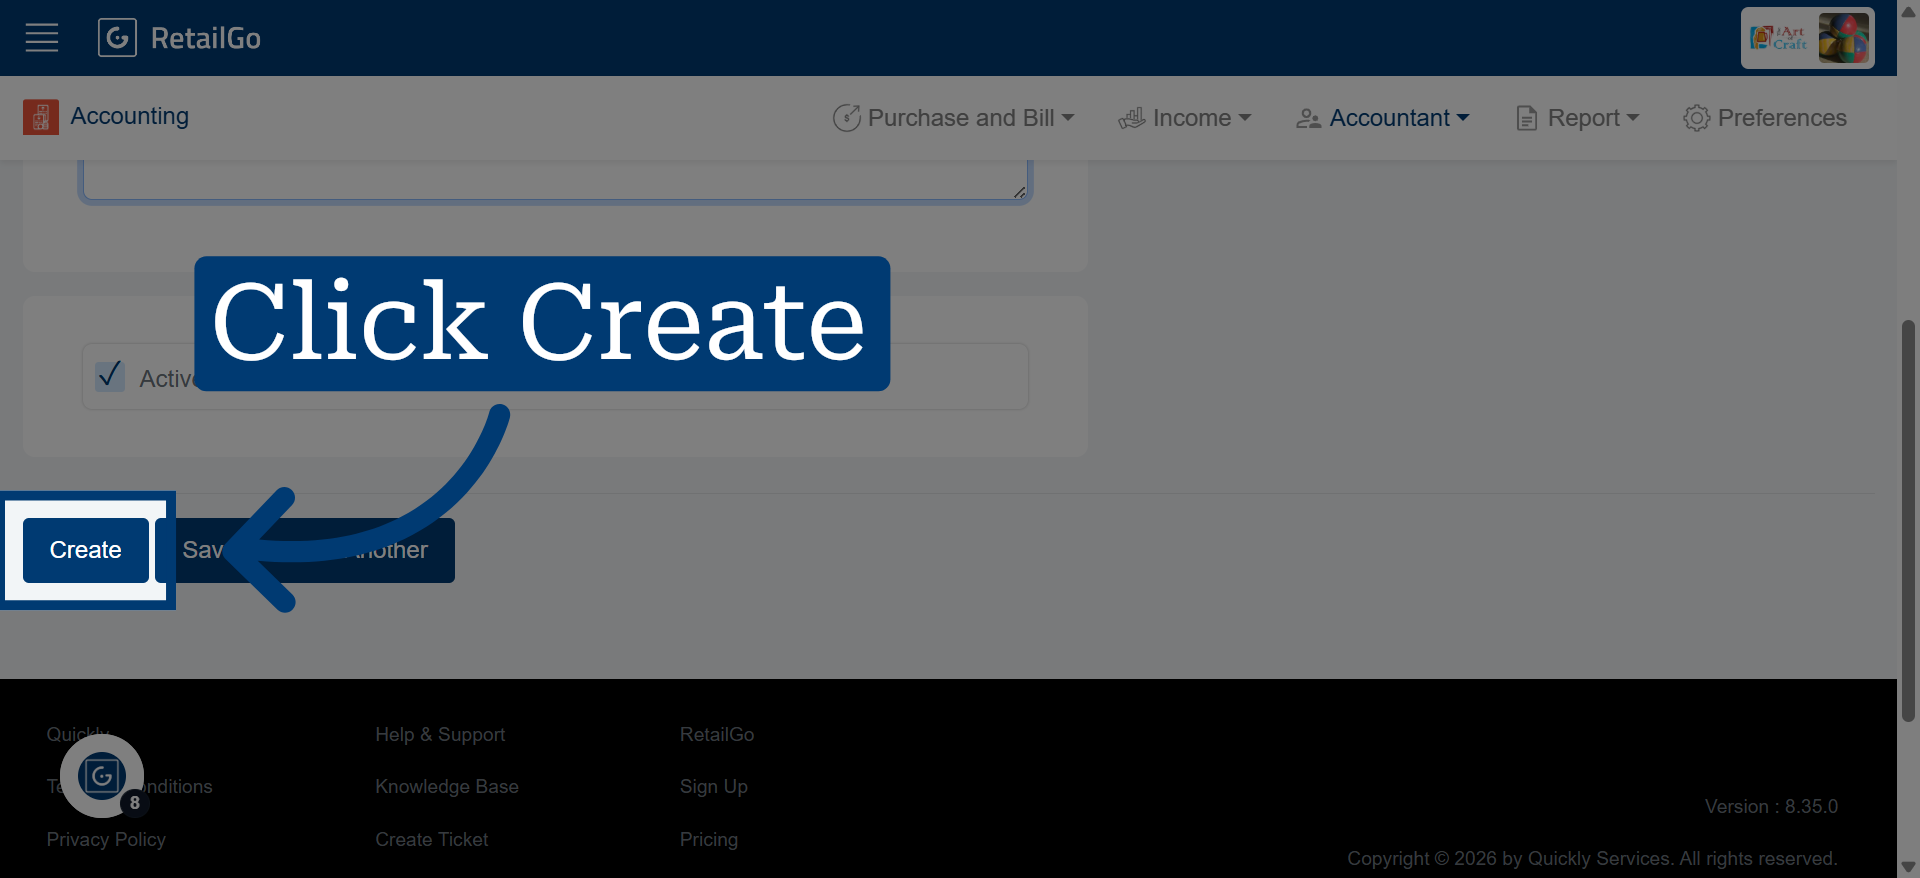
9. Create New Account Entry