How to Modify an Existing Shift and Create Multiple Shifts in RetailGo Business Portal
This tutorial guides you through configuring and managing work shifts within the RetailGo Business Portal.
Go to
retailgo.quicklyservices.com
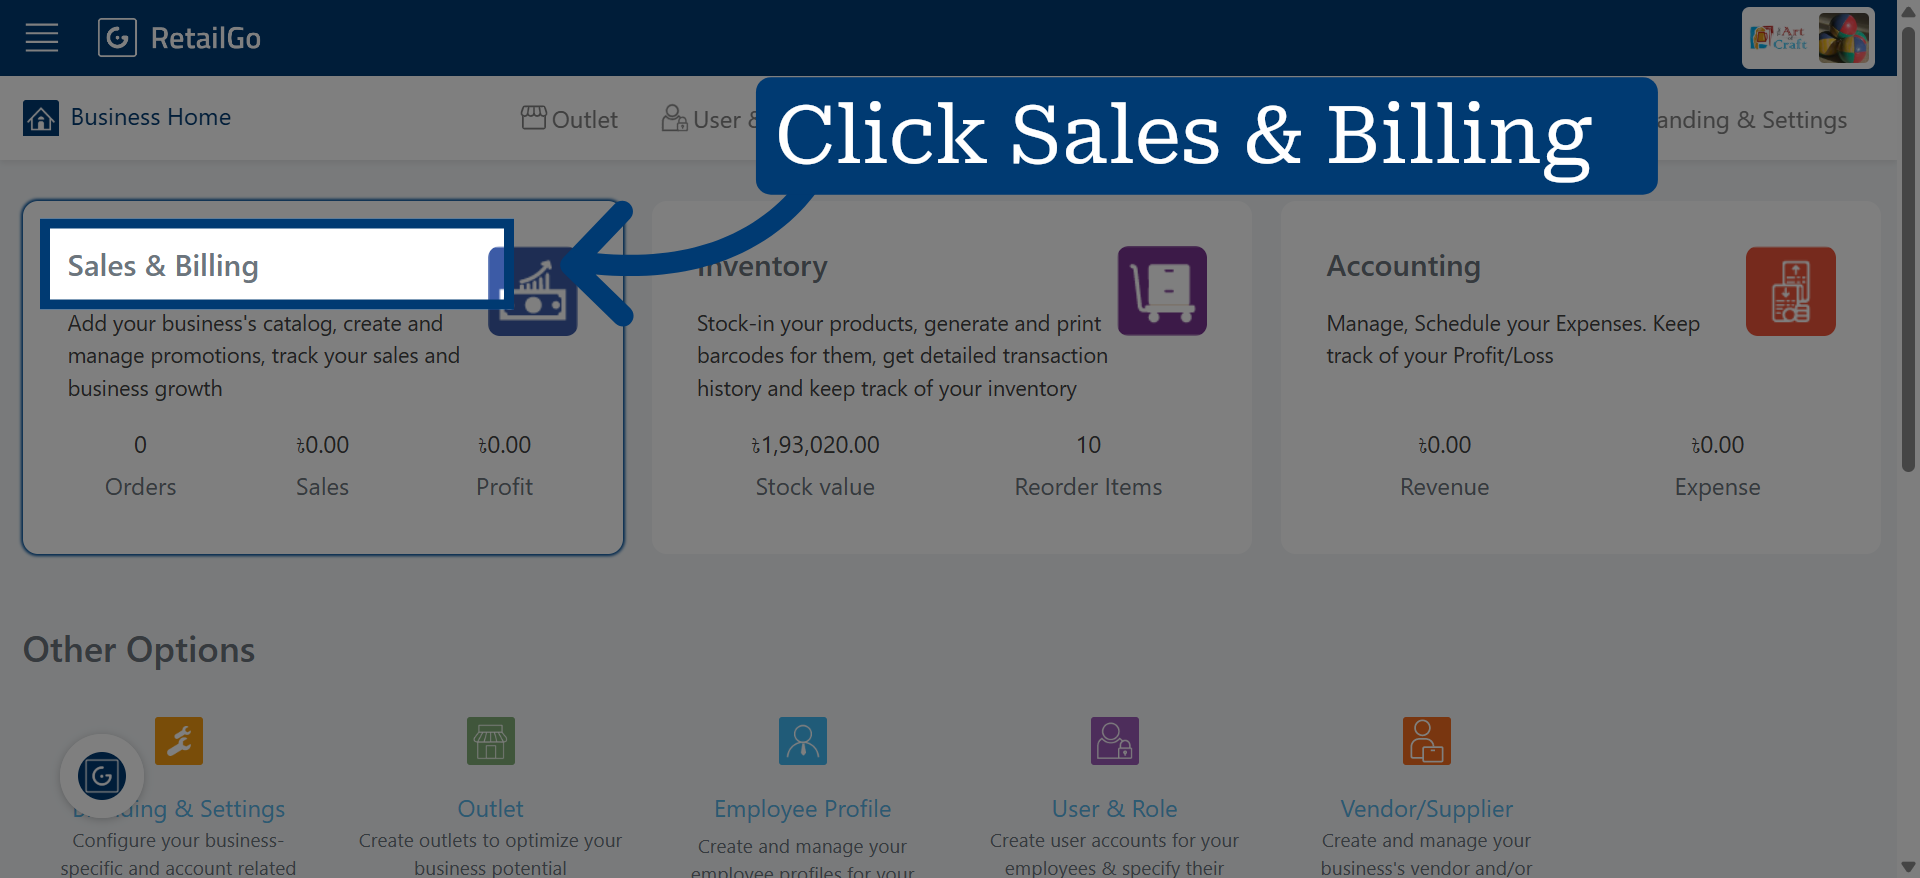
1. Access Sales & Billing Section From Business Portal
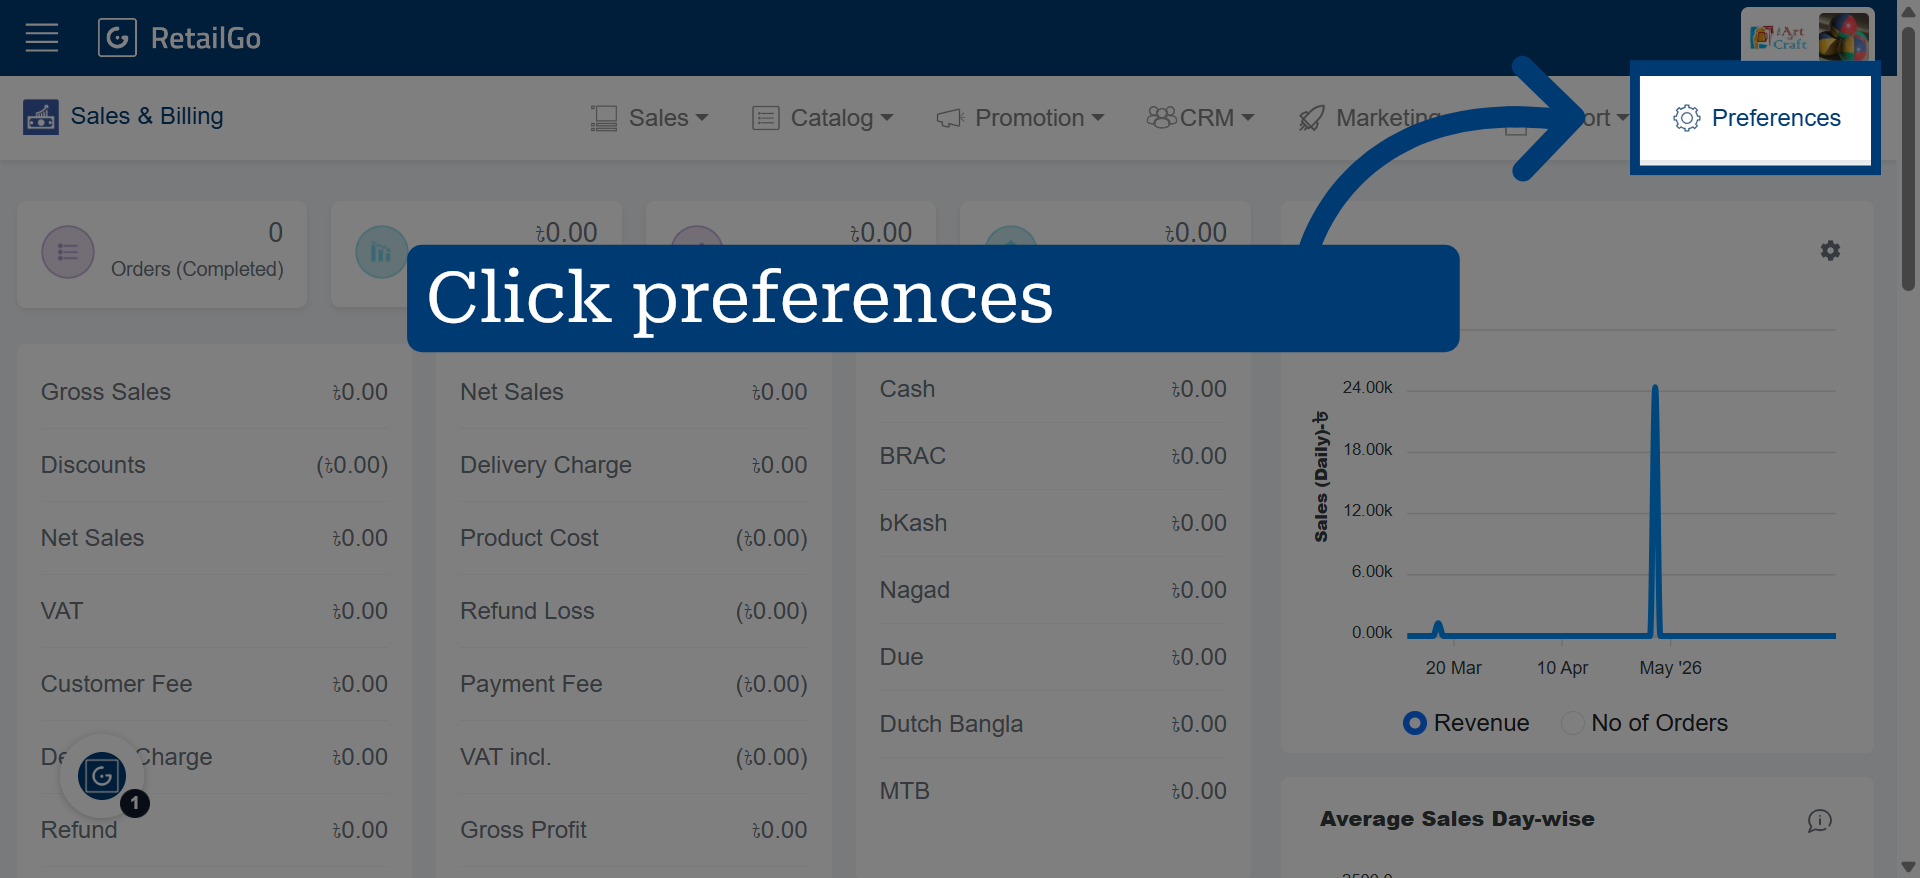
2. Go to 'Preferences'
Click the shift management icon to access the shift scheduling options within the portal.
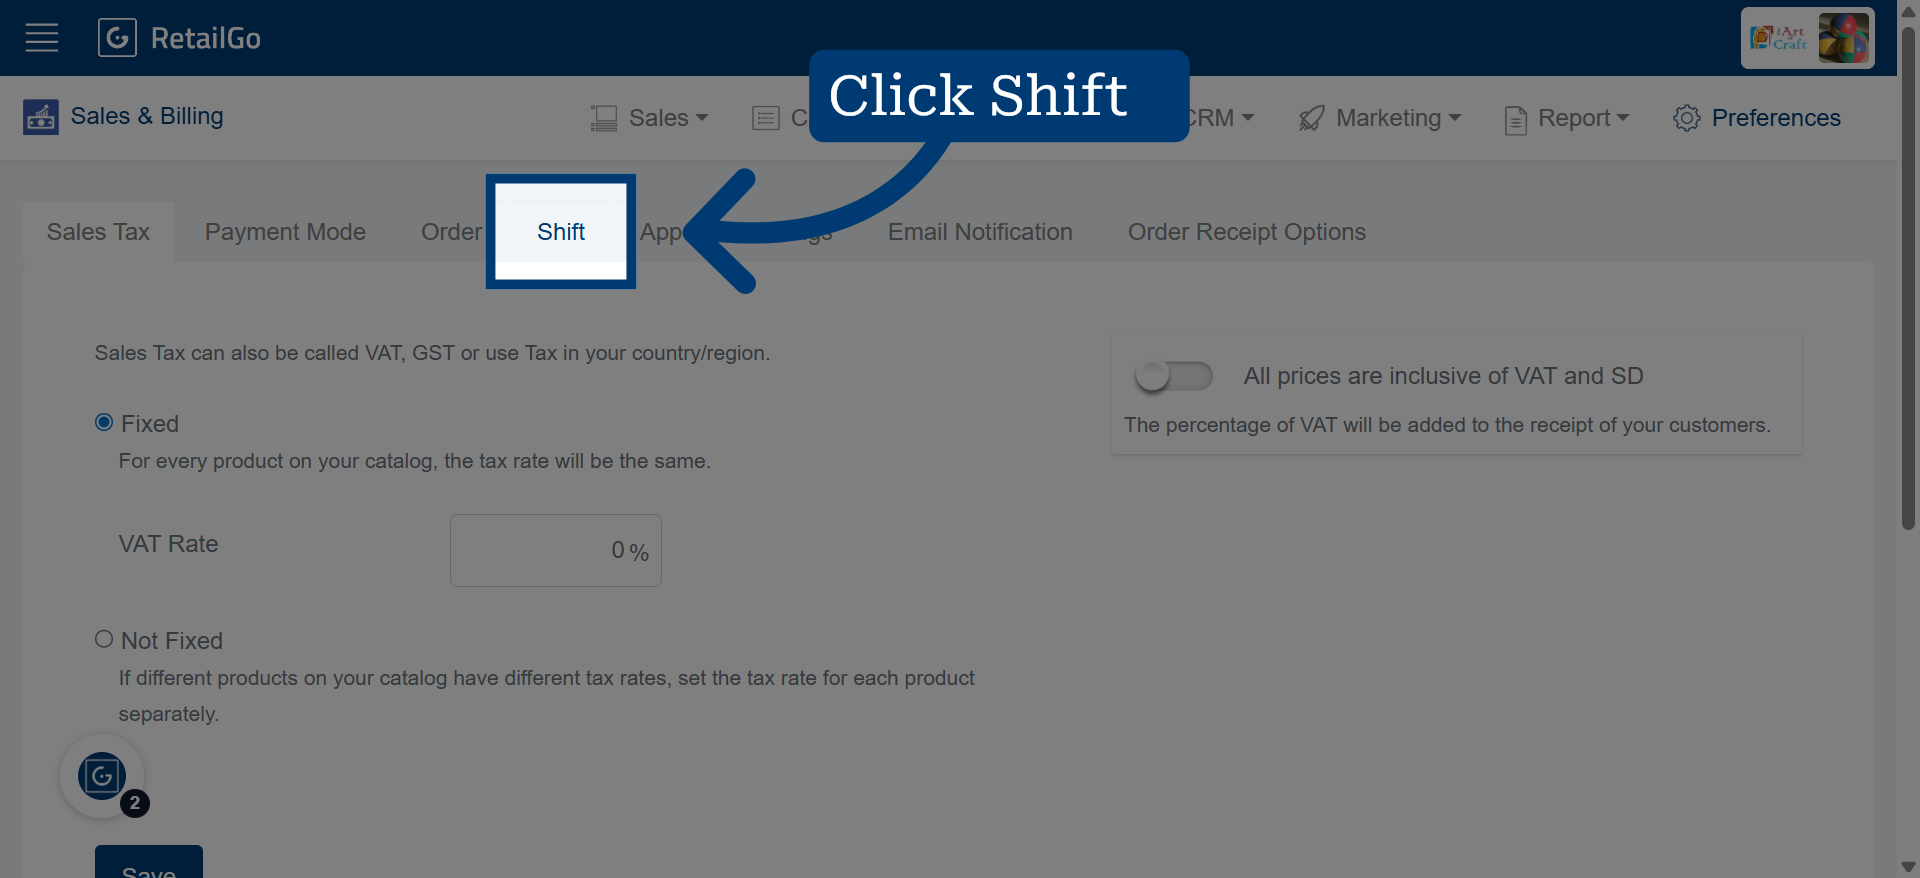
3. Select Shift
Click "Shift" to view and select the shift you want to modify.
4. Enter Edit Mode
Click "Edit" to begin modifying the selected shift's details.
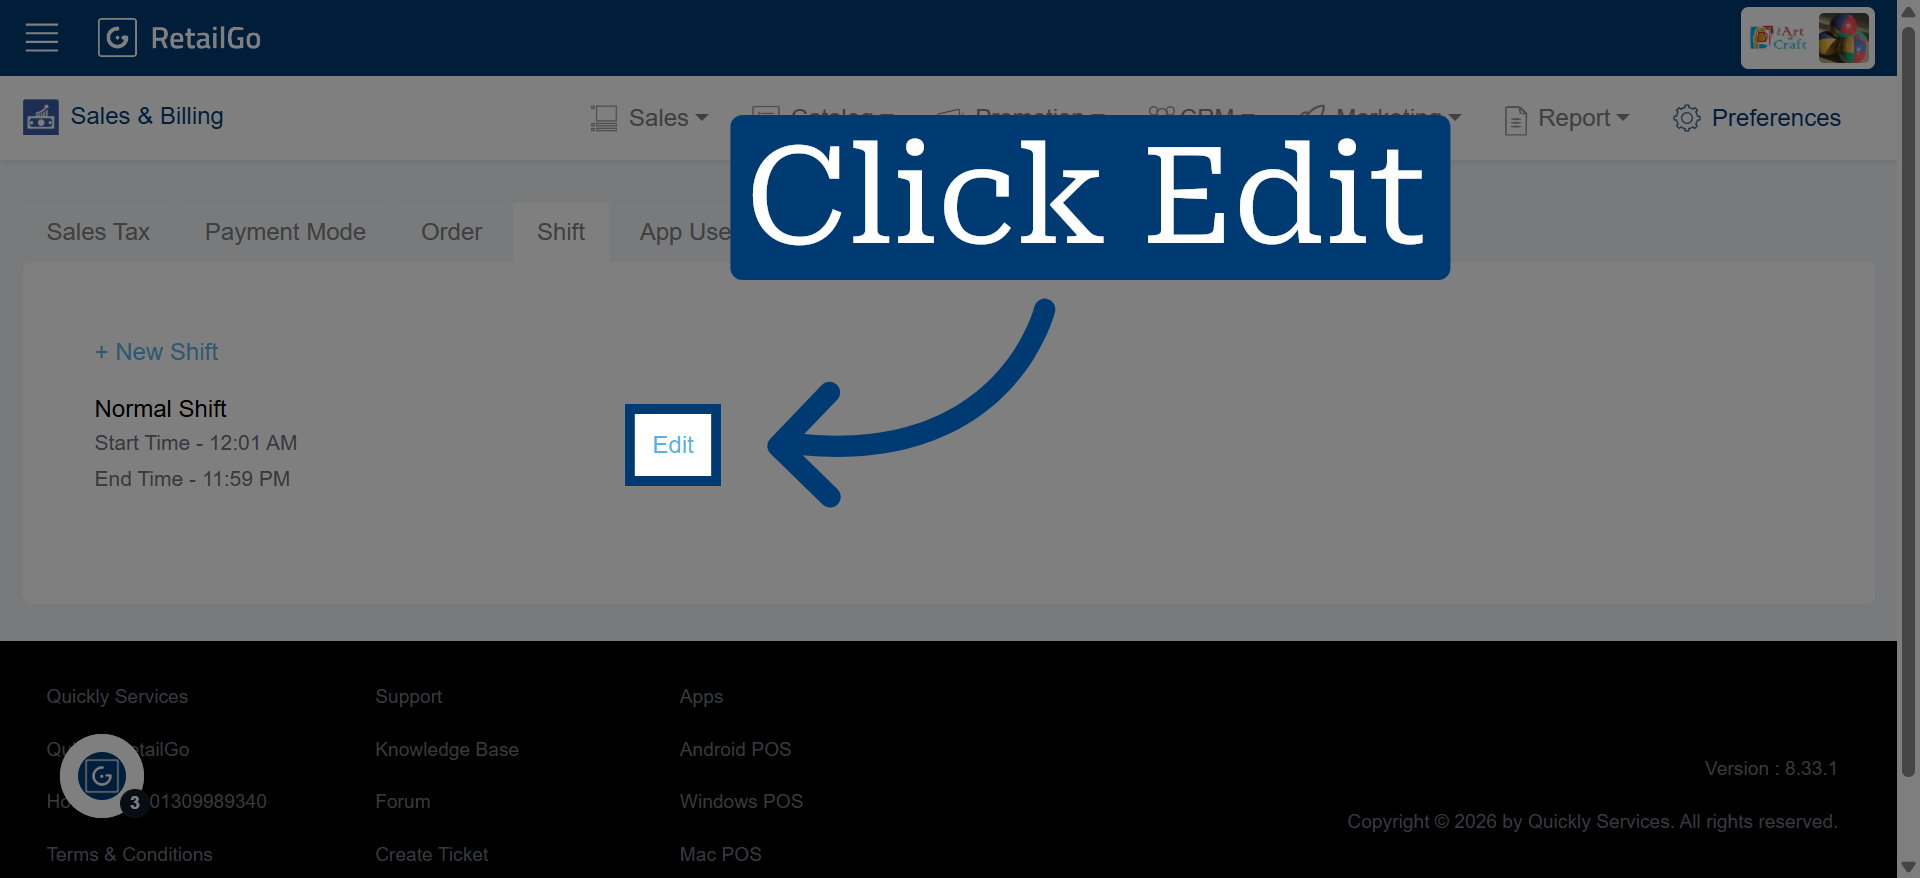
5. Choose Shift Start Time
Set a starting time according to your business.
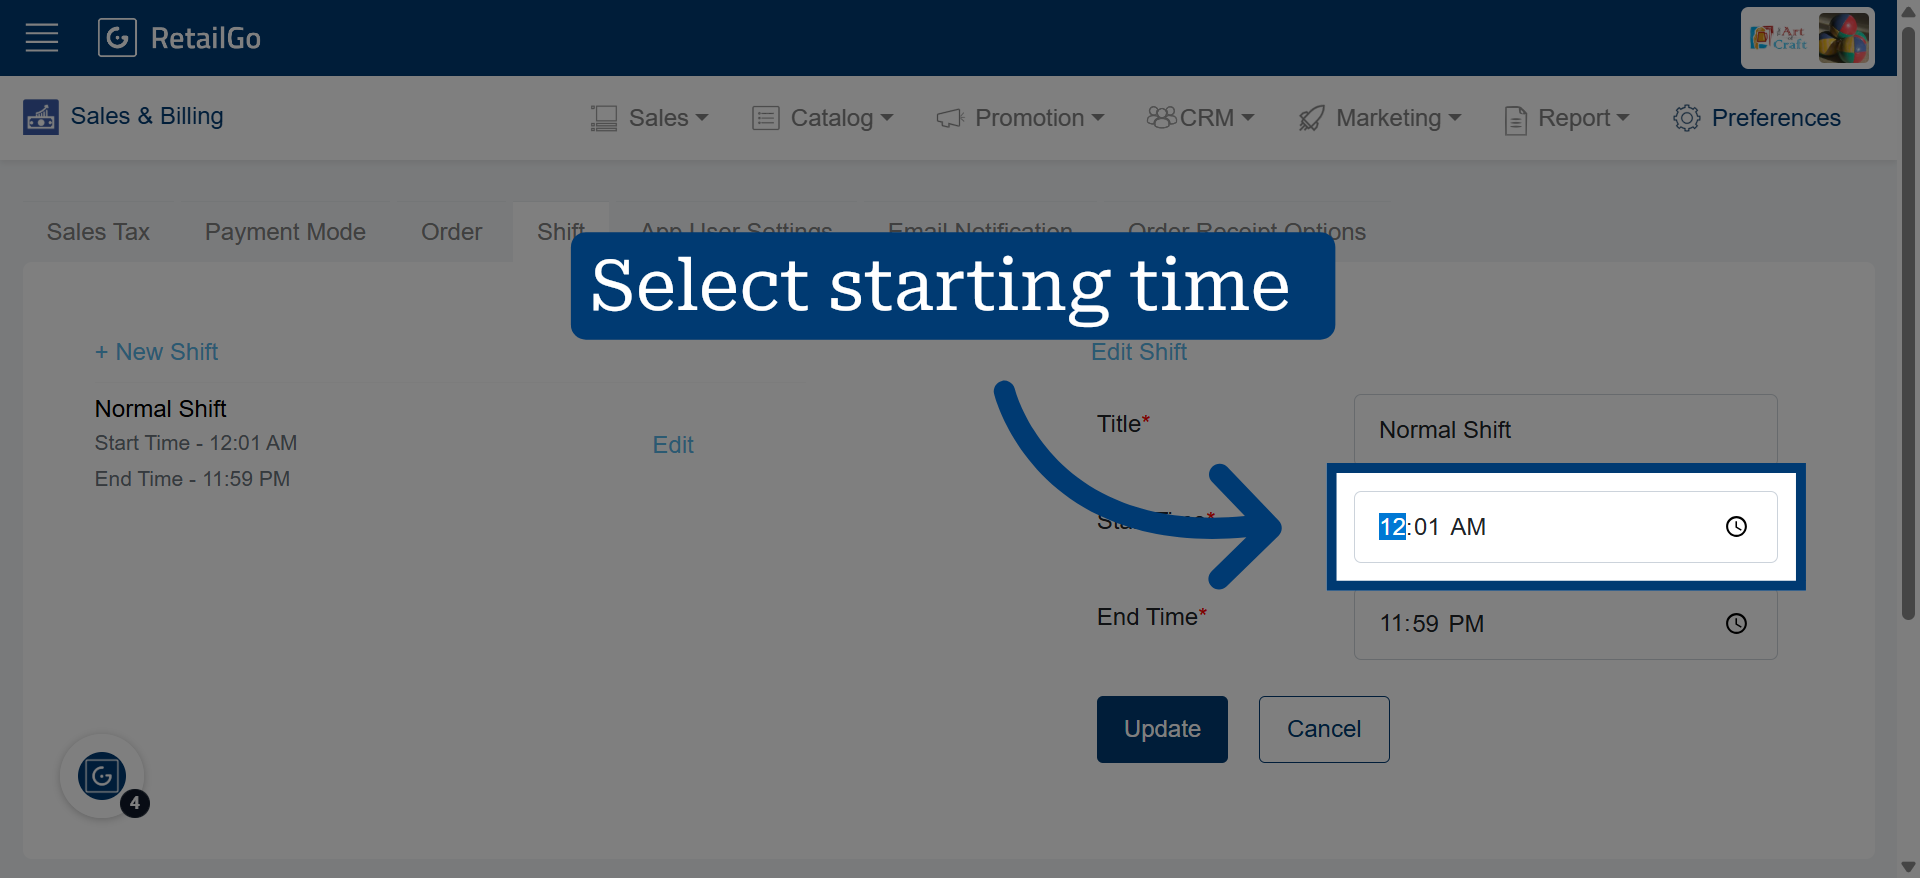
6. Choose Shift End Time
Set an ending time according to your business.
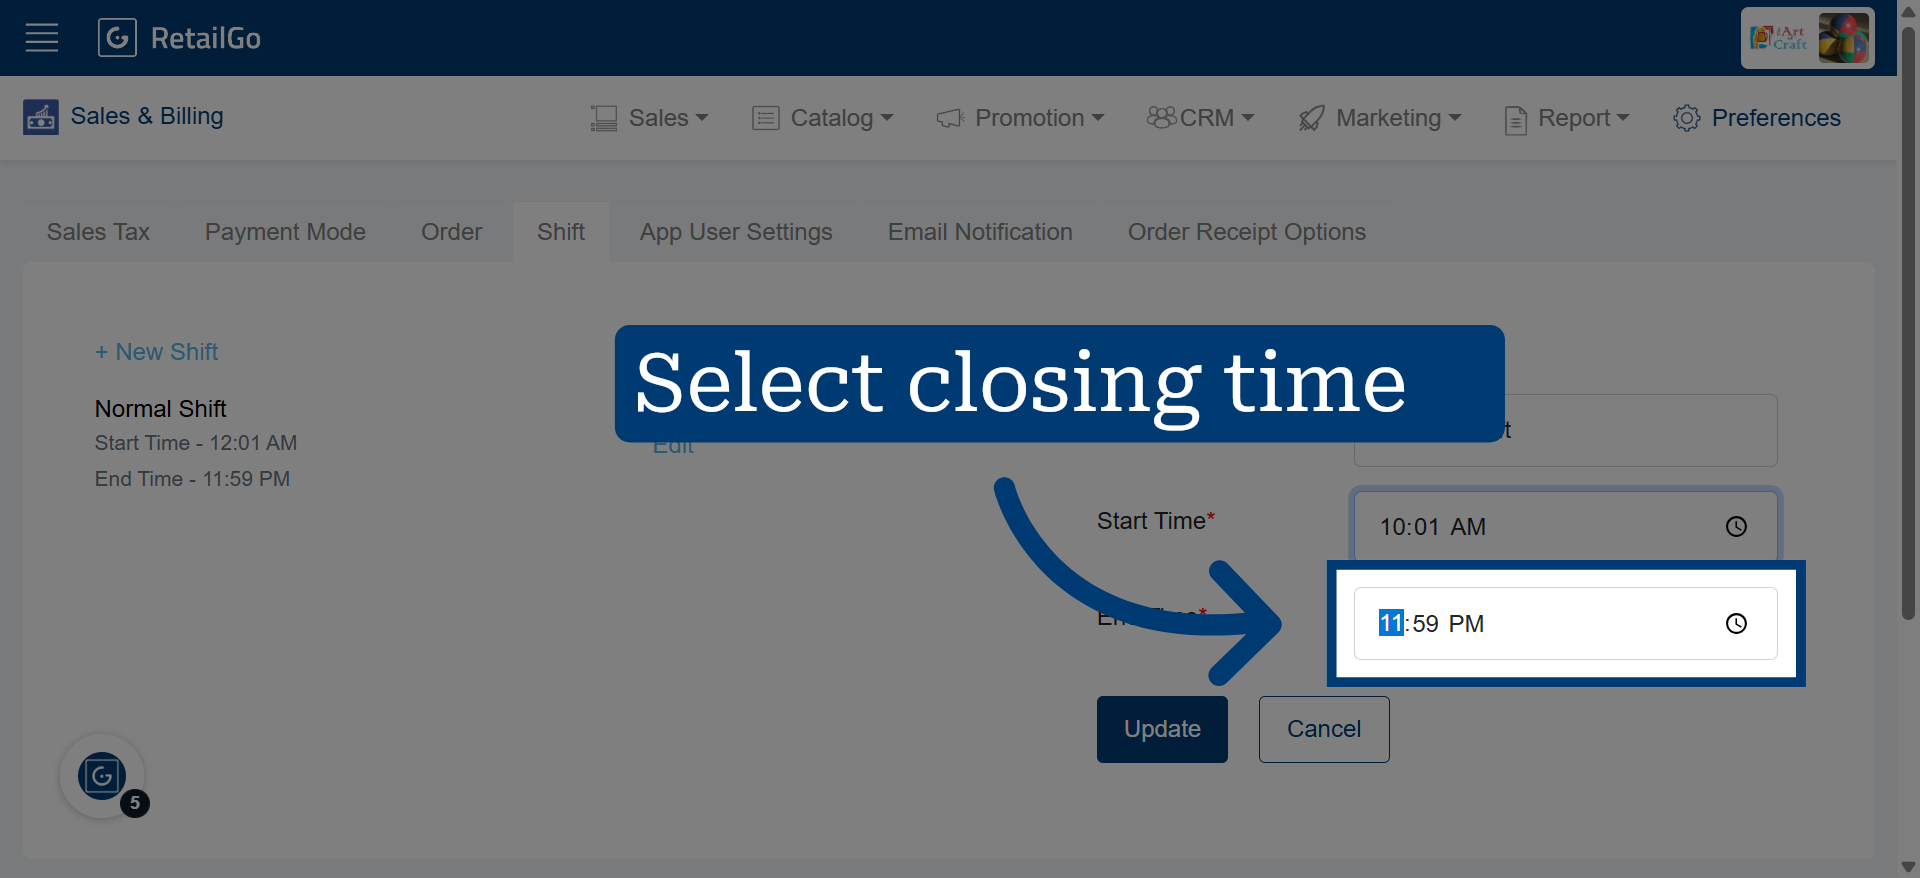
7. Save Shift Changes
Click "Update" to save the modifications made to the shift schedule.
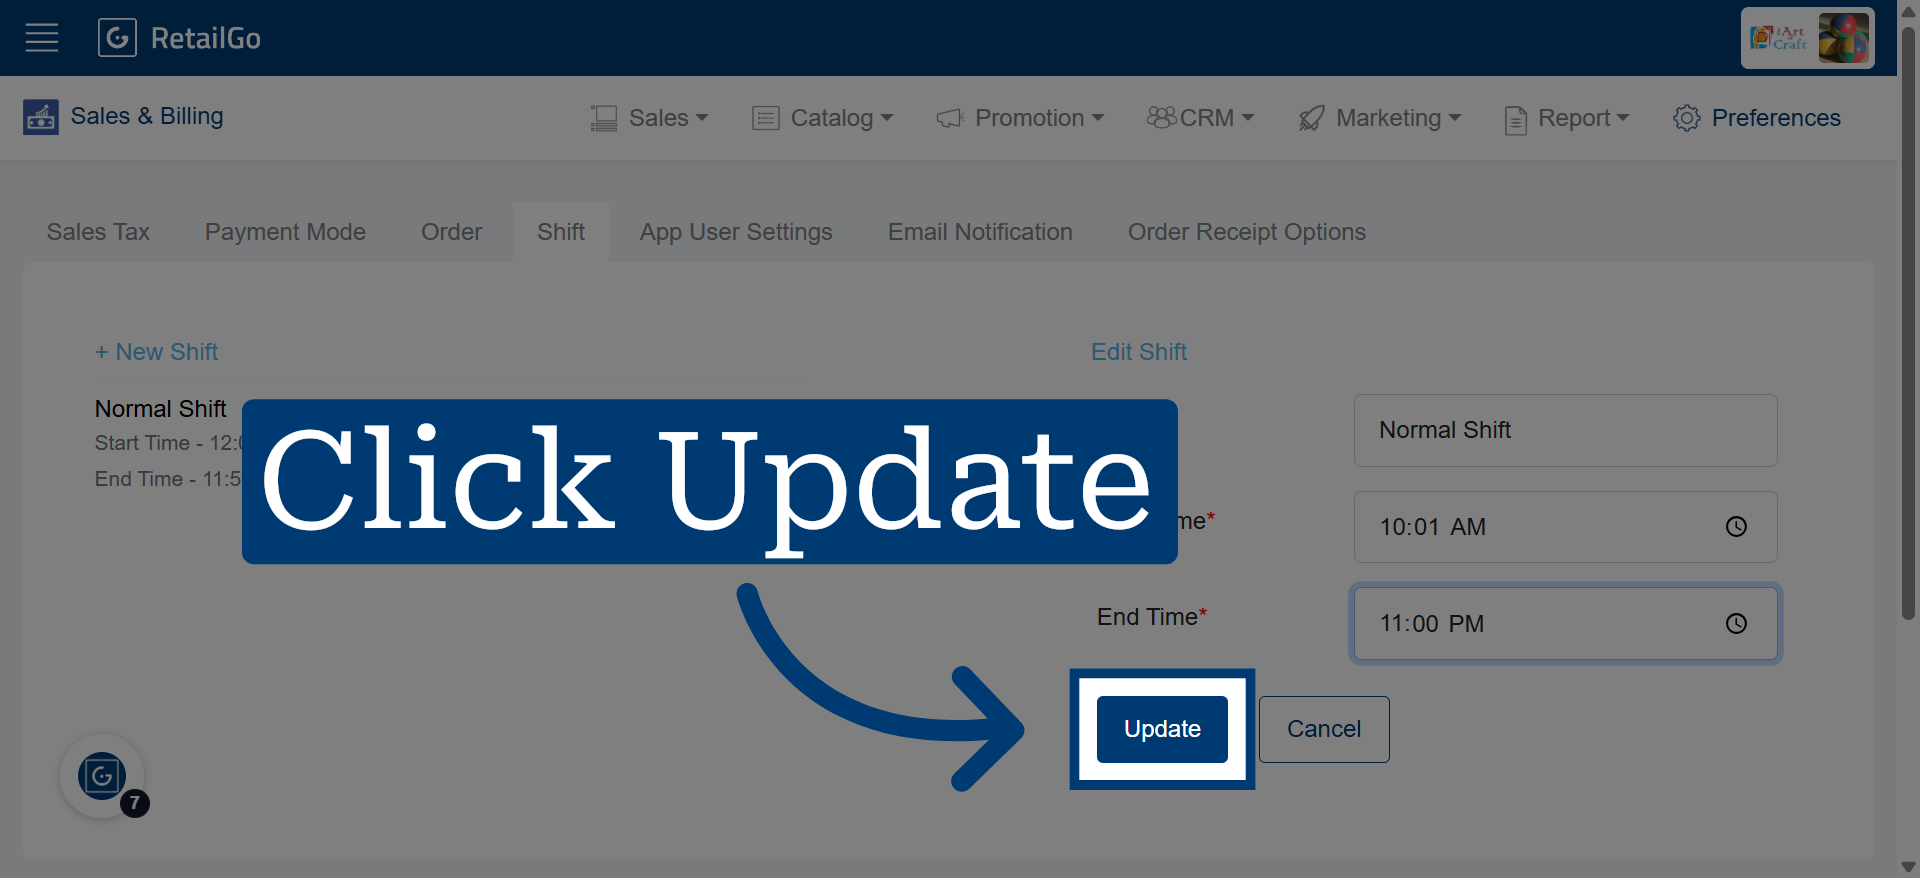
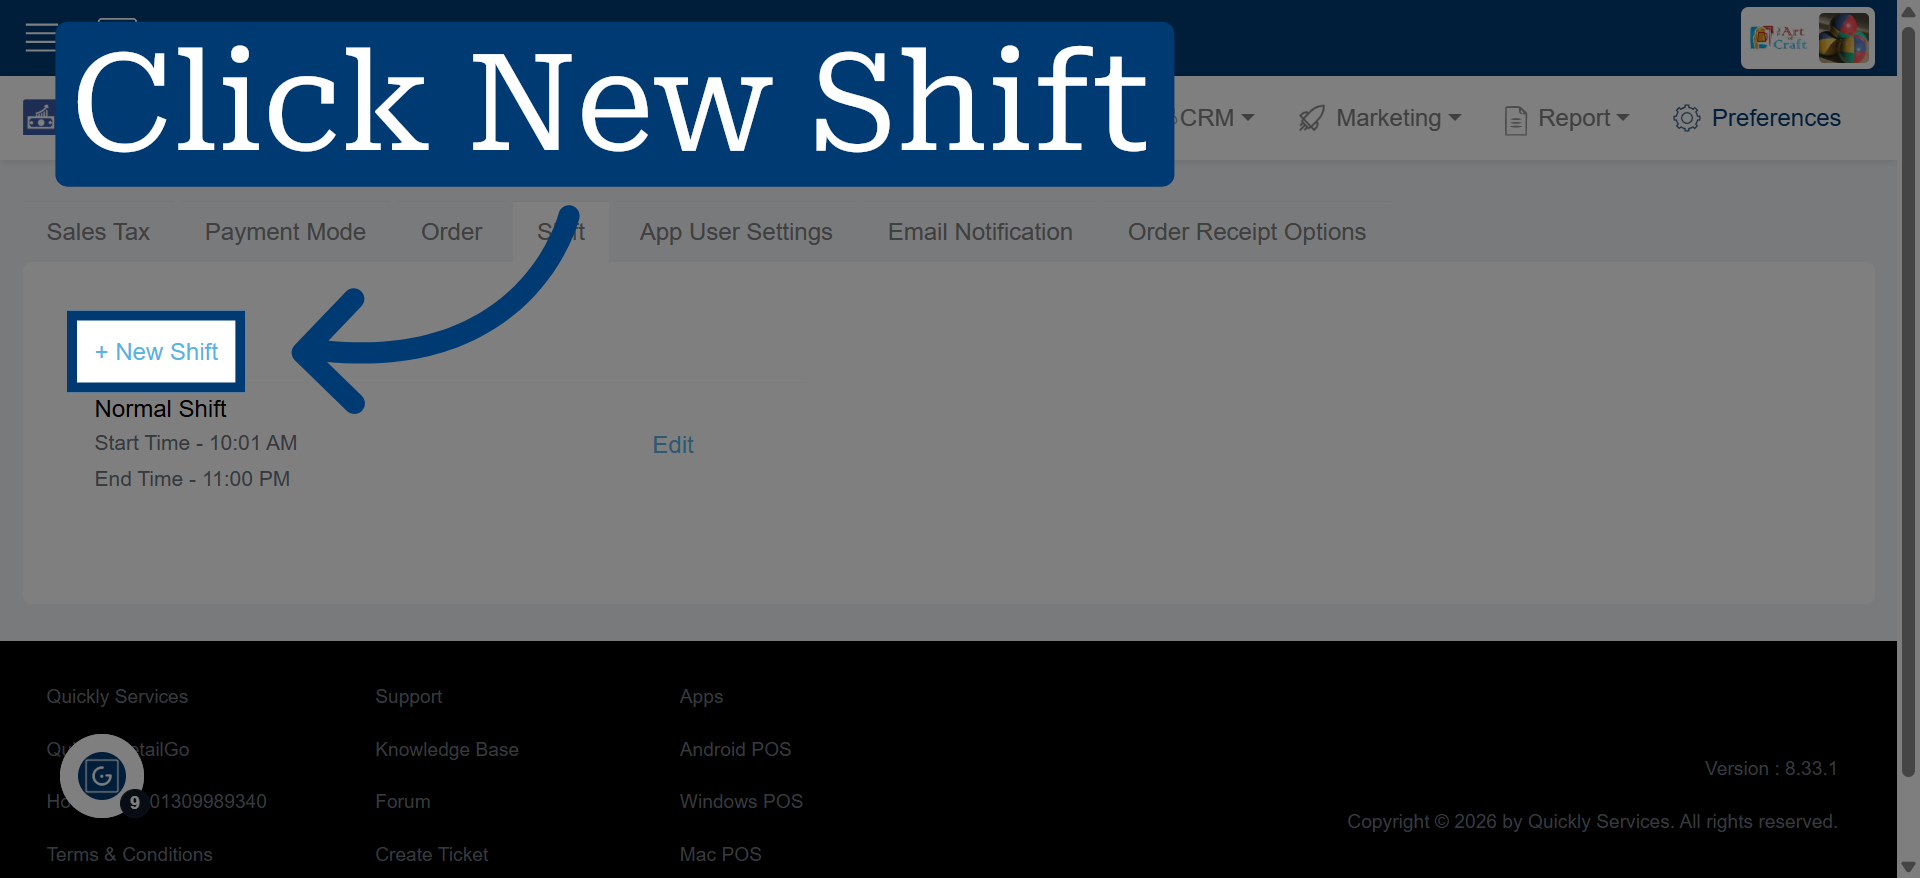
8. For Multiple Shift Creation
Click "+ New Shift" to start creating a new work shift in the system.
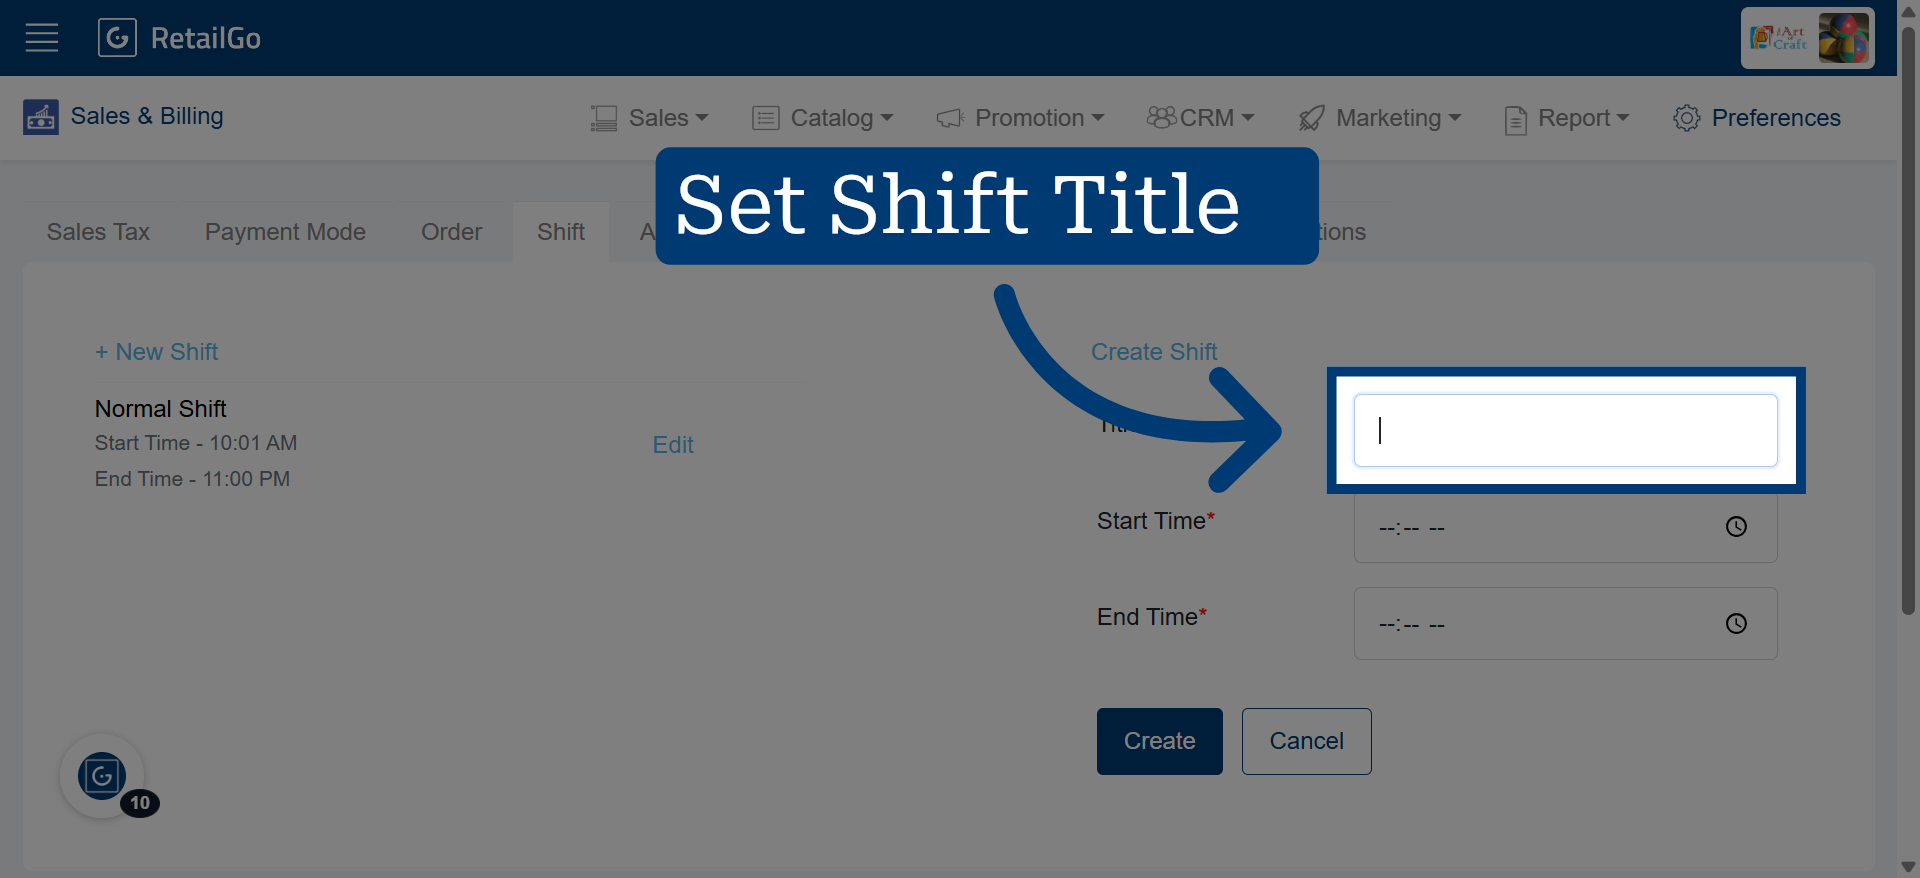
9. Open Shift Name Field
Click here to focus on the field where you will enter the new shift's name.
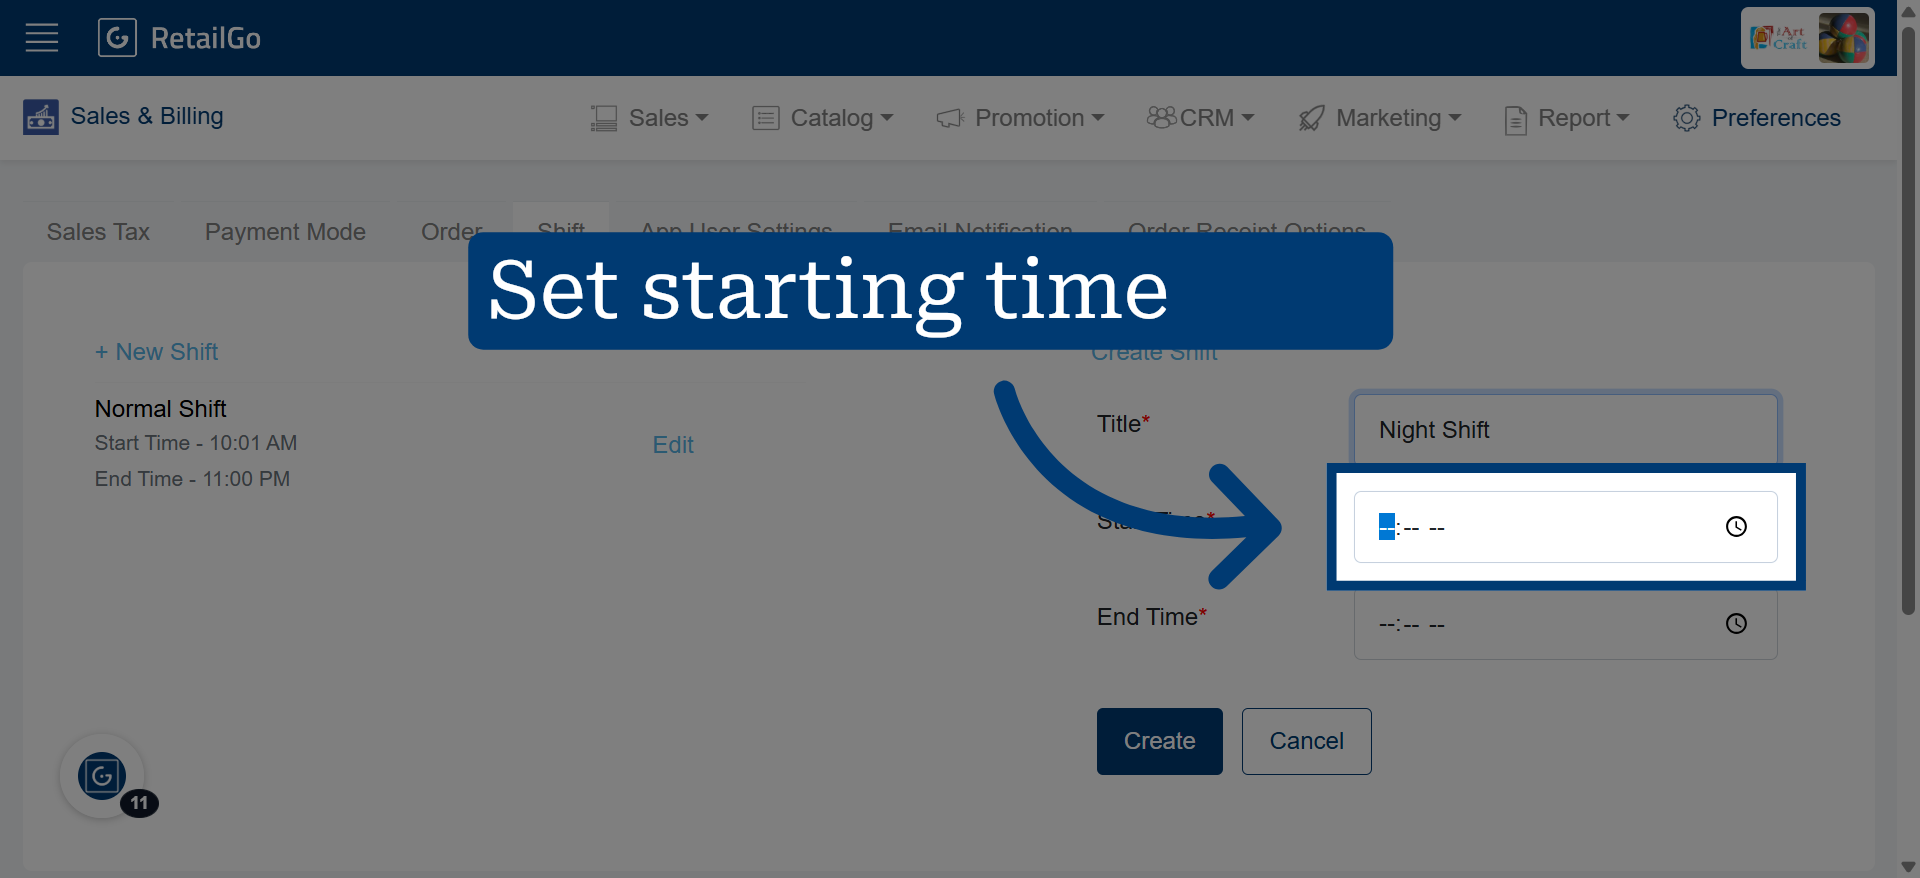
10. Open Shift Start Time Field
Click here to select the start time for the new shift.
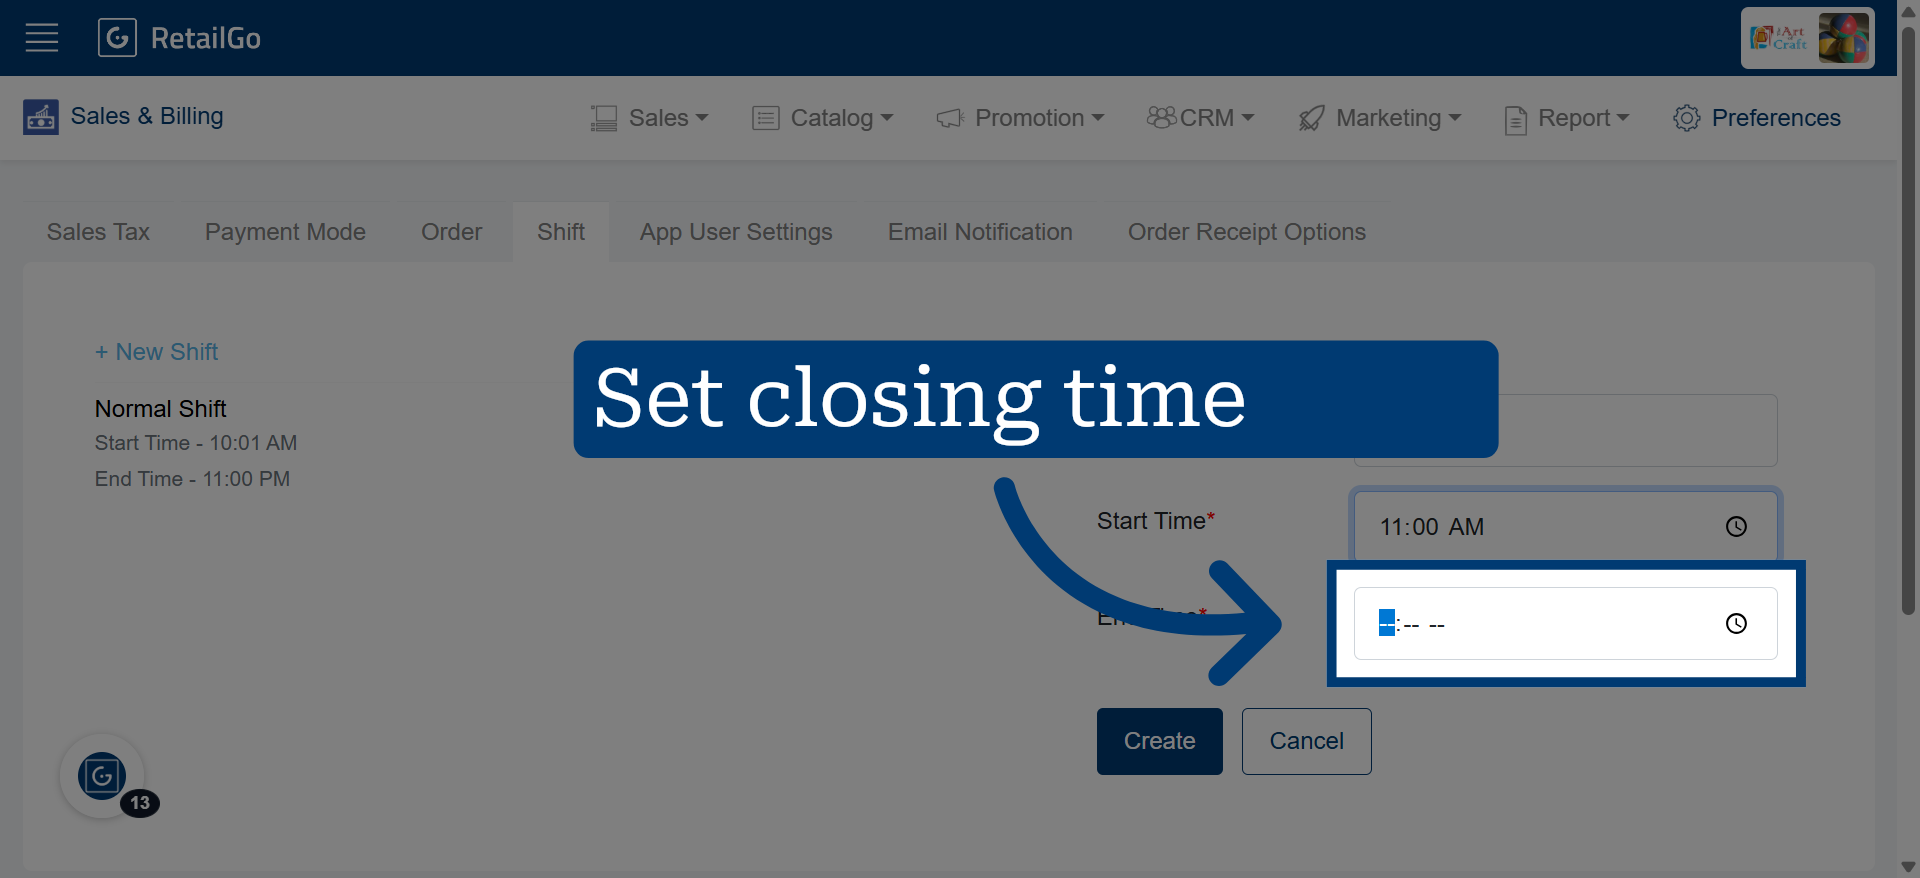
11. Open Shift End Time Field
Click here to select the end time for the new shift.
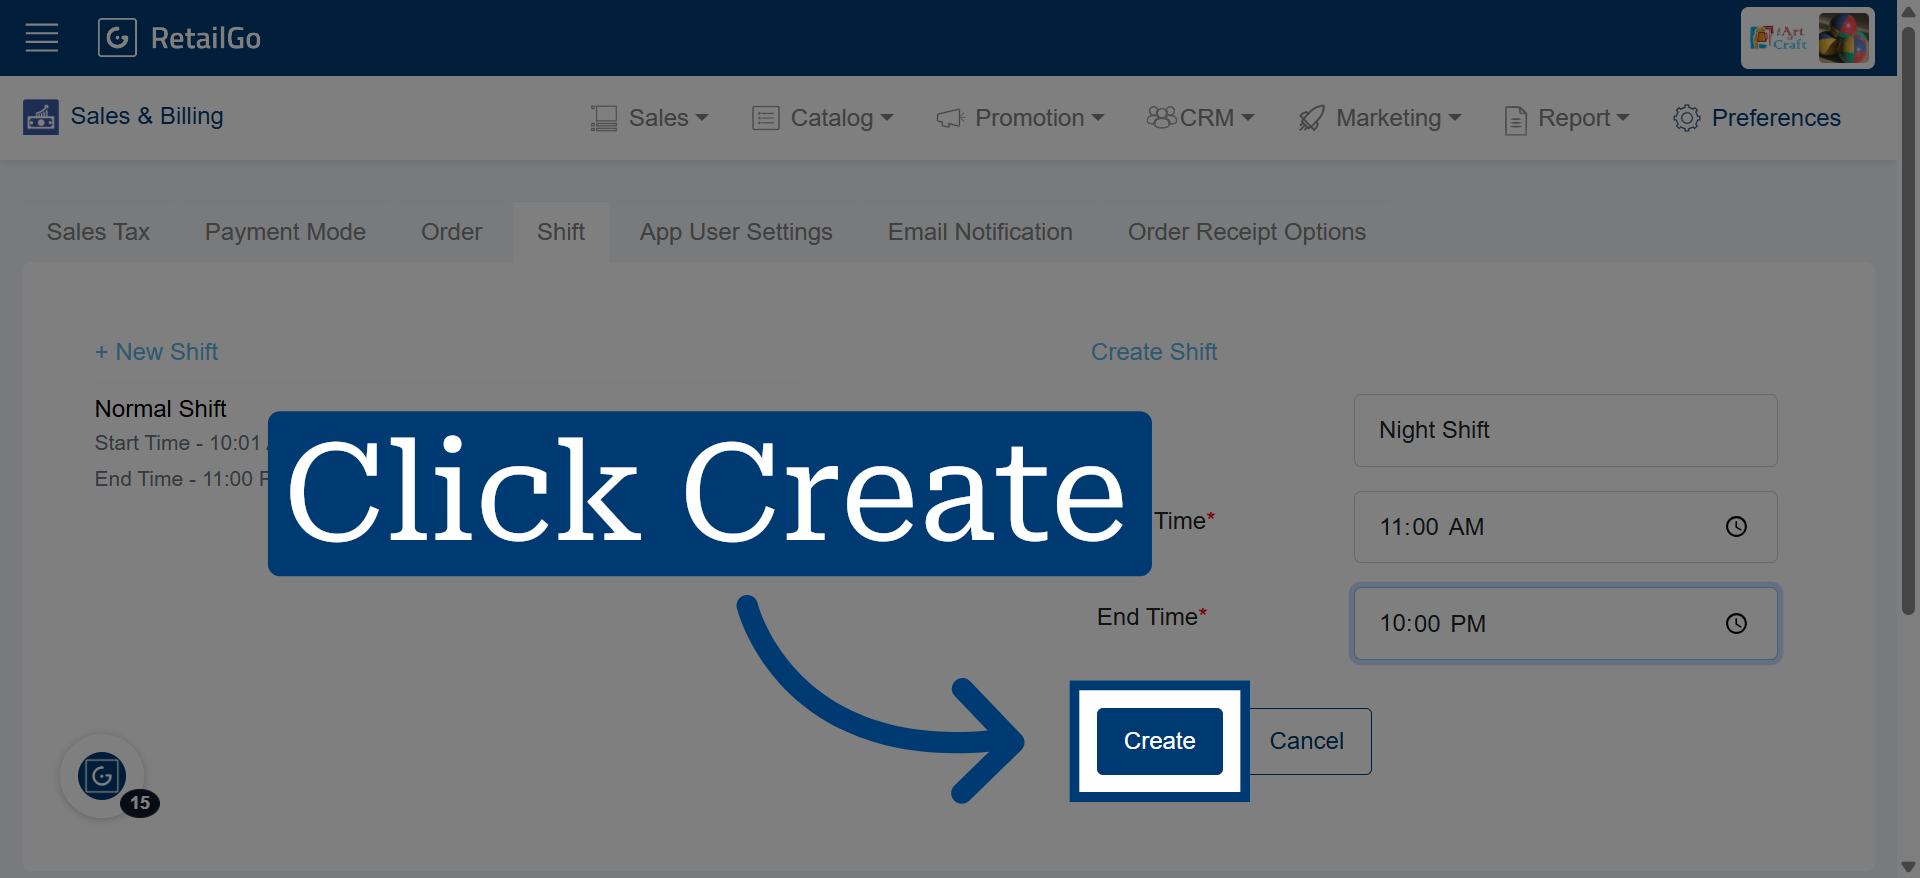
12. Create the New Shift
Click "Create" to finalize and add the new shift to the schedule.