How to Create Online Discount Campaigns in LocoShop Business Portal
This tutorial guides you through setting up a product discount campaign in the LocoShop Business
Portal. Product discounts help attract customers, increase sales, promote selected products, and
clear slow-moving inventory.
Go to
locoshop.quicklyservices.com
1. Go to the Promotion section
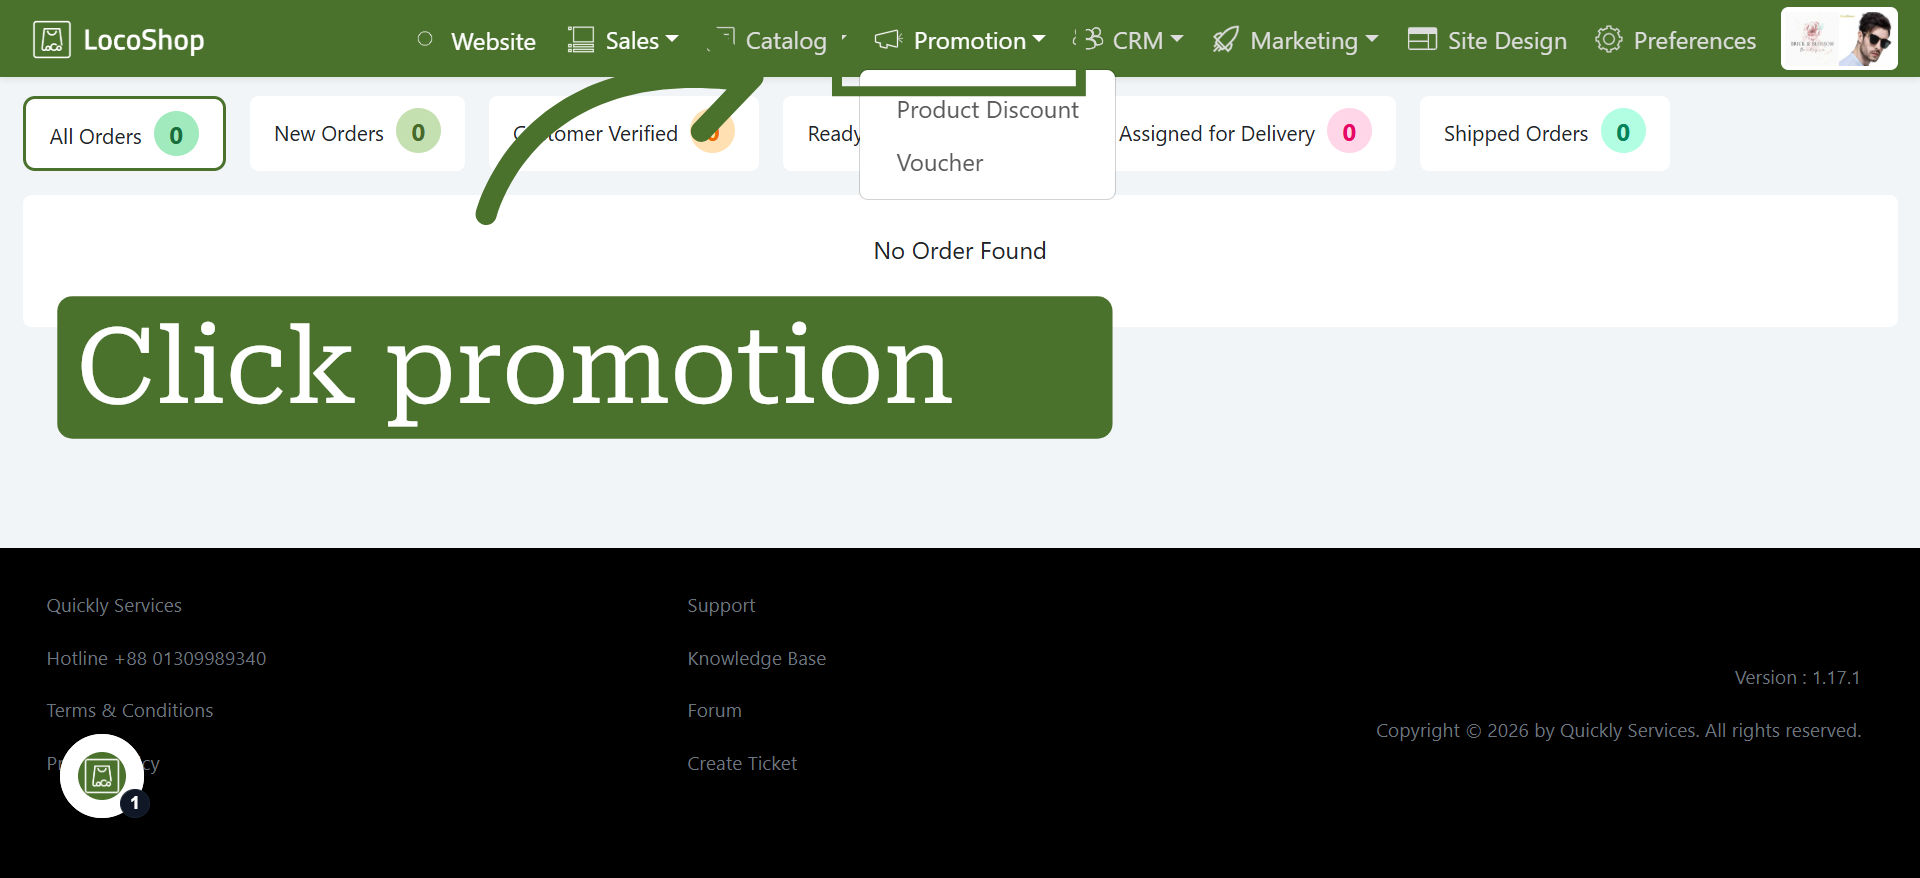
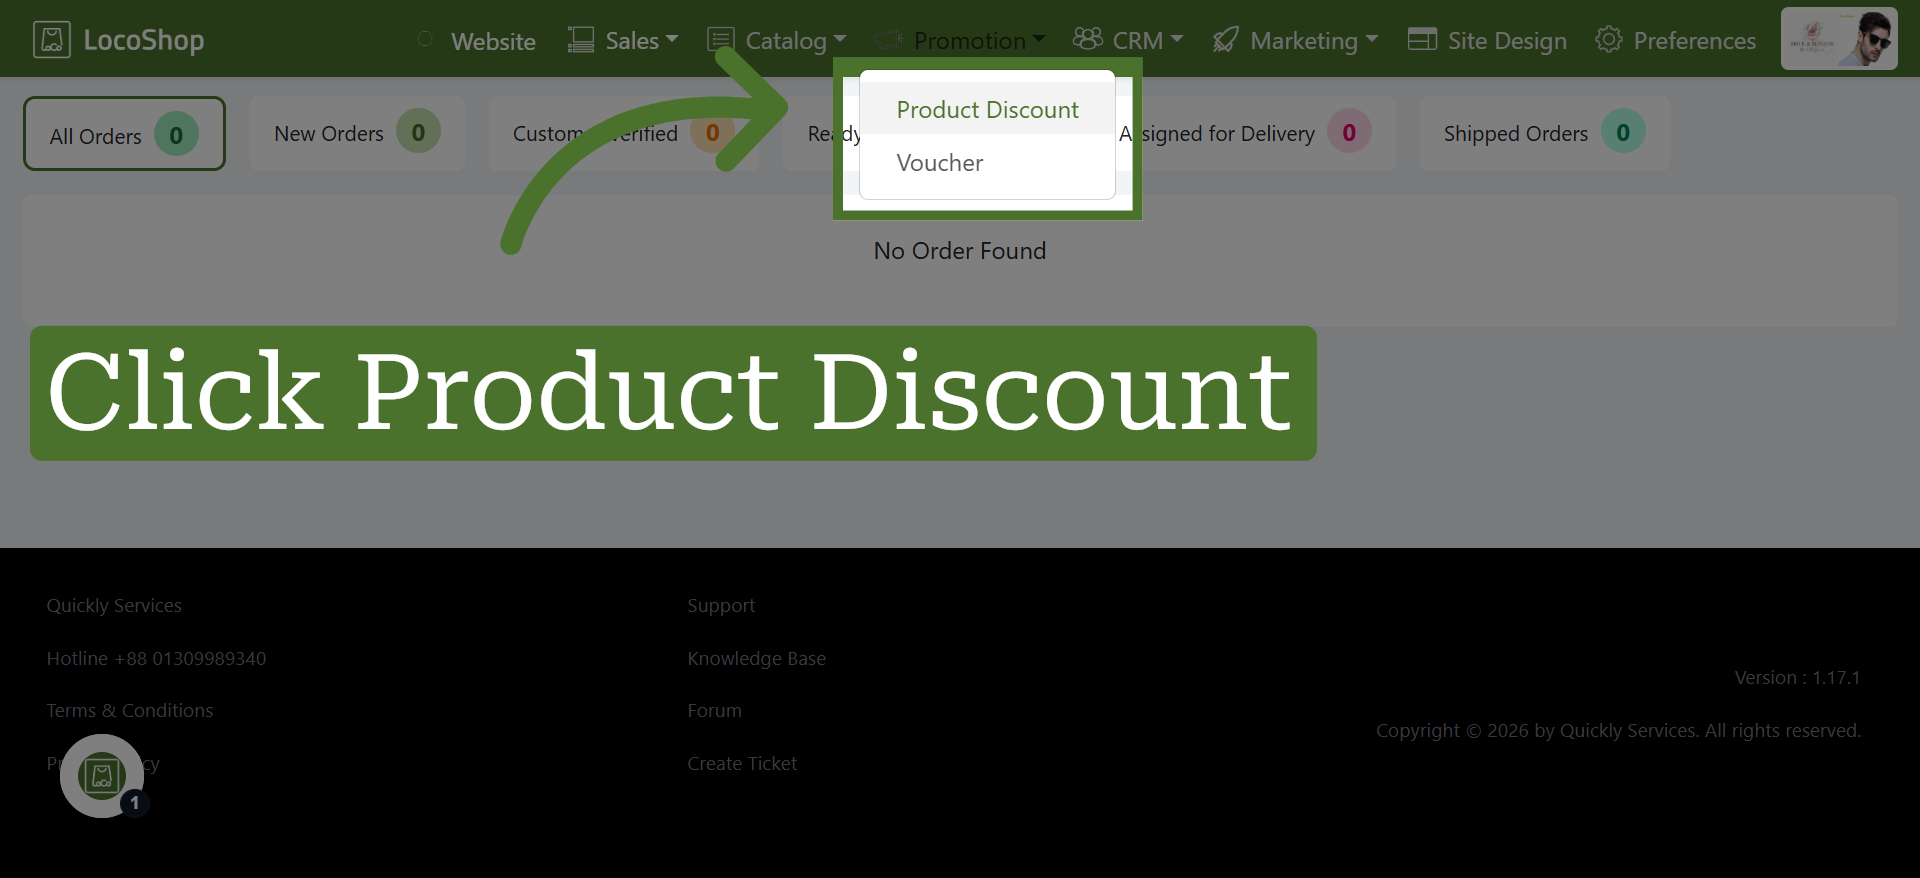
2. Select Product Discount
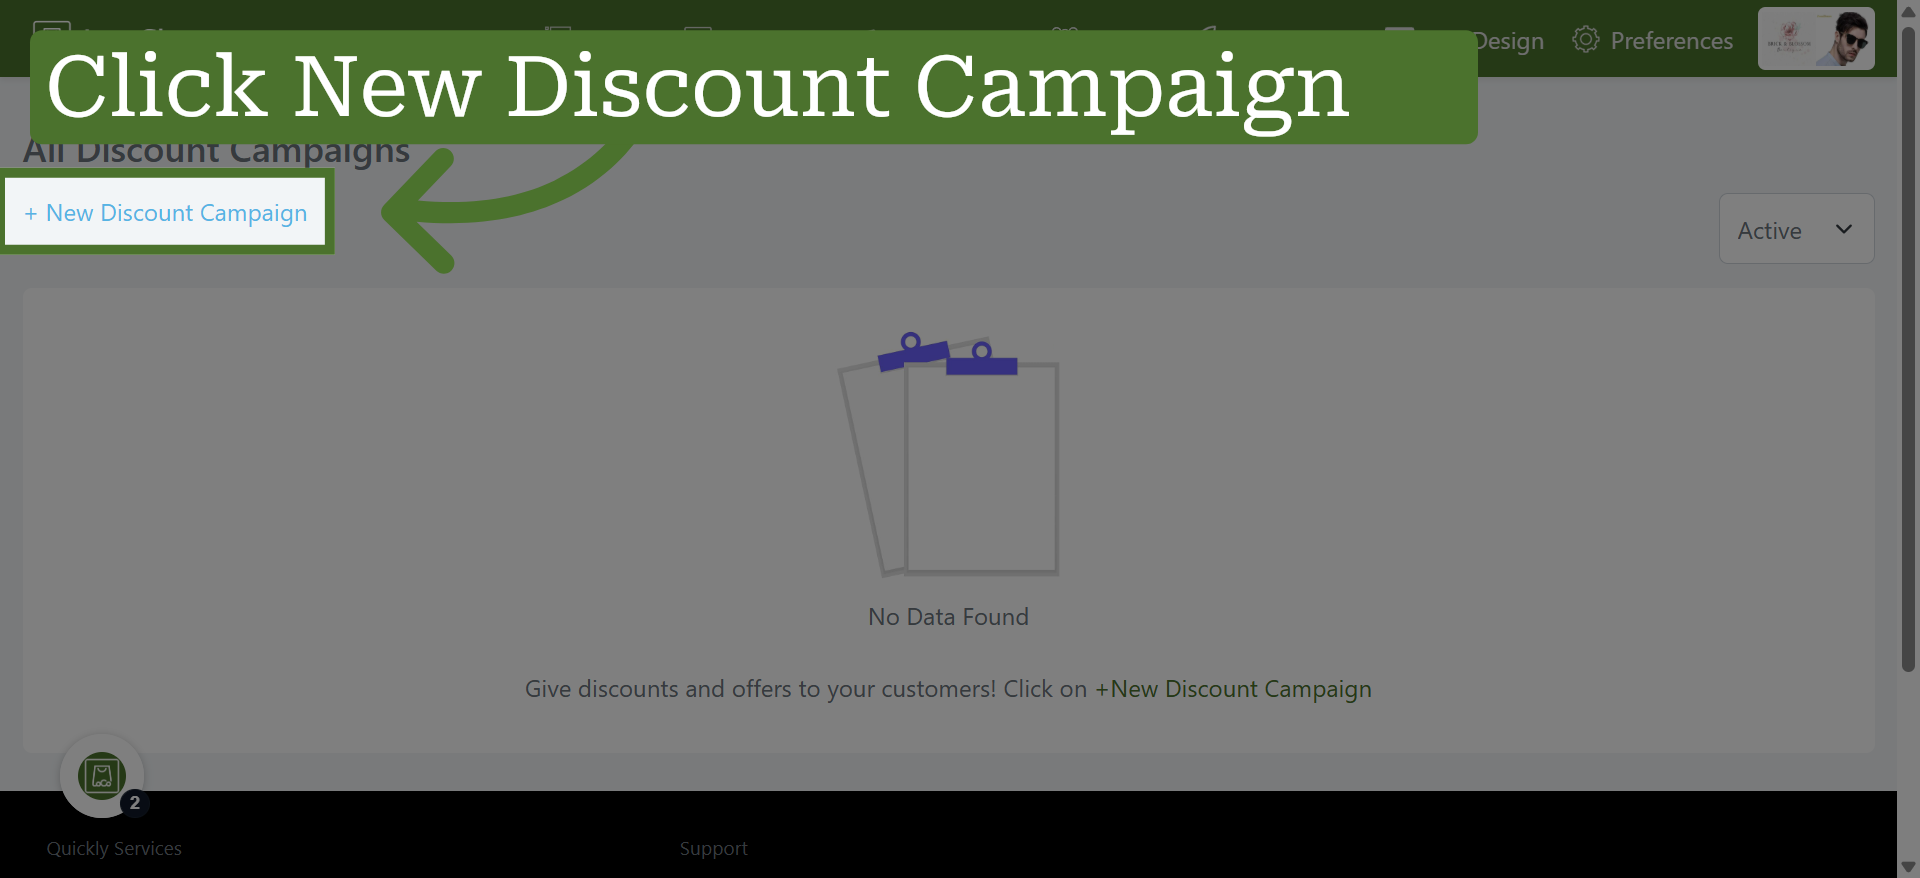
3. Create New Discount Campaign
4. Enter Campaign Title
A clear and relevant campaign title helps you easily identify and manage your discount campaigns later.
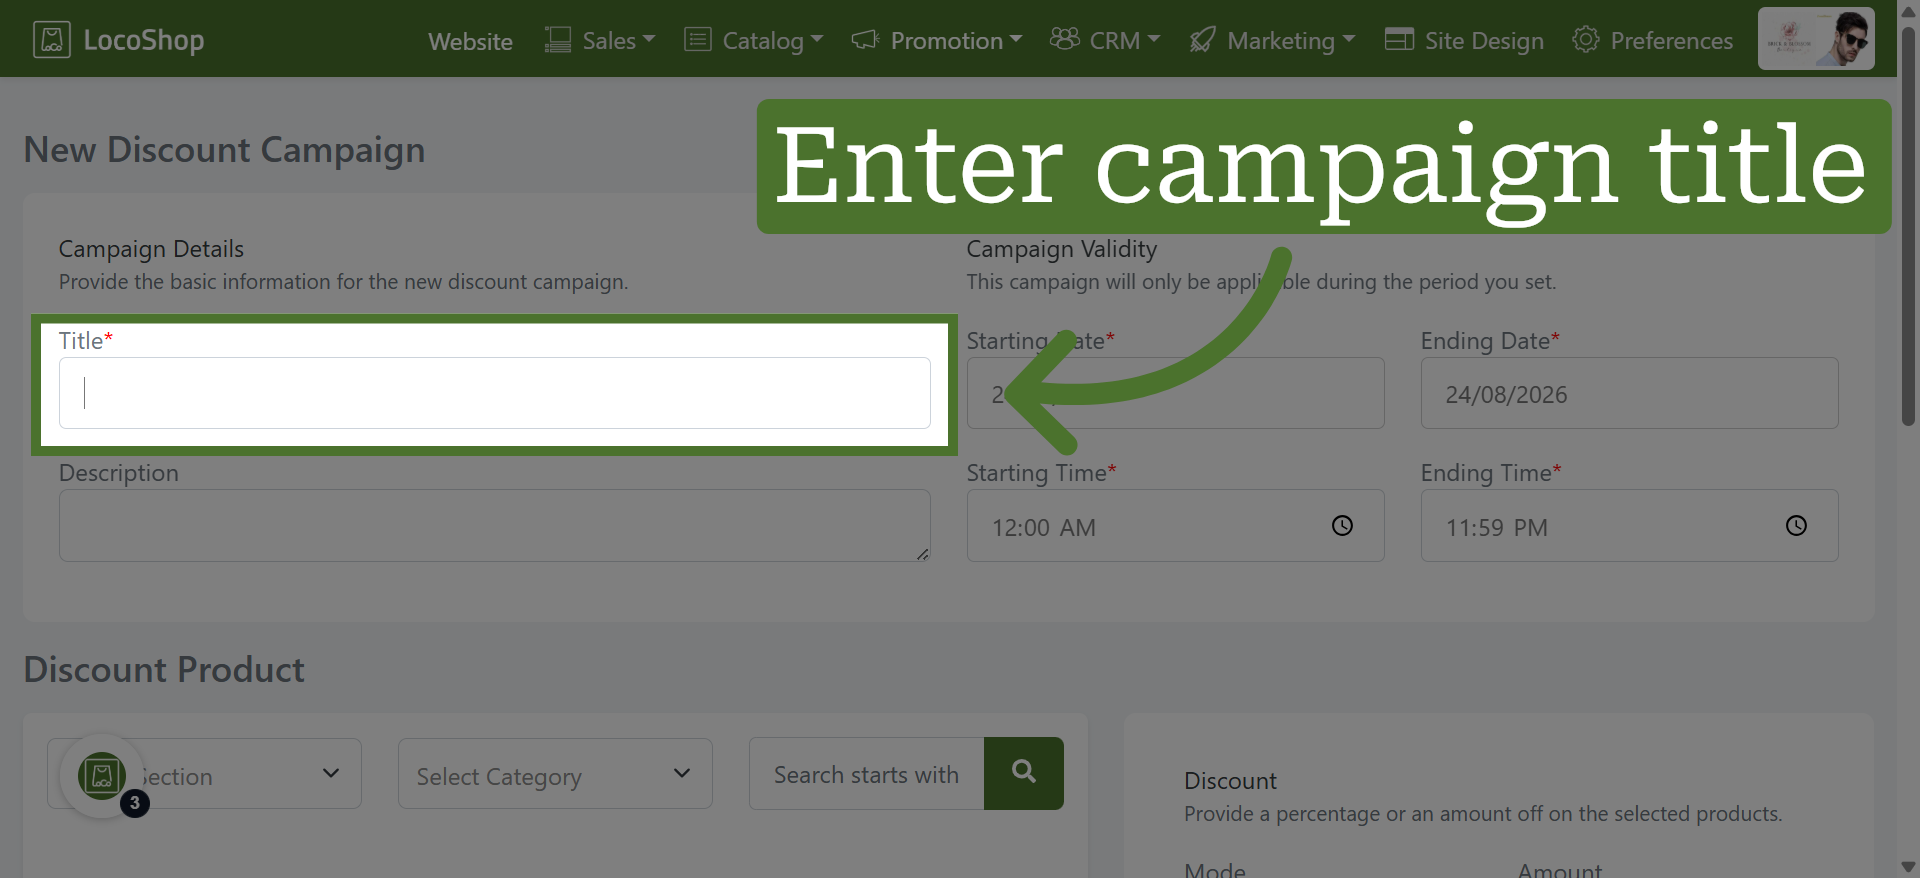
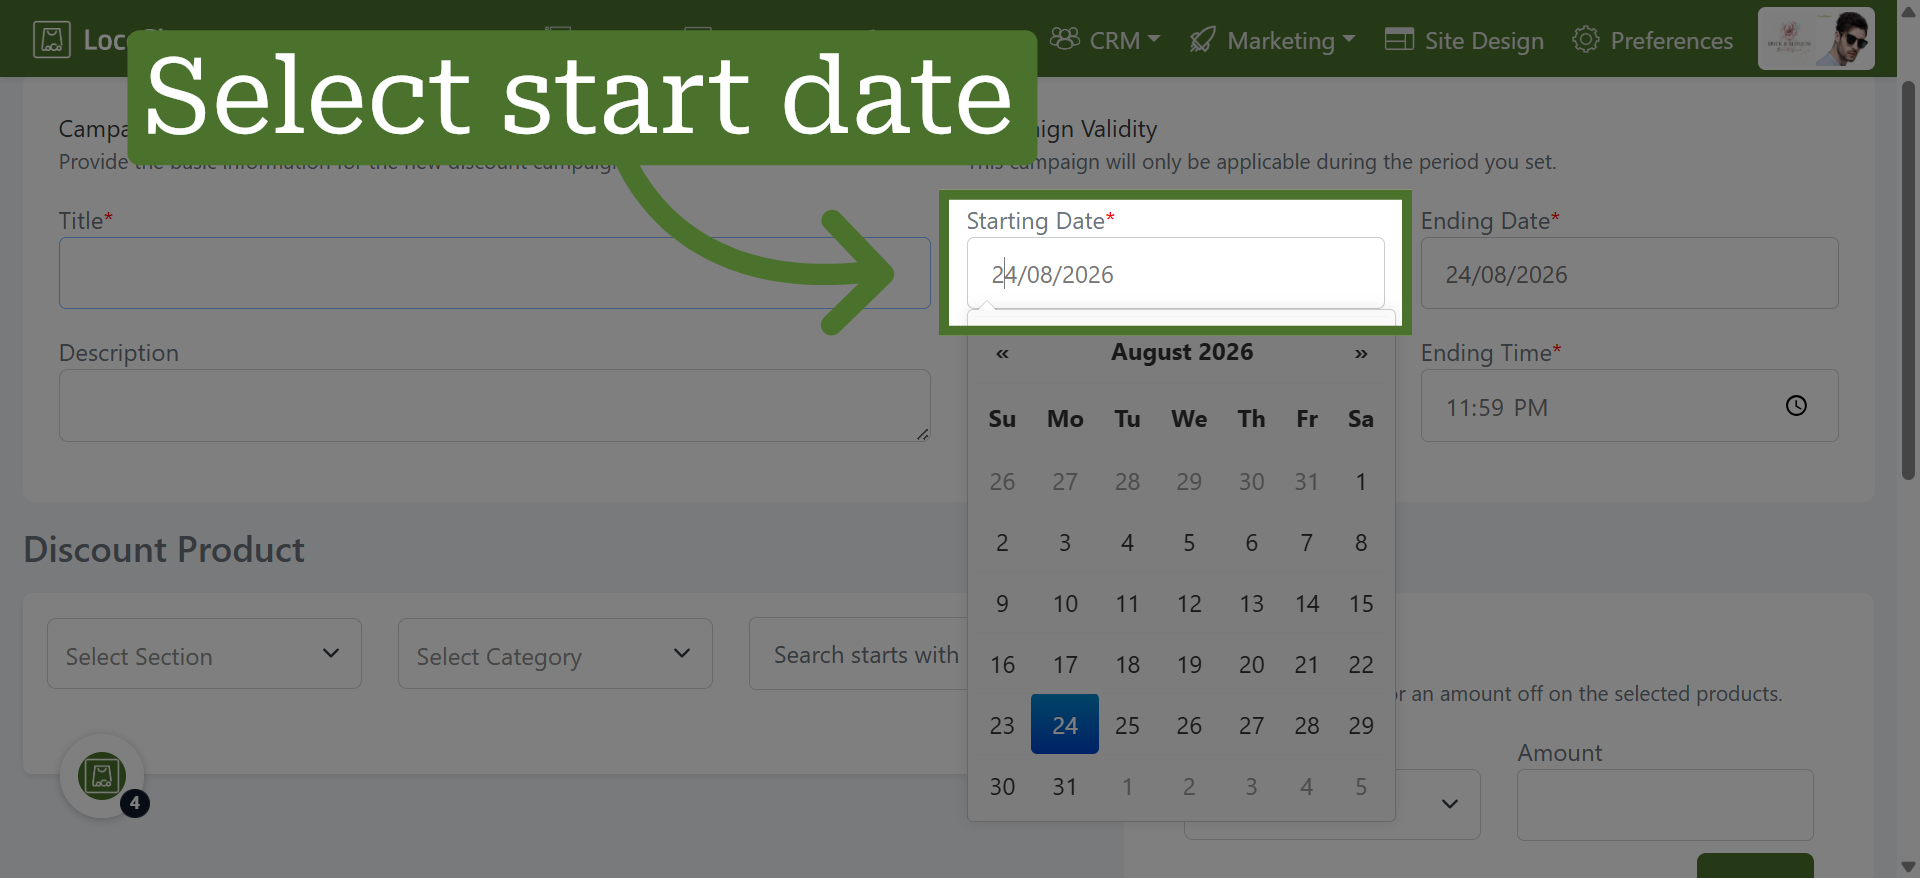
5. Set Campaign Start Date
Click the "Starting Date" field to choose when the discount campaign will begin.
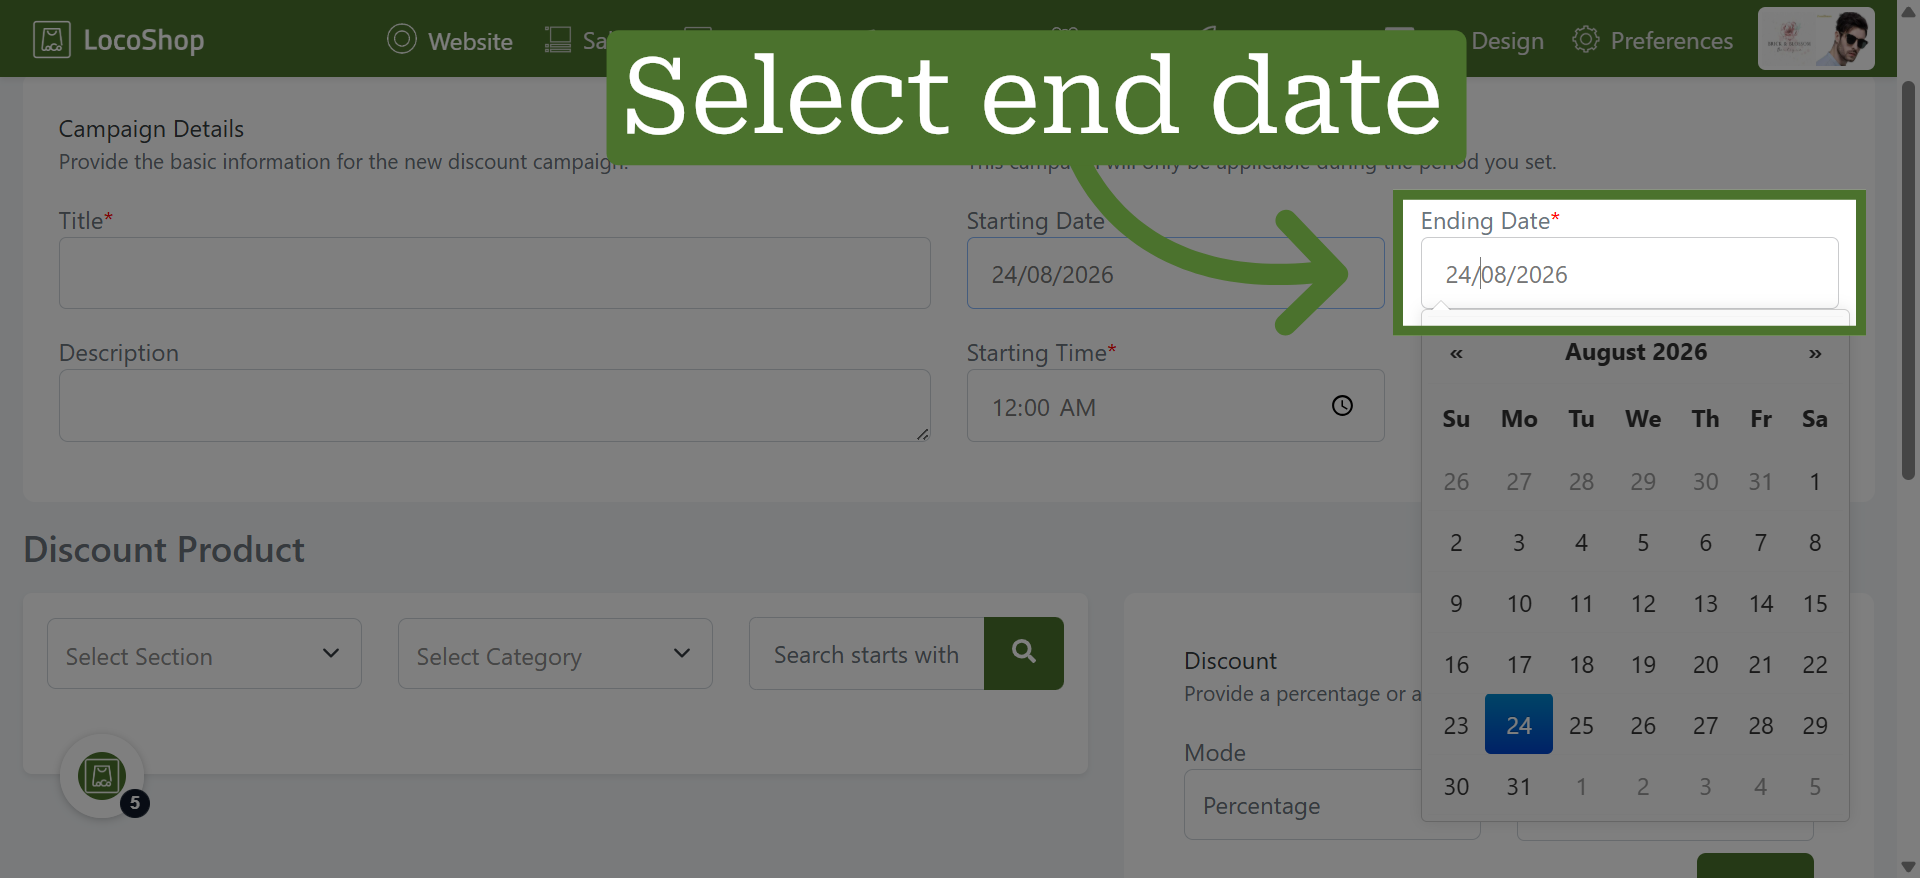
6. Set Campaign End Date
Click the "Ending Date" field to specify when the discount campaign will end.
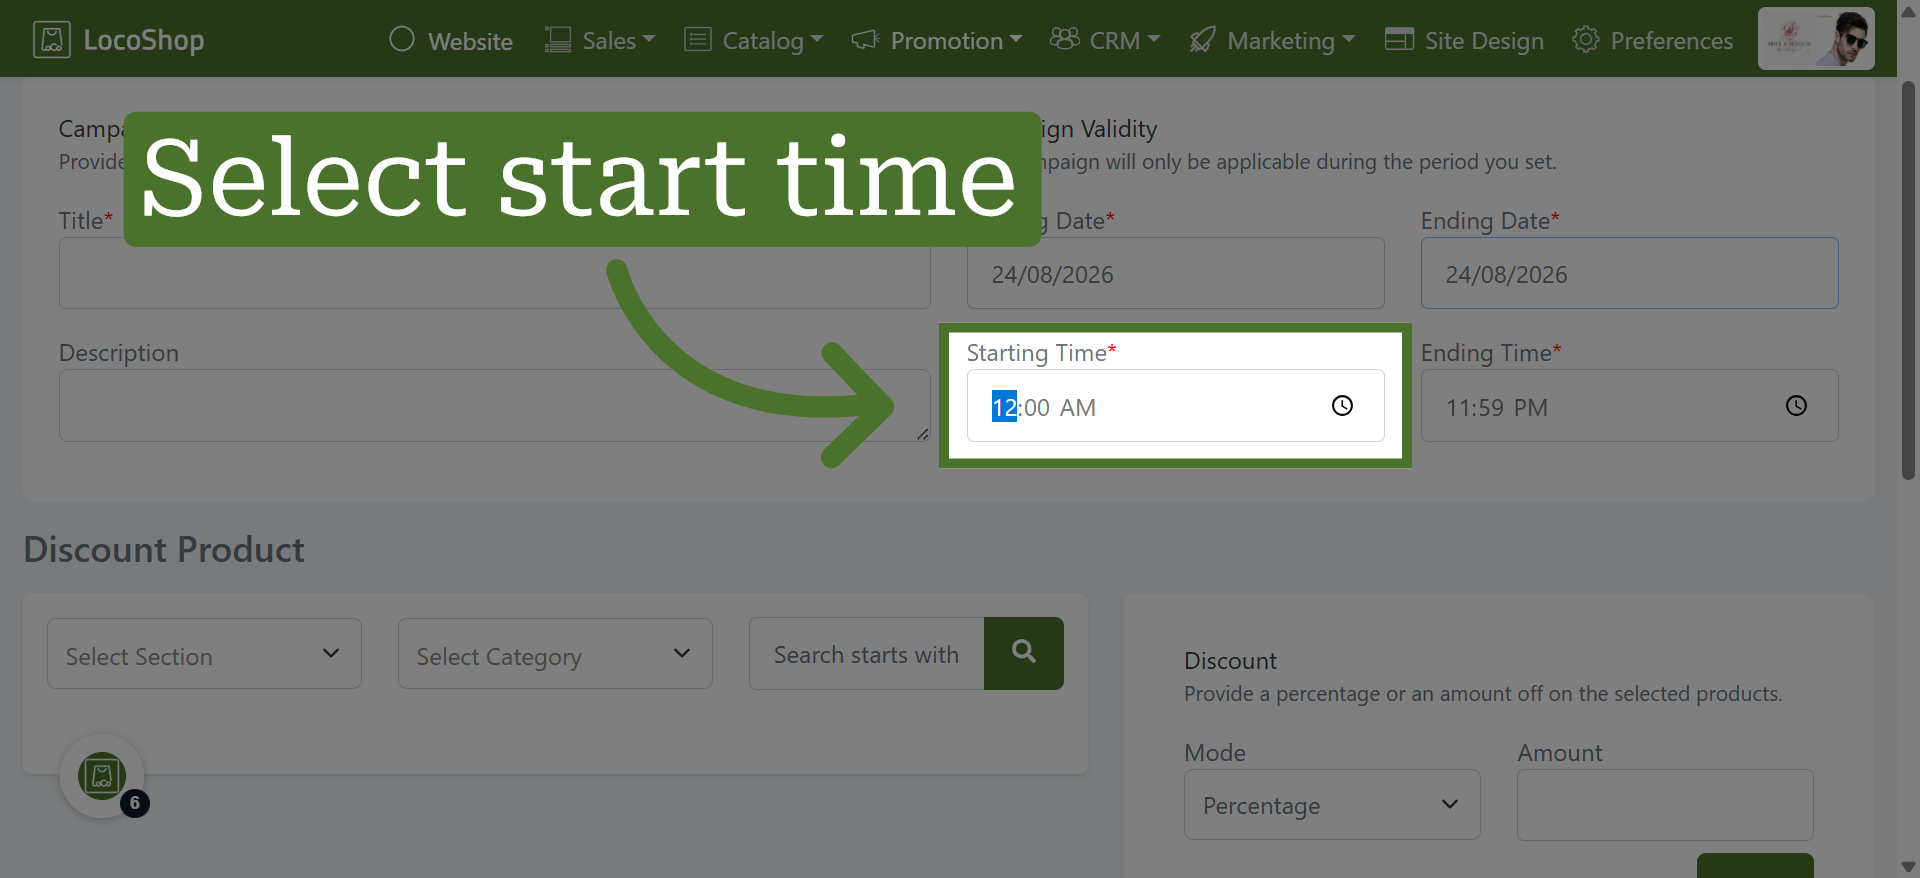
7. Choose Start Time
Set the campaign's starting time.
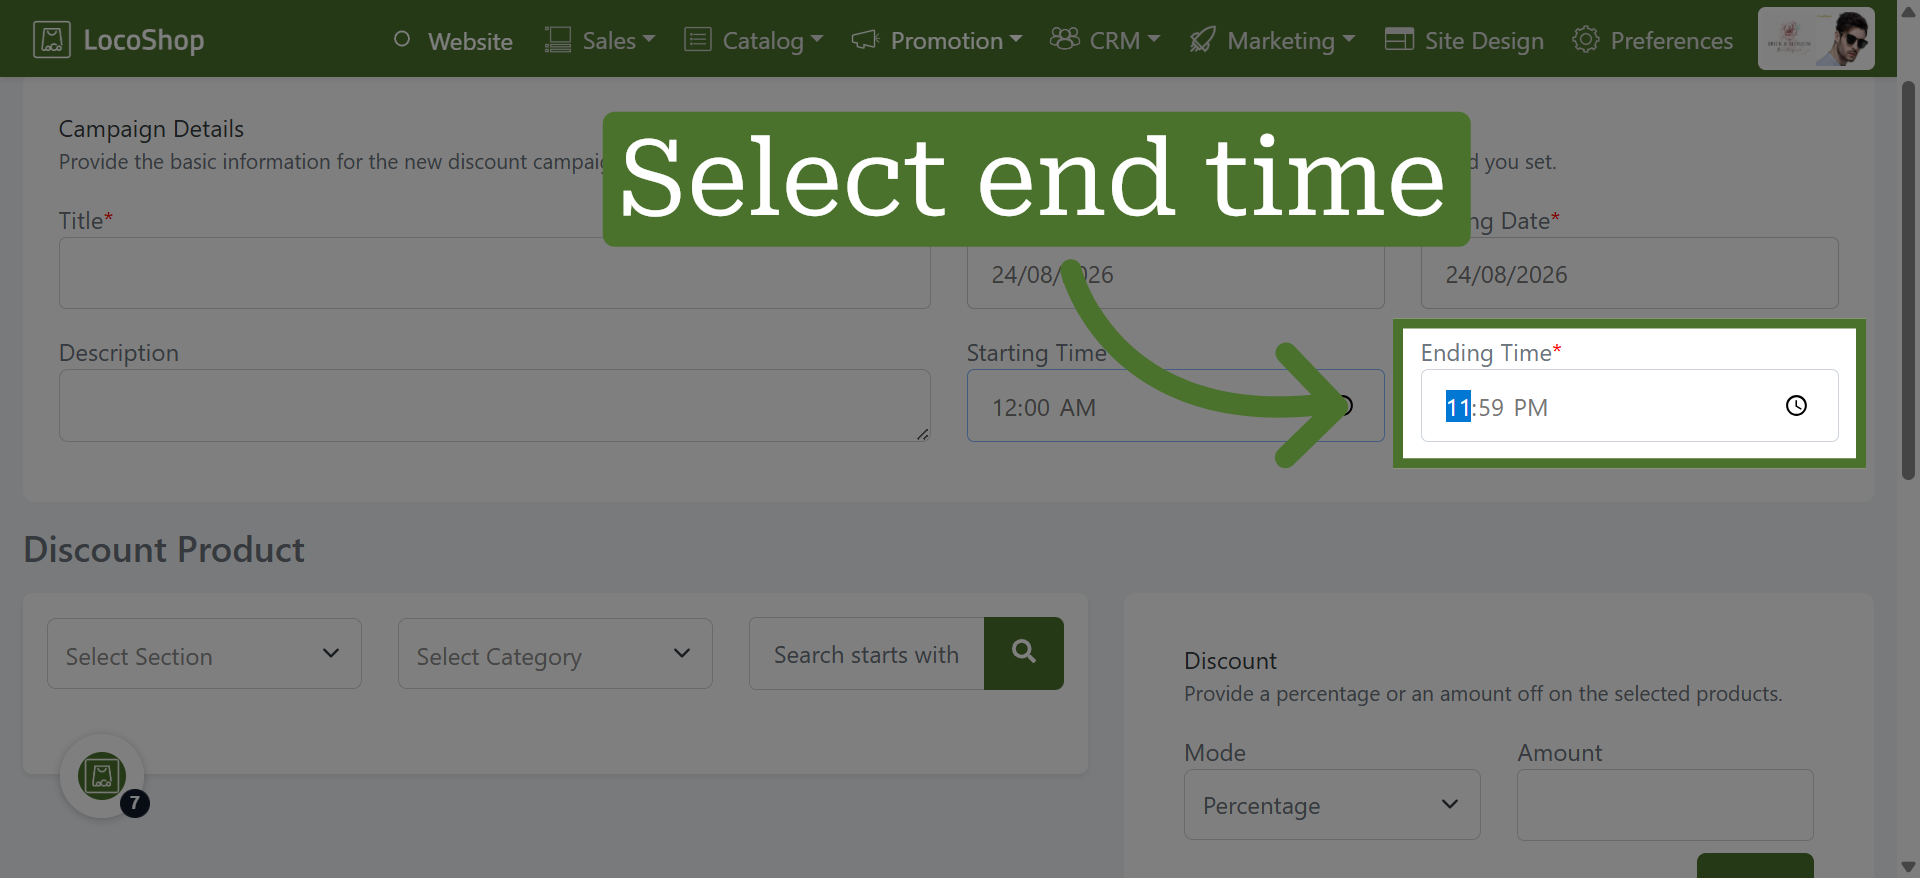
8. Choose End Time
Set the campaign's ending time.
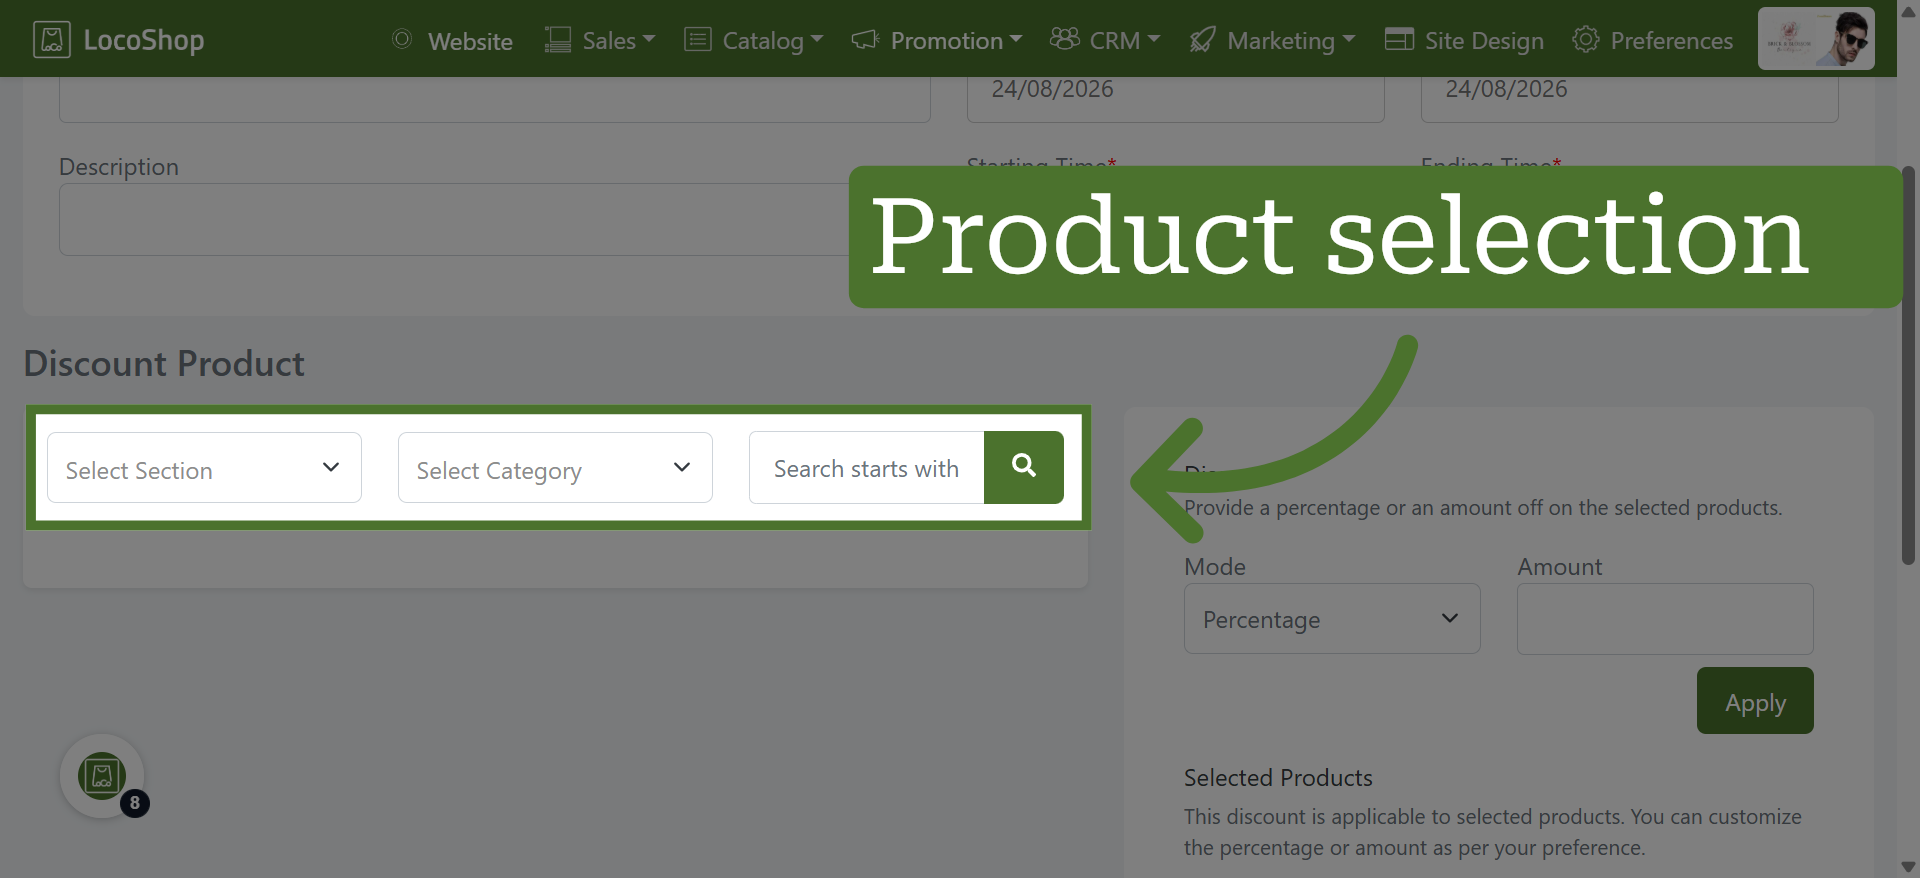
9. Select Products for Your Discount Campaign
Add products to your discount campaign by filtering them based on section and category, or quickly find a specific product by searching for its name.
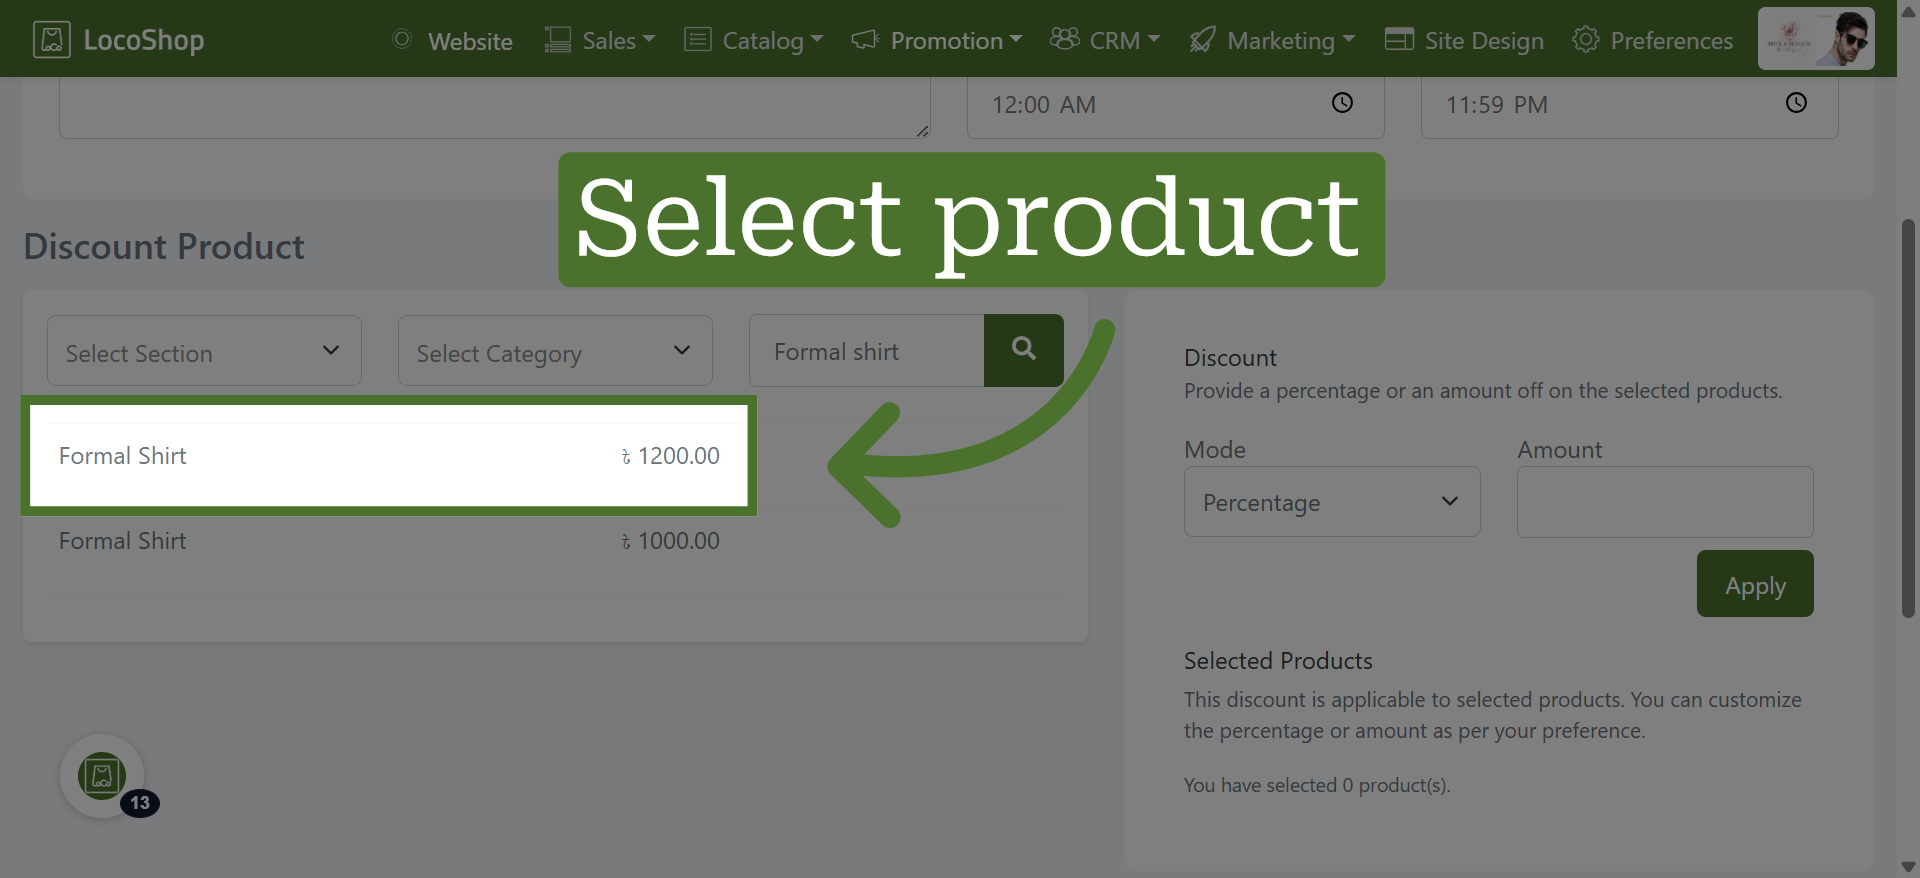
10. Select Product
Here, “Formal Shirt” is used as an example; select the product you want to include in your campaign.
11. Choose Discount Type
Click "Amount/Percentage" to select the type of discount to apply.
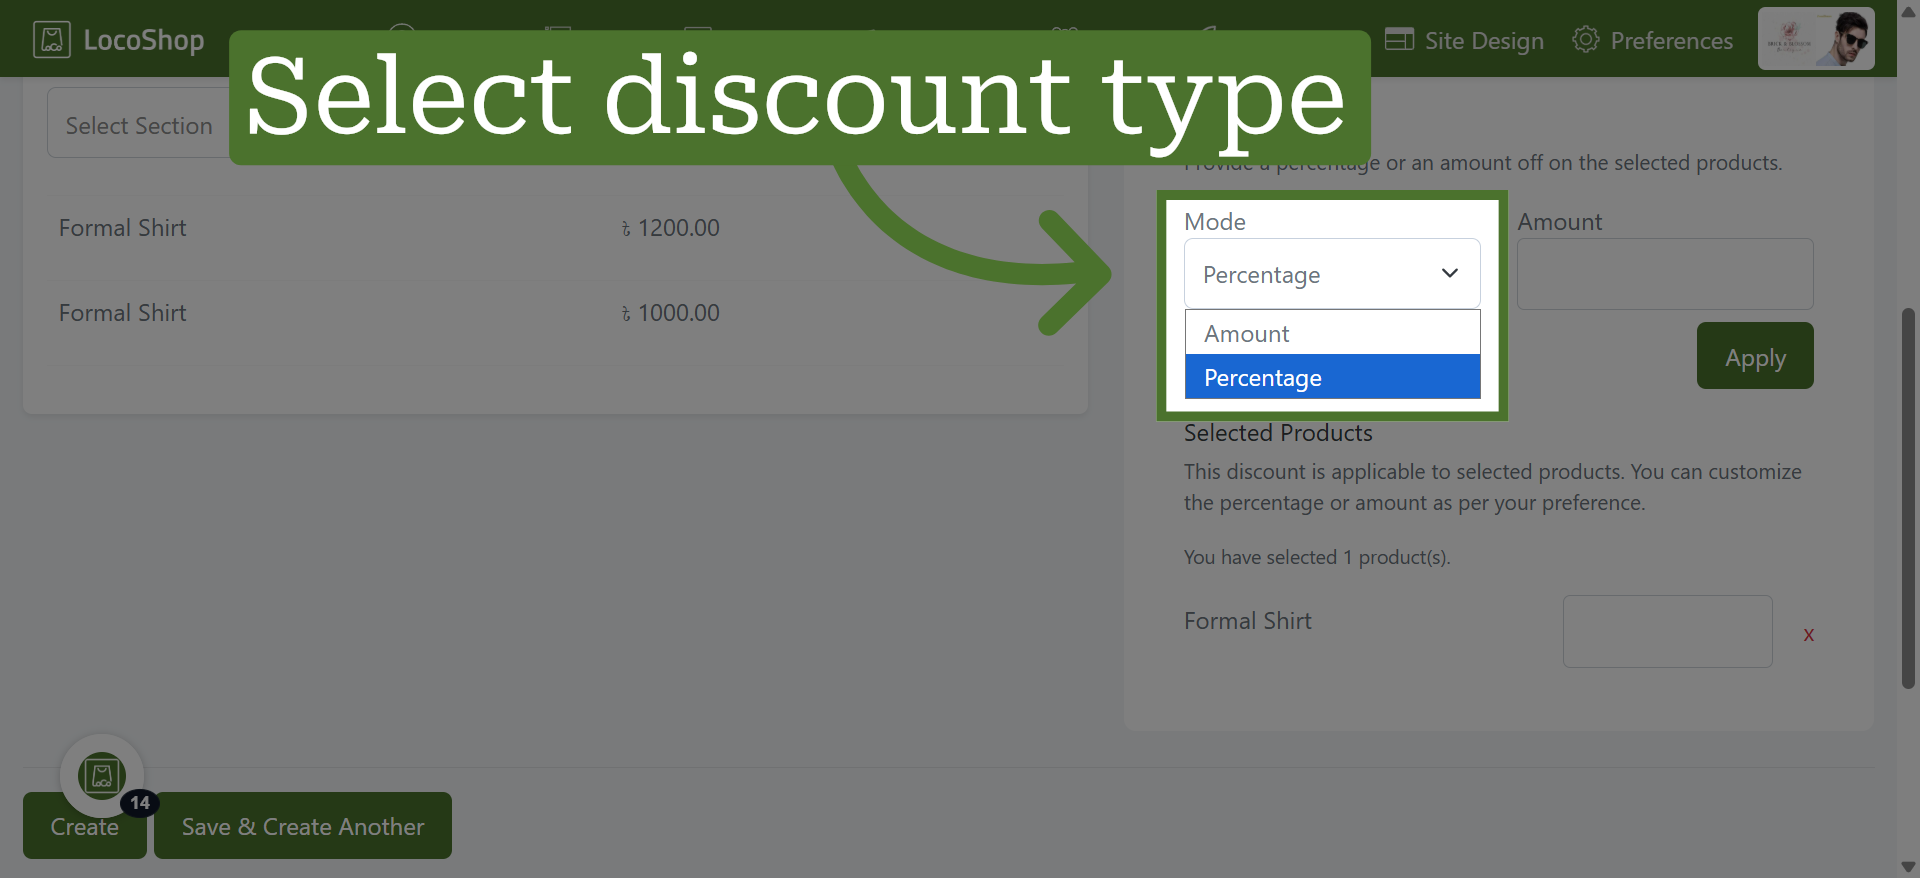
12. Select Amount Discount
Click "Amount" to specify a fixed discount amount.
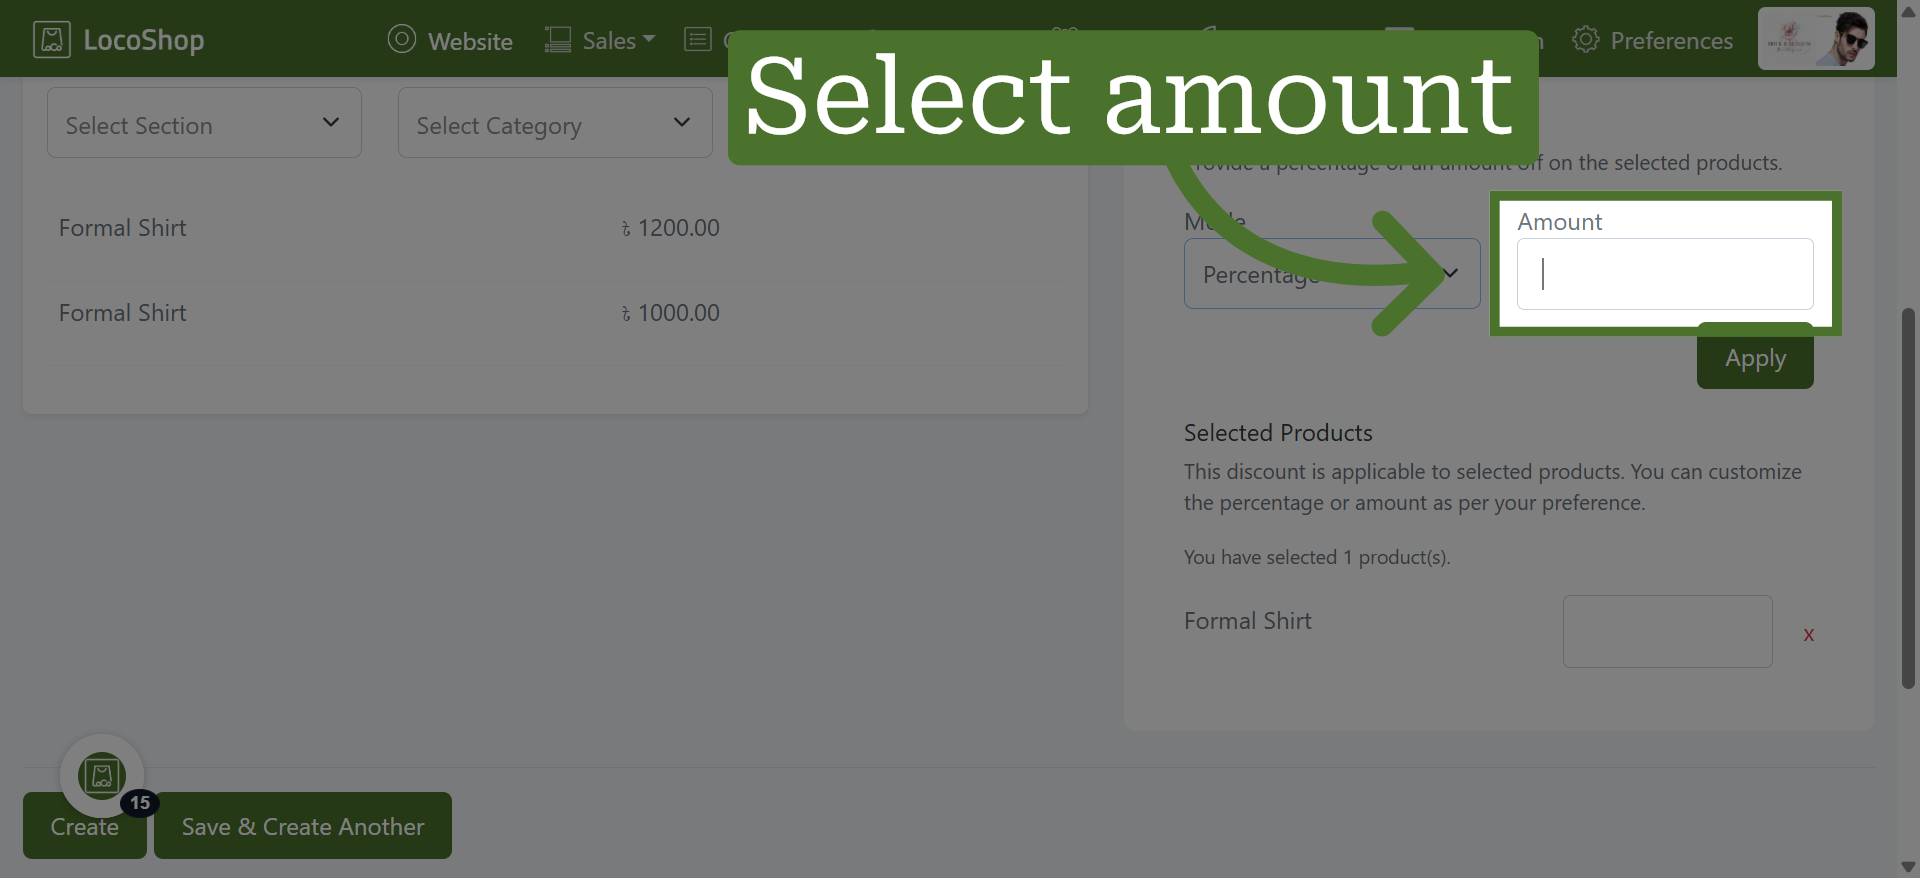
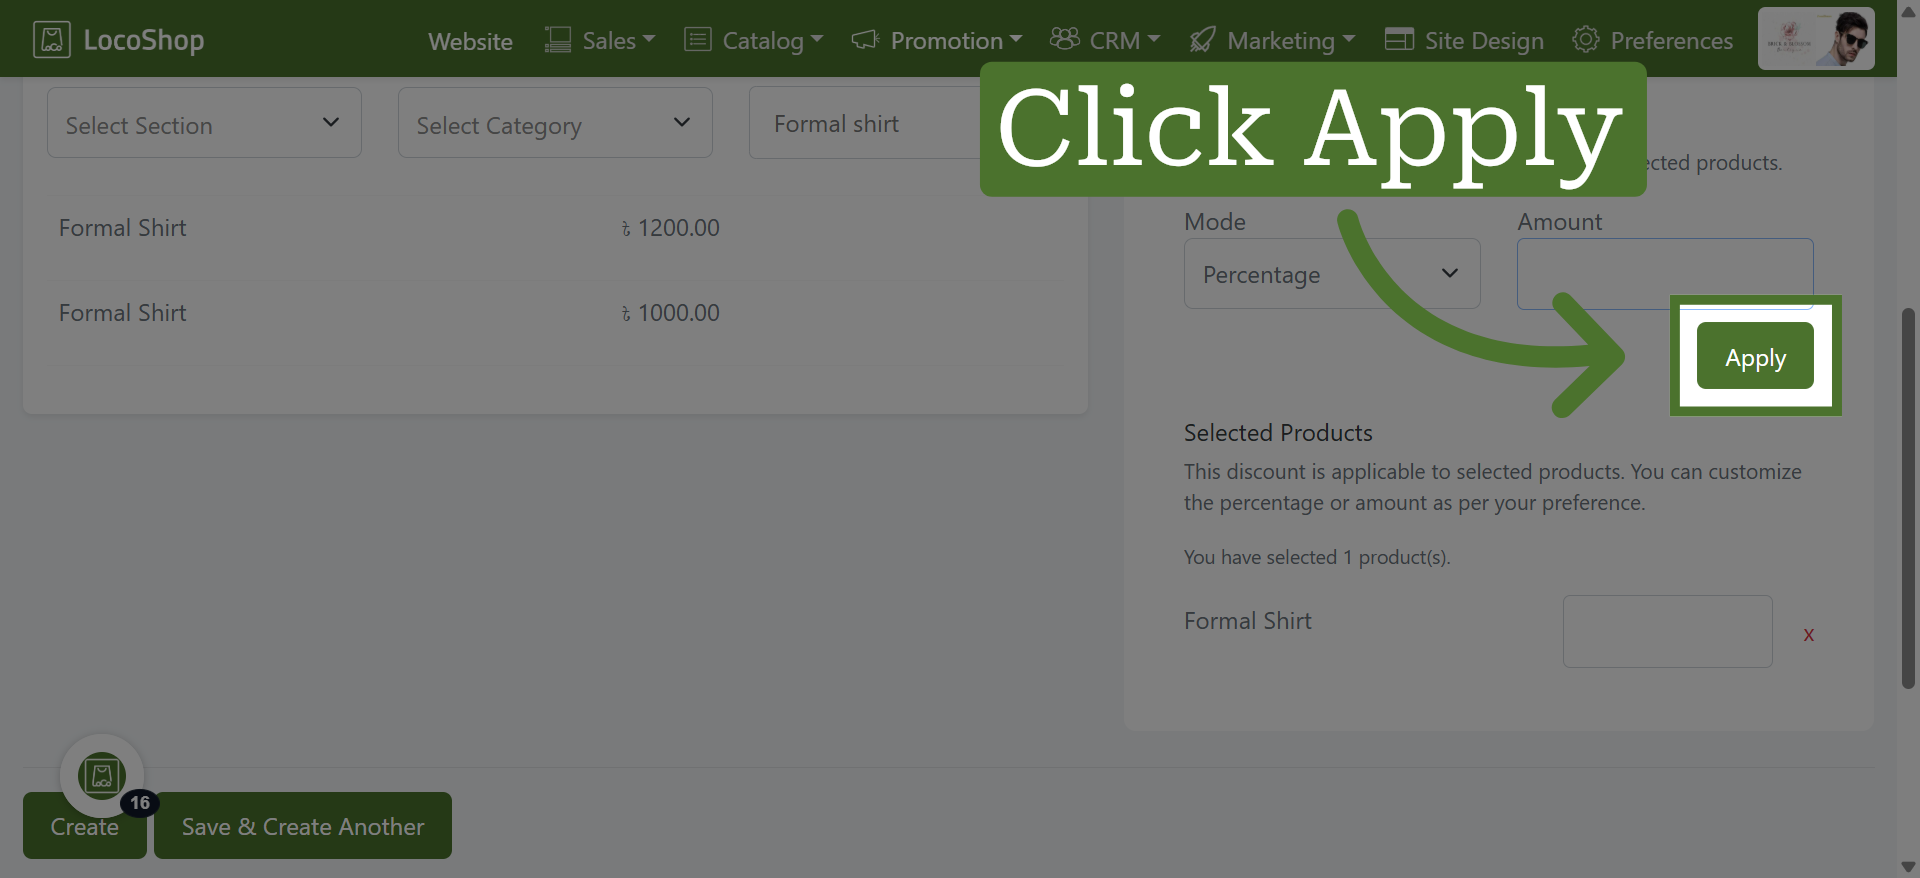
13. Apply Discount Settings
Click “Apply” to save the discount settings. The selected discount will be applied to all the products included in the campaign
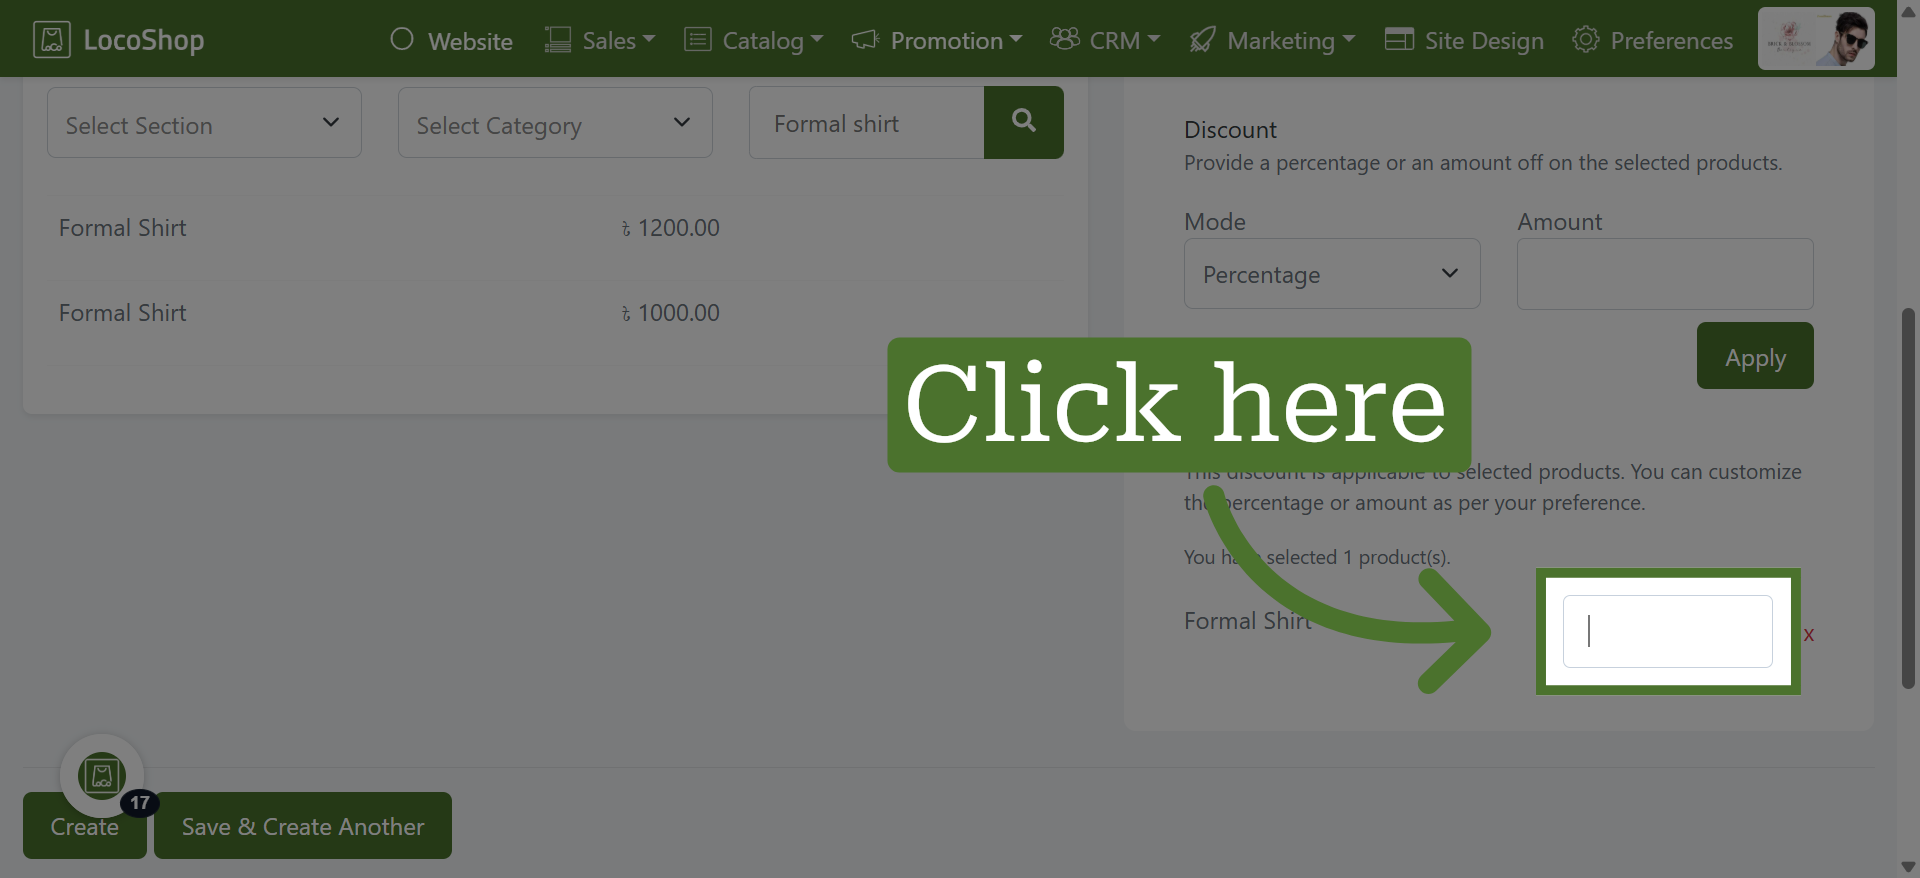
14. For Customizing Individual Product Discounts
You can set a custom price for each selected product in the discount campaign.
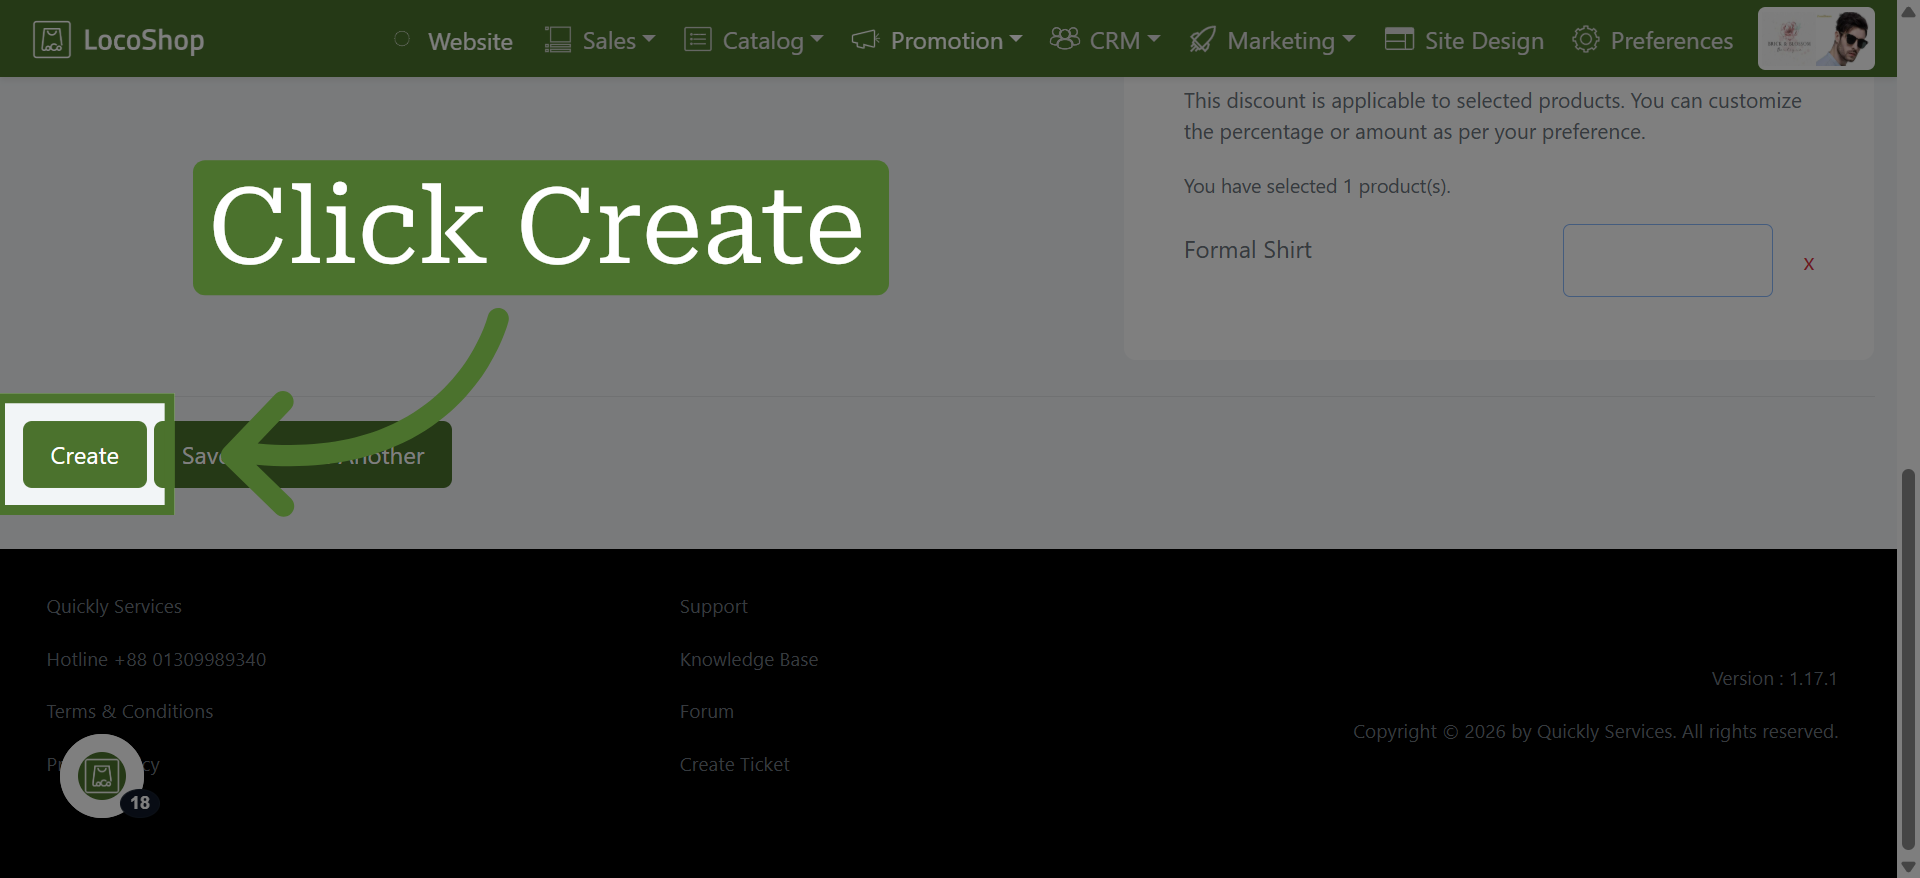
15. Create Discount Campaign
Click "Create" to finalize and create your discount campaign.