How to Create Website Vouchers in LocoShop Business Portal
This tutorial guides you through creating and configuring vouchers in the LocoShop Business
Portal, helping you offer targeted discounts, control voucher usage, and encourage customers to make more purchases.
Go to
locoshop.quicklyservices.com
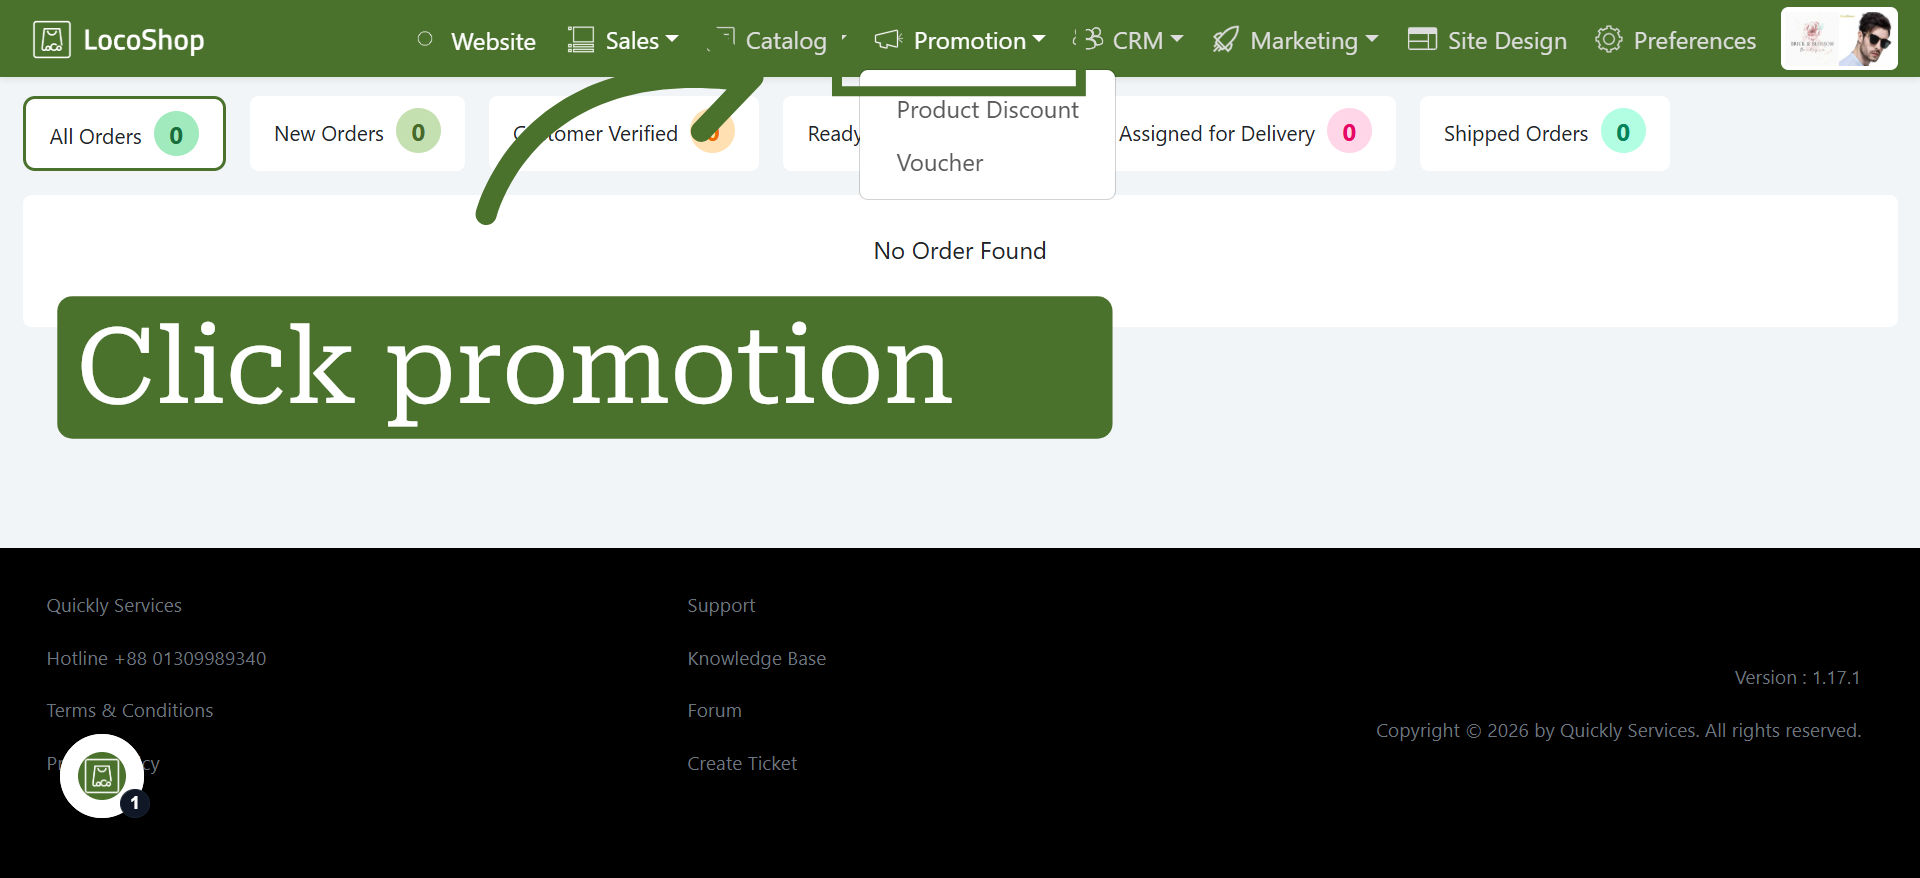
1. Open Promotion Section
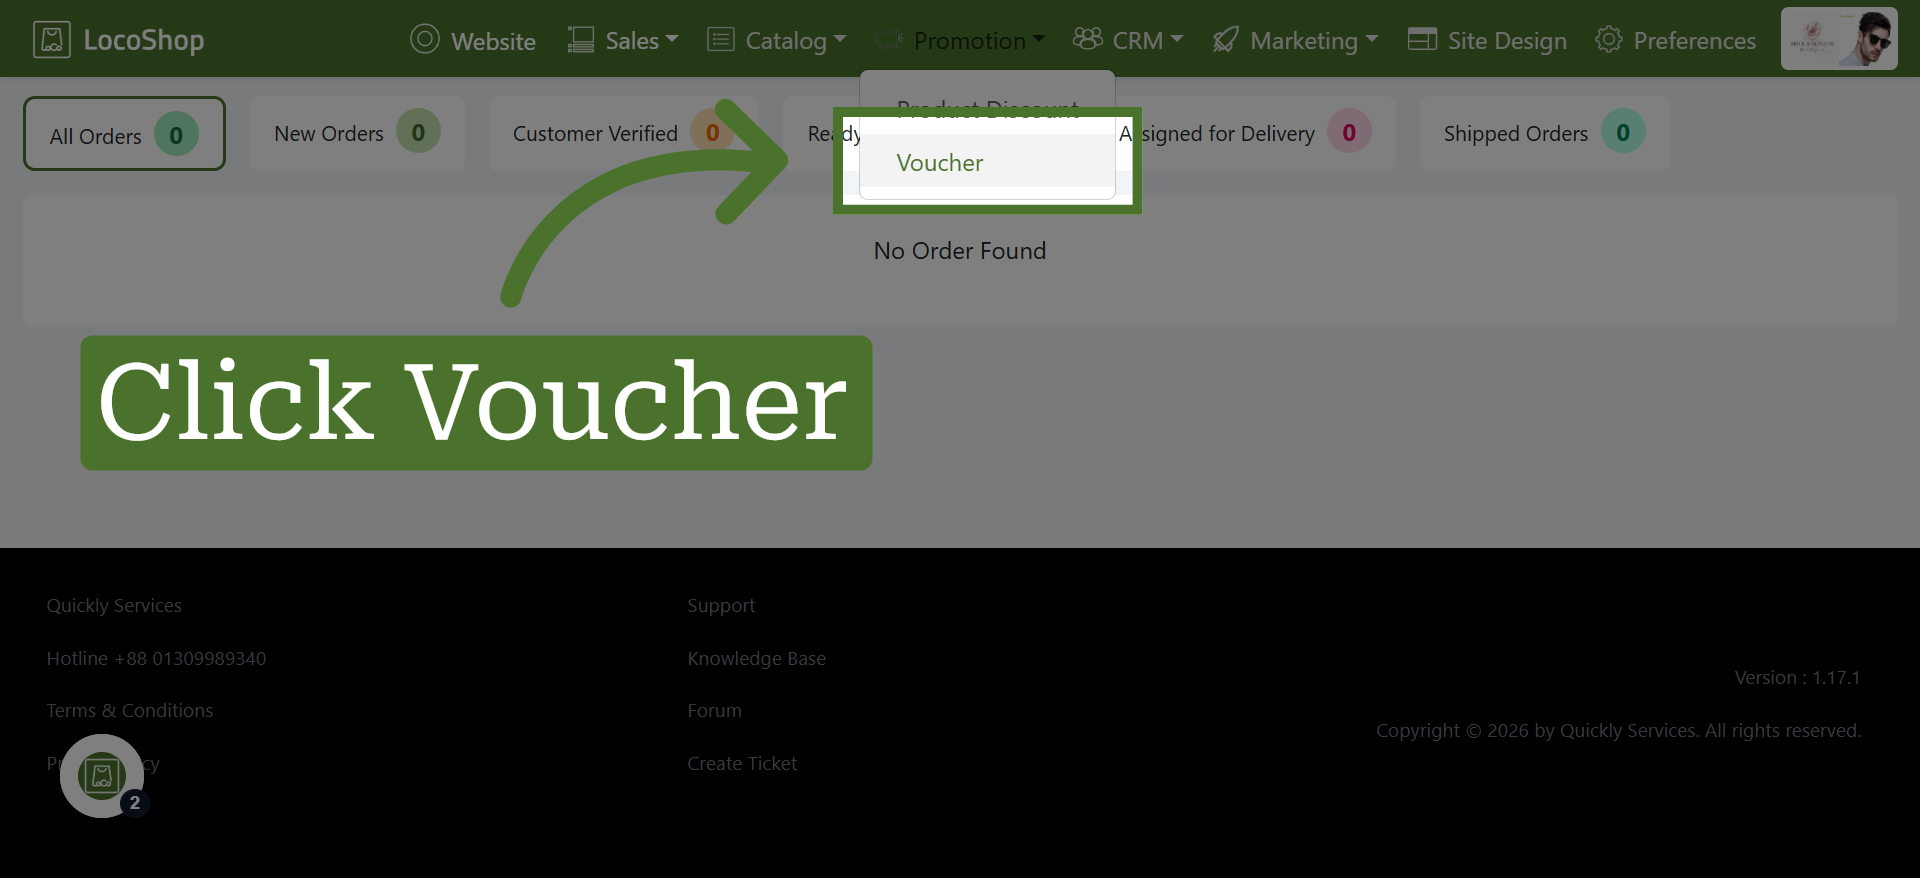
2. Select Voucher
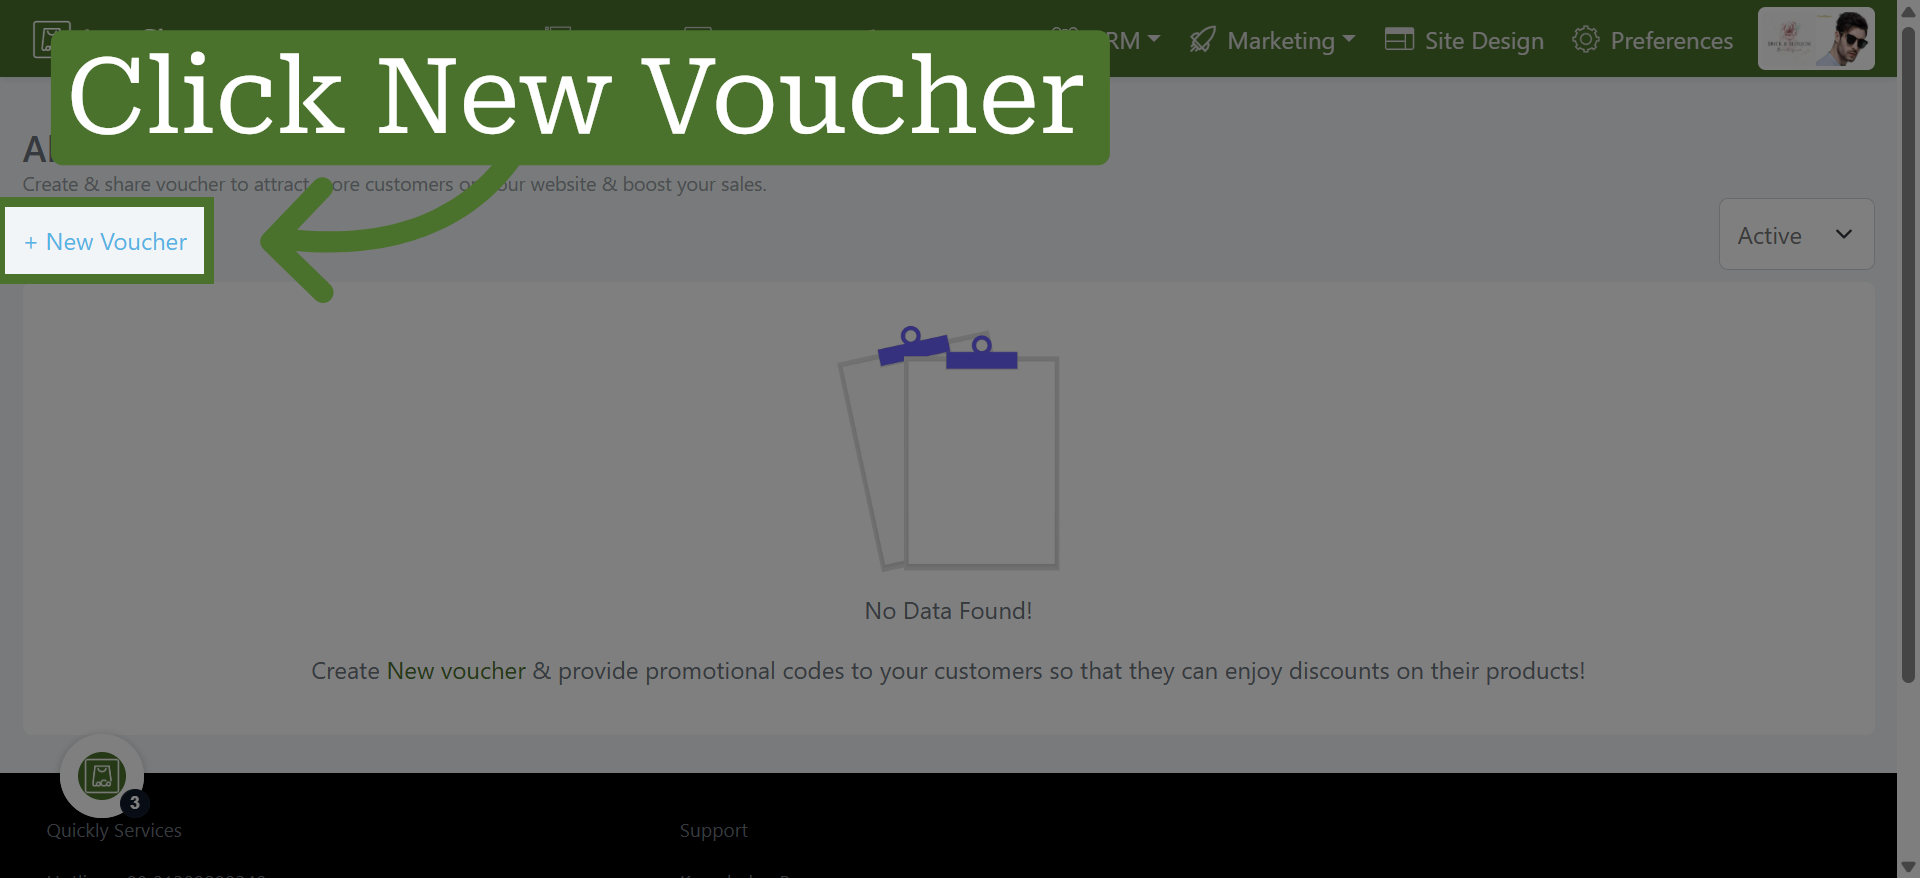
3. Initiate New Voucher Creation
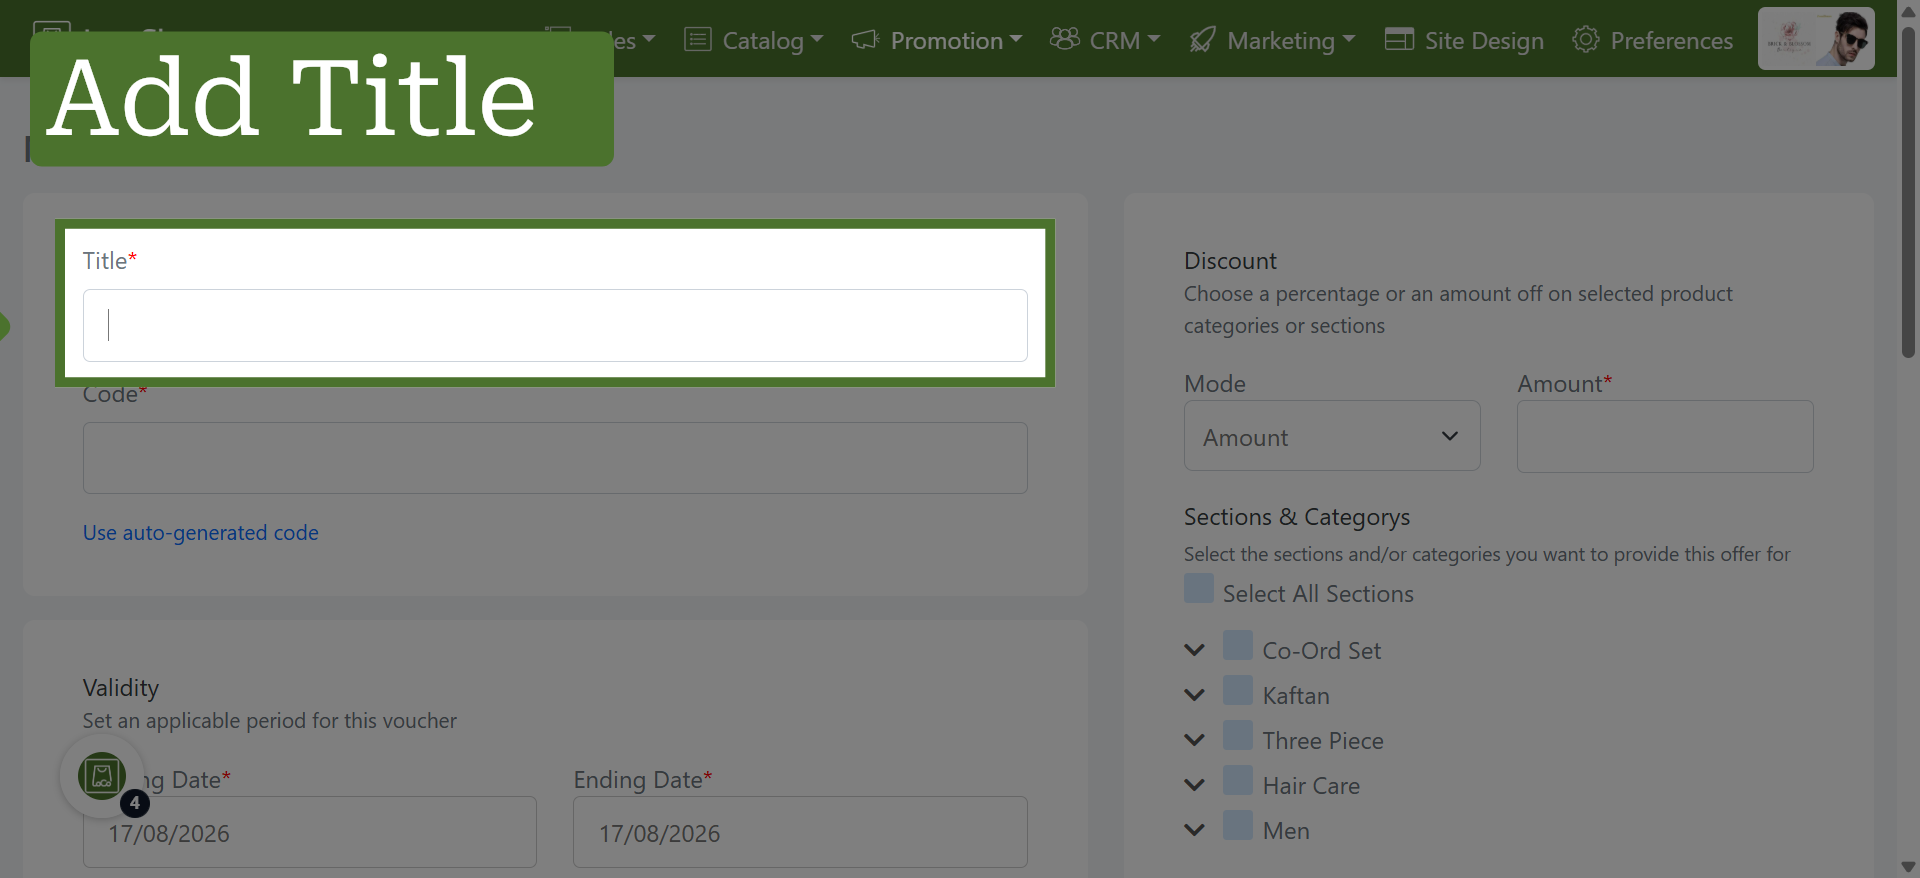
4. Add Voucher Title
Enter a clear and relevant title for your voucher to help customers easily understand the offer.
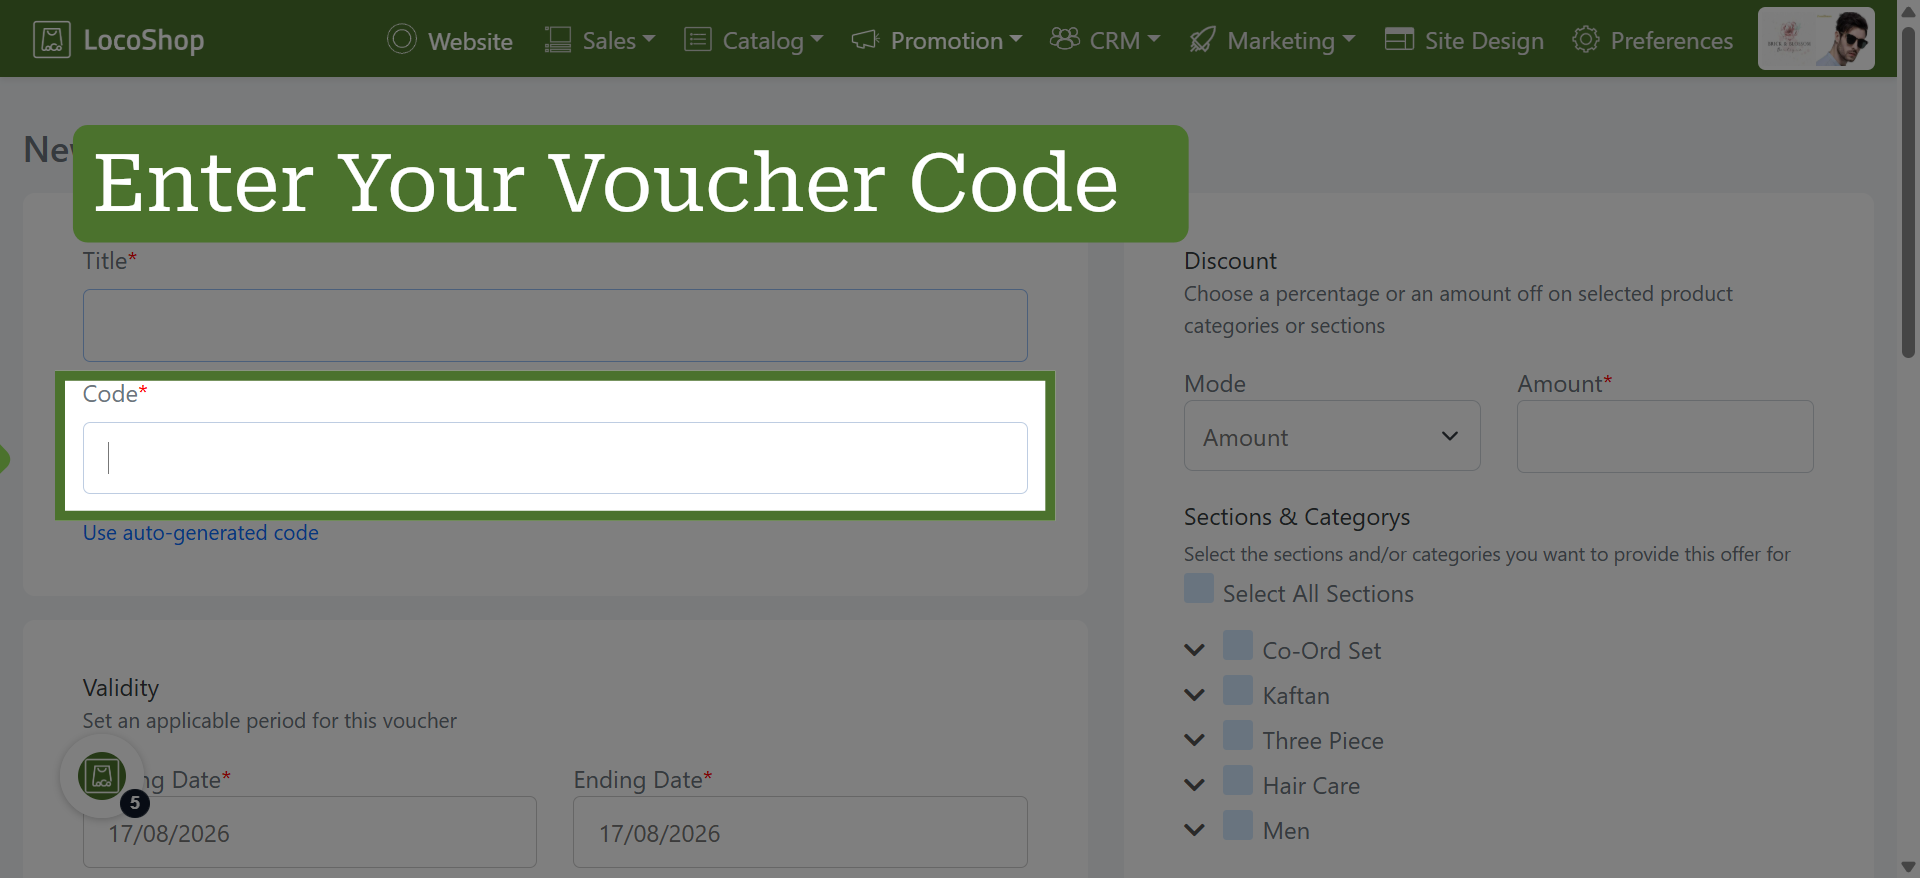
5. Enter Voucher Code
Enter a unique code that customers can use to redeem the voucher
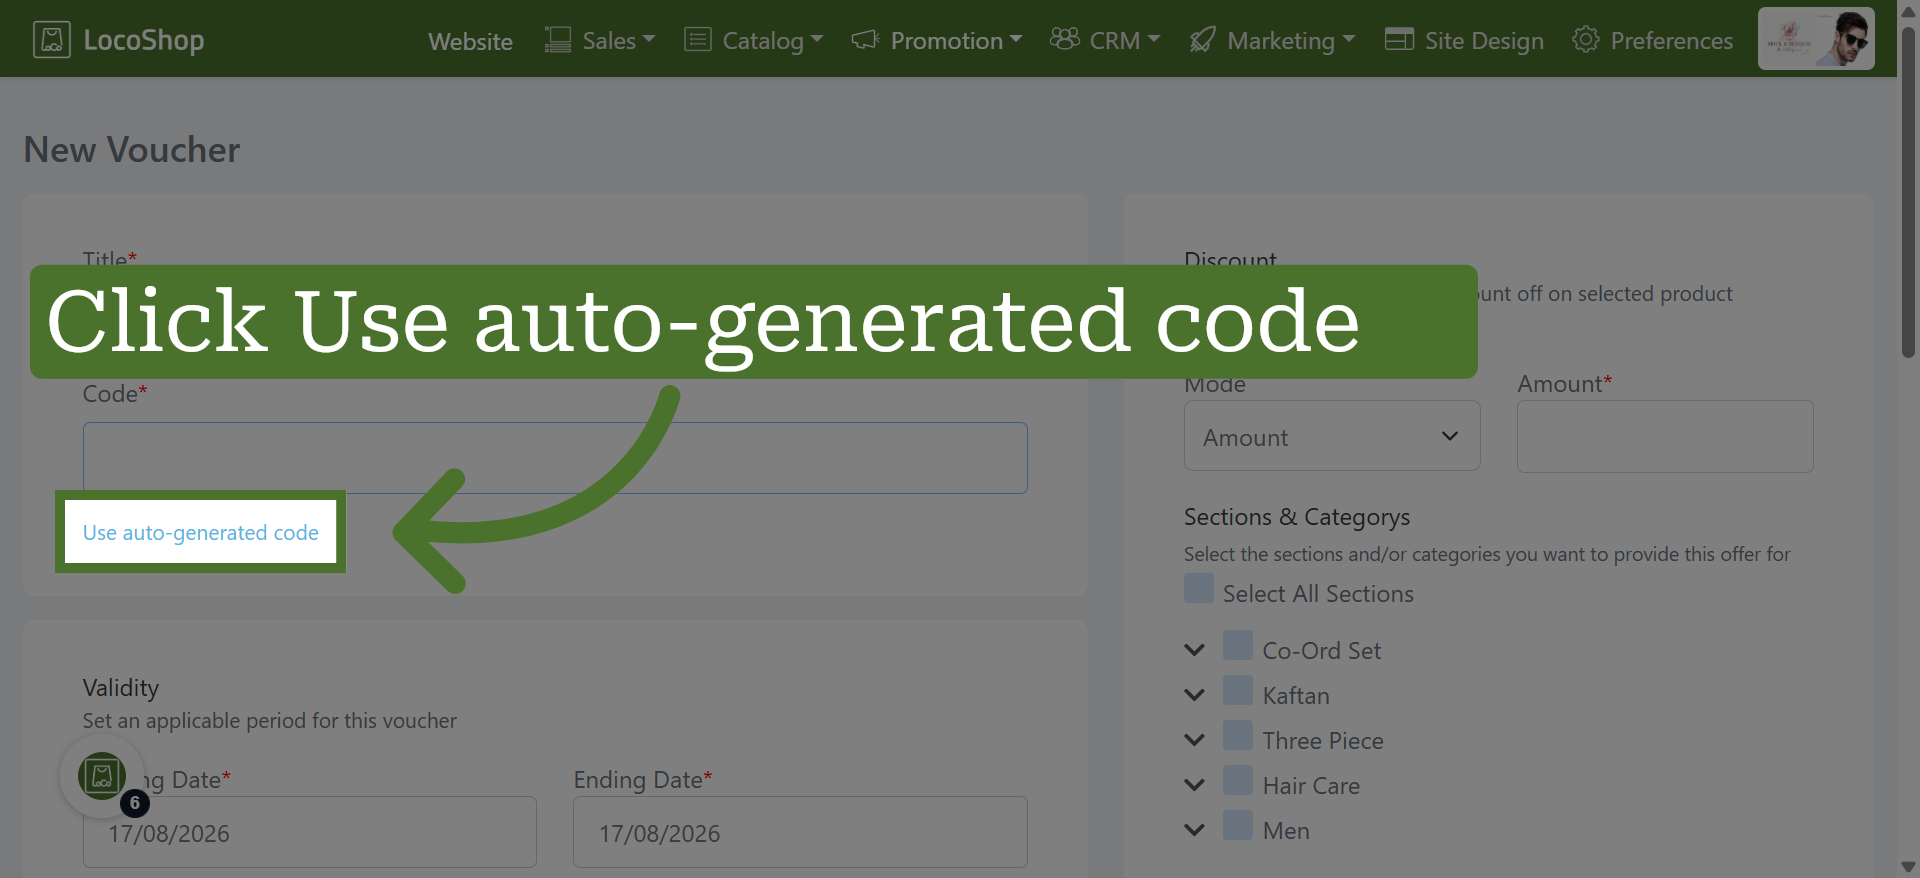
6. To Auto-Generated Code
Use the auto-generated option to create a unique voucher code automatically.
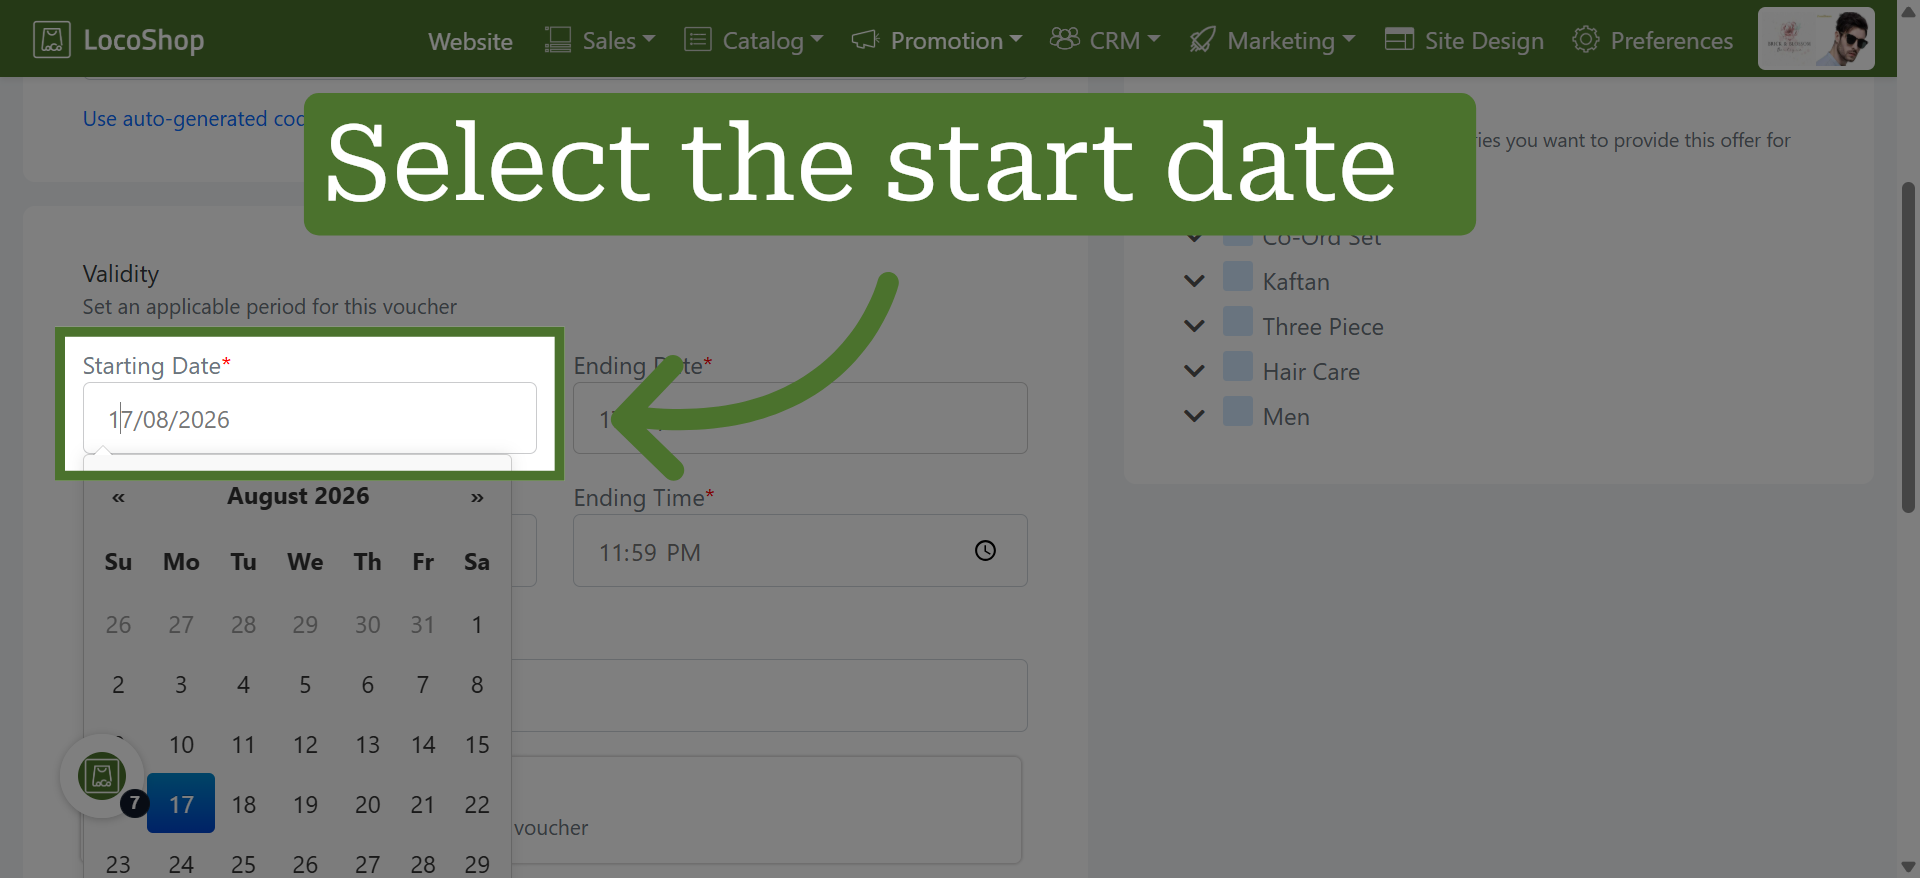
7. Set Voucher Start Date
Click "Starting Date" to select the date when the voucher becomes valid.
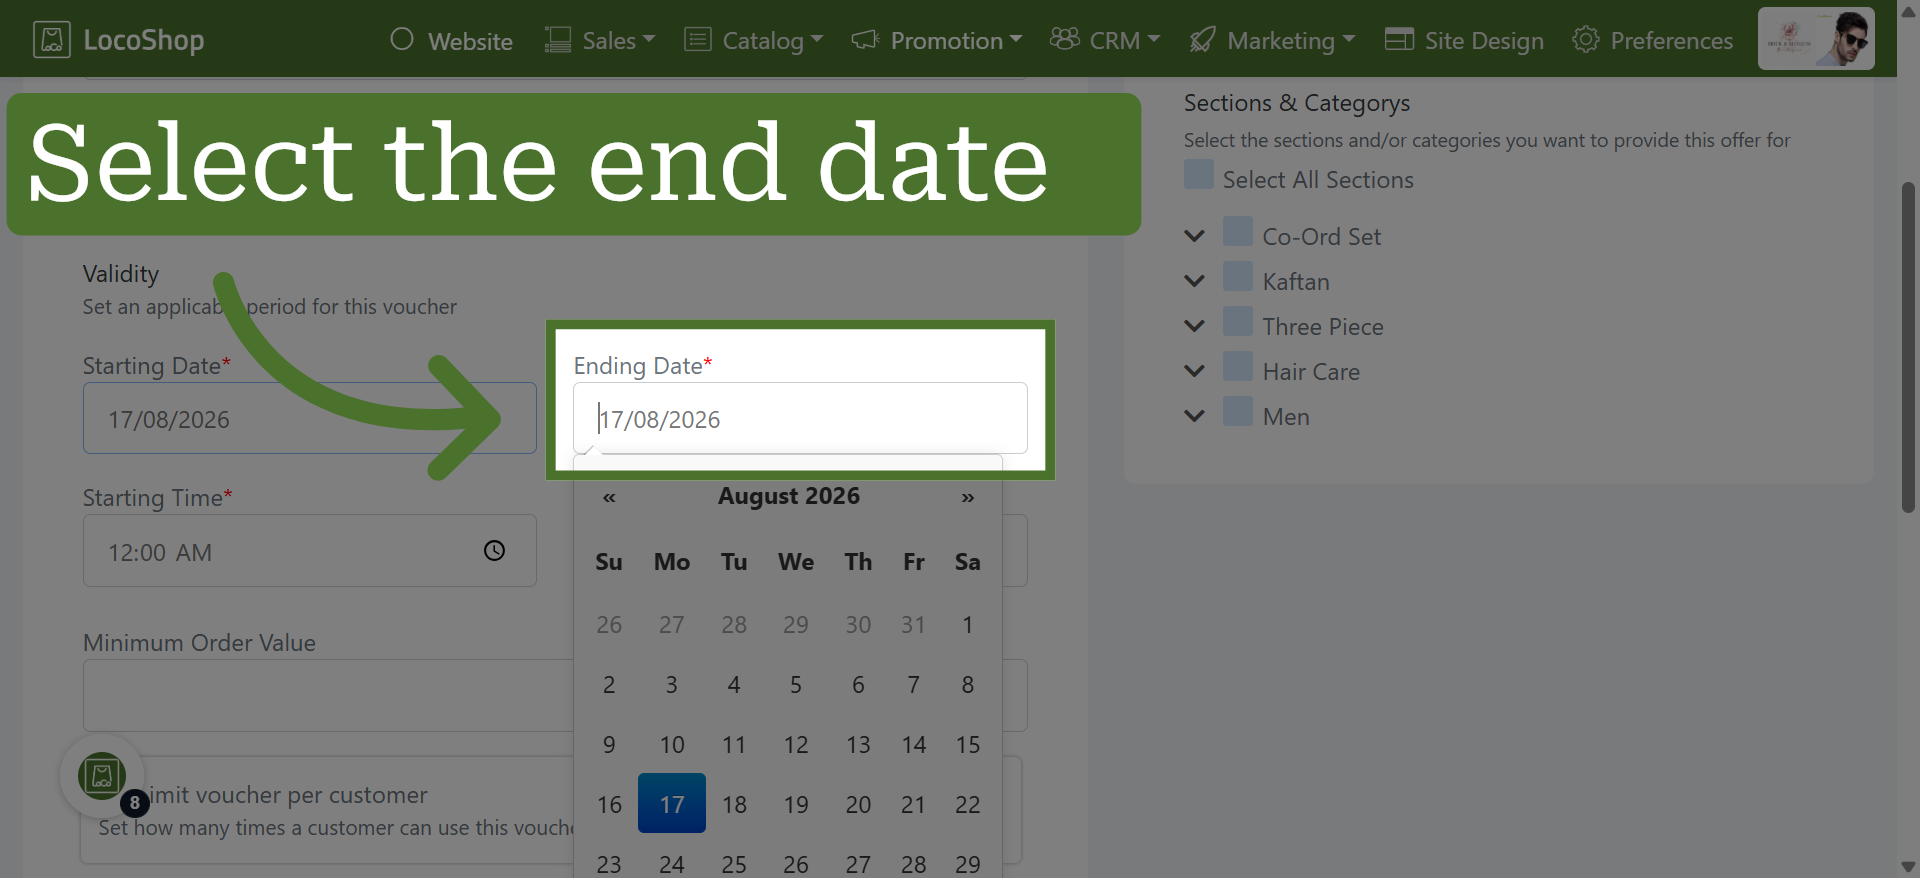
8. Set Voucher End Date
Click "Ending Date" to choose the date when the voucher expires.
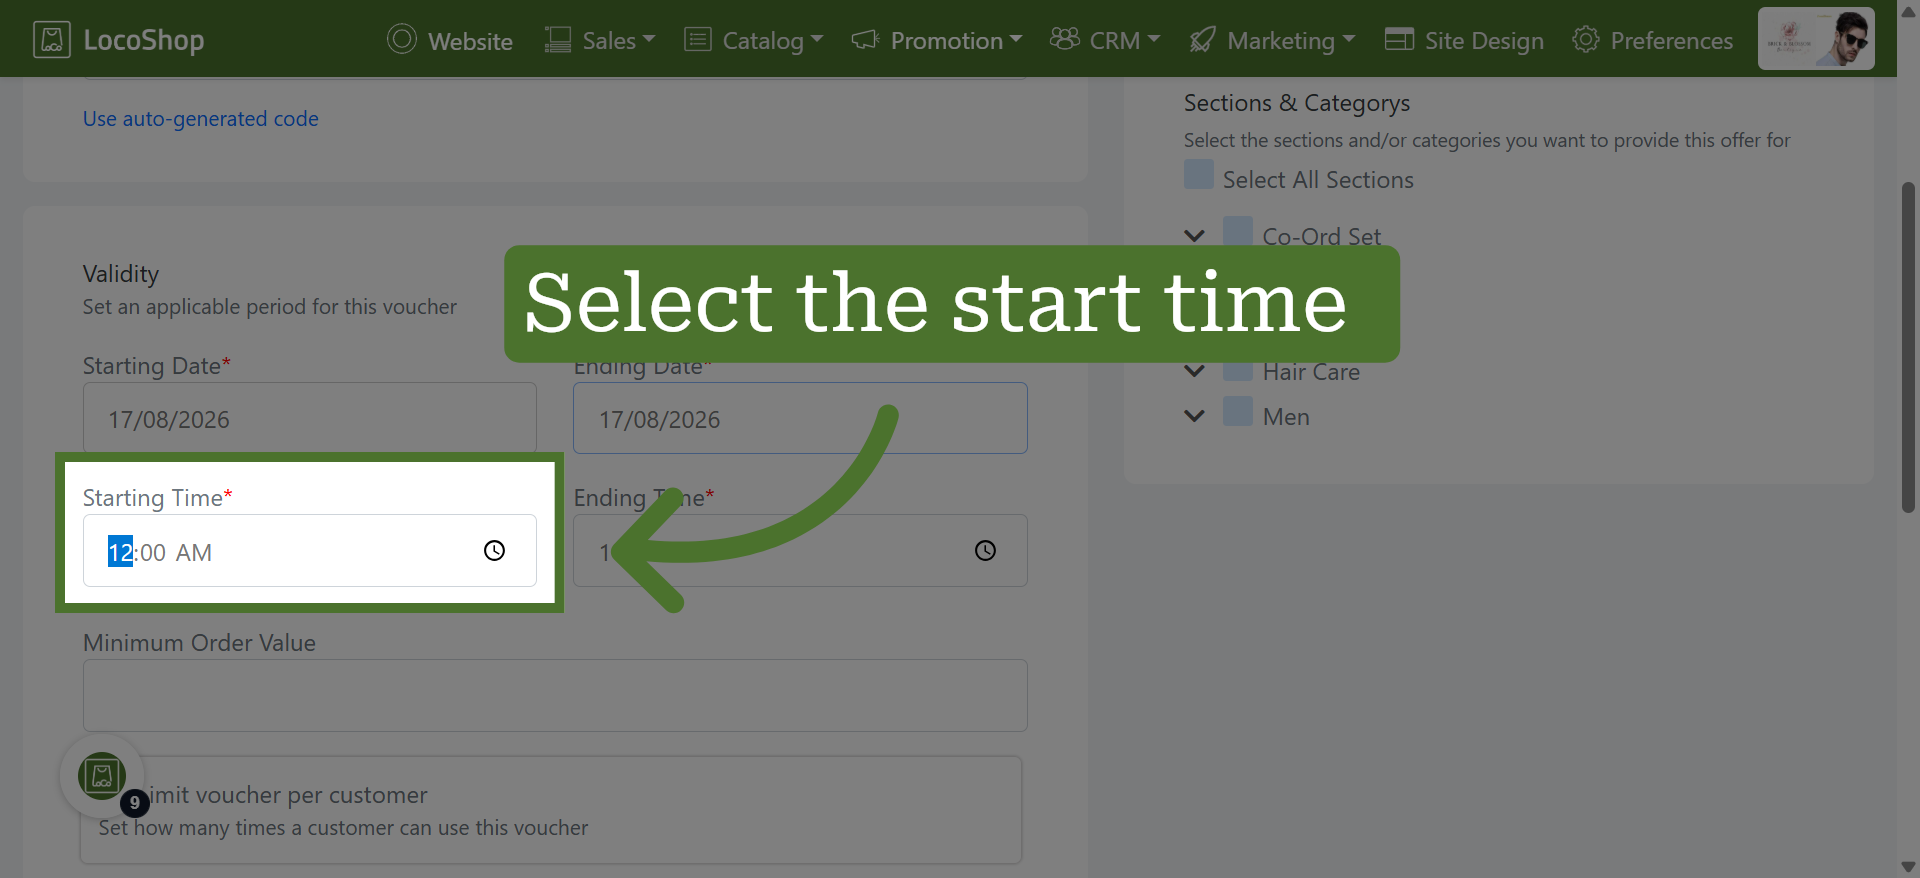
9. Select Start Time
Click here to set the starting time for voucher validity on the selected date.
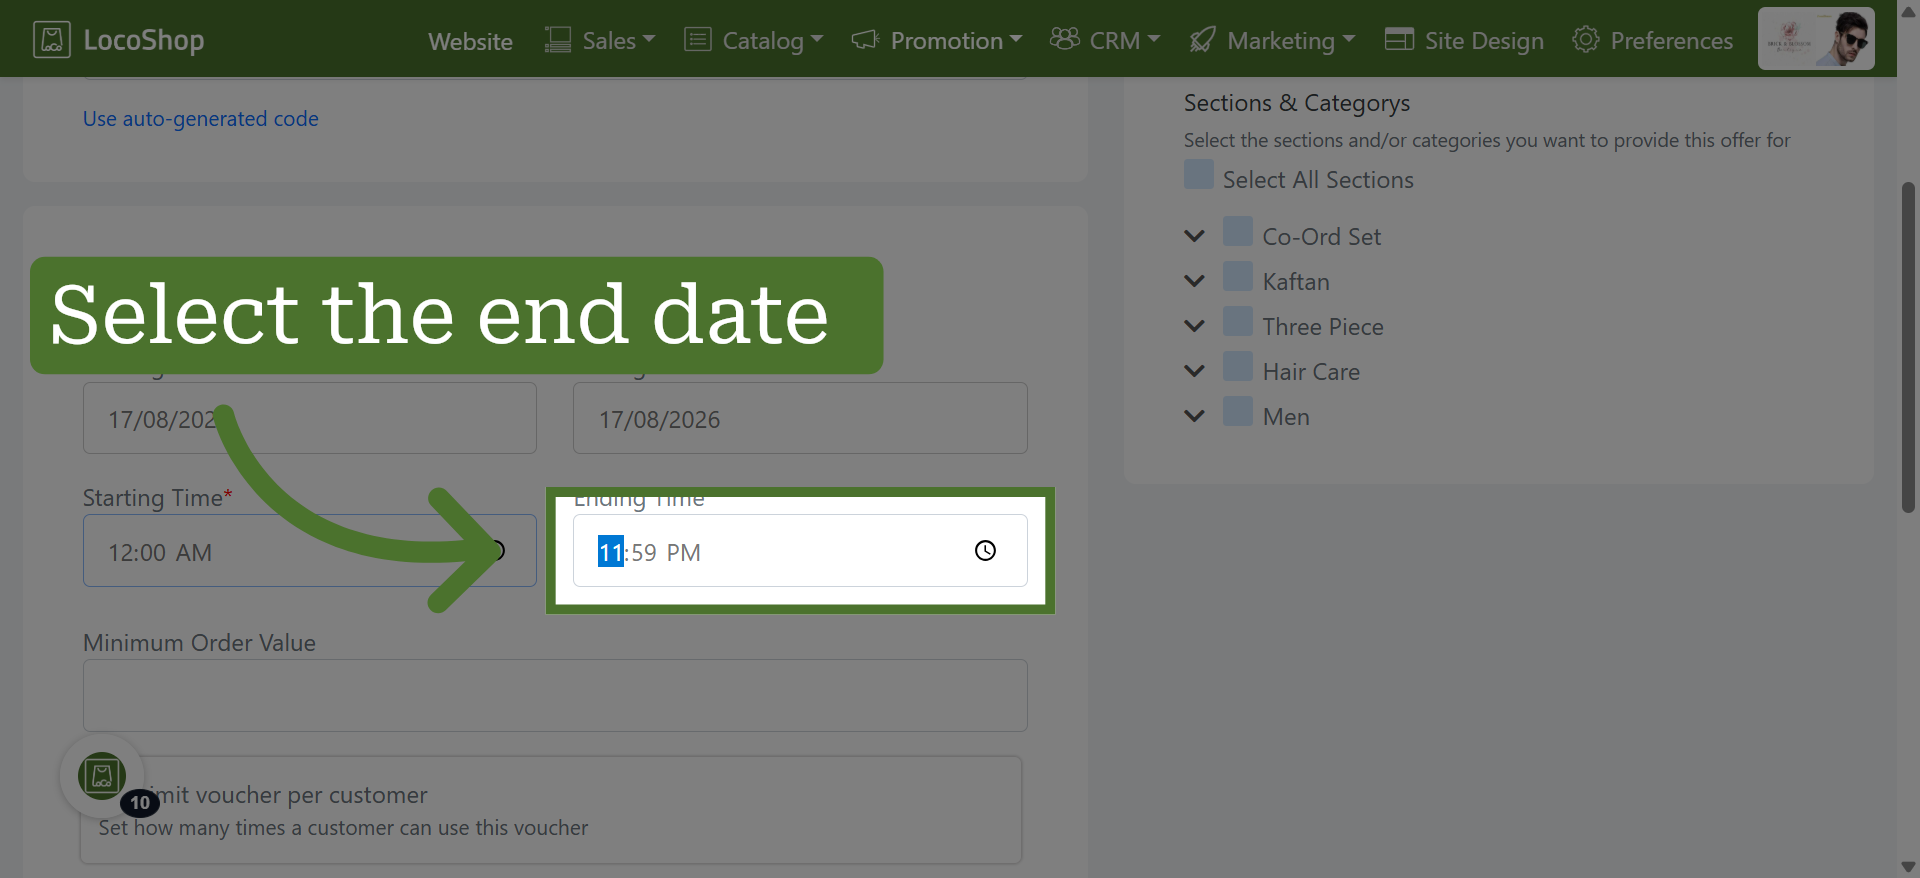
10. Select End Time
Click here to set the ending time for voucher validity on the selected date.
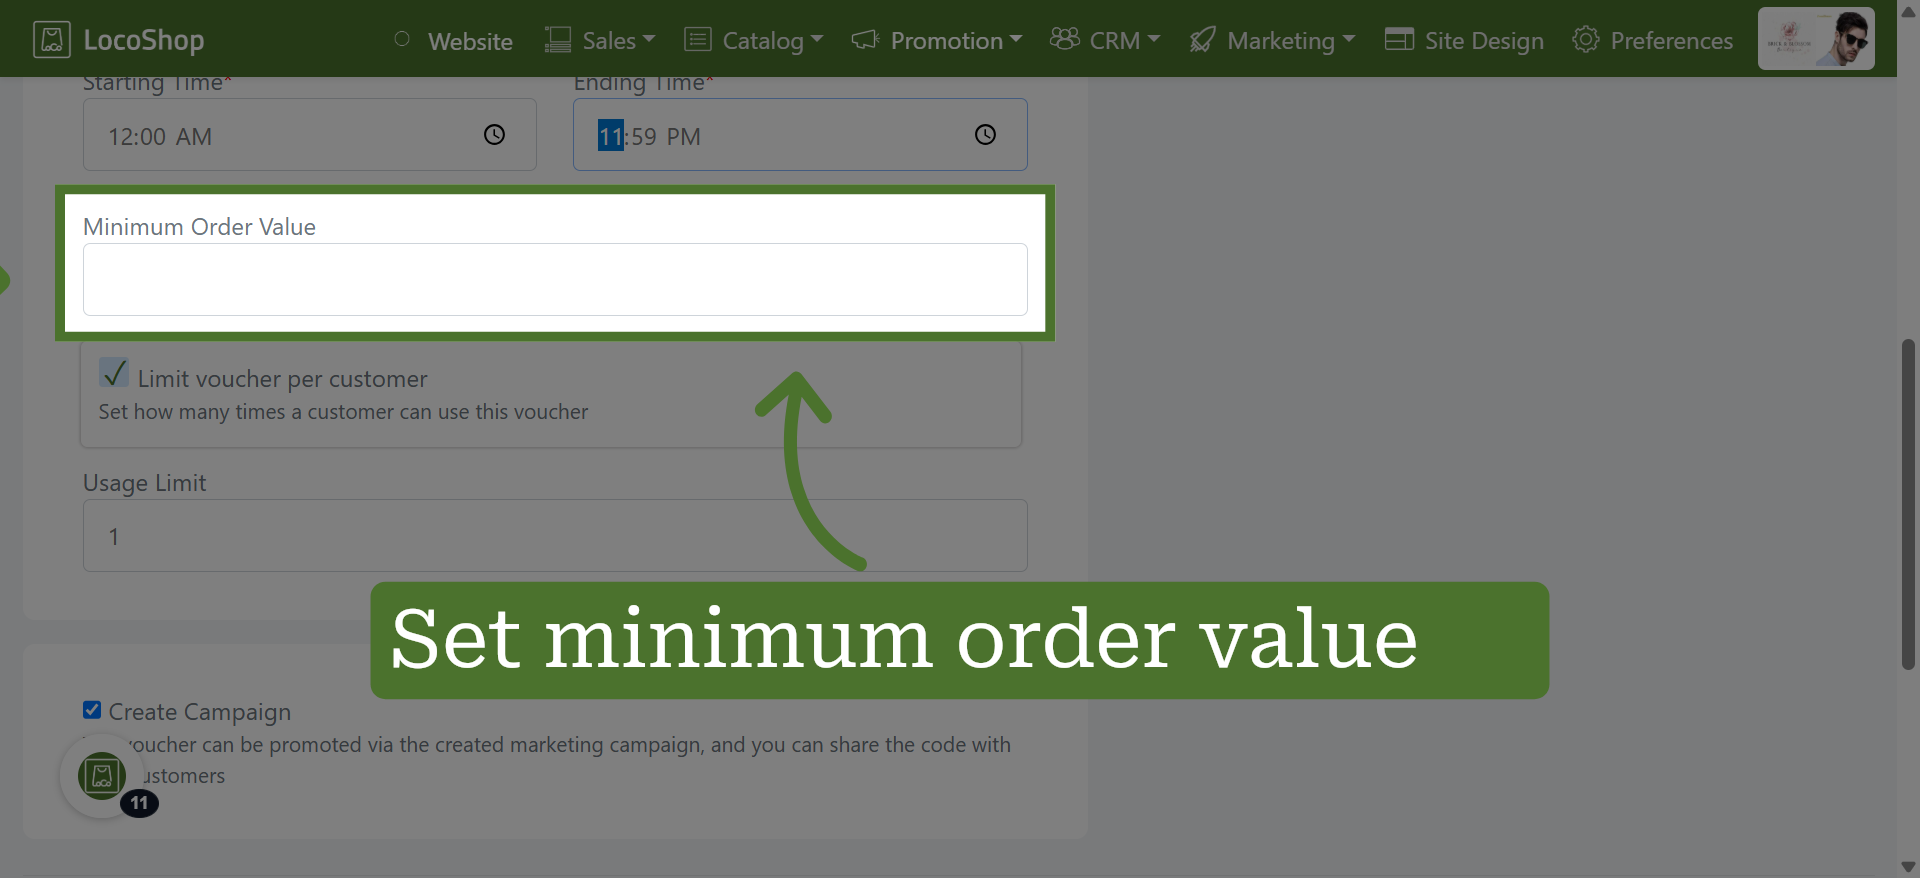
11. Set Minimum Order Value
Enter the minimum order value required to use the voucher, or set it to 0 if there is no minimum purchase requirement.
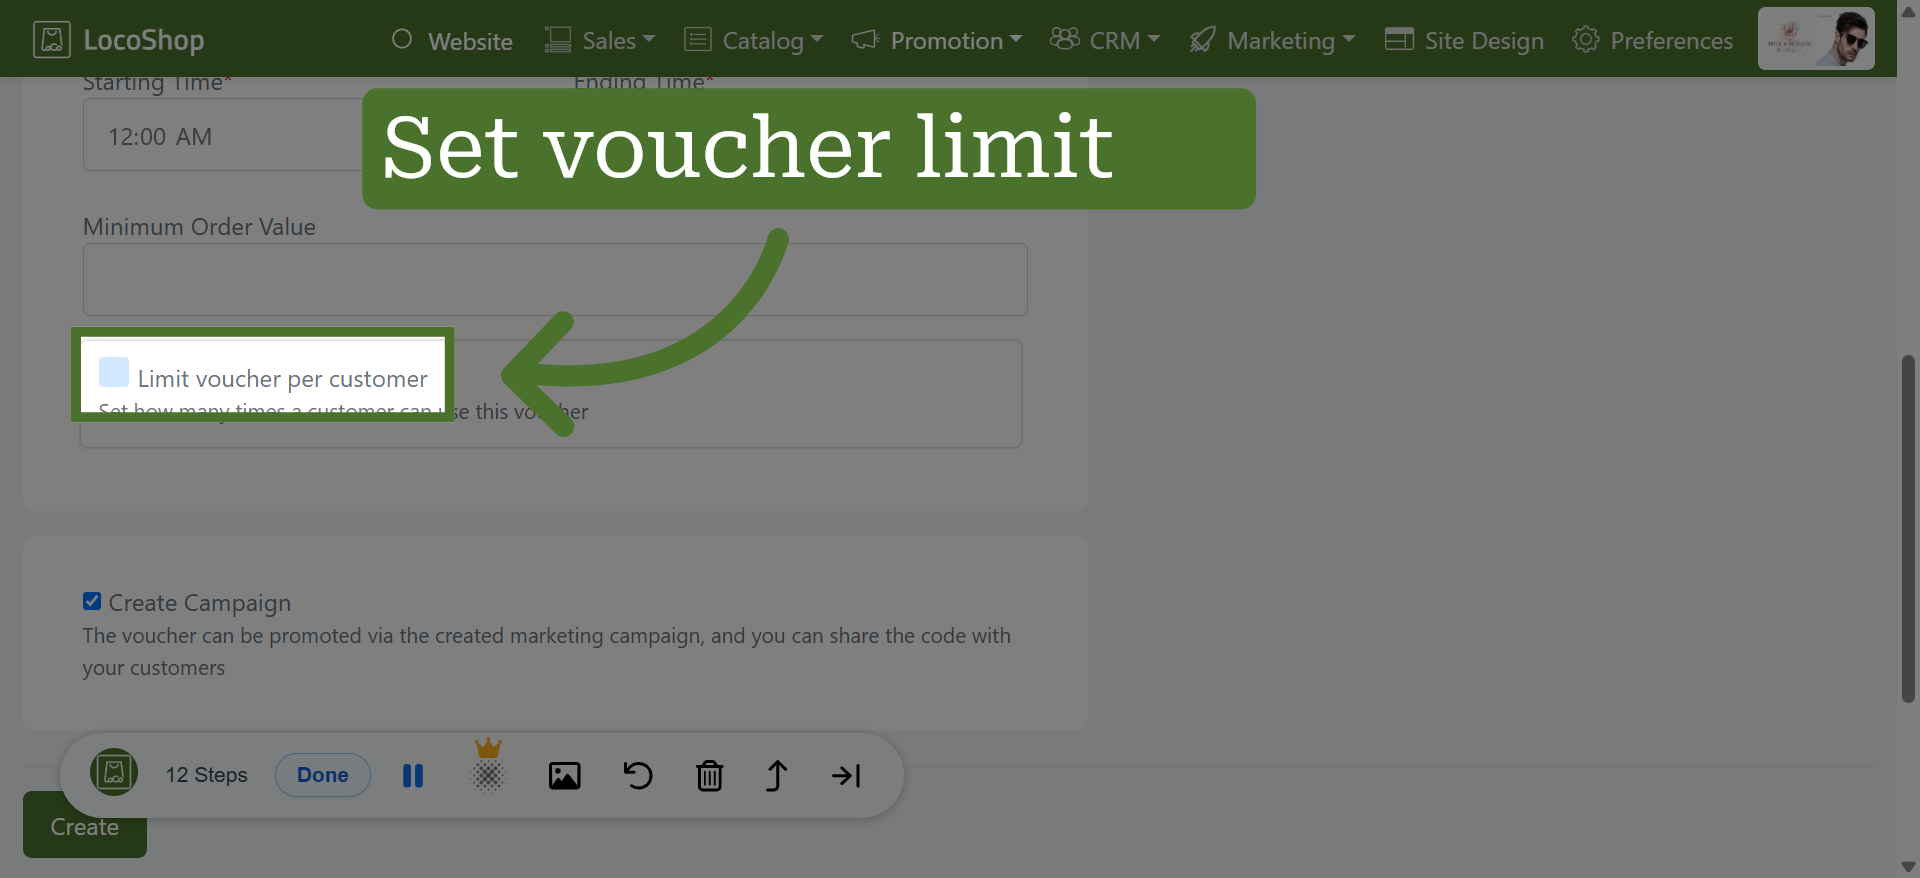
12. Limit Voucher Usage
Click "Limit voucher per customer" to restrict how many times a customer can use this voucher.
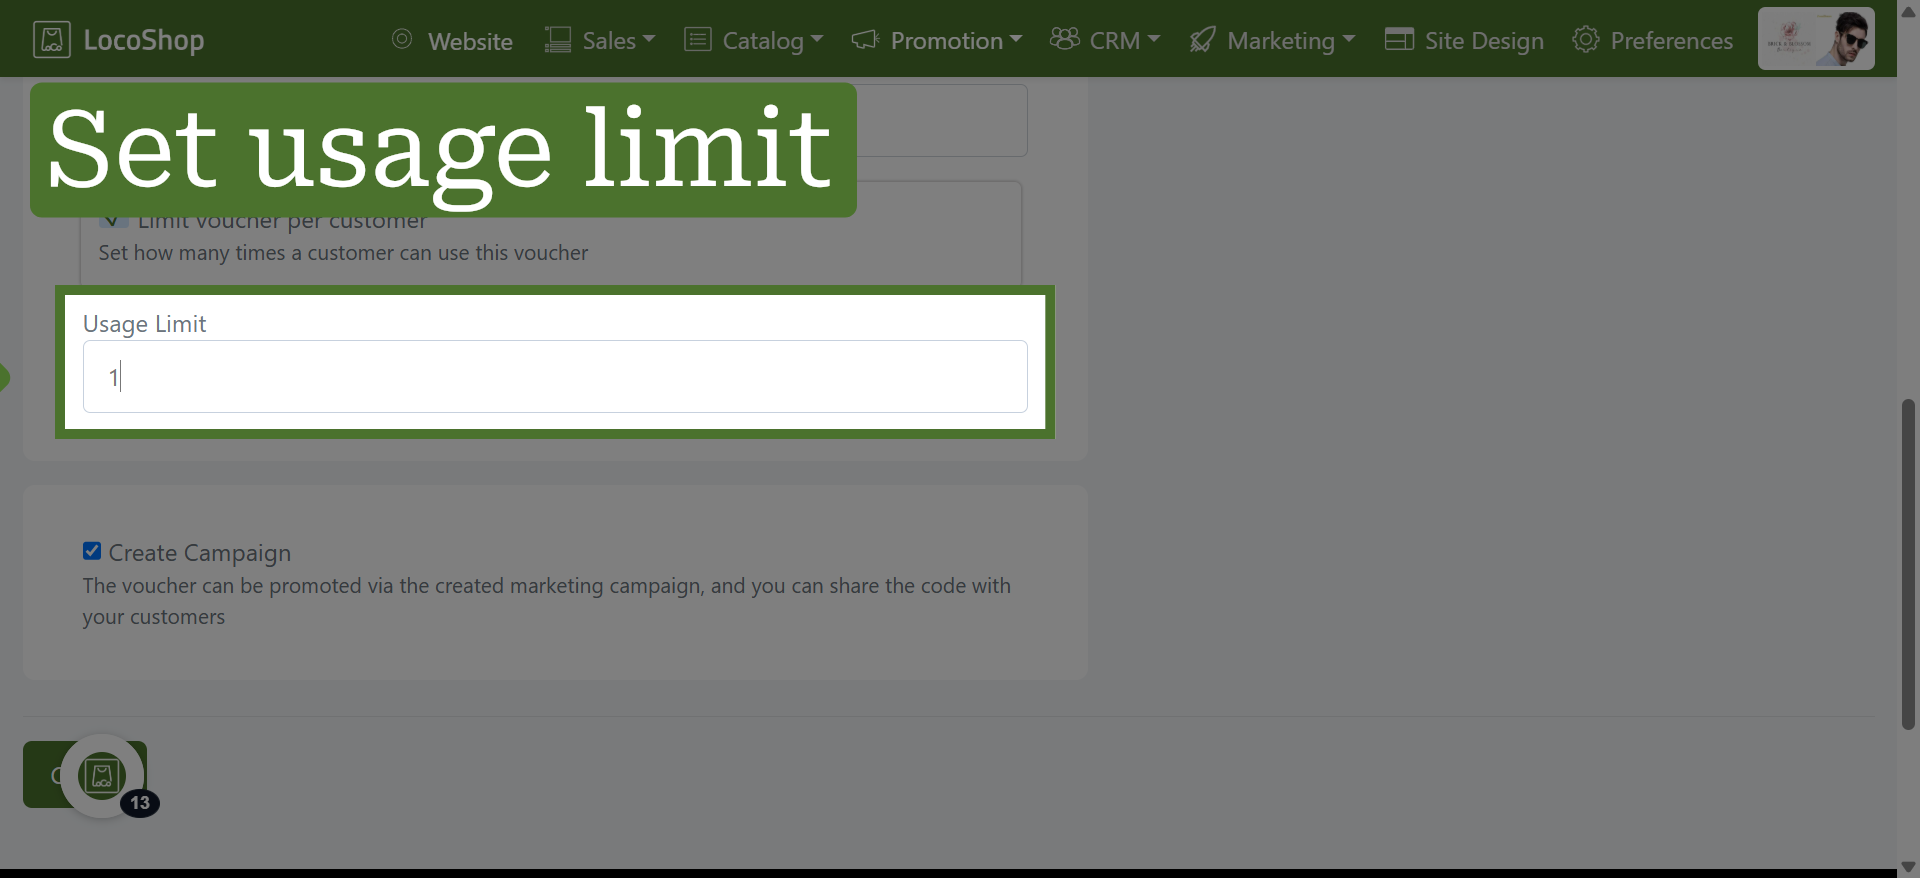
13. Set Usage Quantity
Click to limit the voucher to one use per customer.
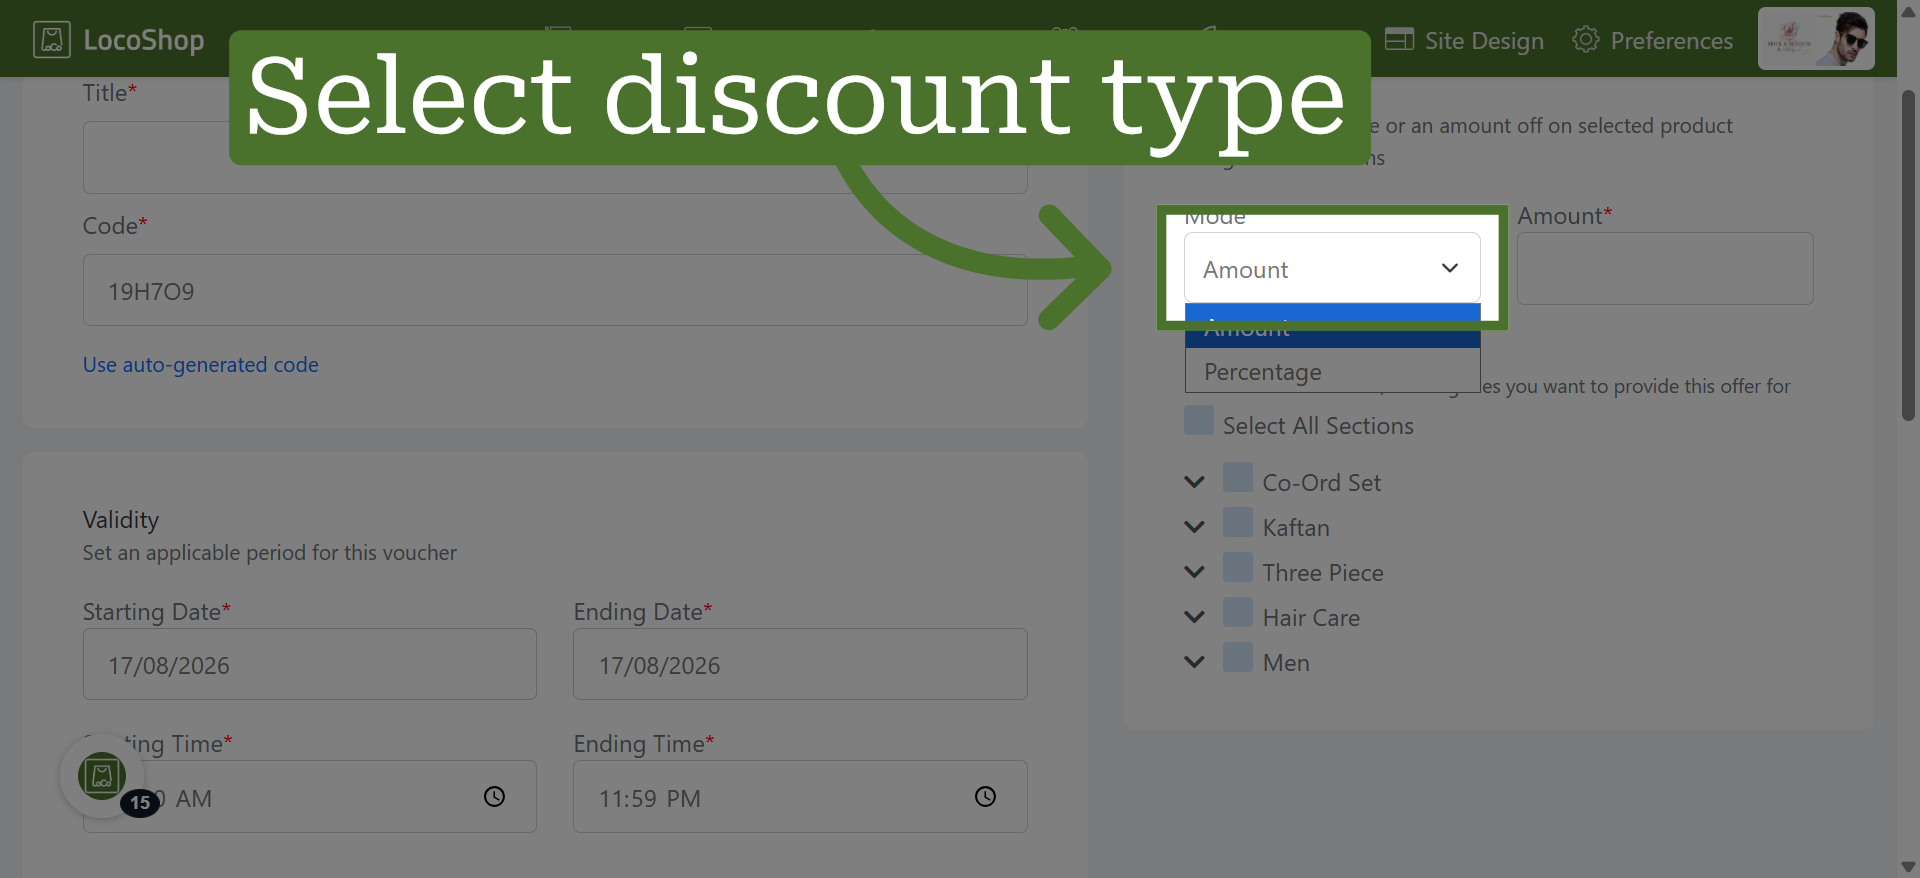
14. Choose Discount Type
Click "Amount/ Percentage" to select whether the discount is a fixed amount or a percentage.
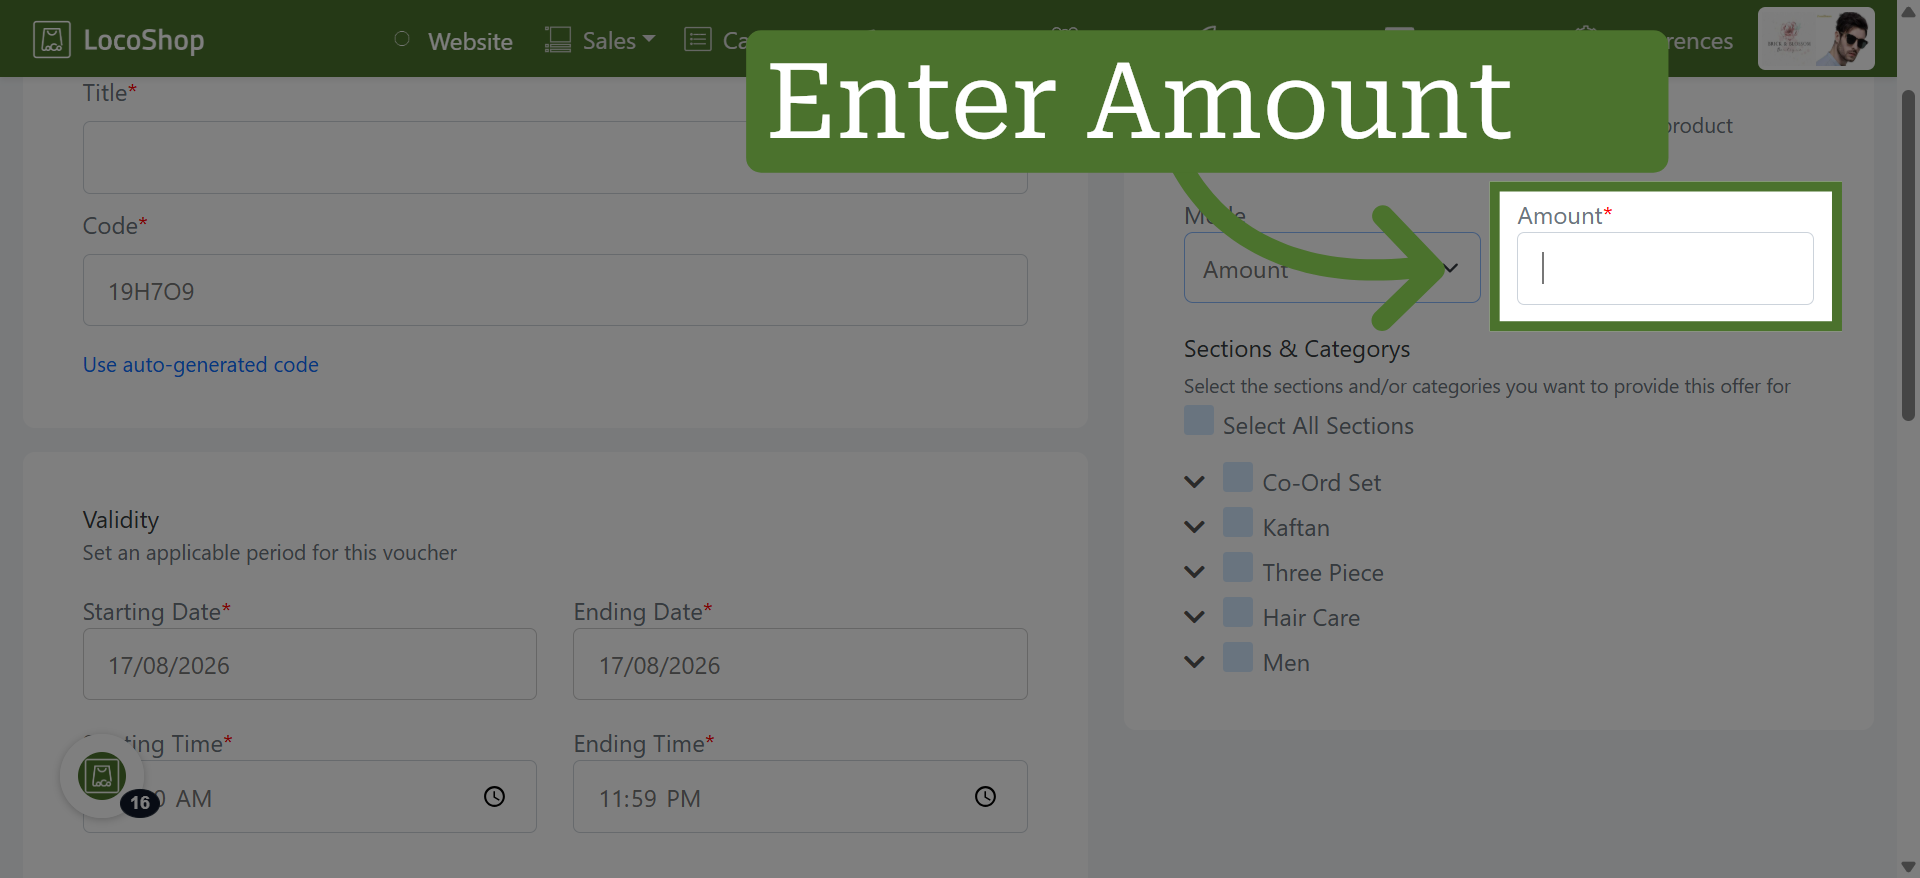
15. Enter Discount Amount
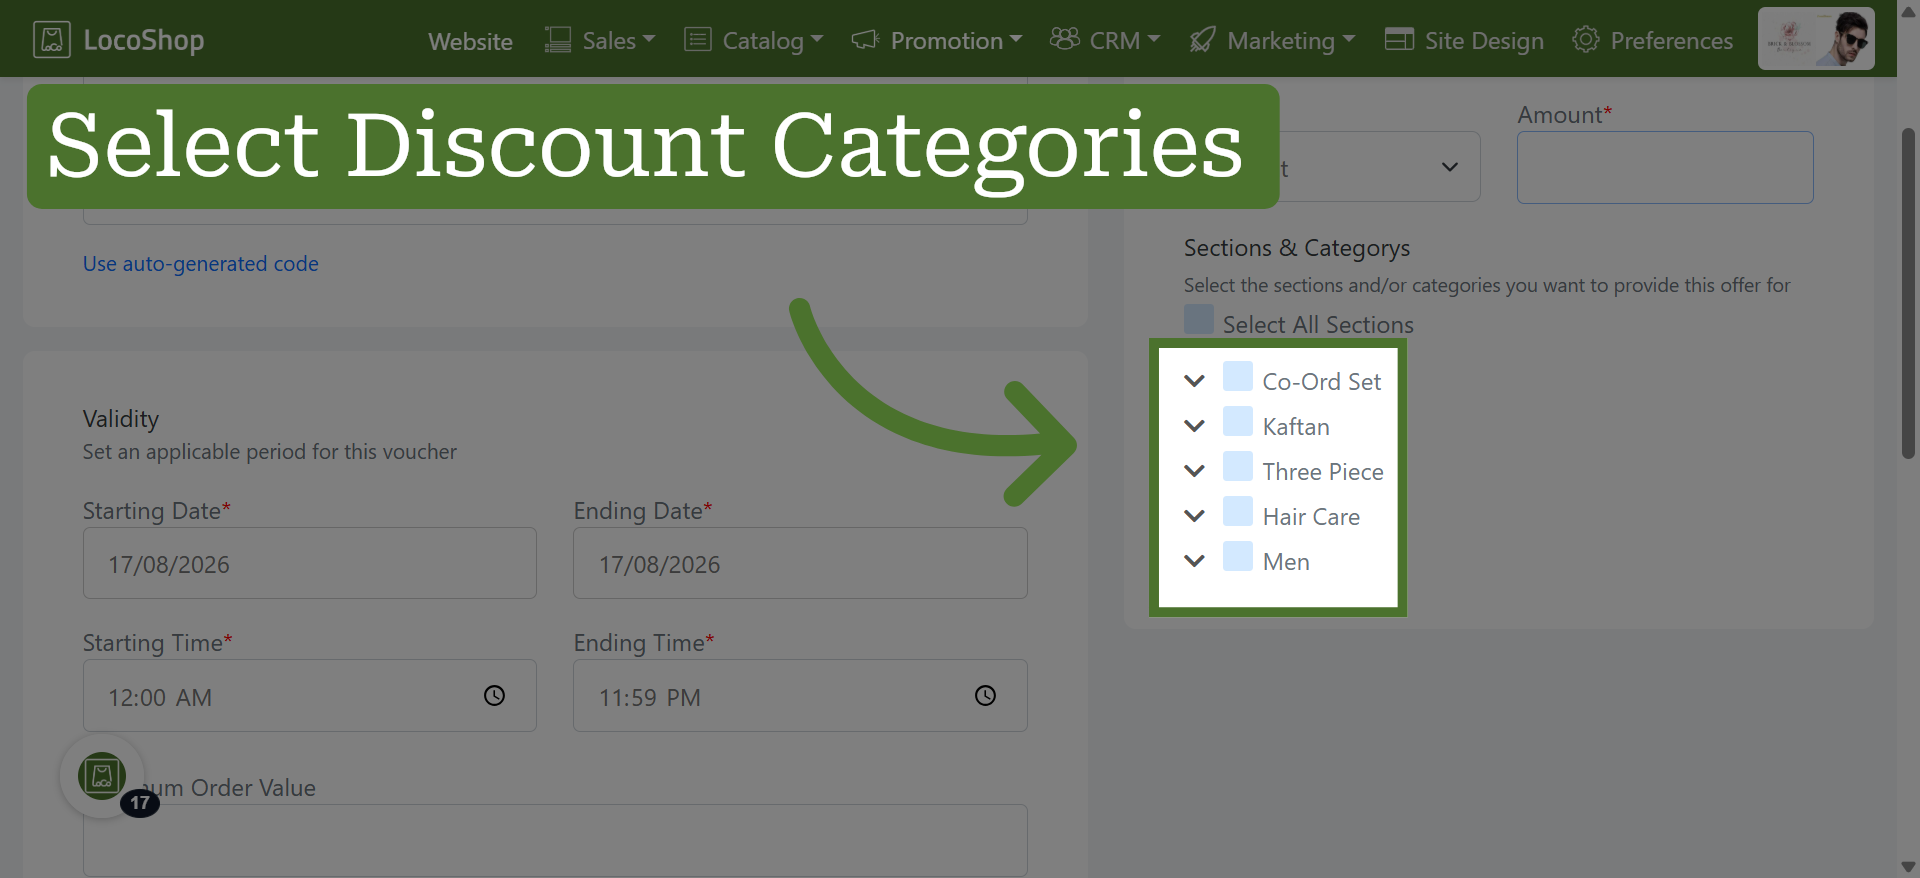
16. Select Discount Categories
Choose the categories where you want to apply the voucher discount.
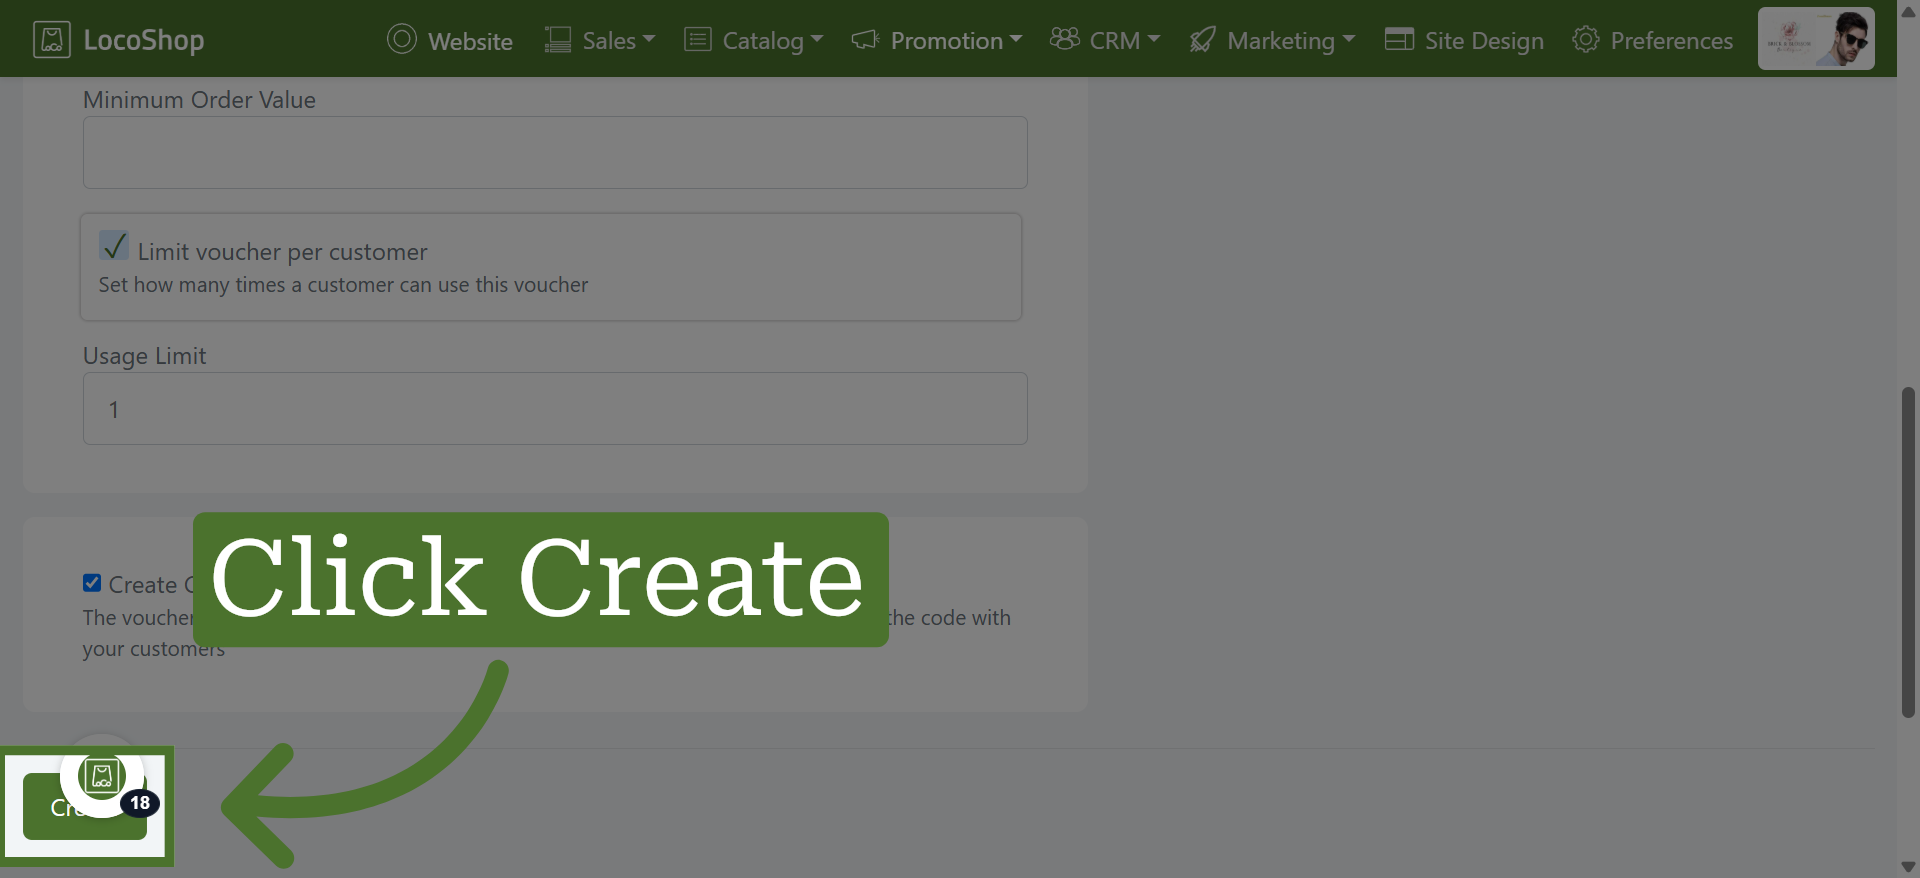
17. Create Voucher
Click "Create" to finalize and save the new voucher in the Business Portal.