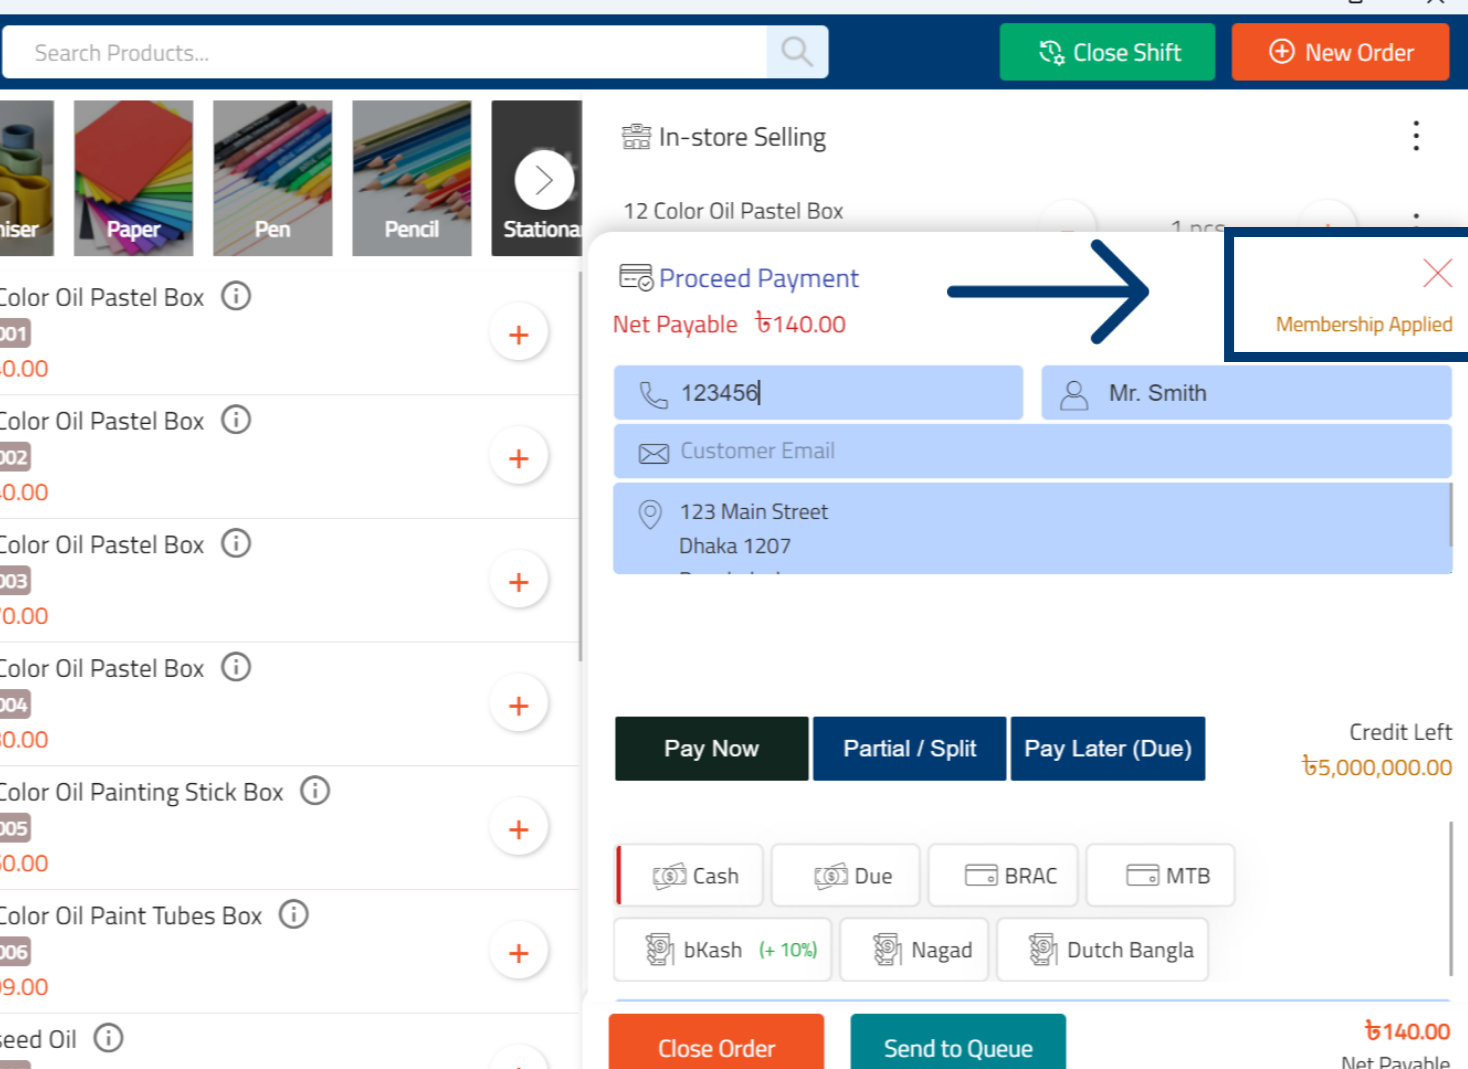
How to Add a Customer to a Membership in RetailGo Business Portal
This tutorial guides you through configuring a membership offer within the Business Portal. You
will also learn how to assign the membership to selected customers and define its purpose for
customer engagement and benefits.
Go to
retailgo.quicklyservices.com
1. Access Sales & Billing Module
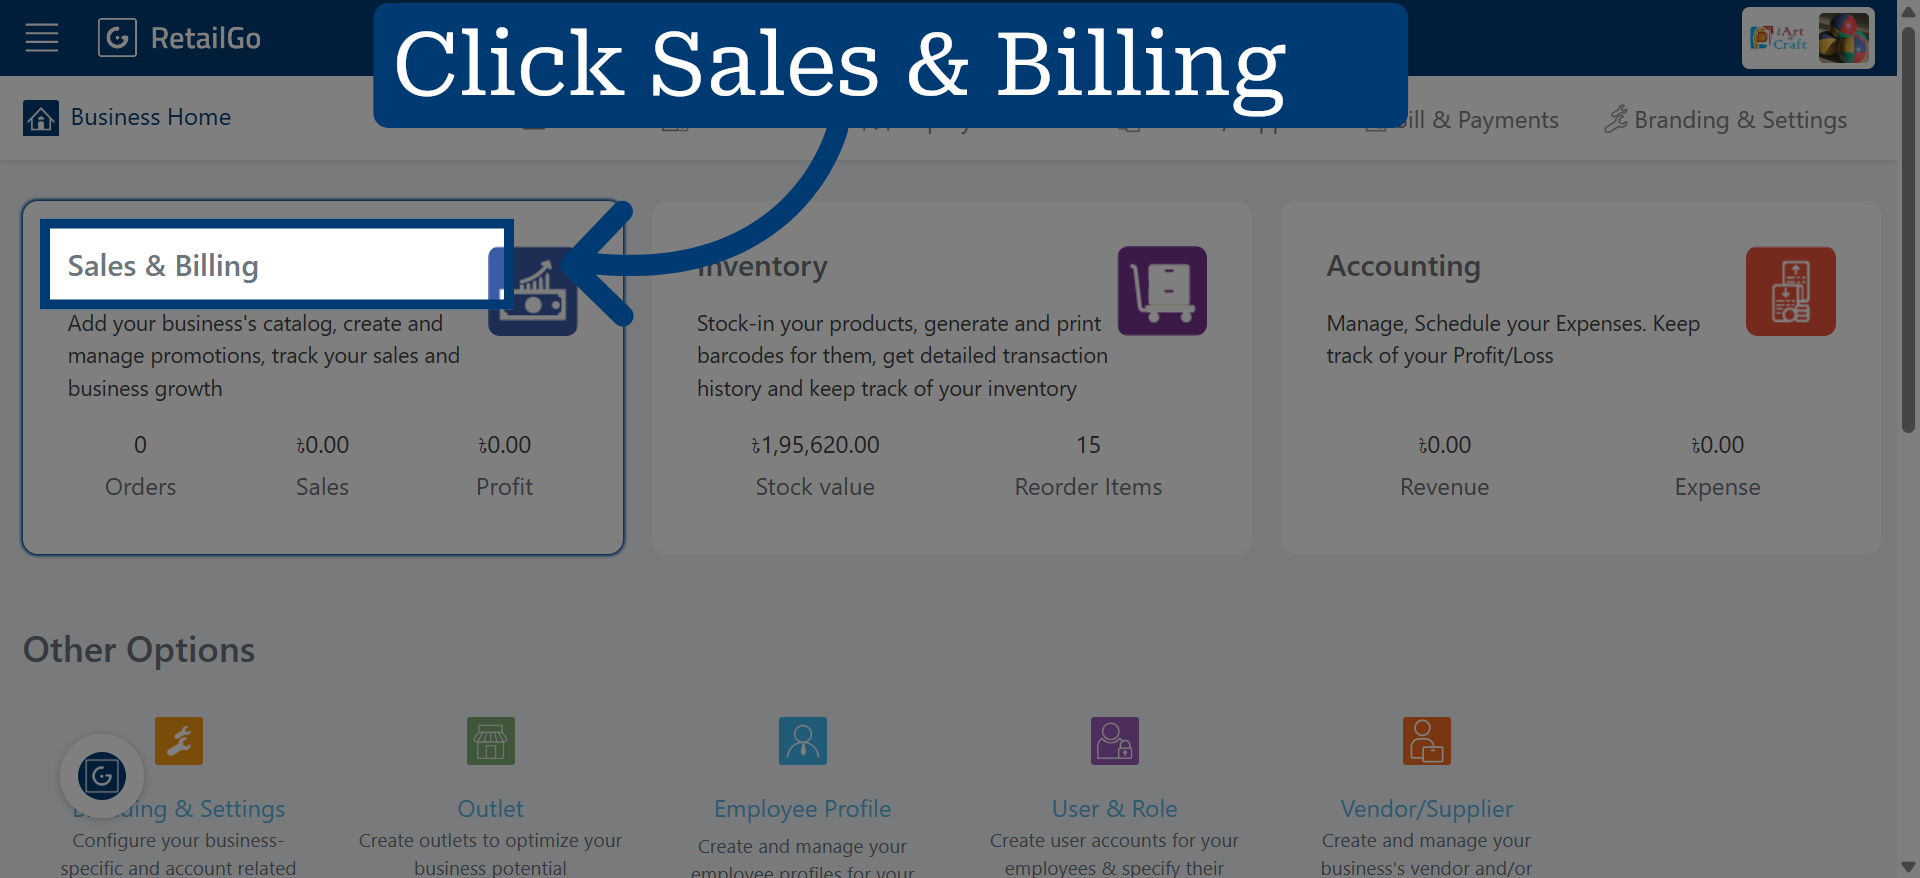
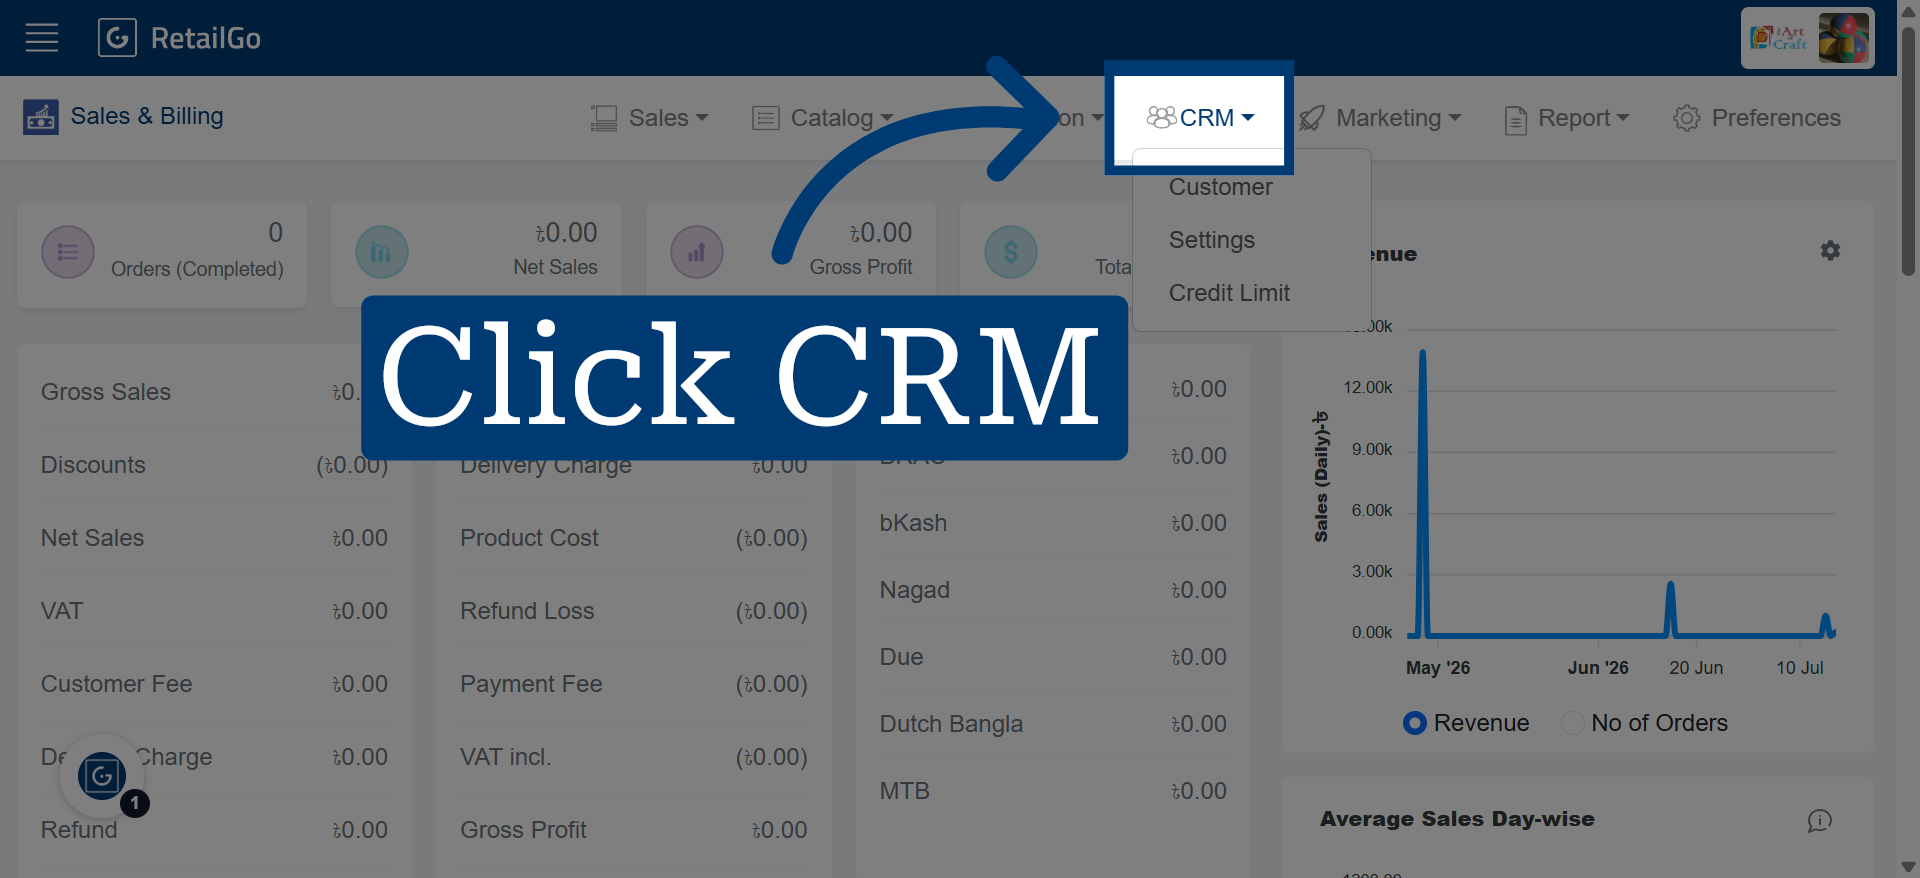
2. Open CRM Menu Option
Click Store Operation to access stock management options.
3. Navigate To Customer Section
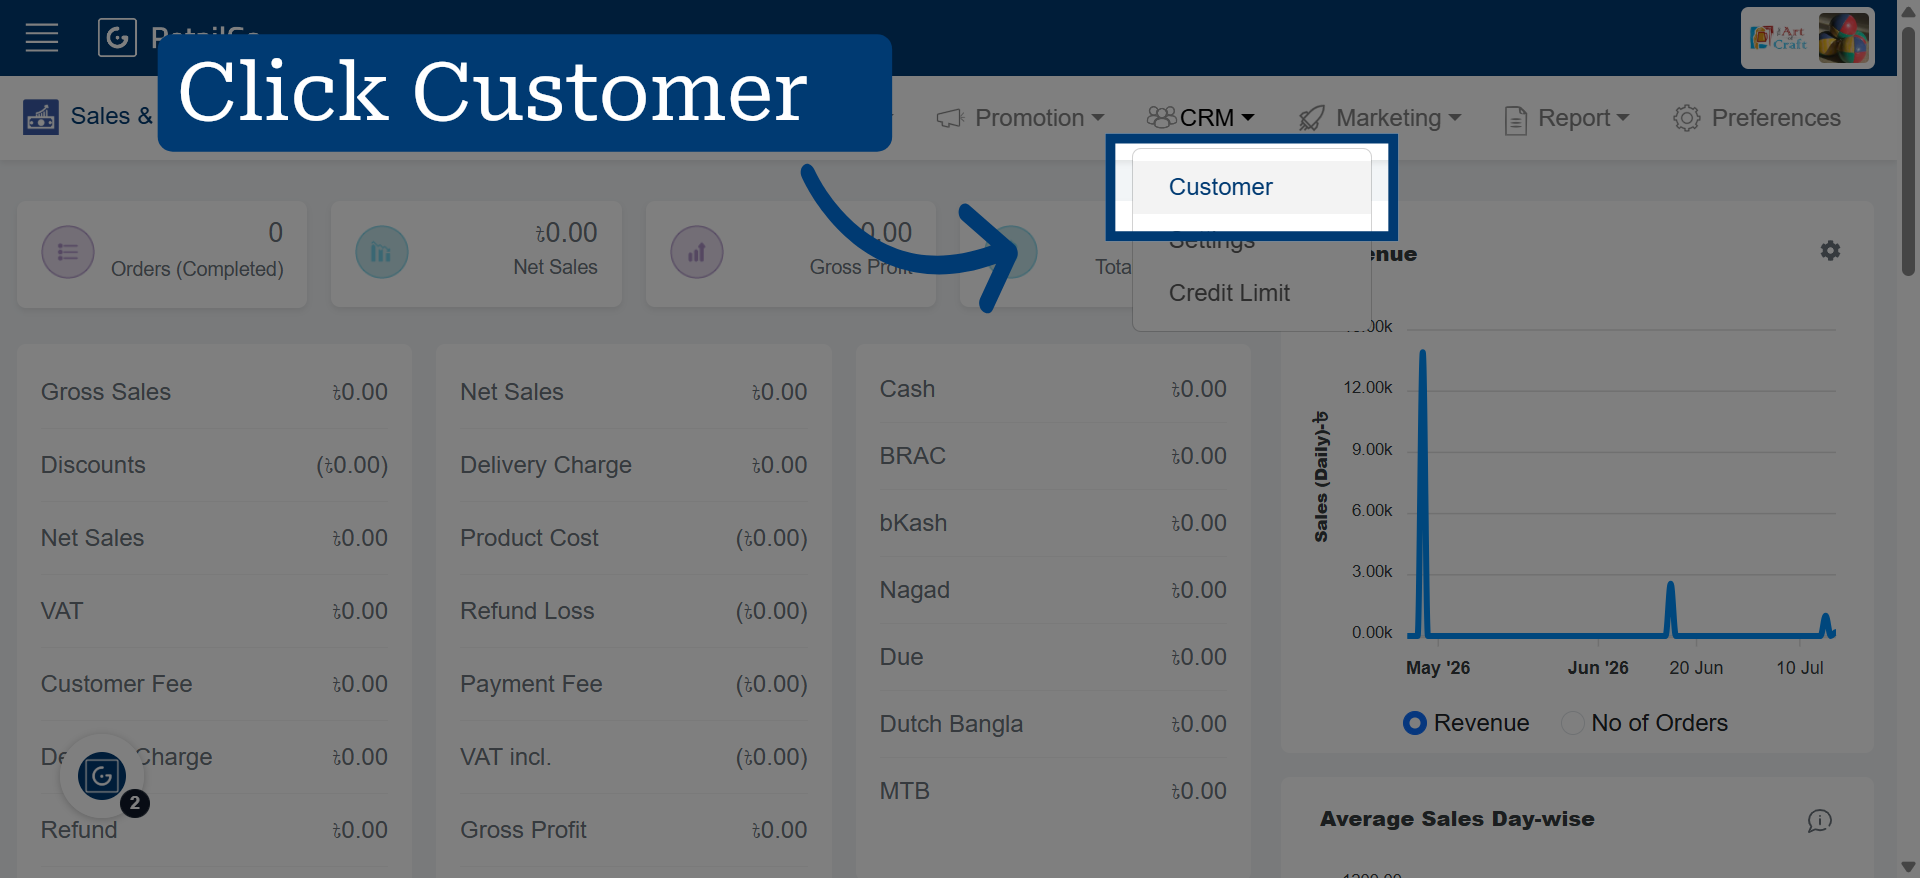
4. Proceed to This Action
Click here to continue to the next configuration step within the customer management area
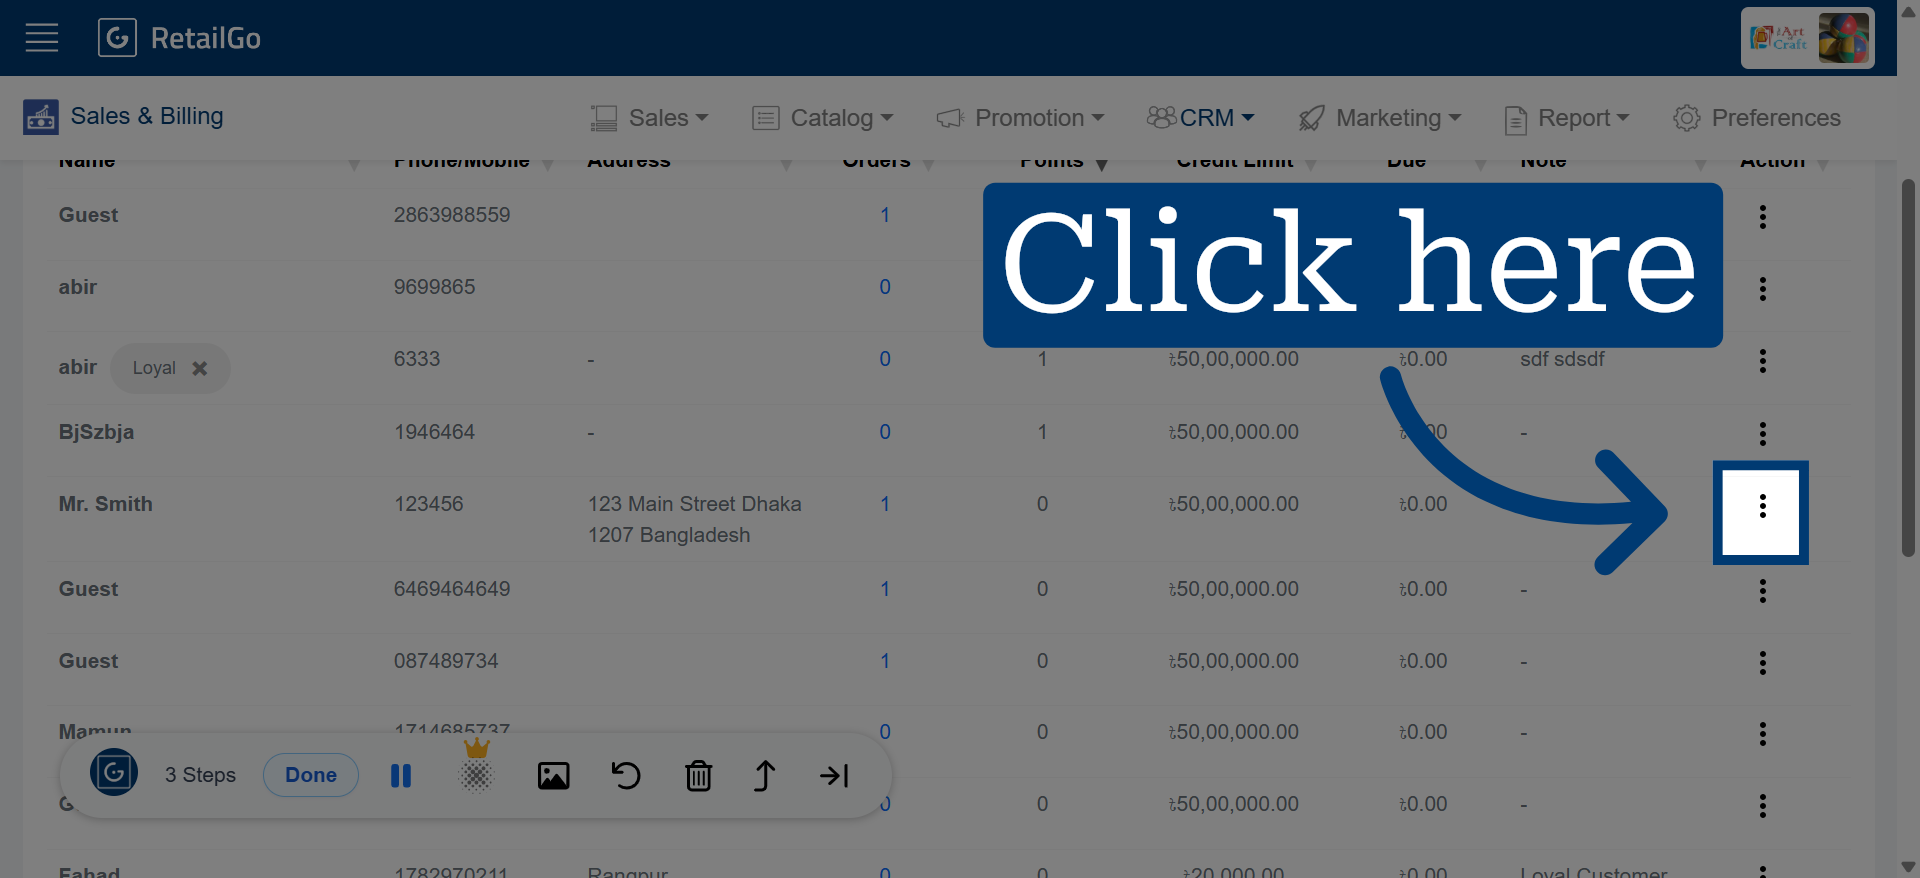
5. Select Membership Tab
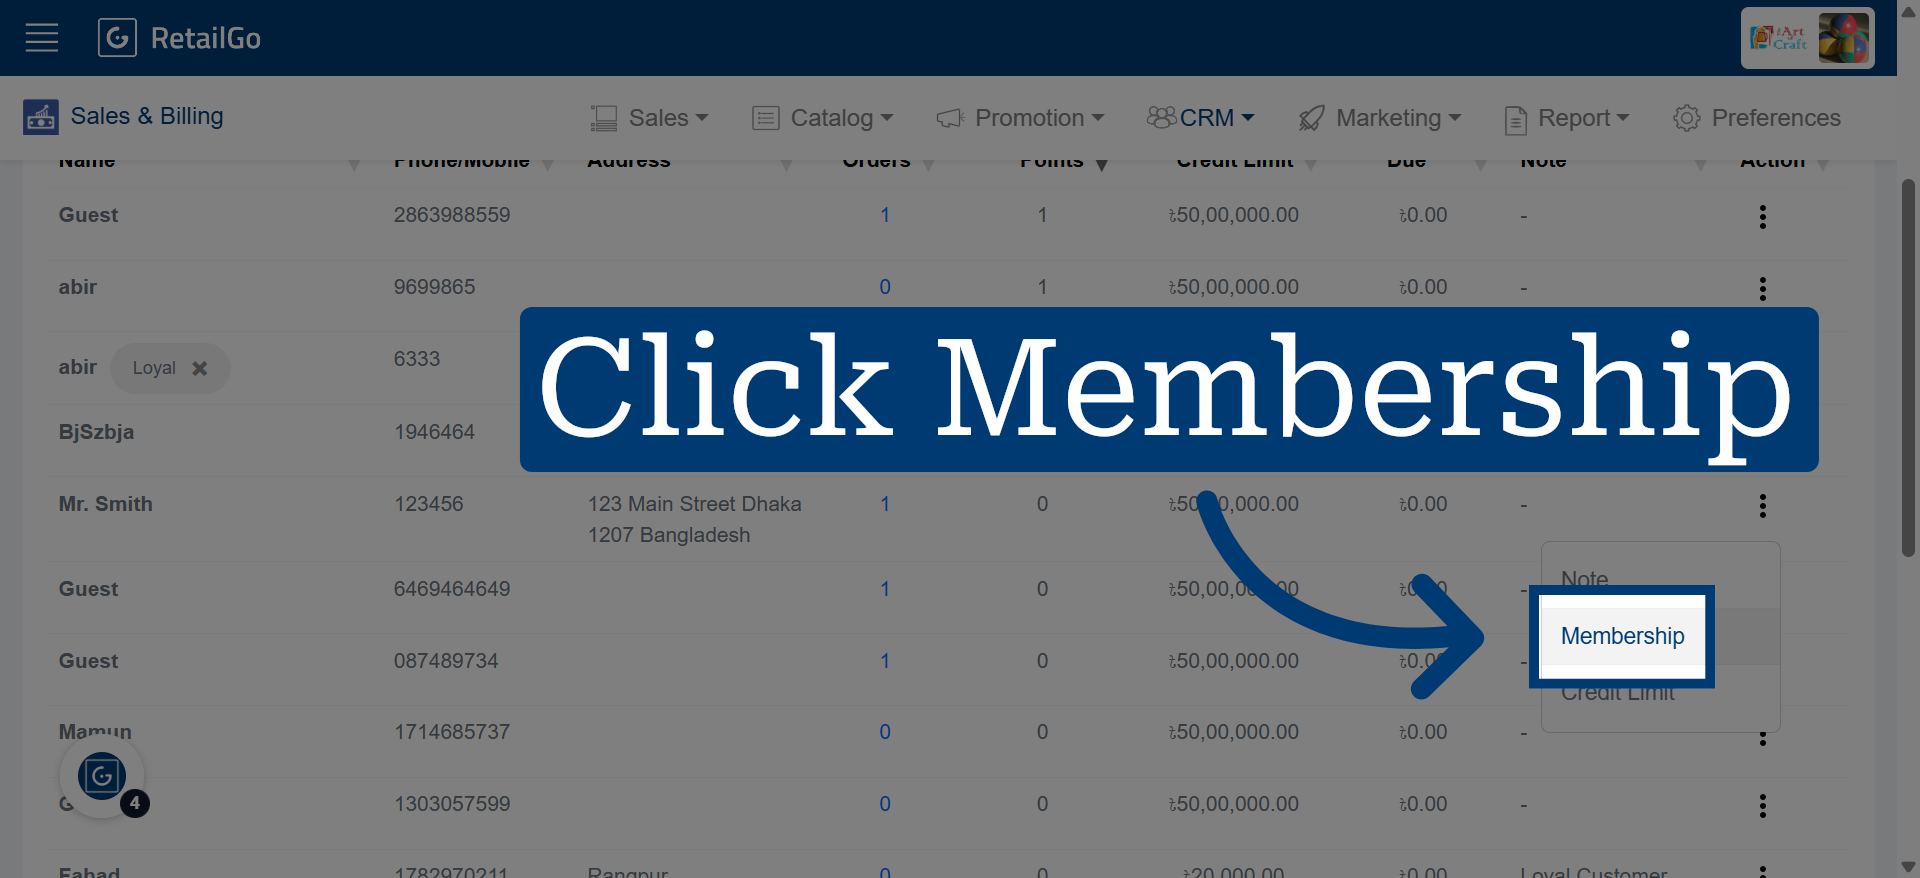
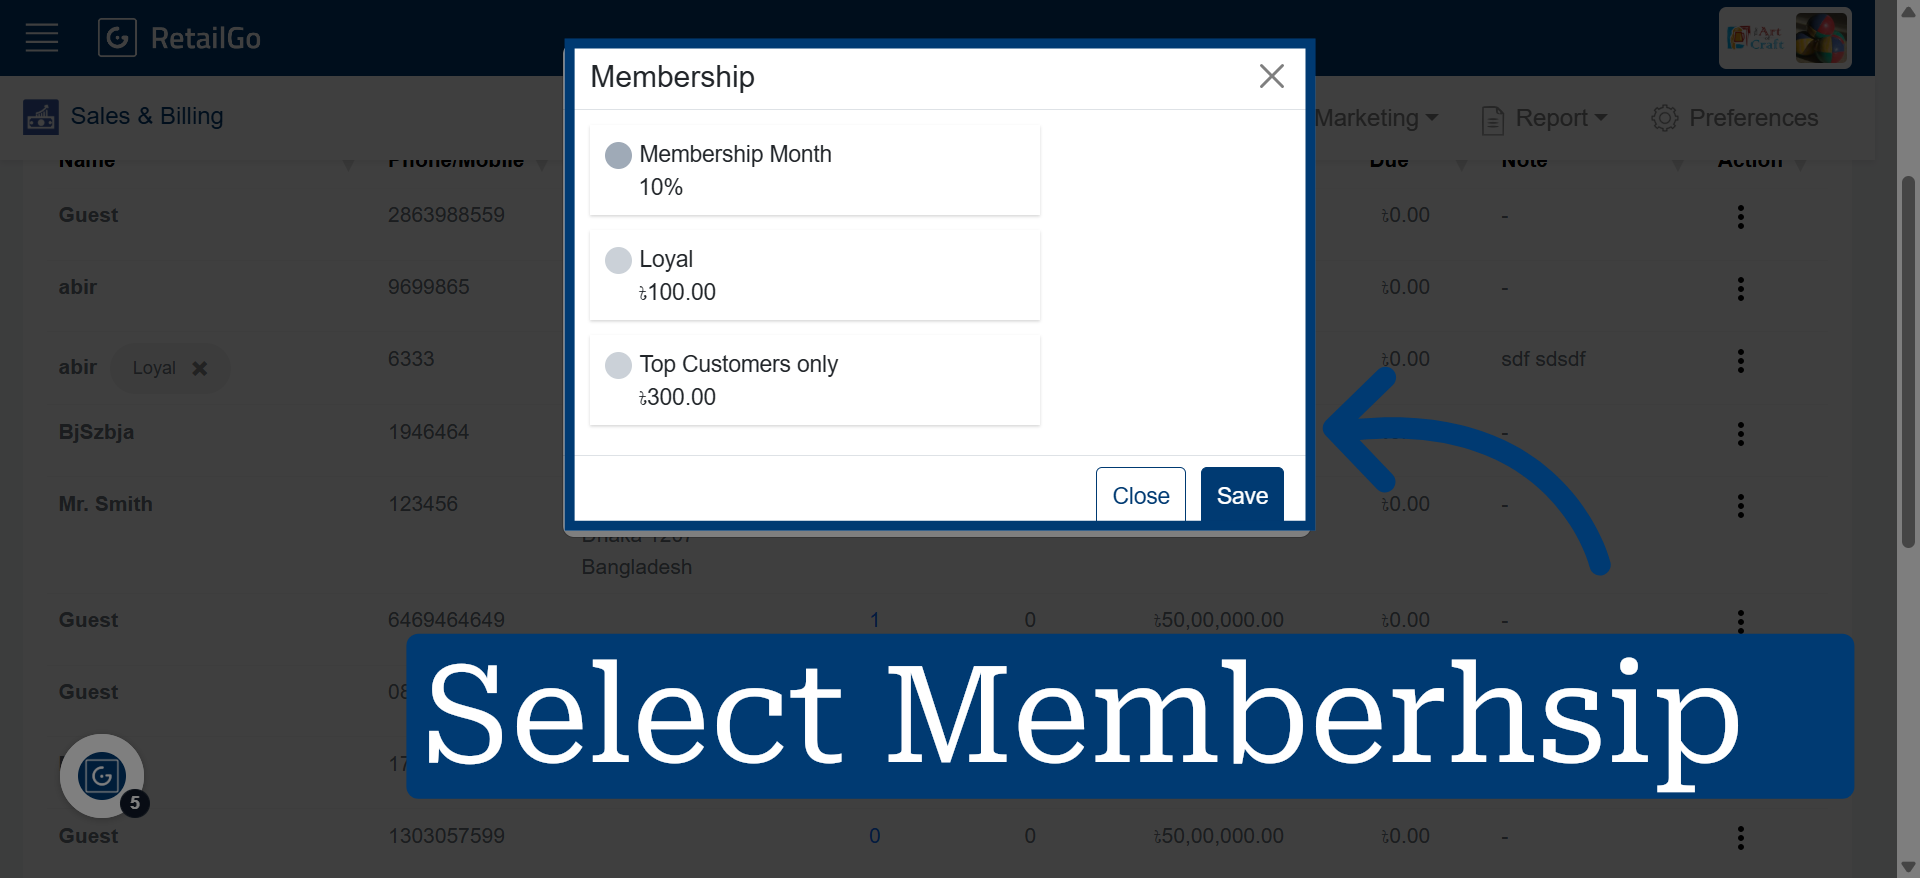
6. Choose Selected Membership
Click the membership promotion to select the one you want to configure. Then click the selected membership to apply it.
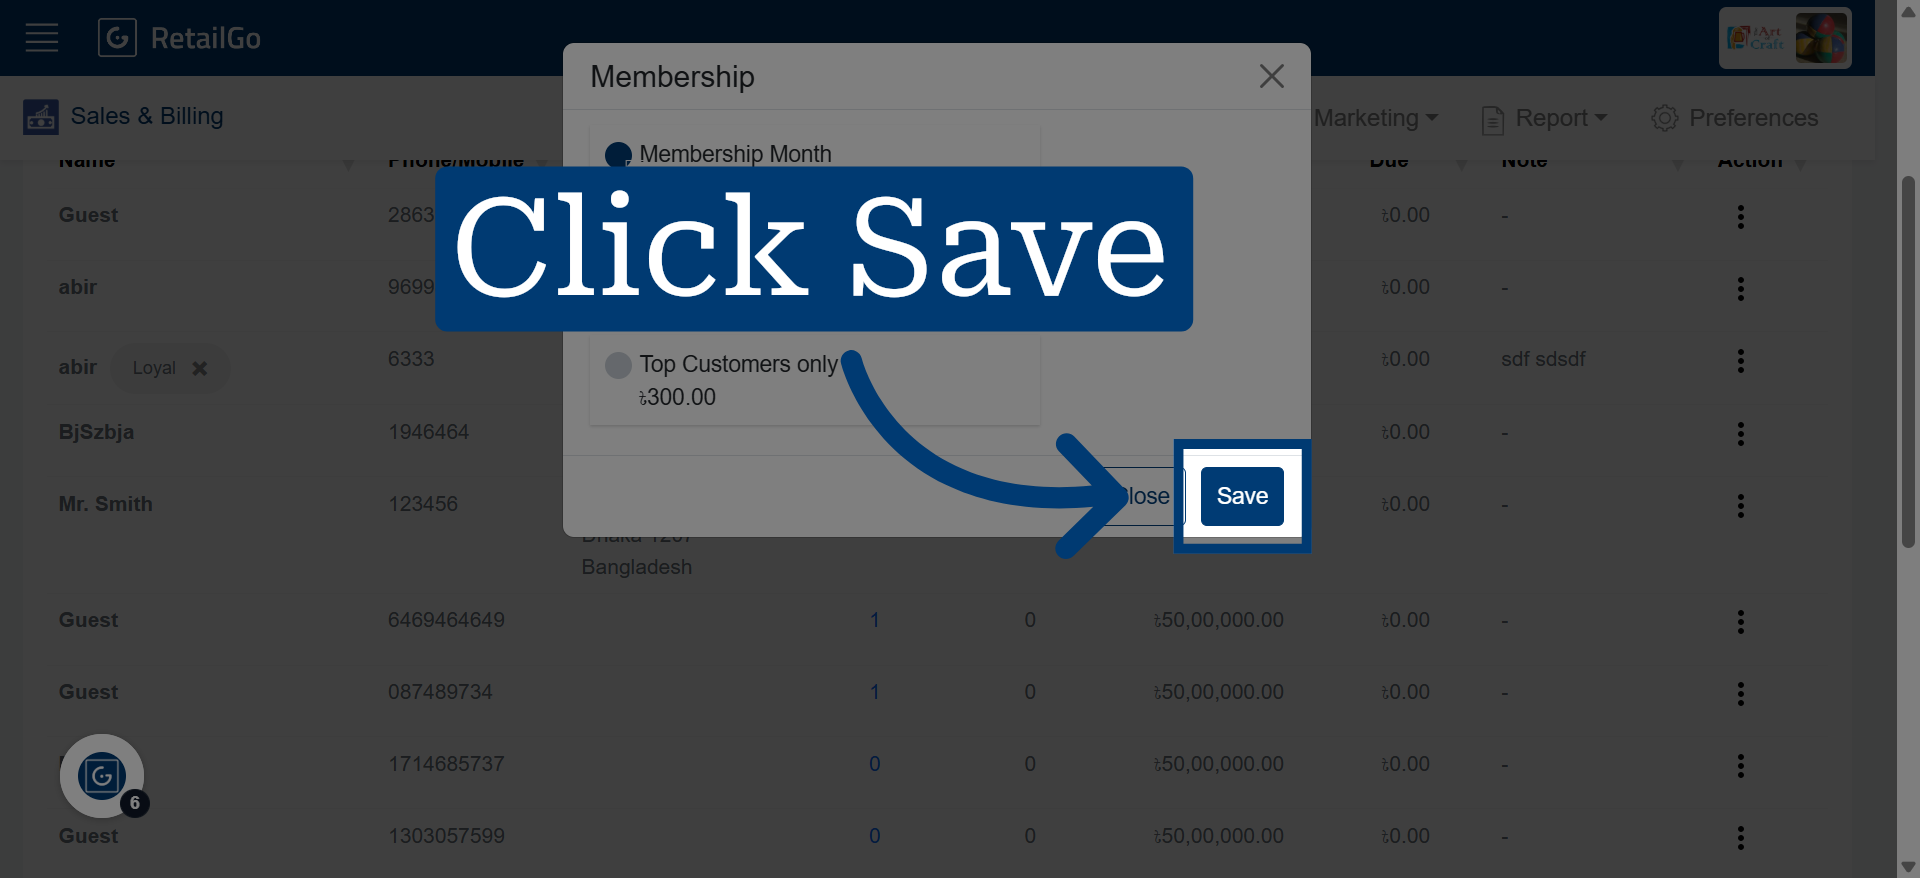
7. Save Membership Configuration
Click "Save" to apply and save the updated membership duration settings.
8. Go to POS App
In the POS app, once customer details are entered using a name or number, the system will automatically apply the relevant membership.