How to Create and Publish Accounting Bill in the RetailLife Business Portal
This tutorial guides you through creating and publishing bills in RetailLife Business Portal. Bills
are used to record business expenses such as rent, electricity, internet, office supplies, and
other operating costs. Recording bills helps you accurately track expenses, manage outstanding
payables, maintain organized financial records, and generate reliable financial reports.
Before creating a bill, ensure that the appropriate expense or payable account exists in your Chart
of Accounts. If you haven't created the required account yet, see the How to Create a New Ledger Account tutorial before proceeding.
Go to
retaillife.quicklyservices.com
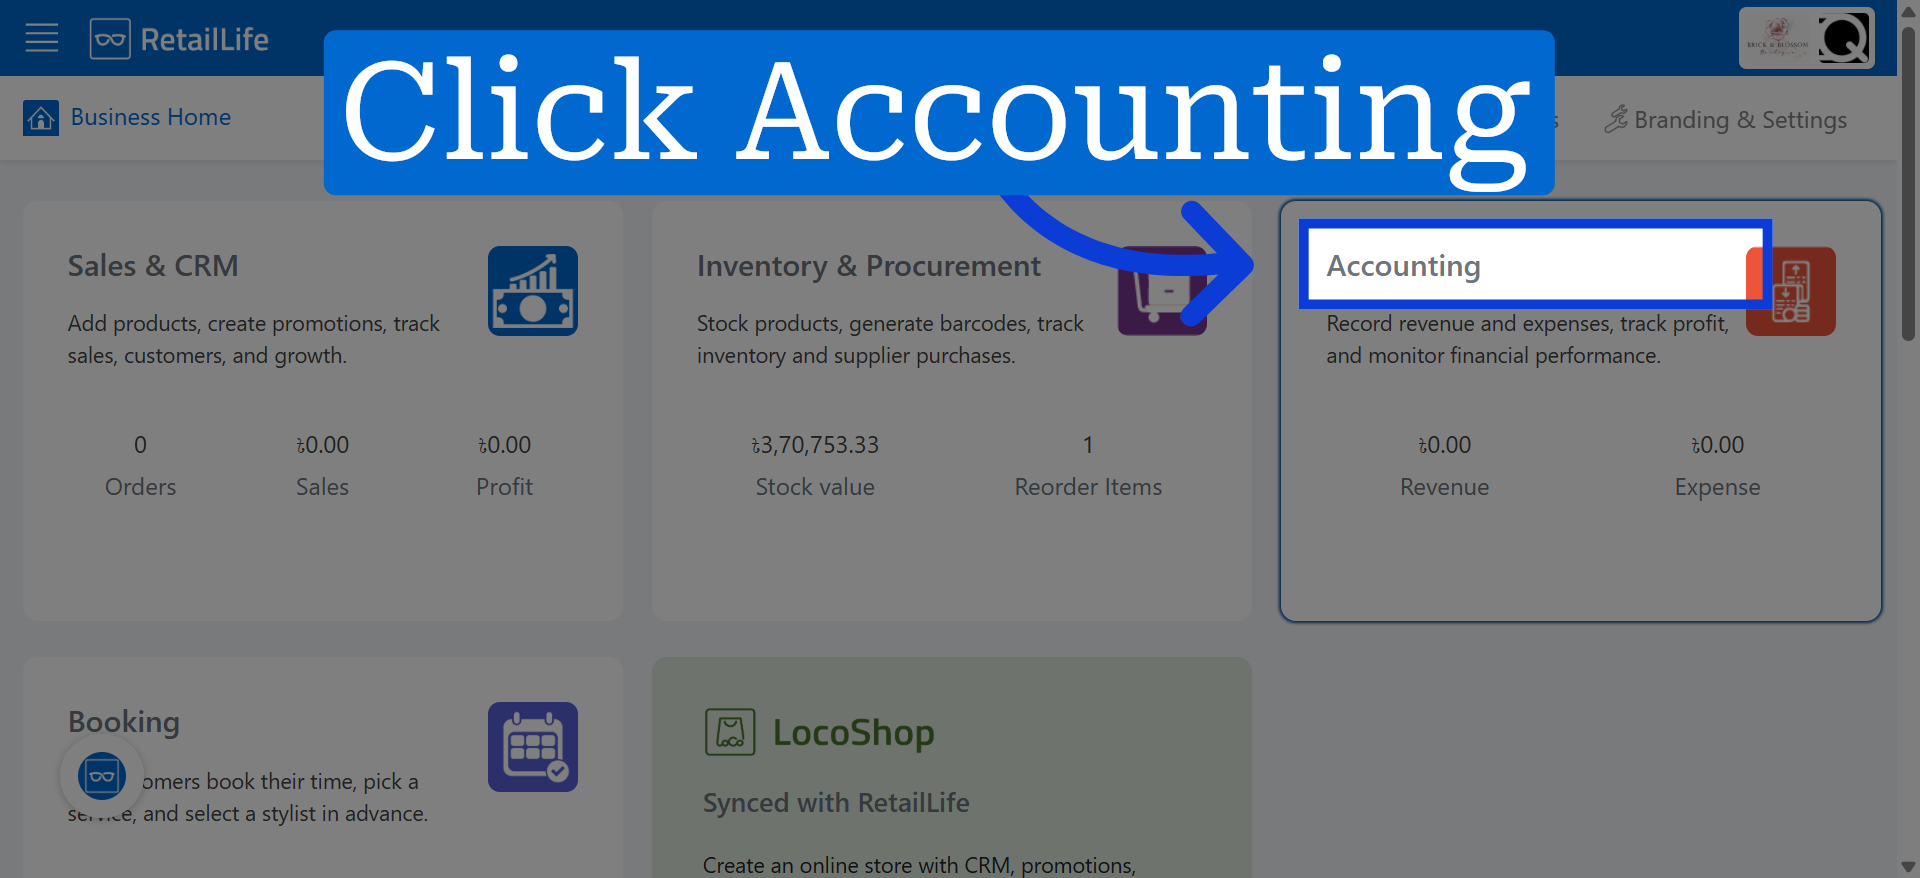
1. Access Accounting Module
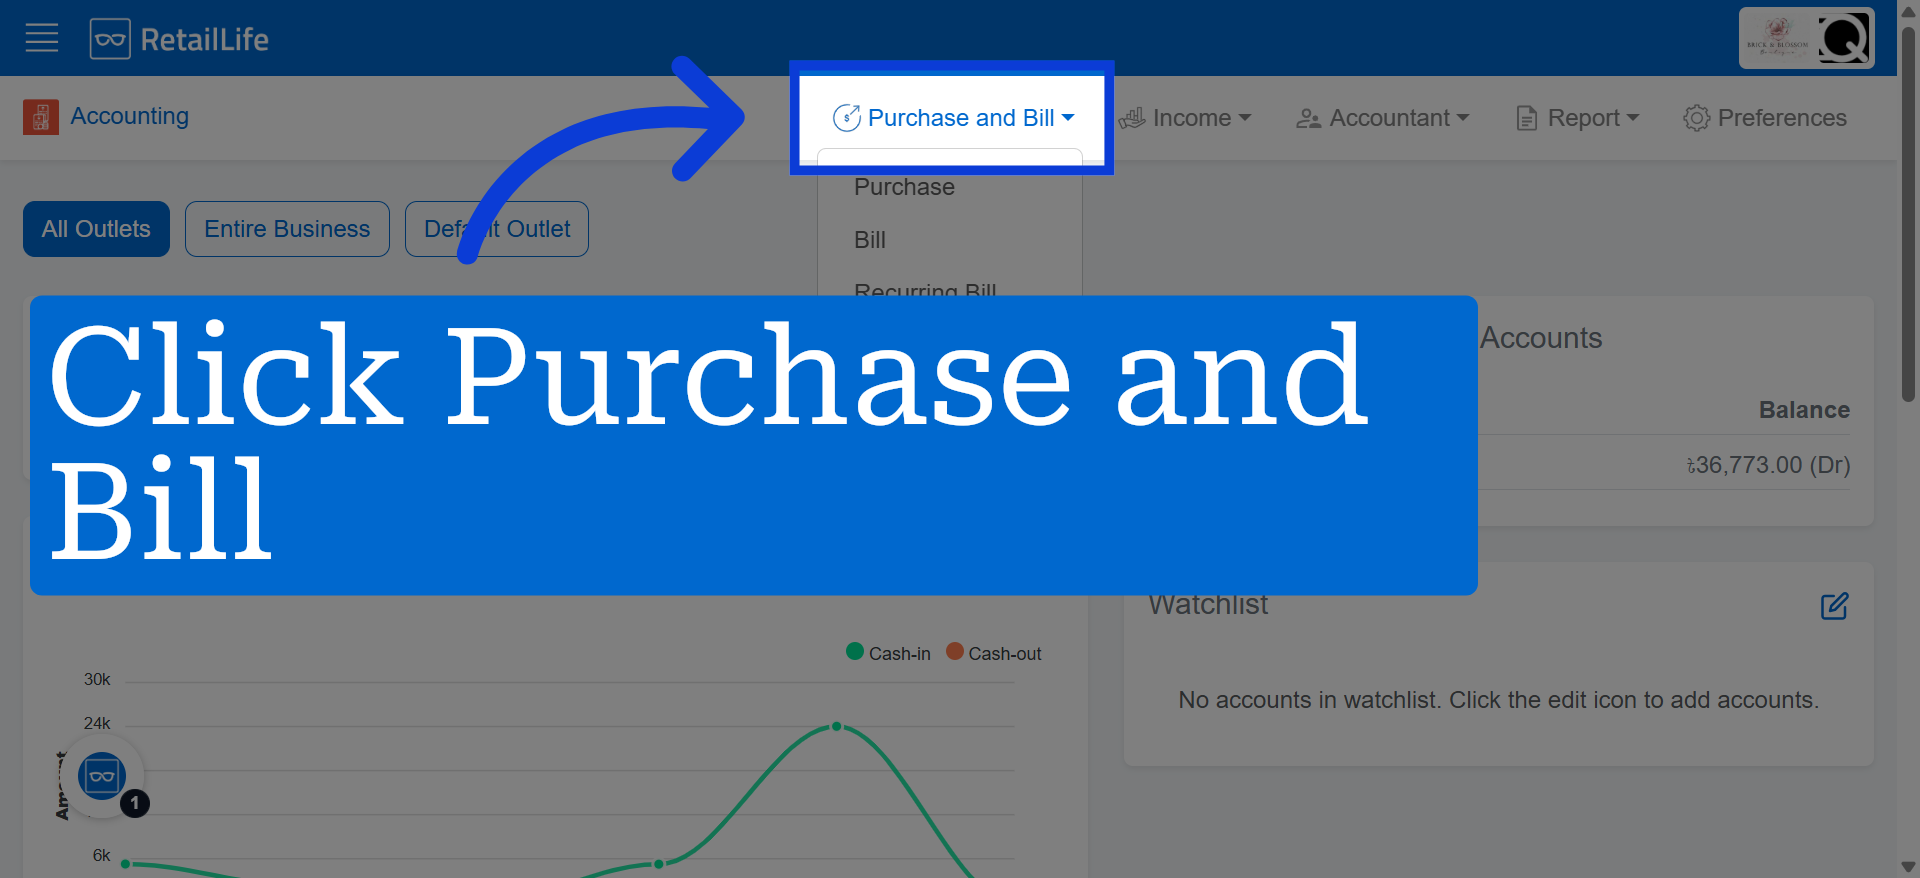
2. Open Purchase and Bill
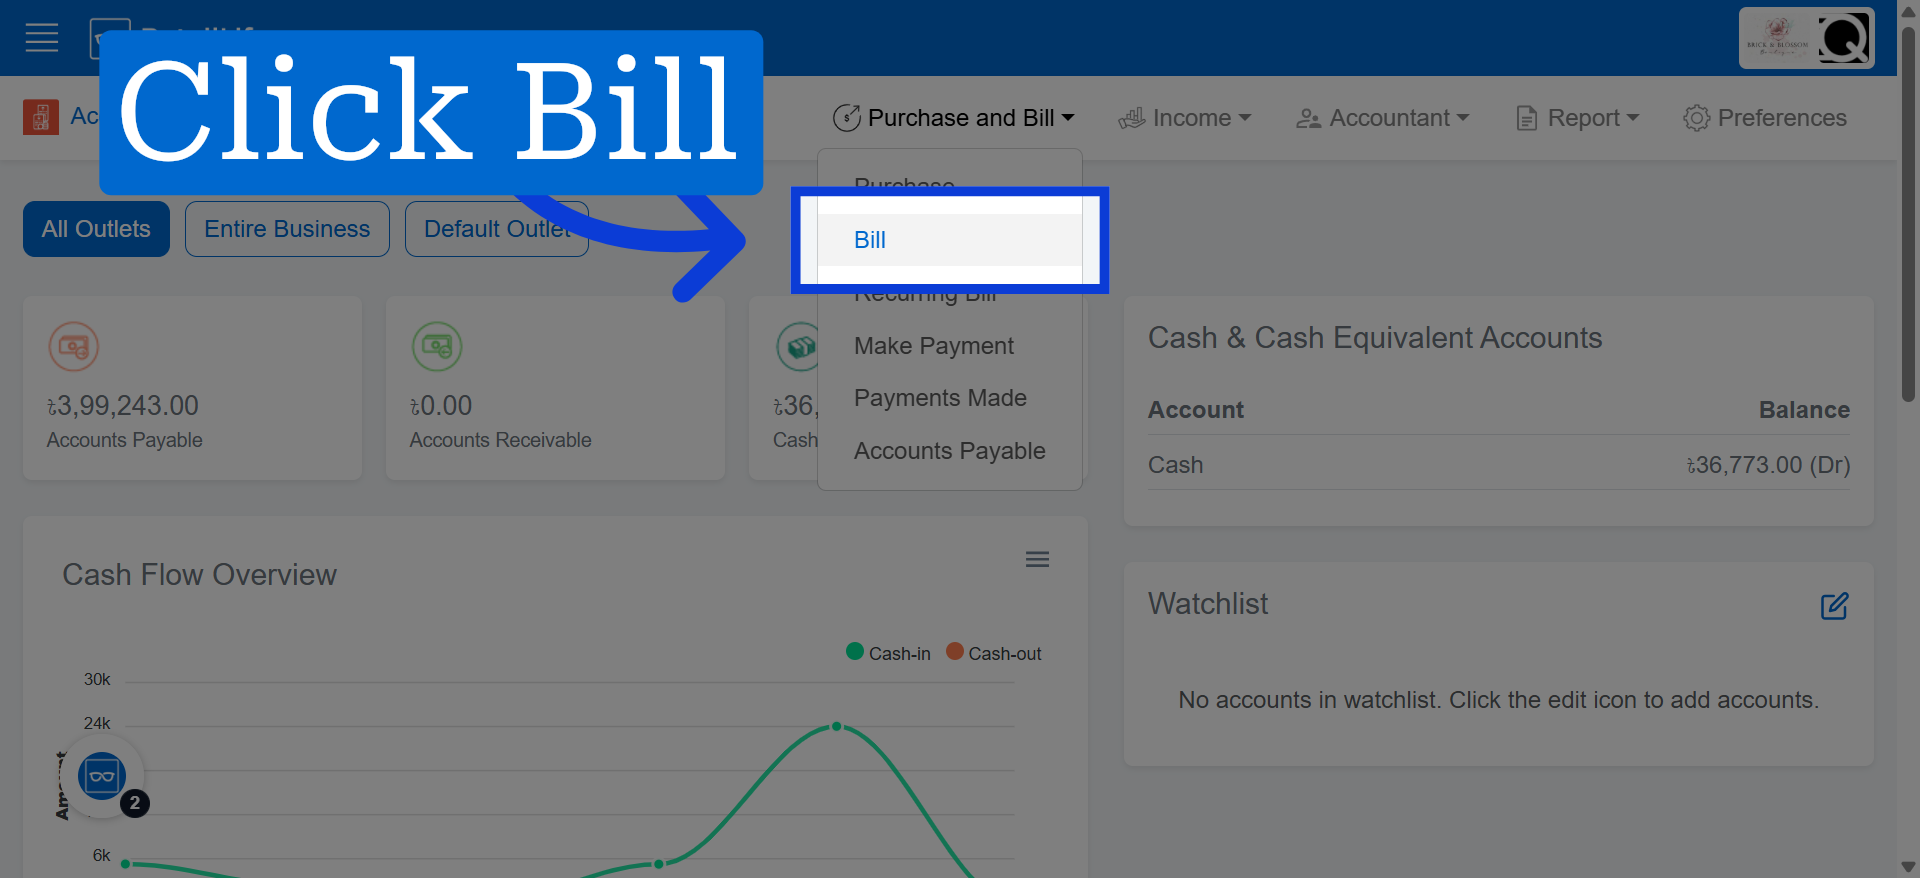
3. Select Bill Option
4. Start New Bill Creation
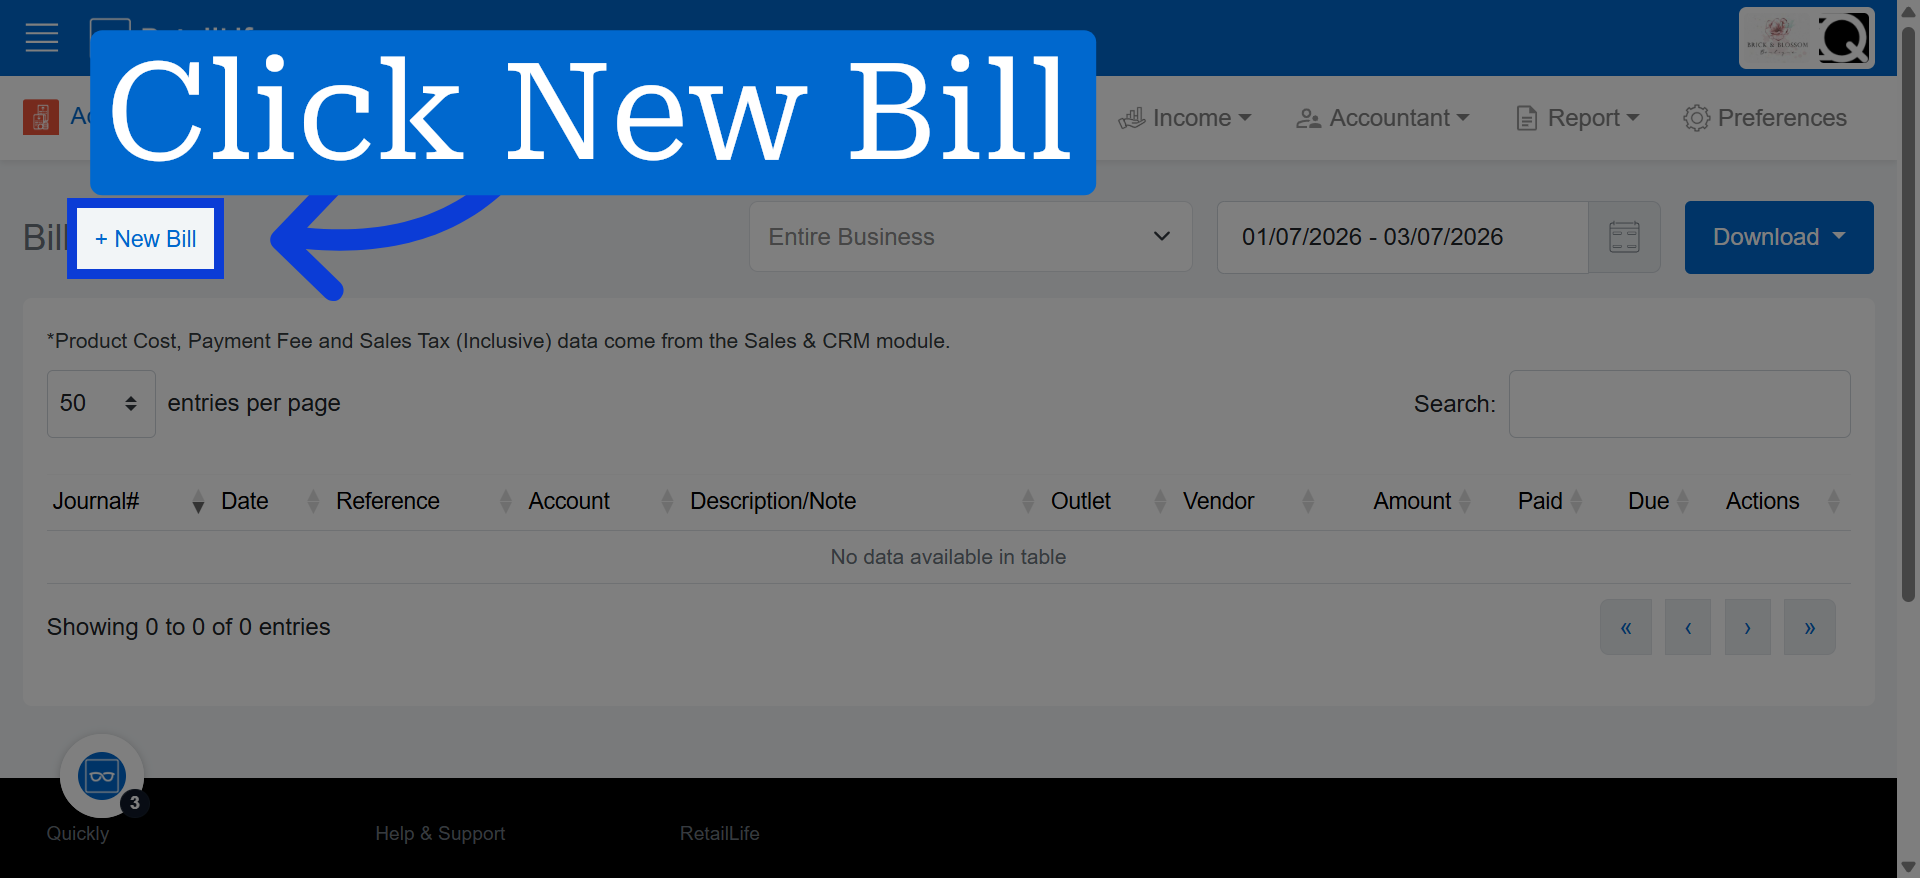
5. Choose Outlet/Business
Click "Entire Business" to apply the bill to the whole business.
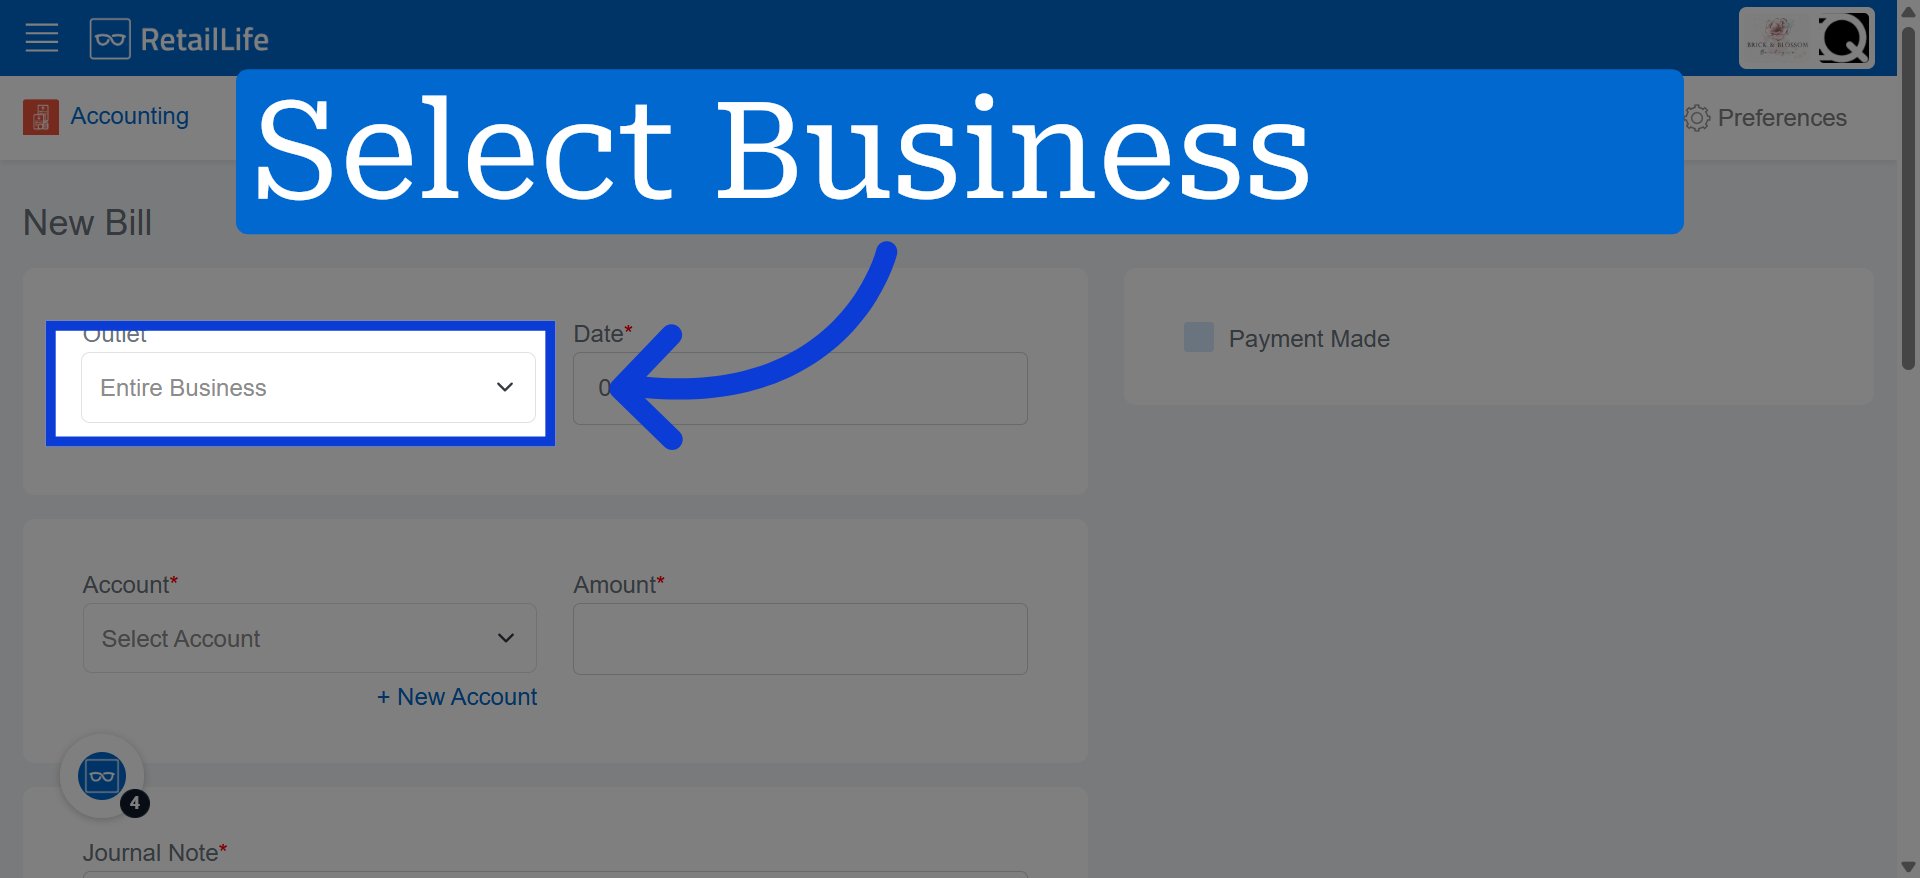
6. Select Account
Click "Select Account" to view available accounts for billing.
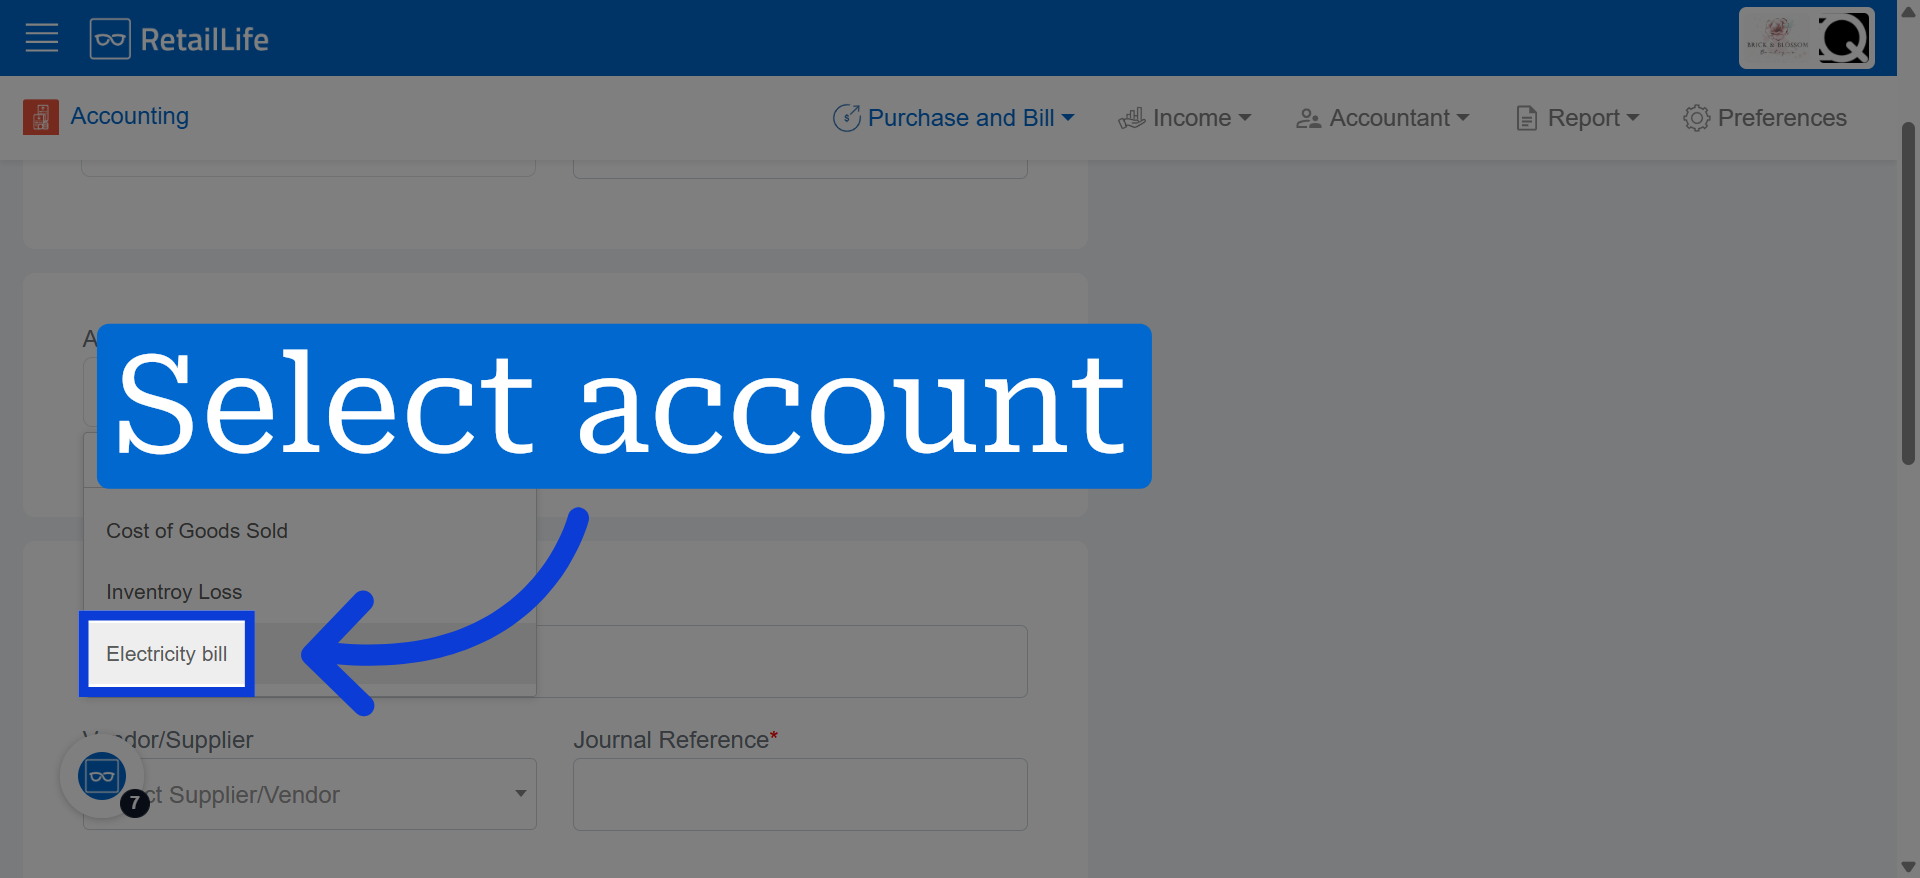
7. Access Amount Field
Click "Amount" to enter the bill amount.
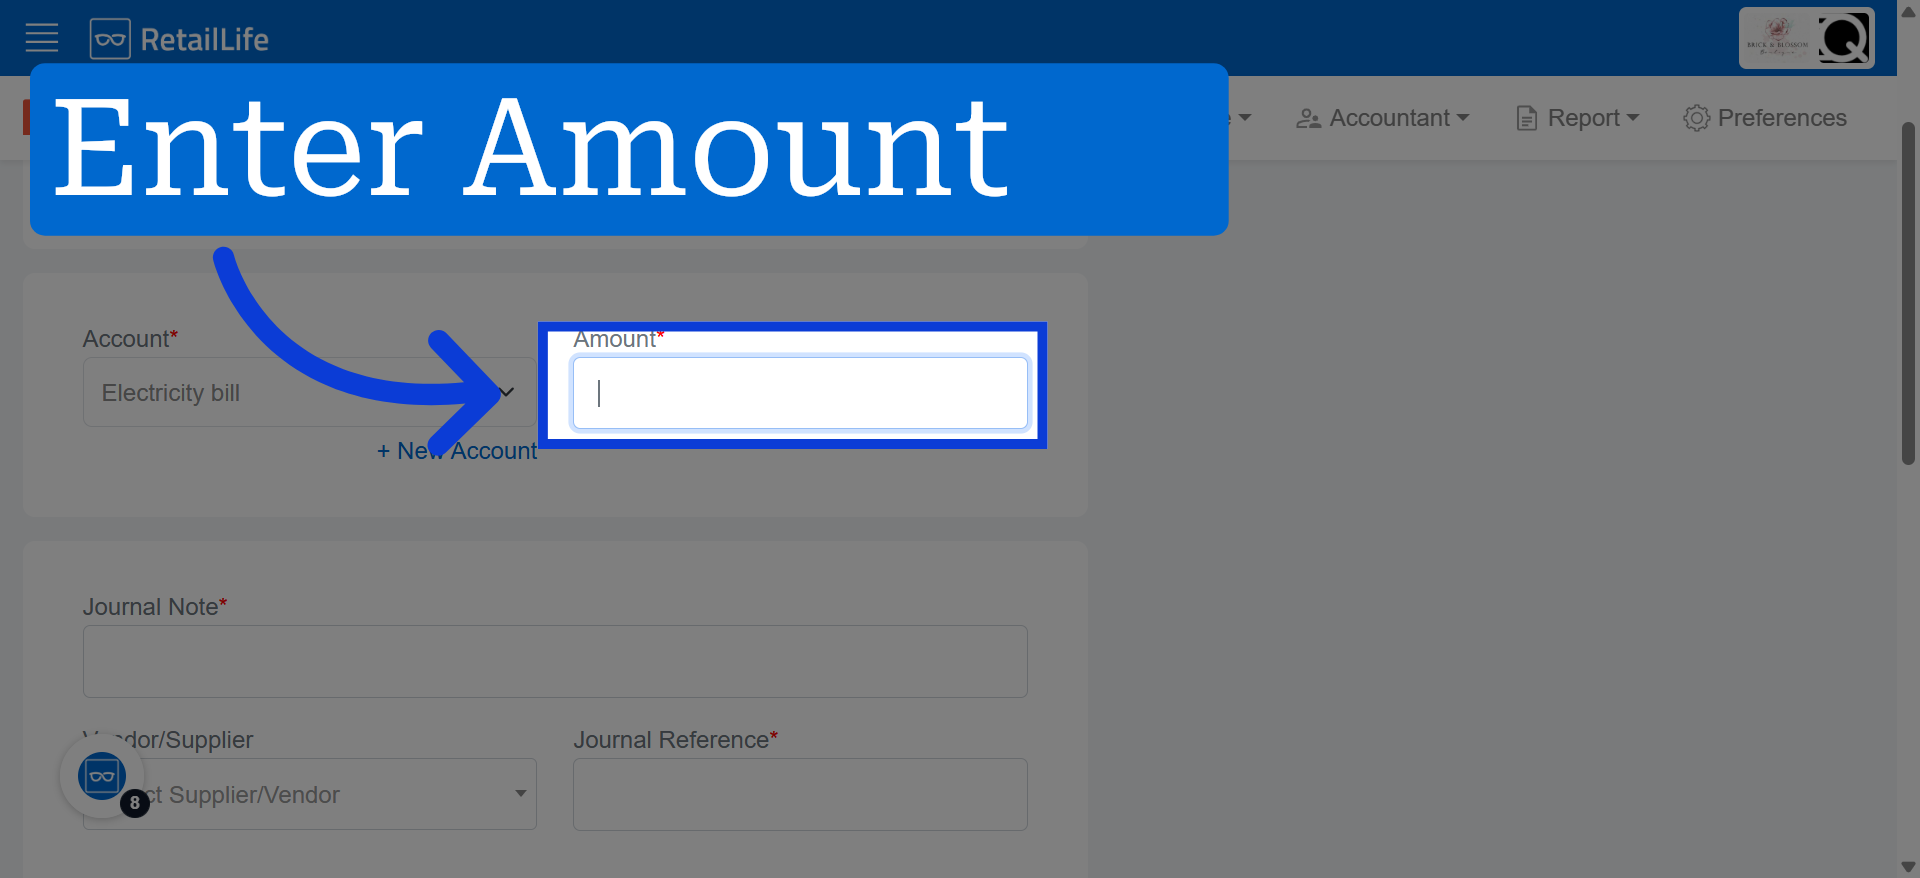
8. Access Description Field
Click here to focus on the description field for the bill.
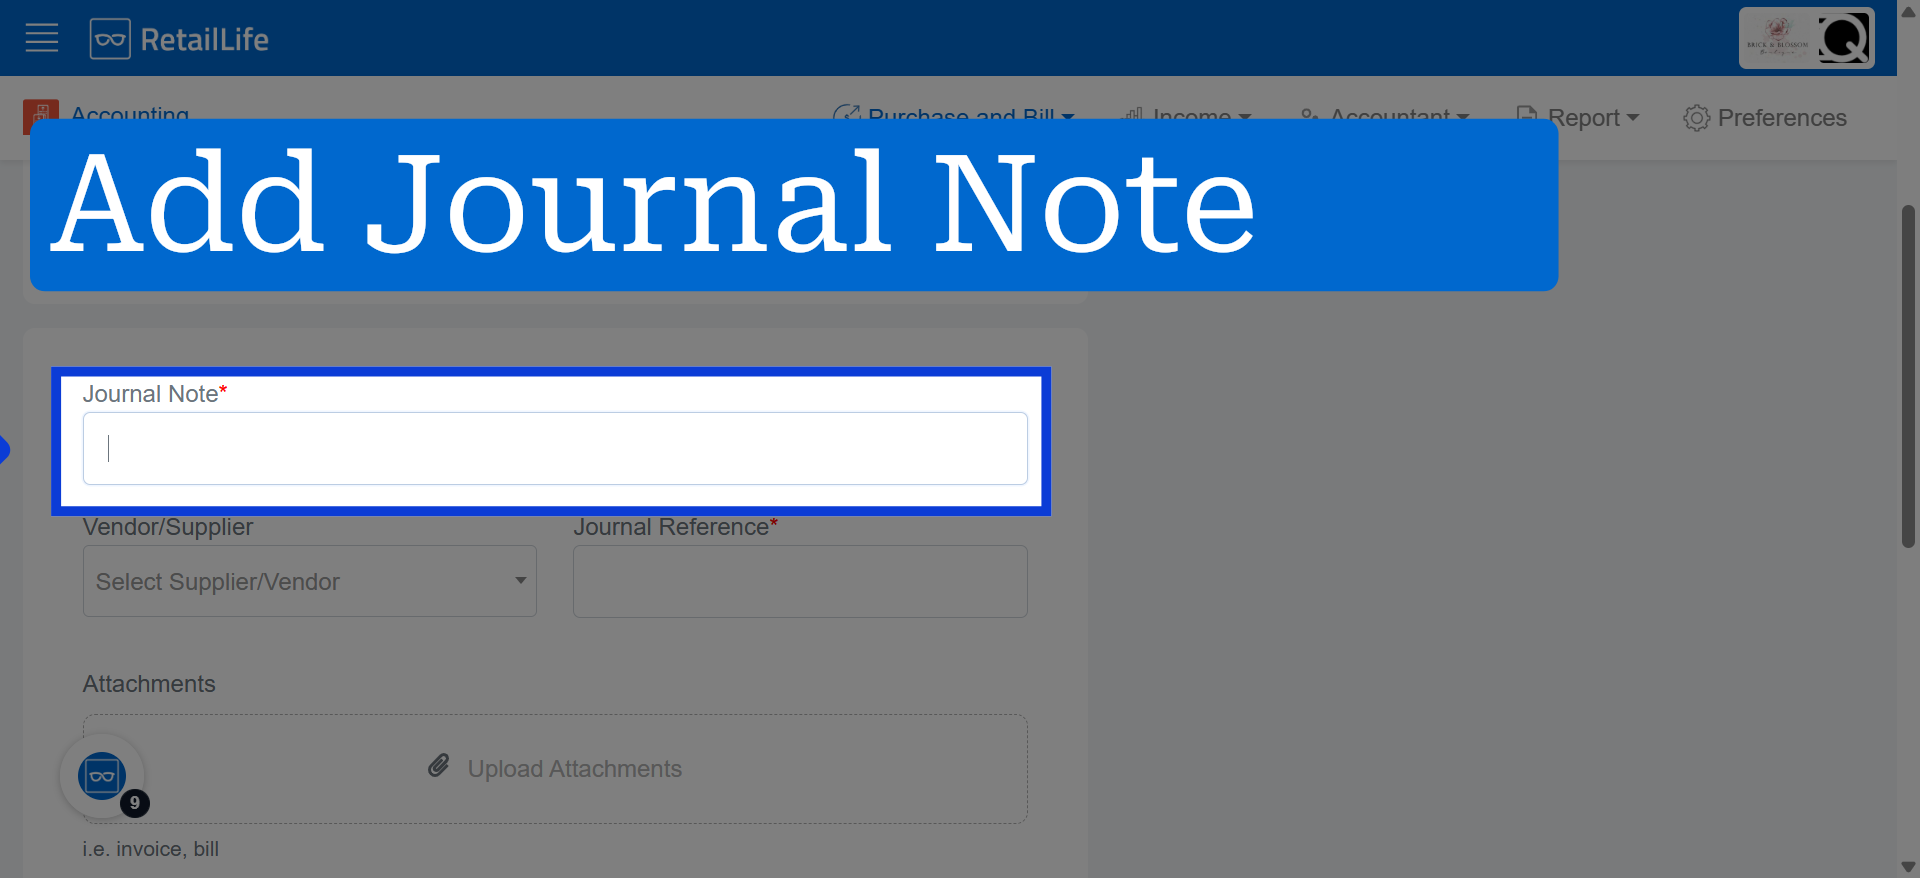
9. Open Journal Note Field
Click "Journal Note*" to add a note to the journal entry.
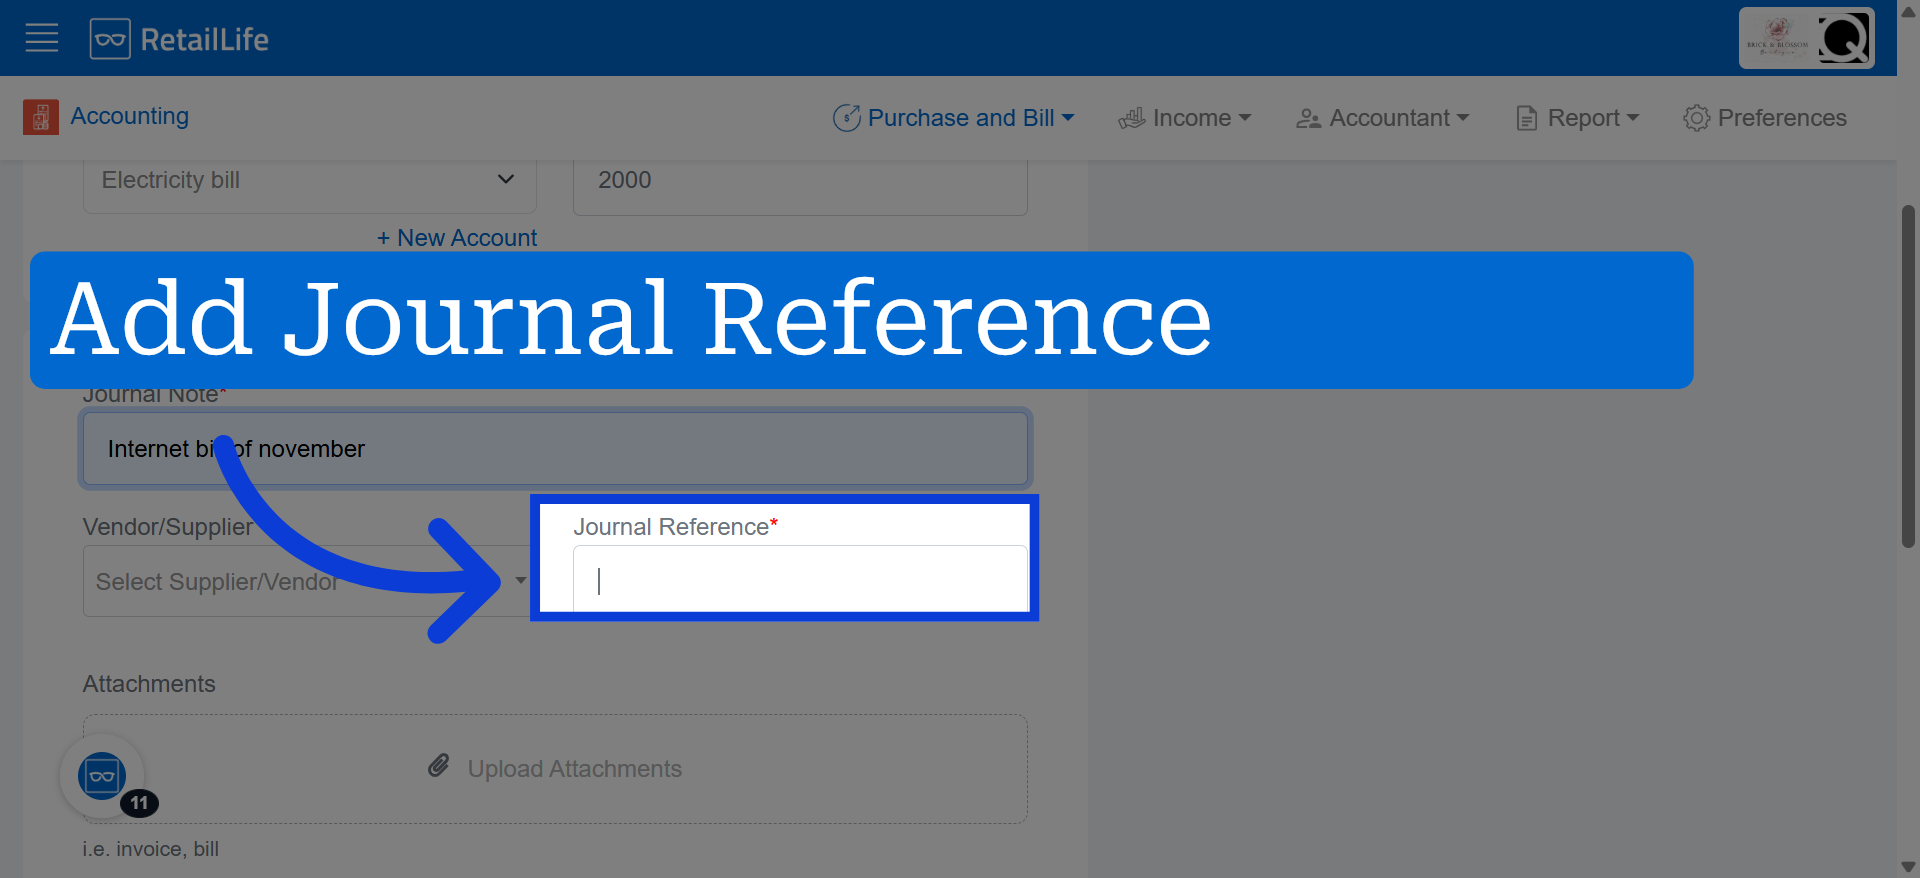
10. Upload Attachments
You can upload supporting documents, such as bill copies, invoices, or receipts, when creating a bill.
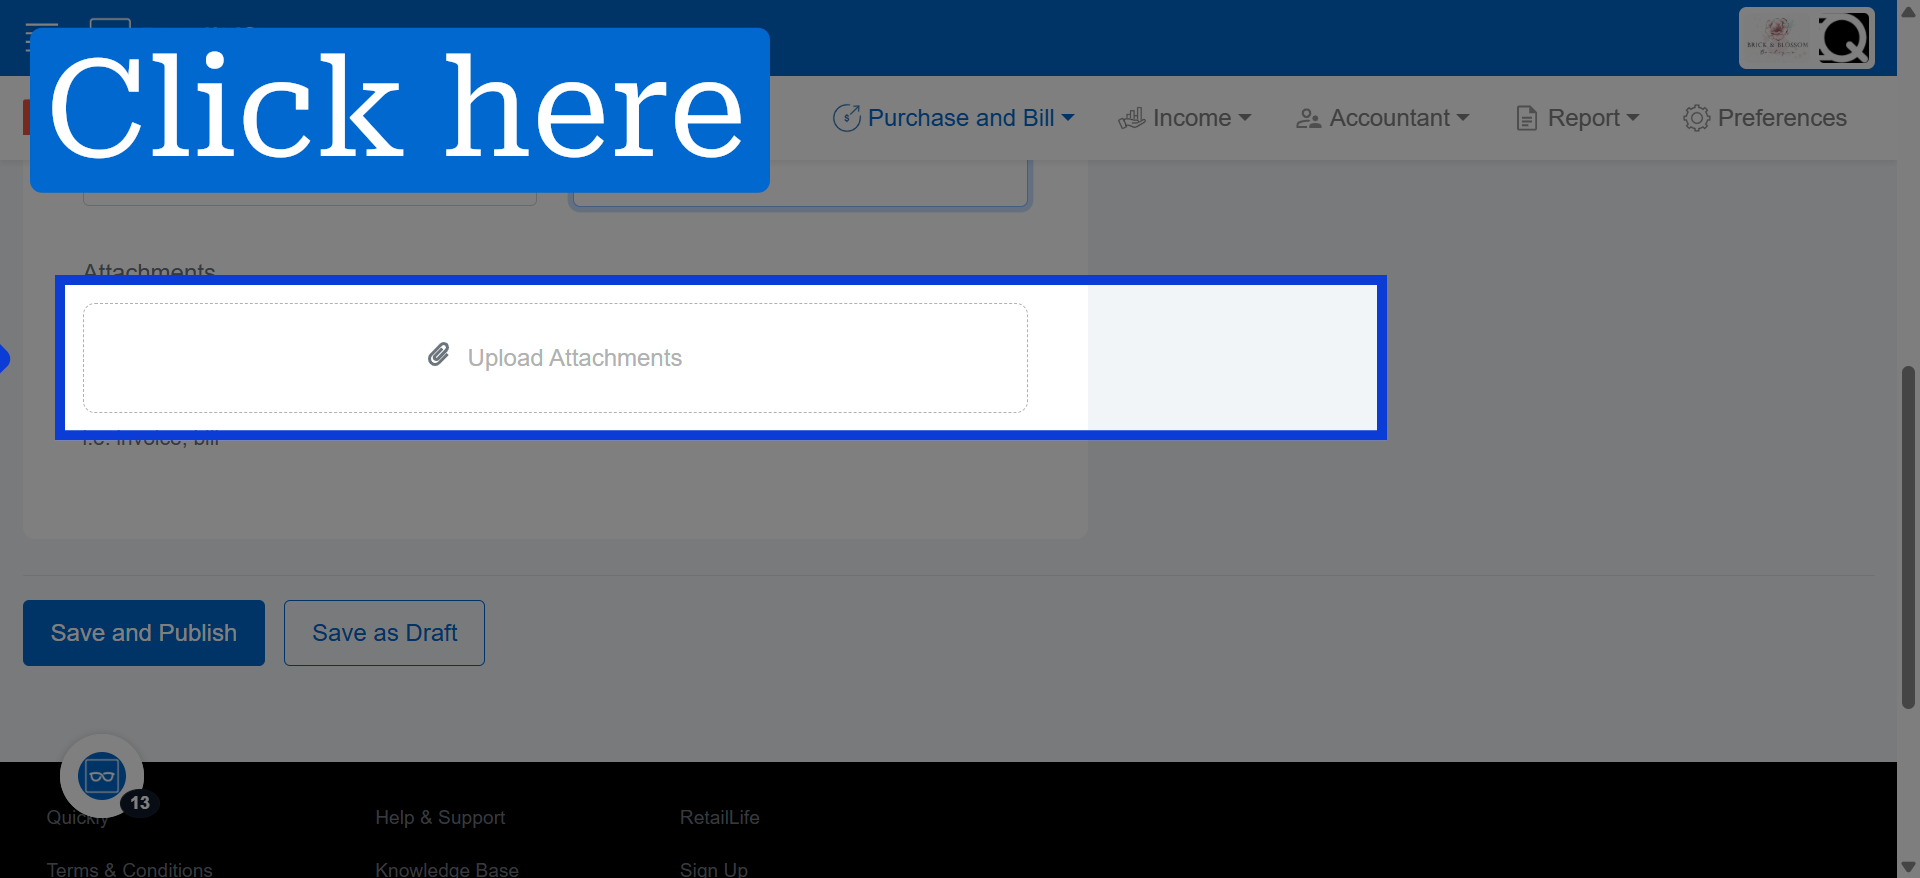
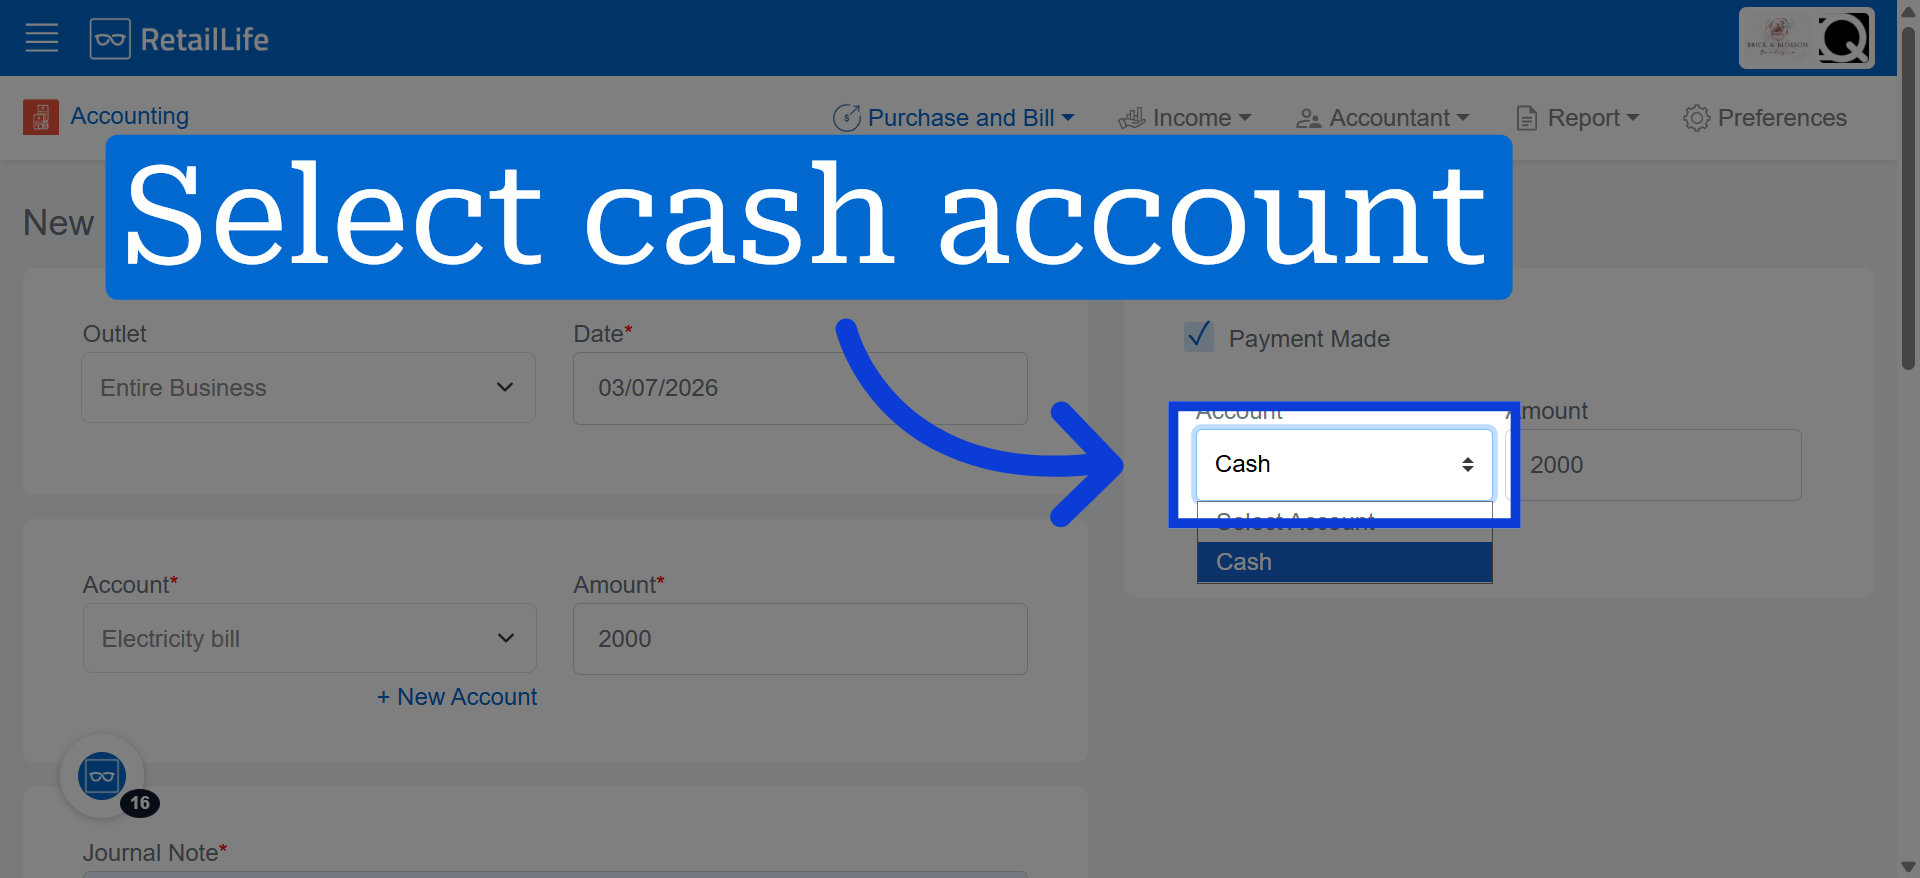
11. Select Payment Made Status
Click "Payment Made" to indicate the bill has been paid.
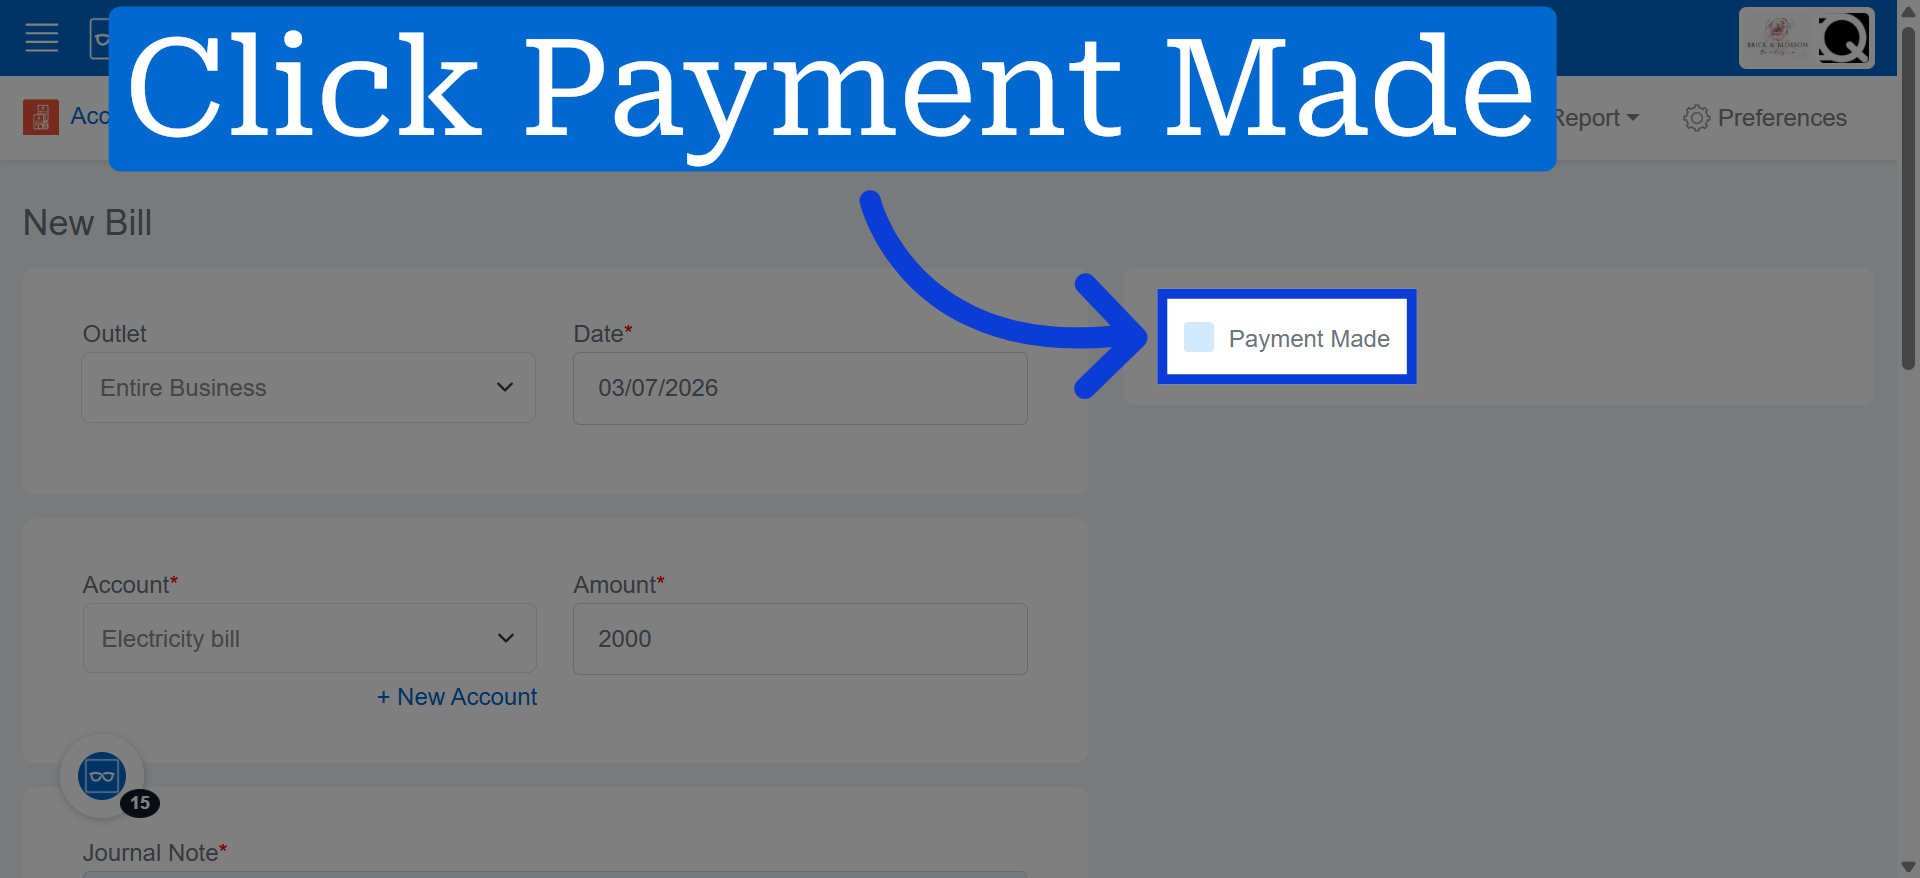
12. Open Account Selection
Click "Select Account " to choose the account for payment.
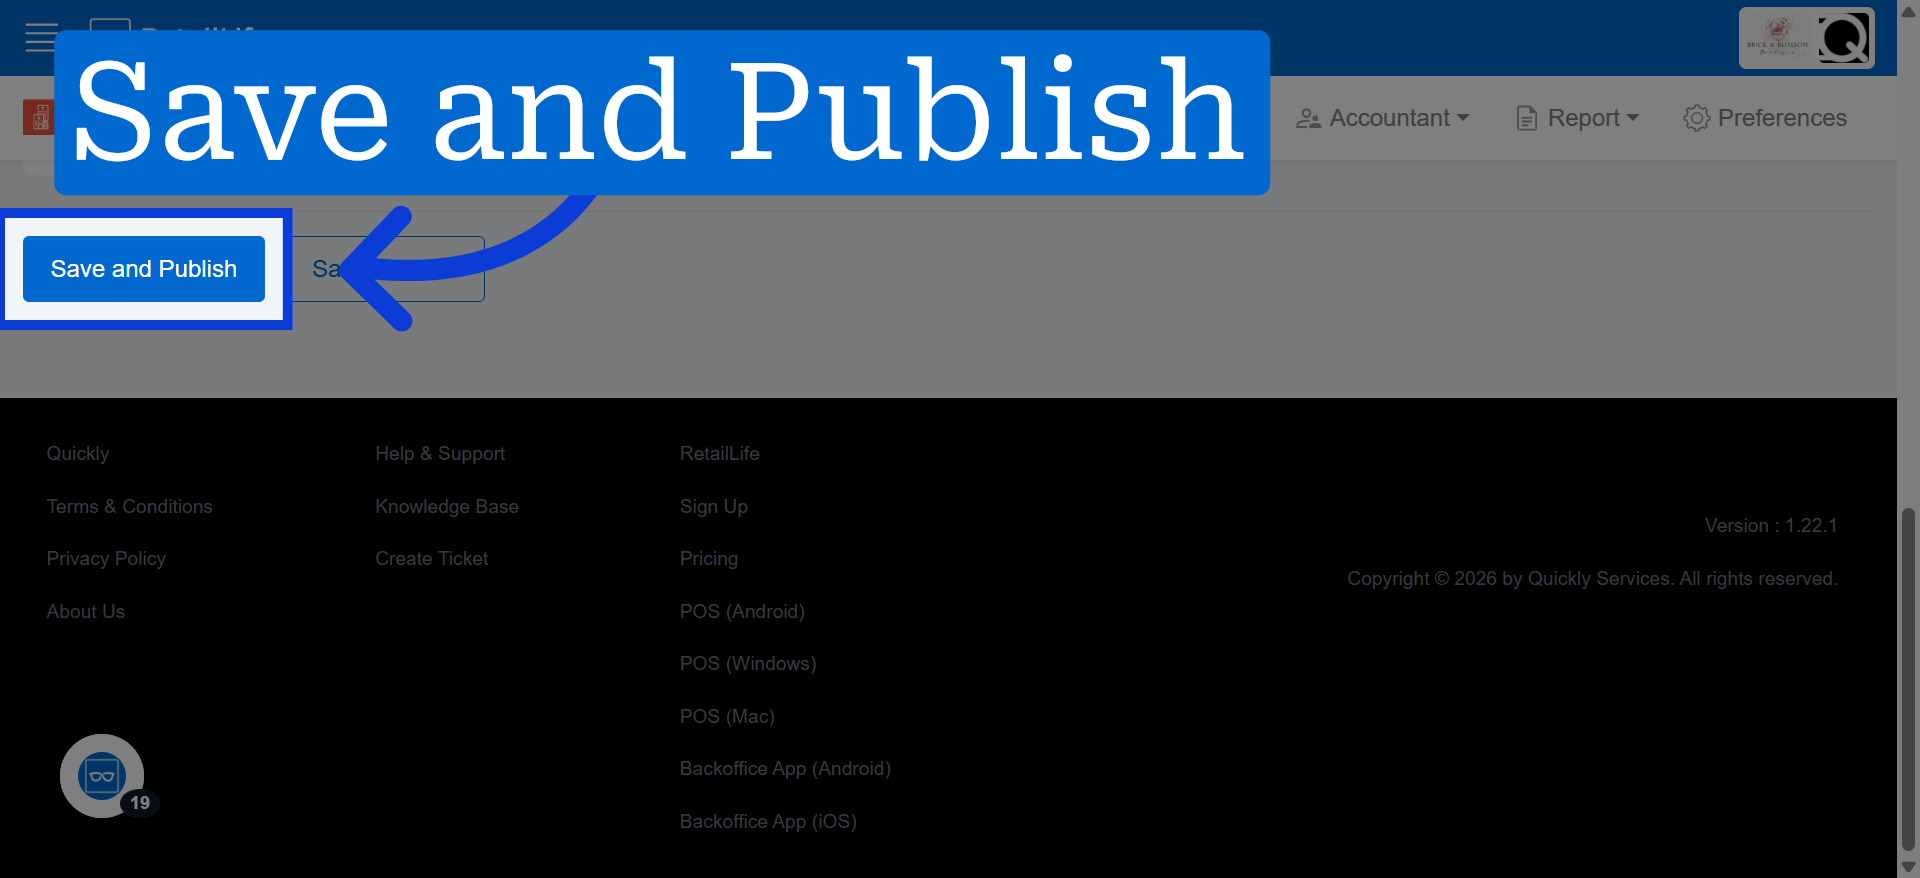
13. Save And Publish Bill
Click "Save and Publish" to save the bill and make it active in the system.
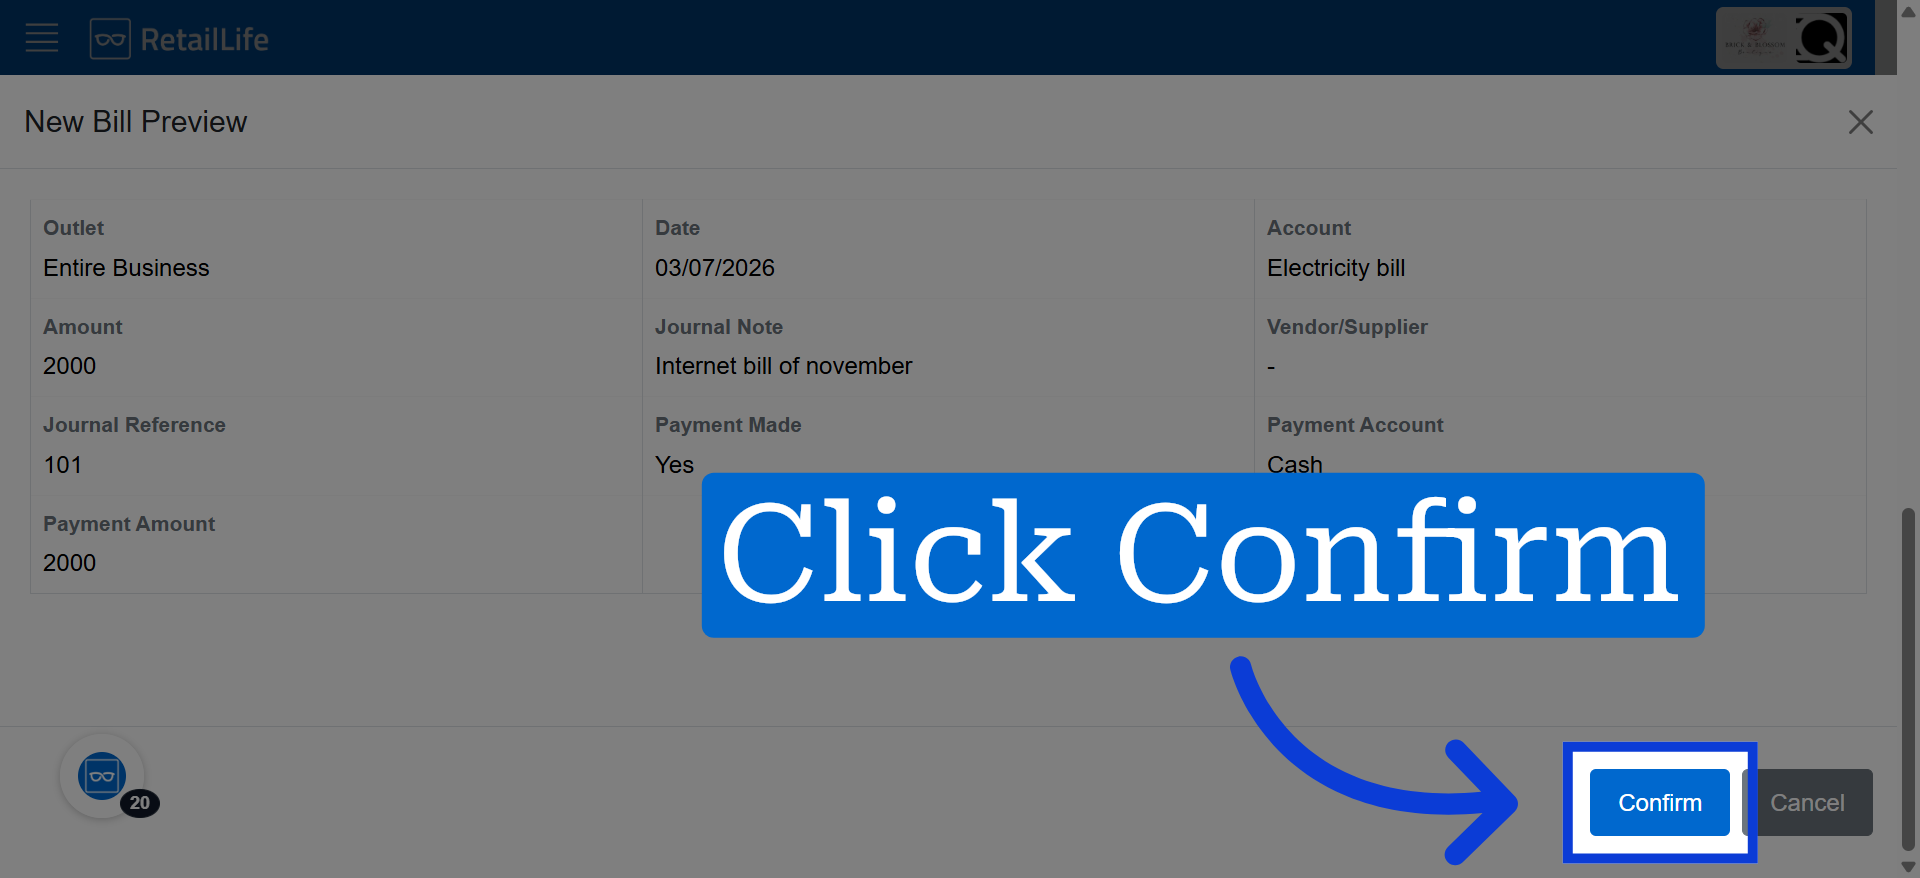
14. Confirm Bill Submission
Click "Confirm" to finalize and submit the bill for processing.