How to Add and Configure New Products in OneOffice
This tutorial guides you through adding a new product or service in OneOffice by entering its
details, setting pricing and tax information, and configuring inventory levels.
Go to
oneoffice.quicklyservices.com
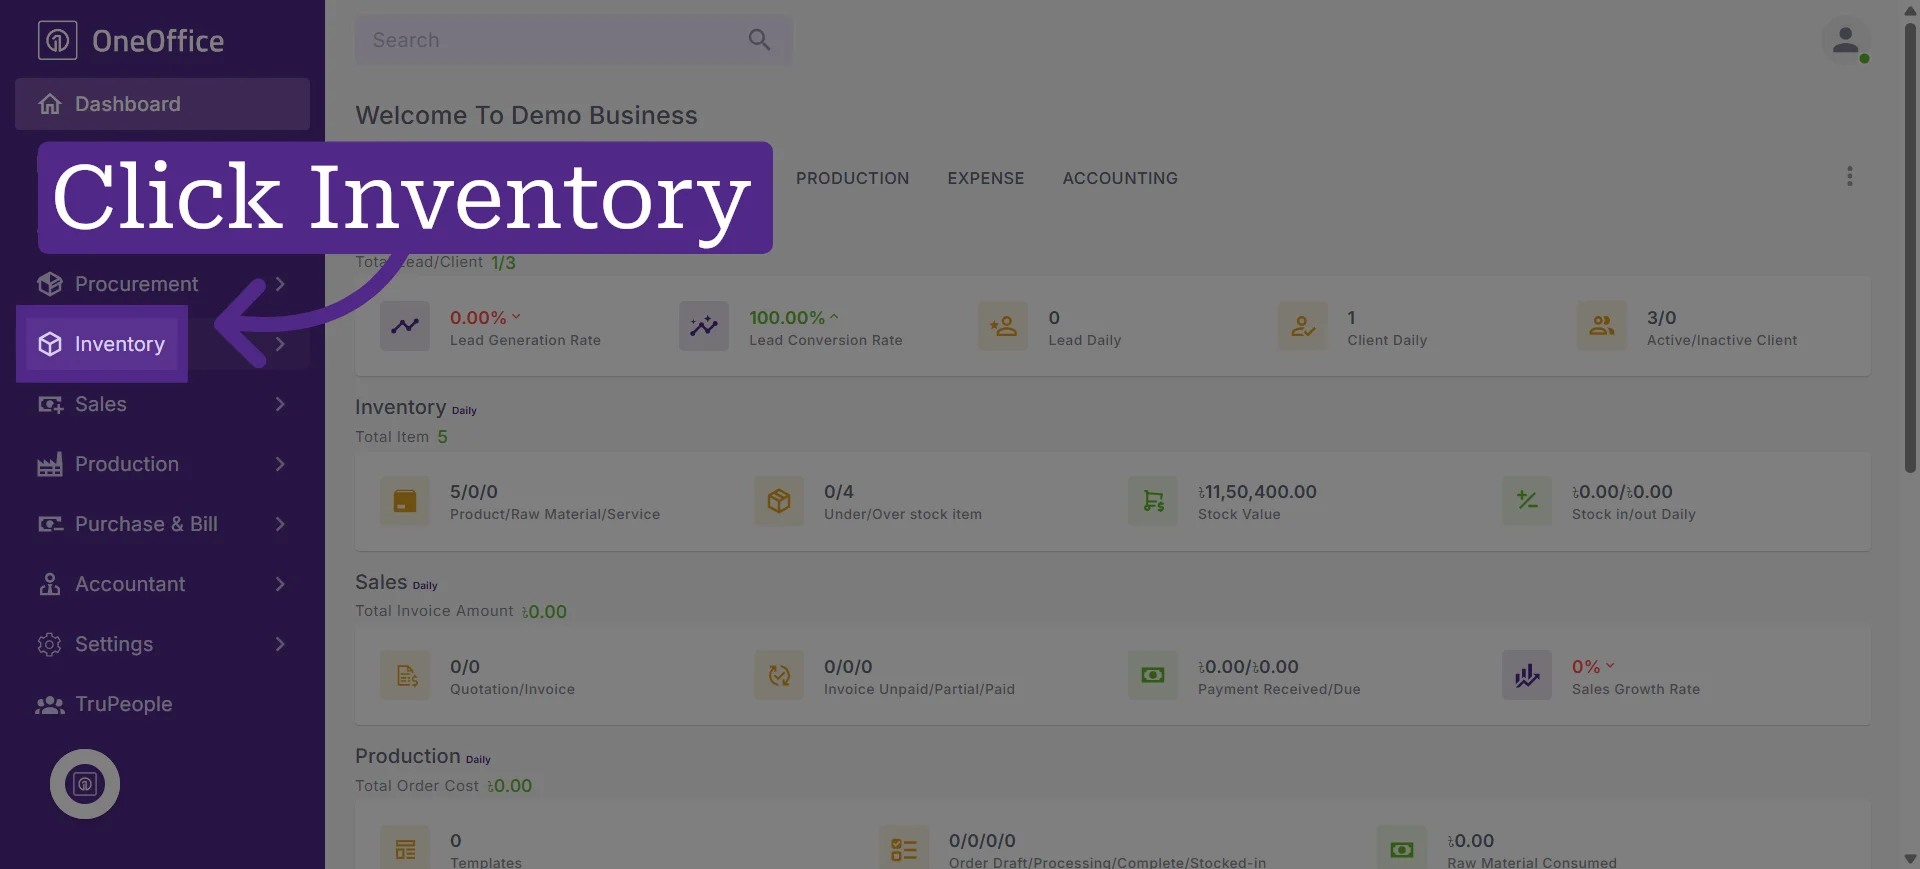
1. Click "Inventory" from the navigation menu
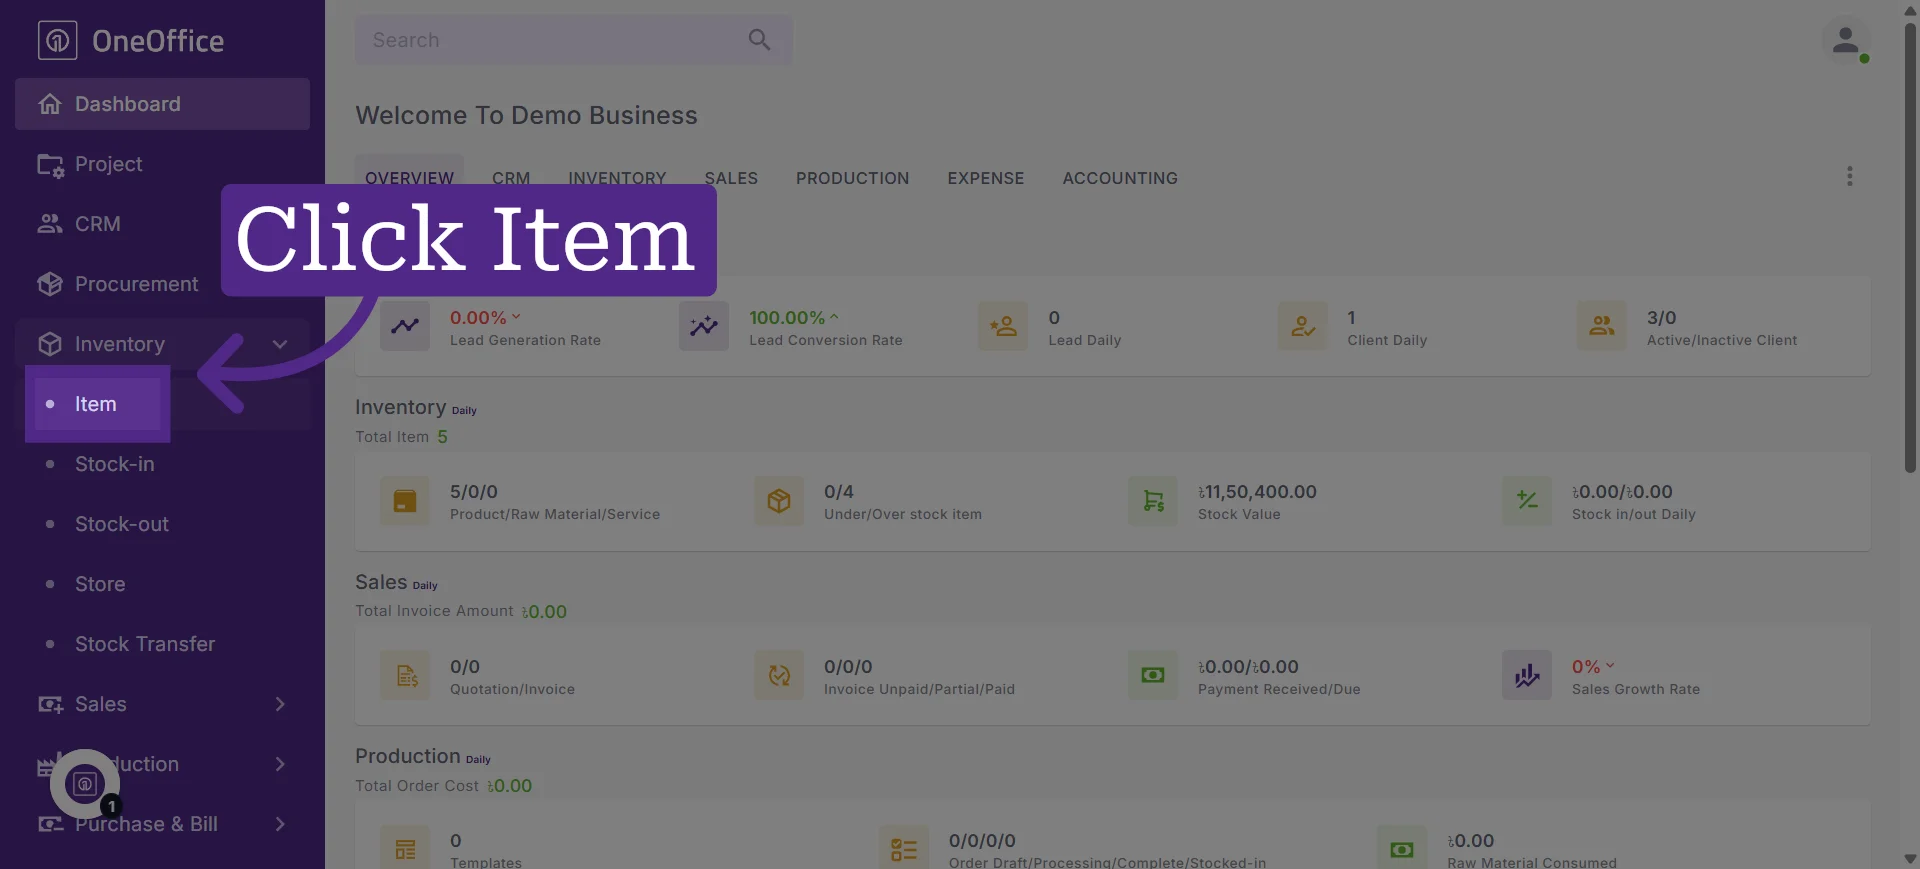
2. Click "Items" to access the item list
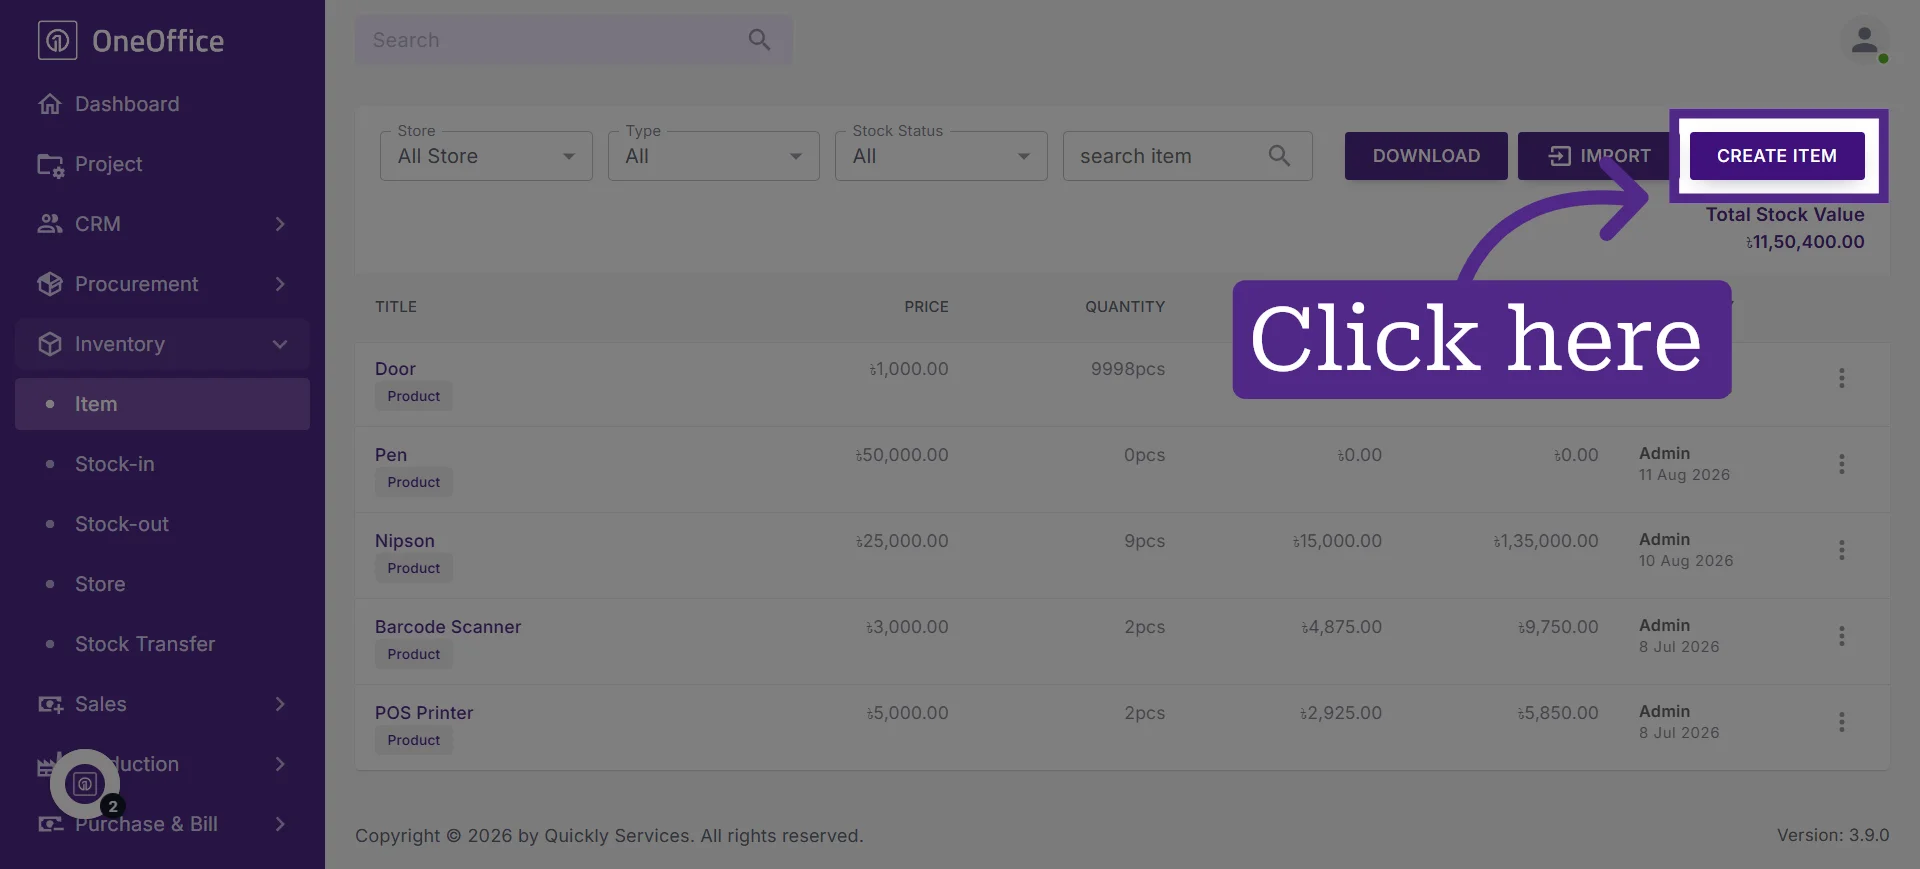
3. Click "Create Item" to add a new product or service
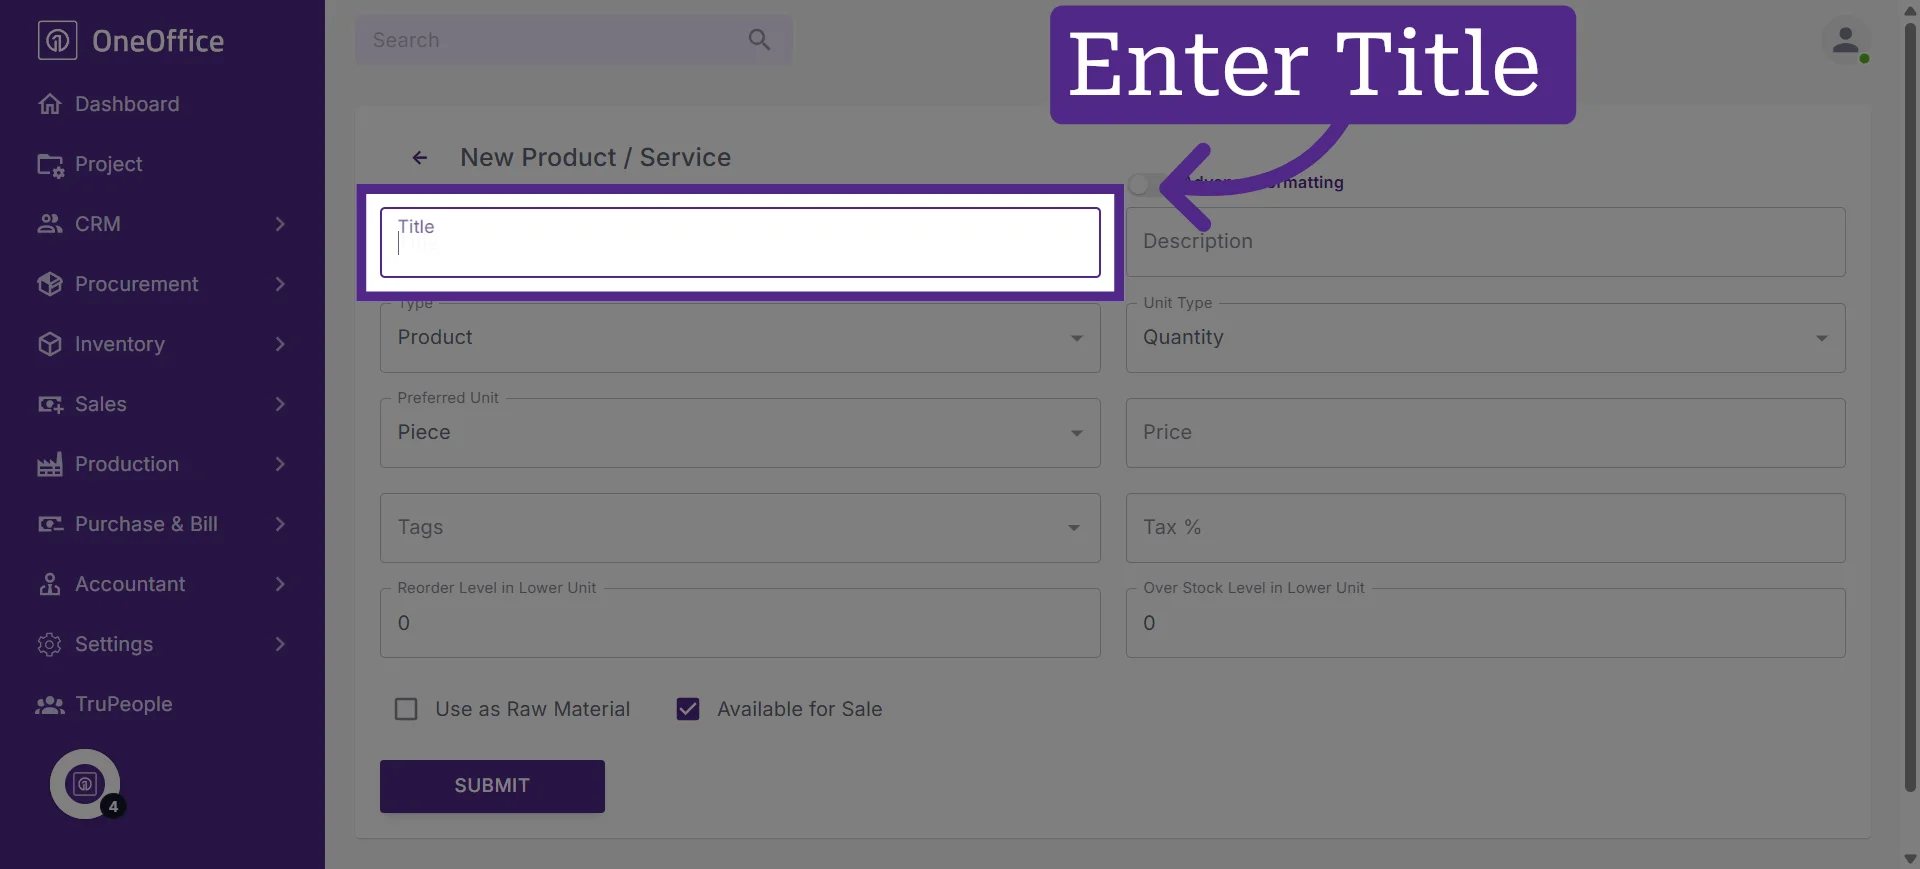
4. Enter the name of the product
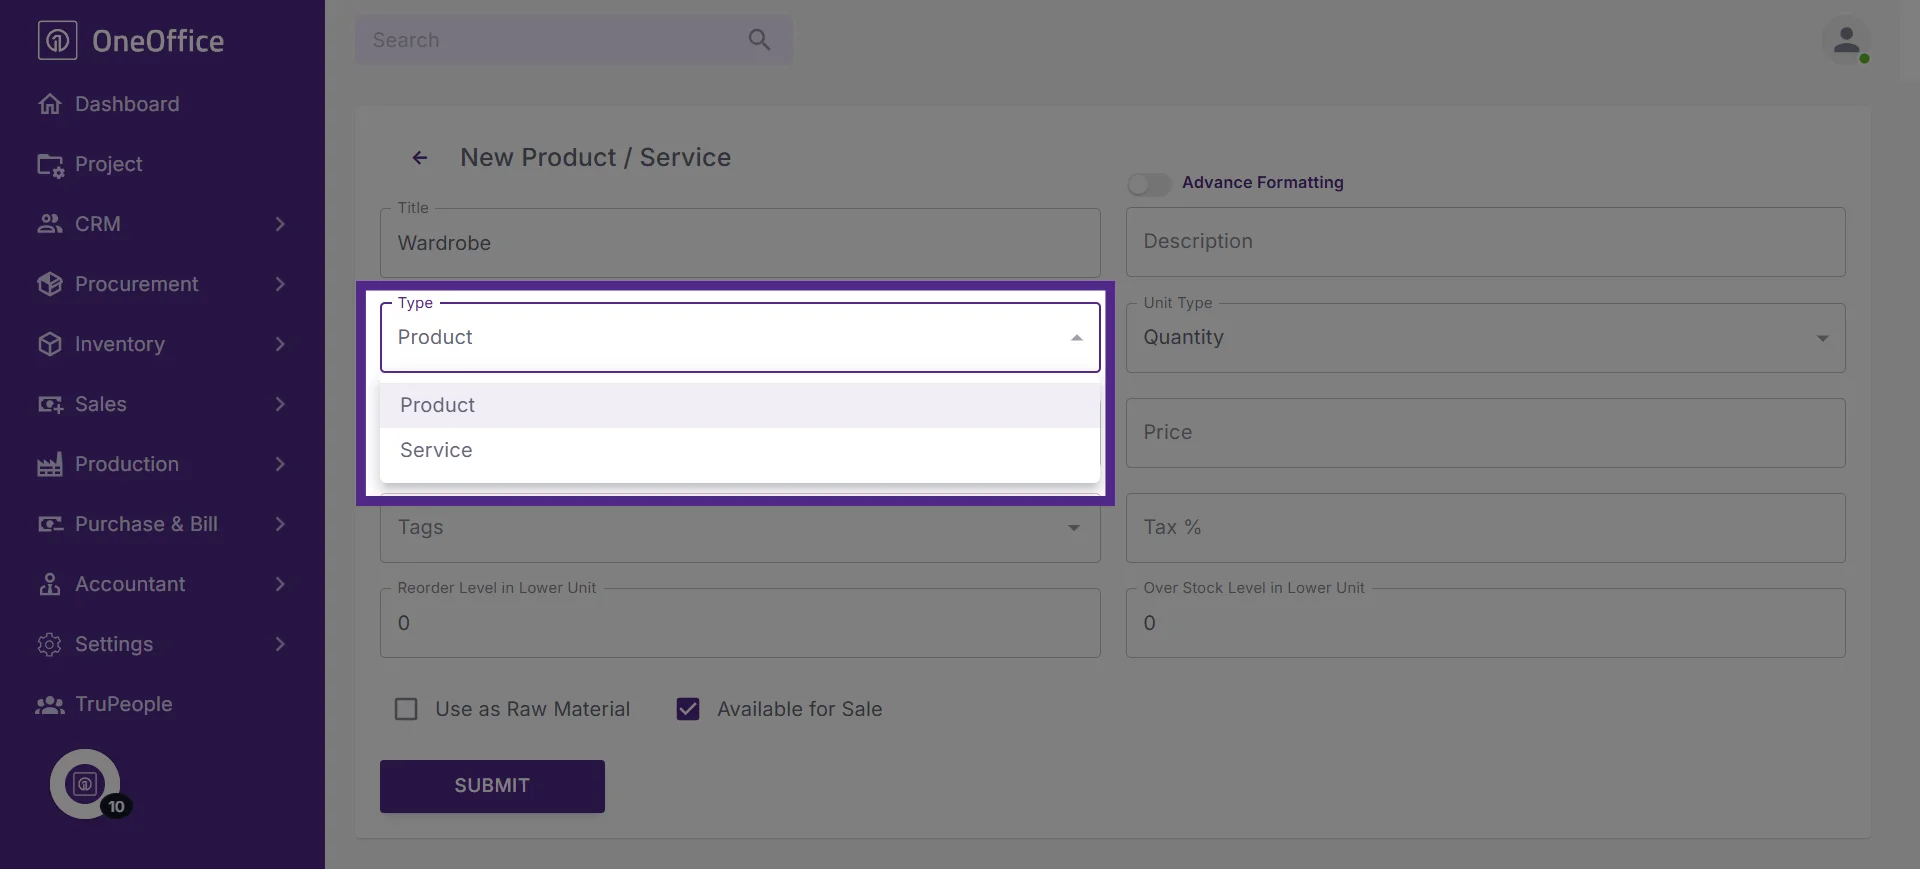
5. Select the item type as Product or Service
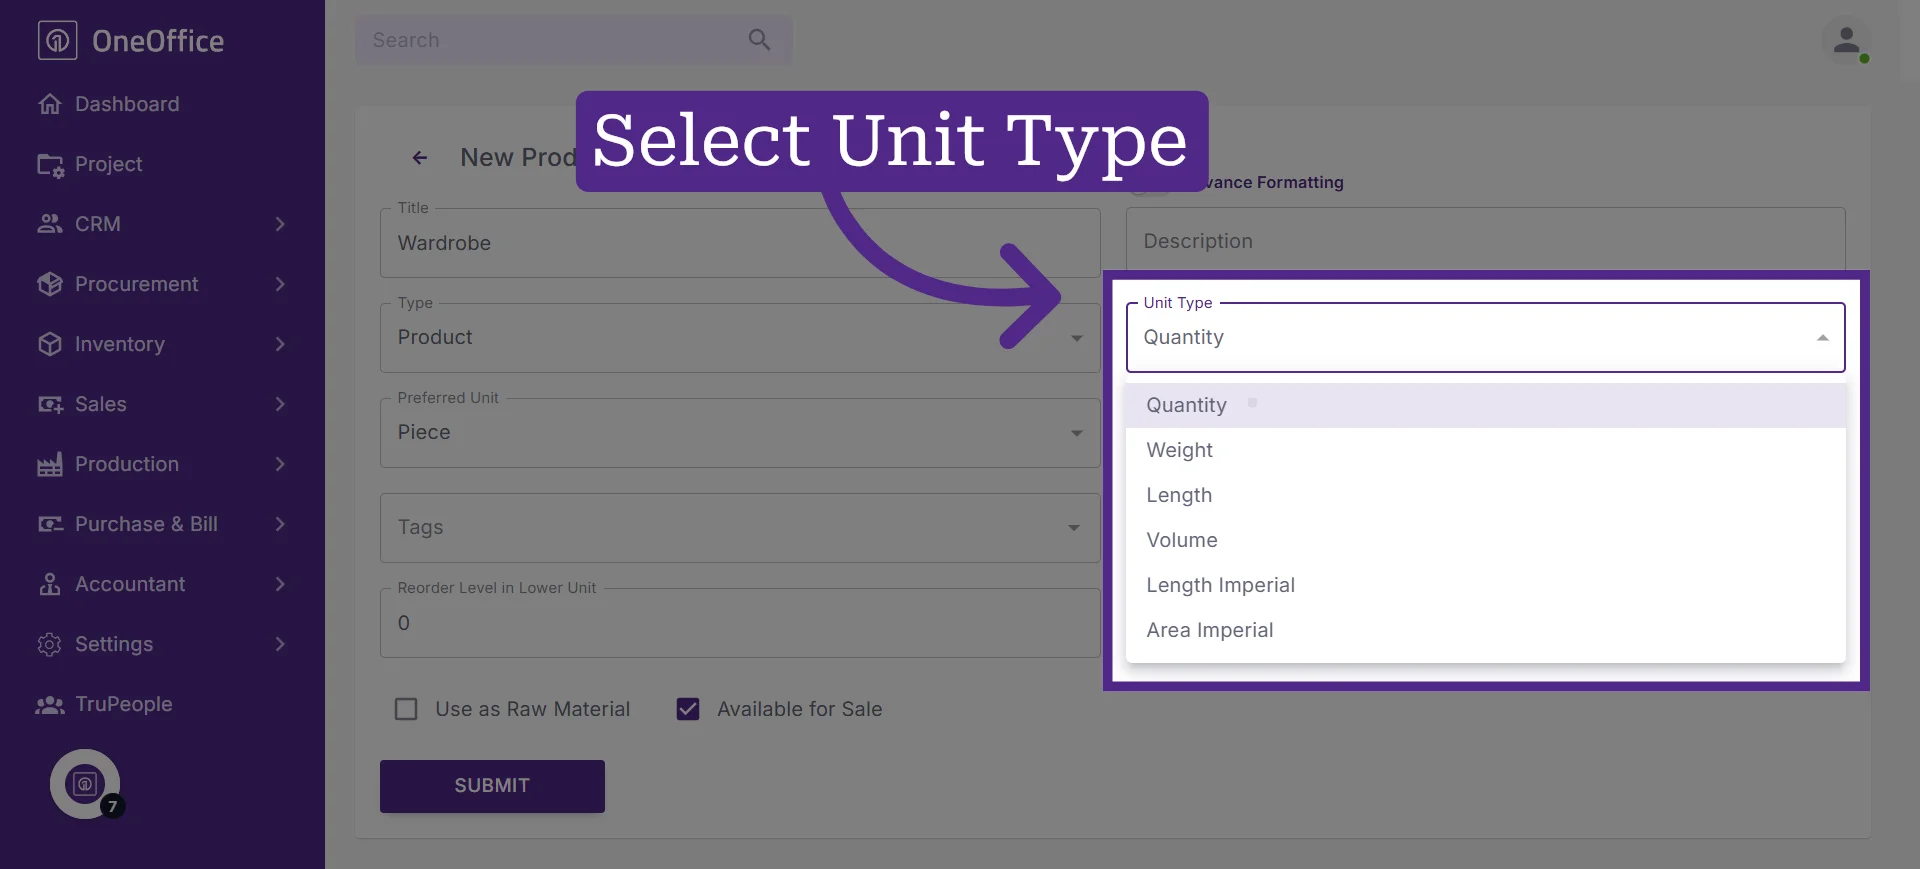
6. Specify the unit type, such as quantity, length, or volume
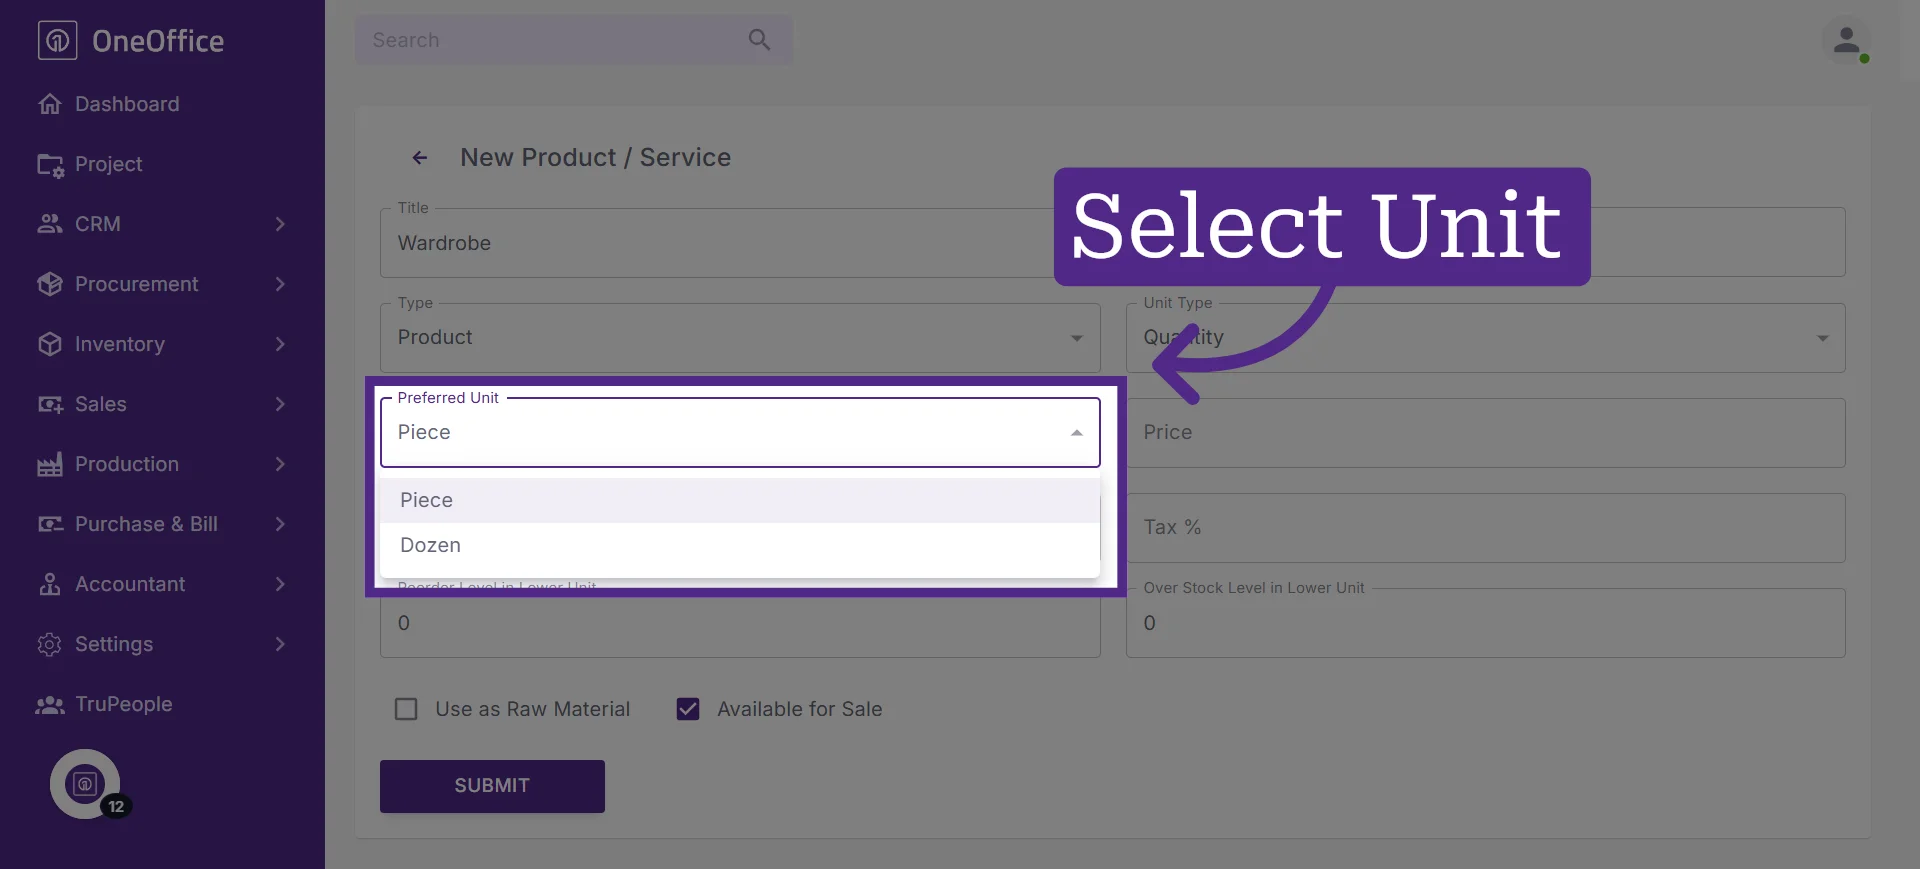
7. Select the unit you use to sell the item, such as Piece or Dozen
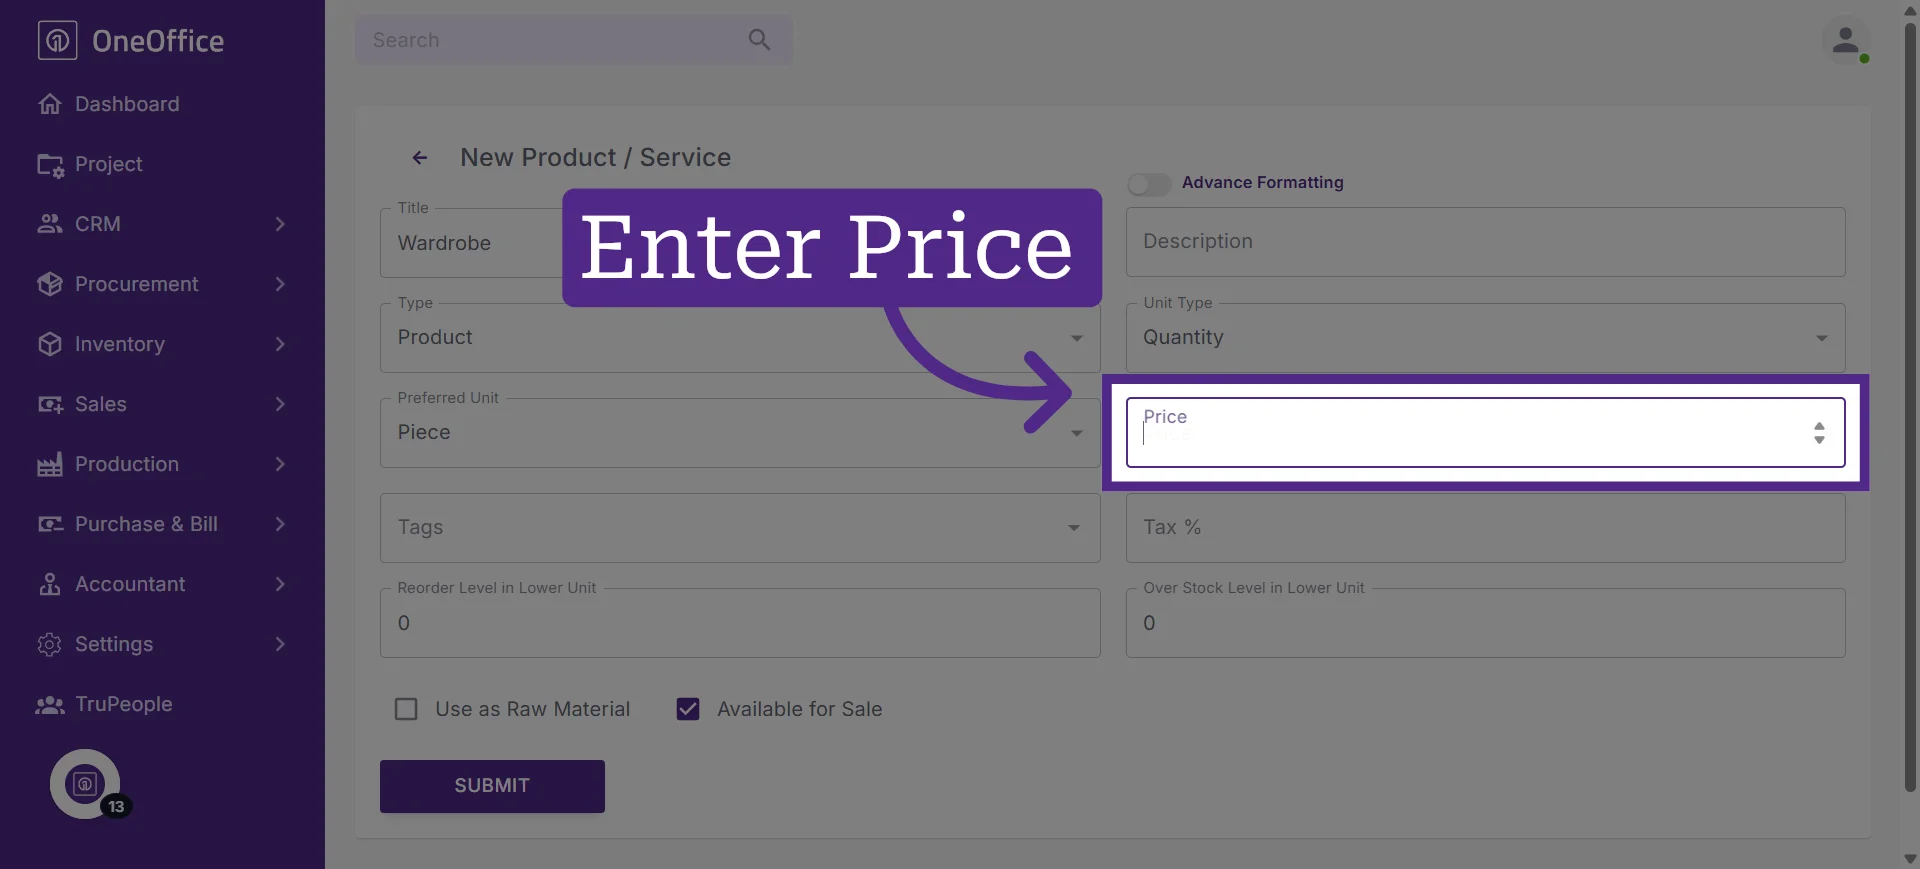
8. Enter the selling price of the product
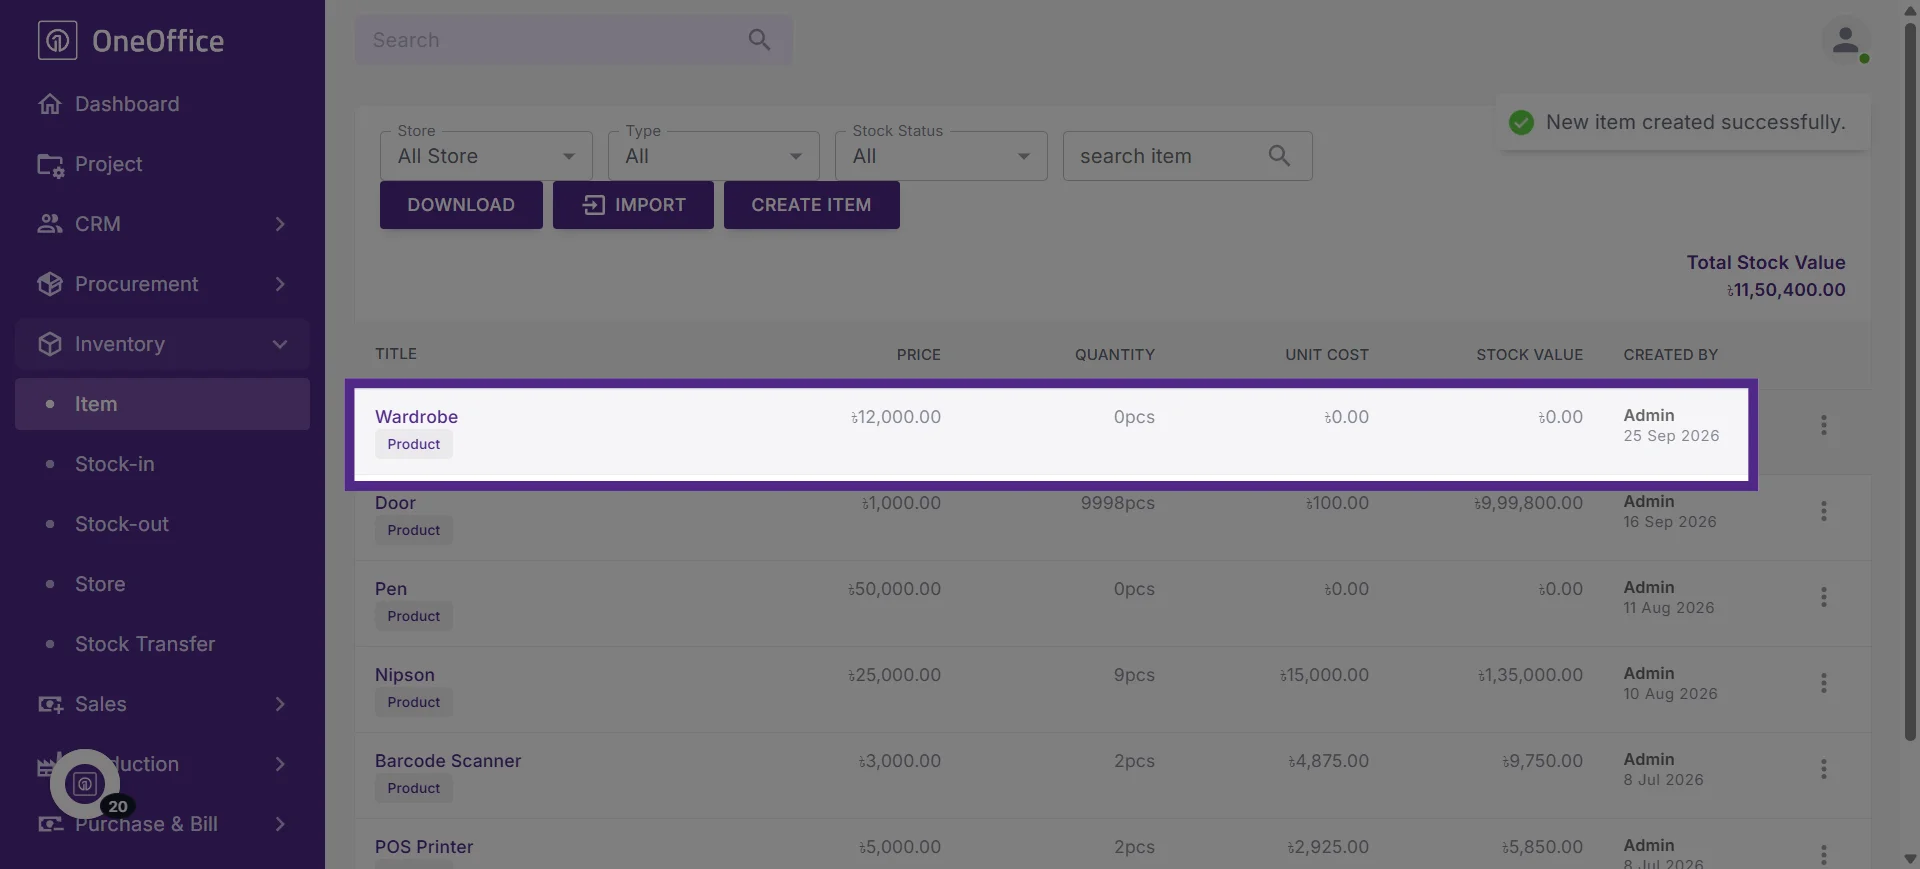
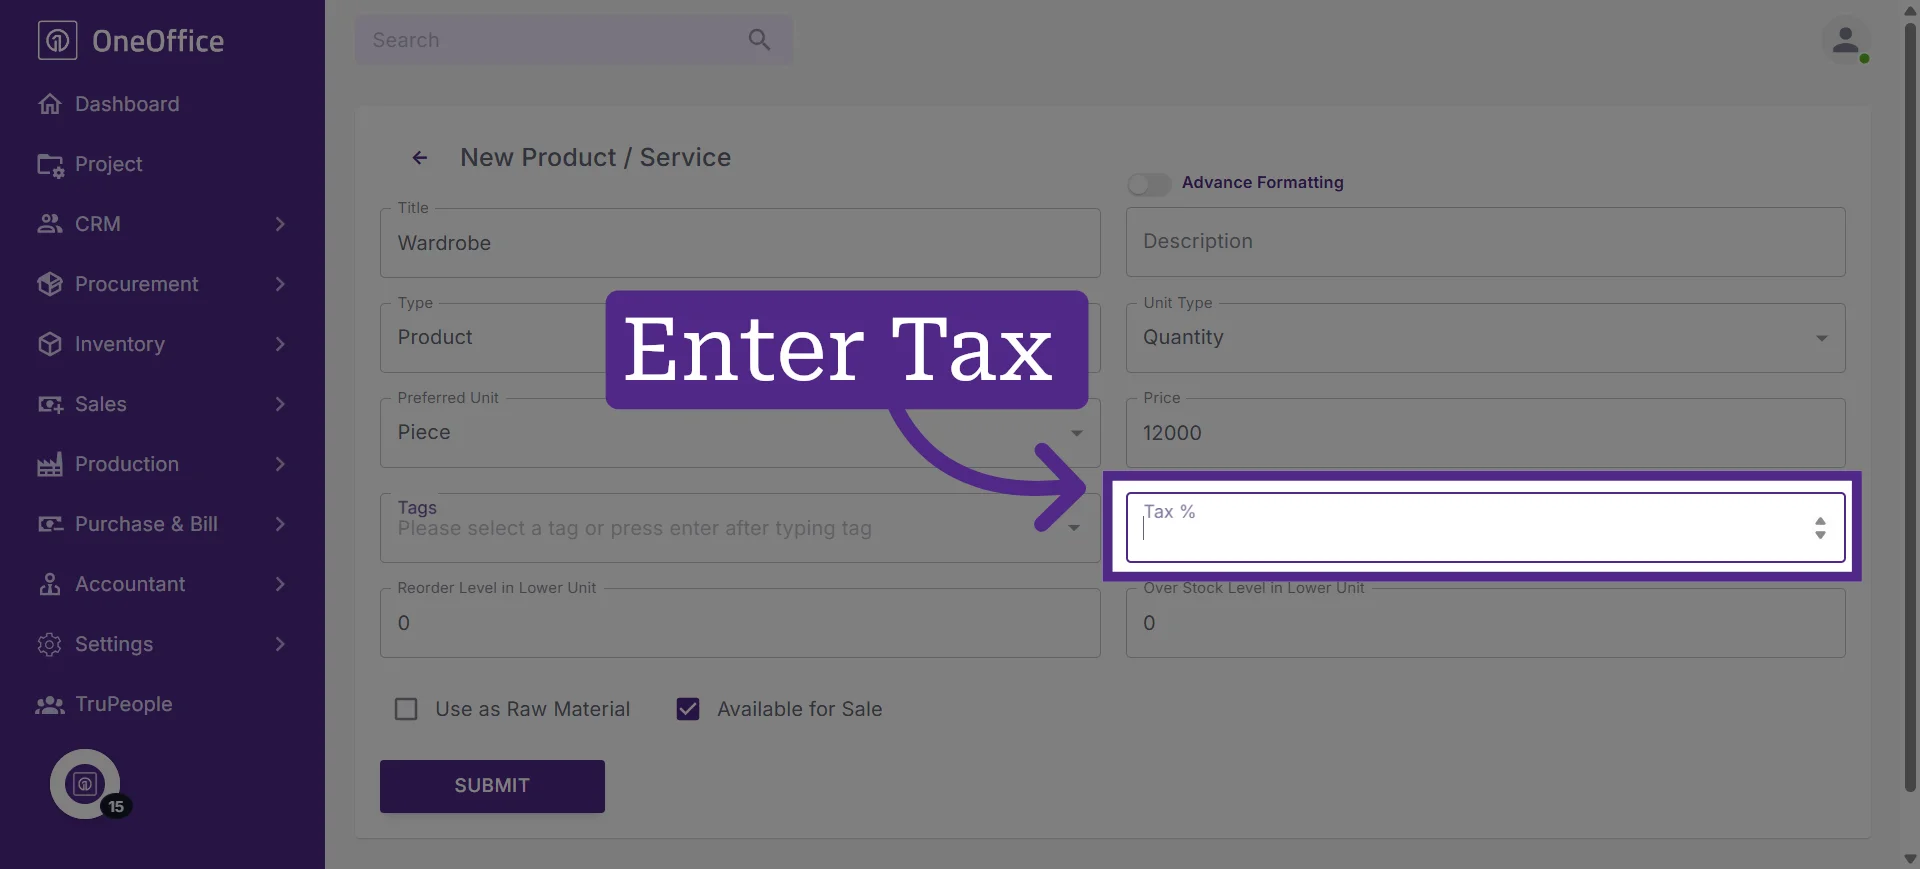
9. Specify the applicable tax for the product
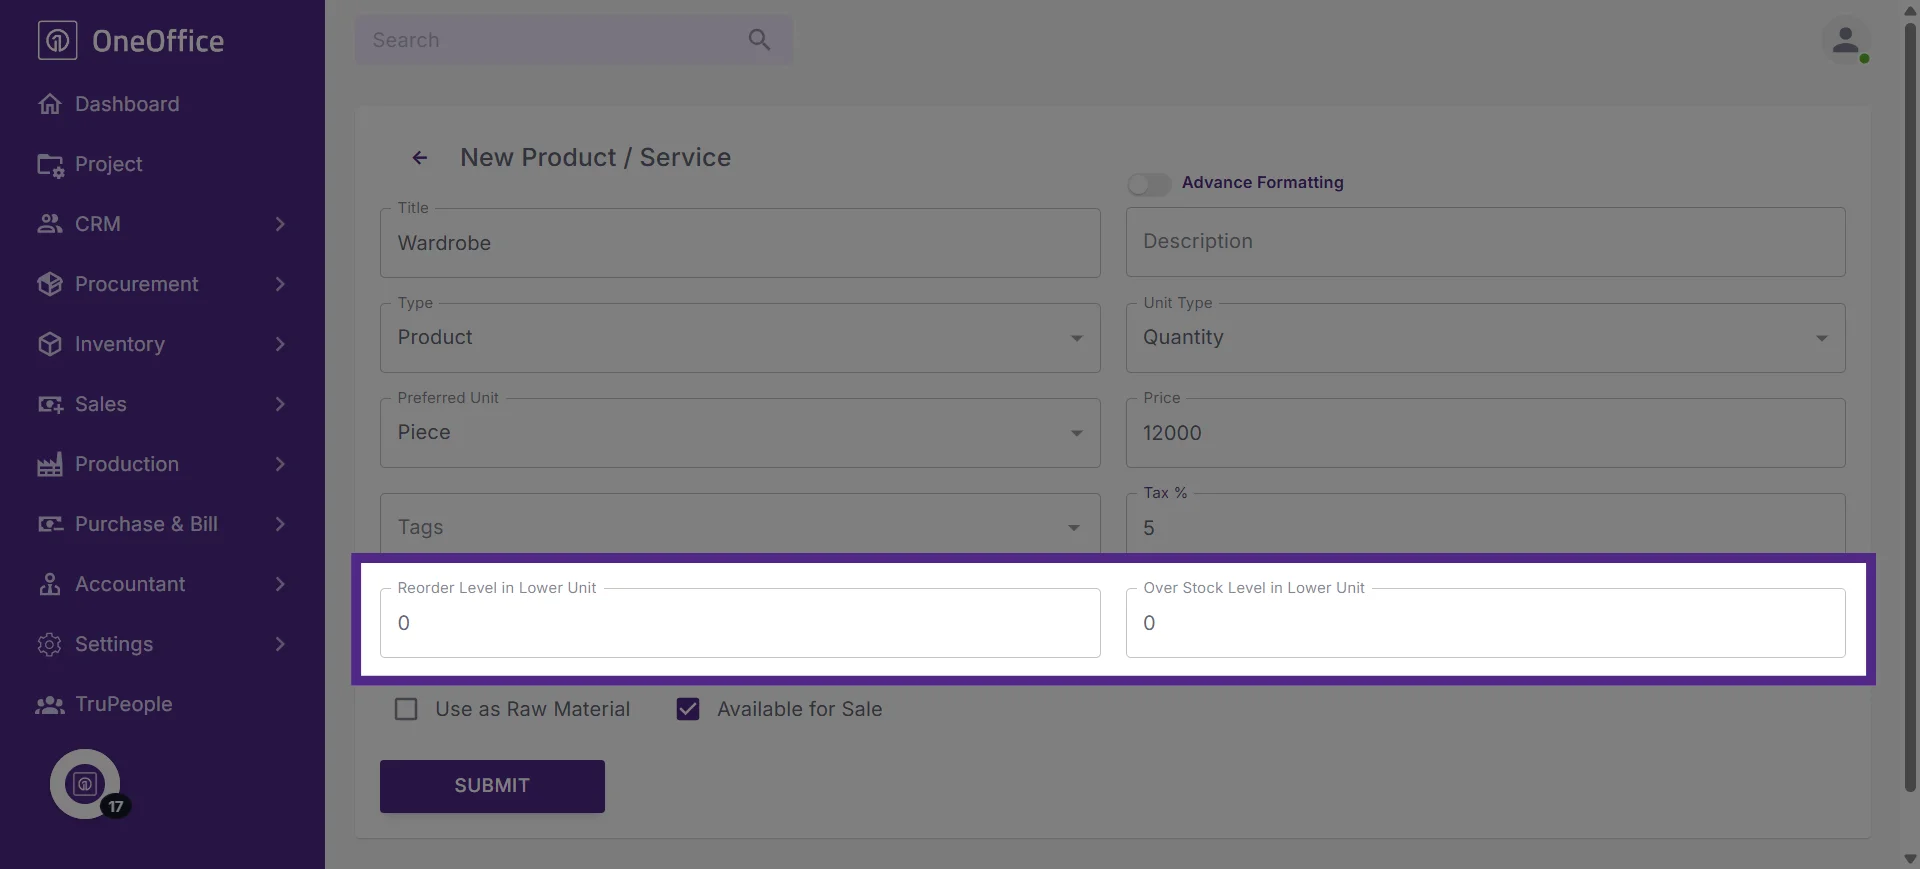
10. Set the reorder level or overstock level using the lower unit of measurement
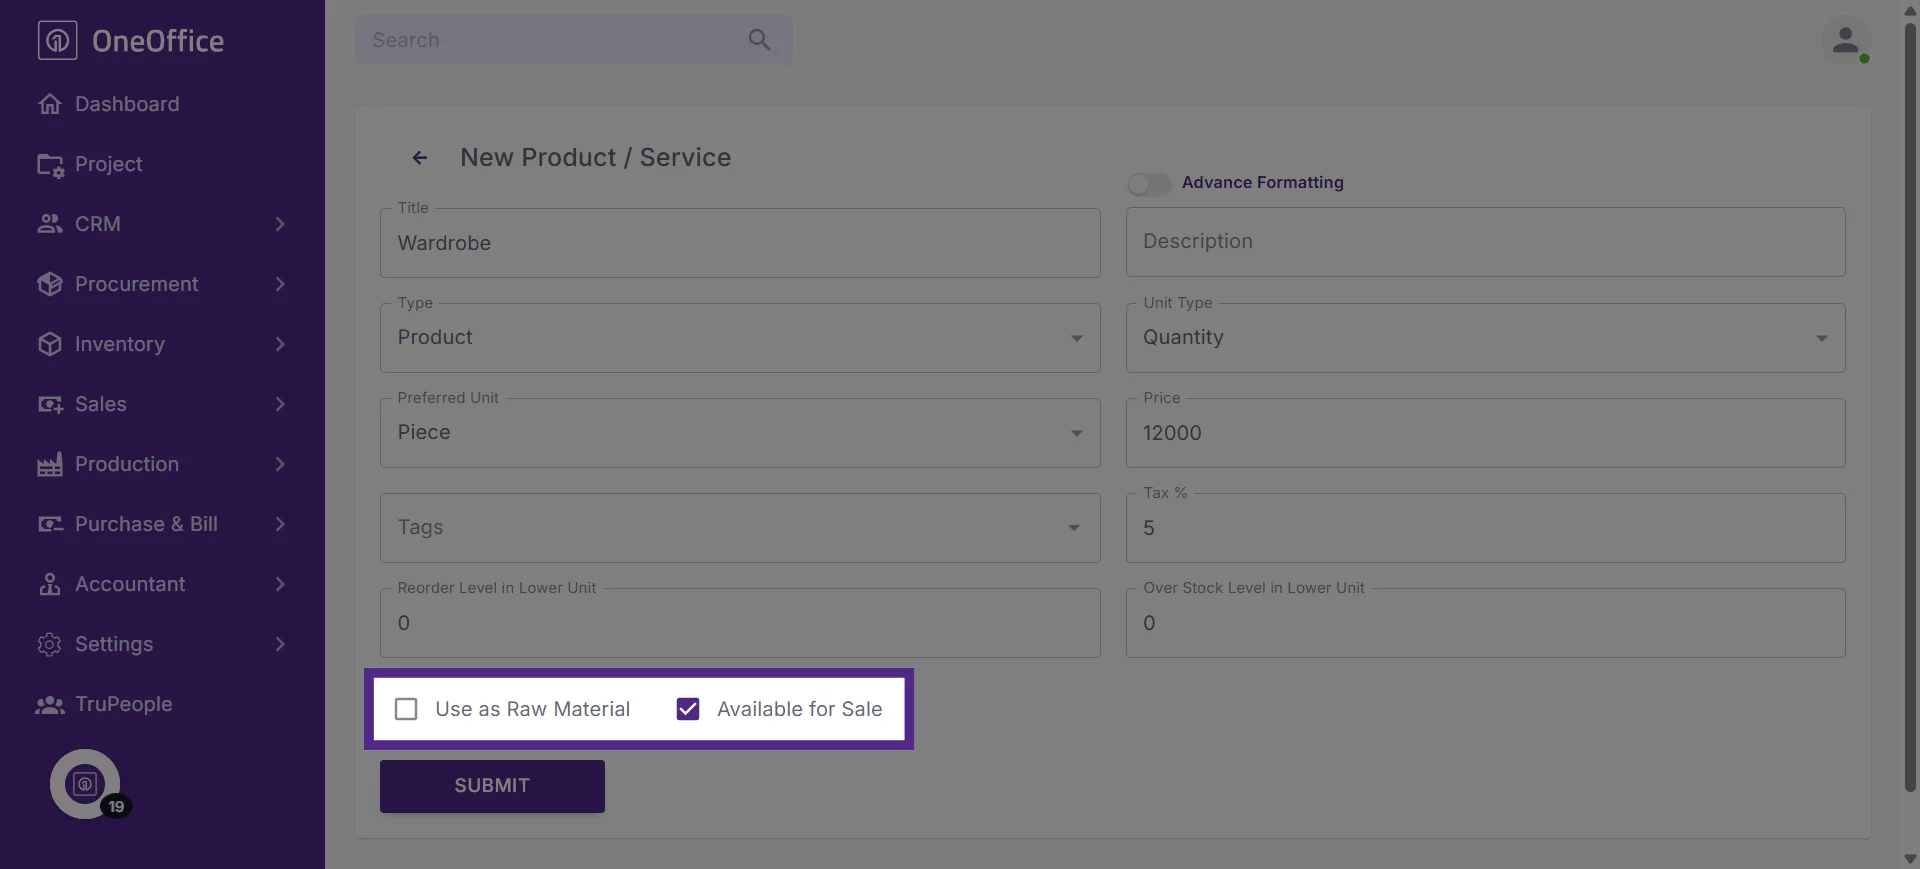
11. Specify whether the inventory item is a Raw Material or a Product Available for Sale
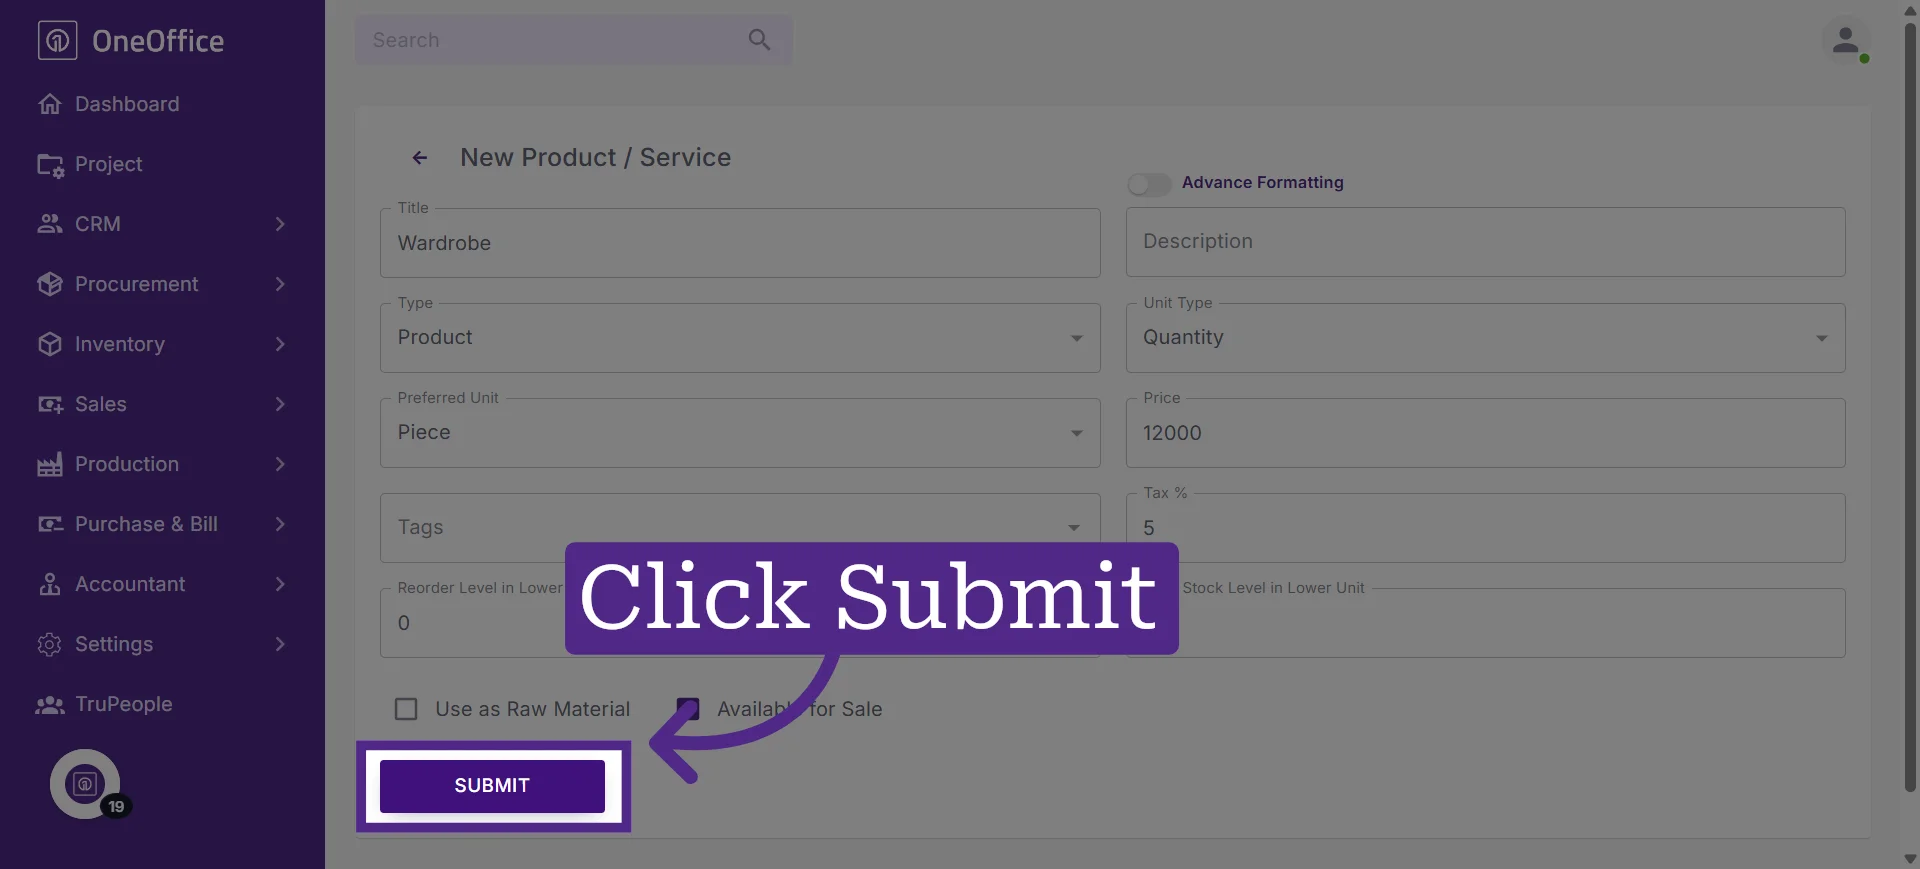
12. Click "Submit" to save the item
13. The newly added product will now appear in the item list