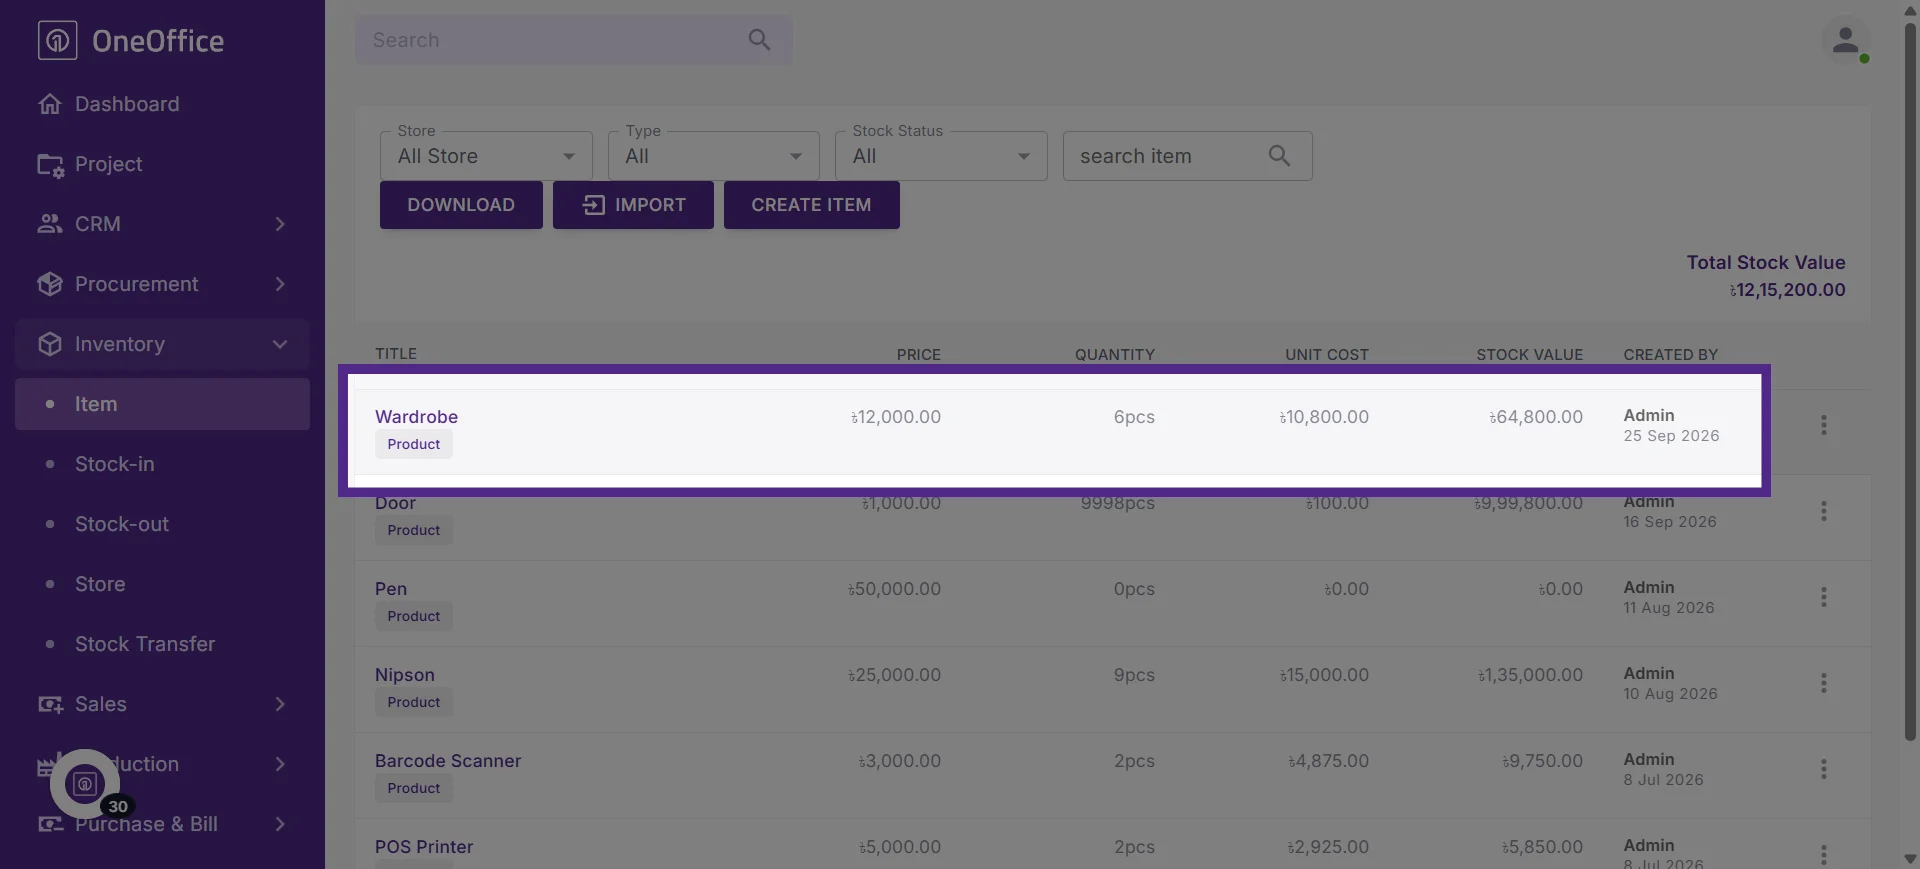
How to Stock-in Inventory Items or Products in OneOffice
This tutorial guides you through stocking in inventory items or products in OneOffice by selecting
the product, store, and vendor, entering stock quantities and costs, and saving the stock-in details.
Go to
oneoffice.quicklyservices.com
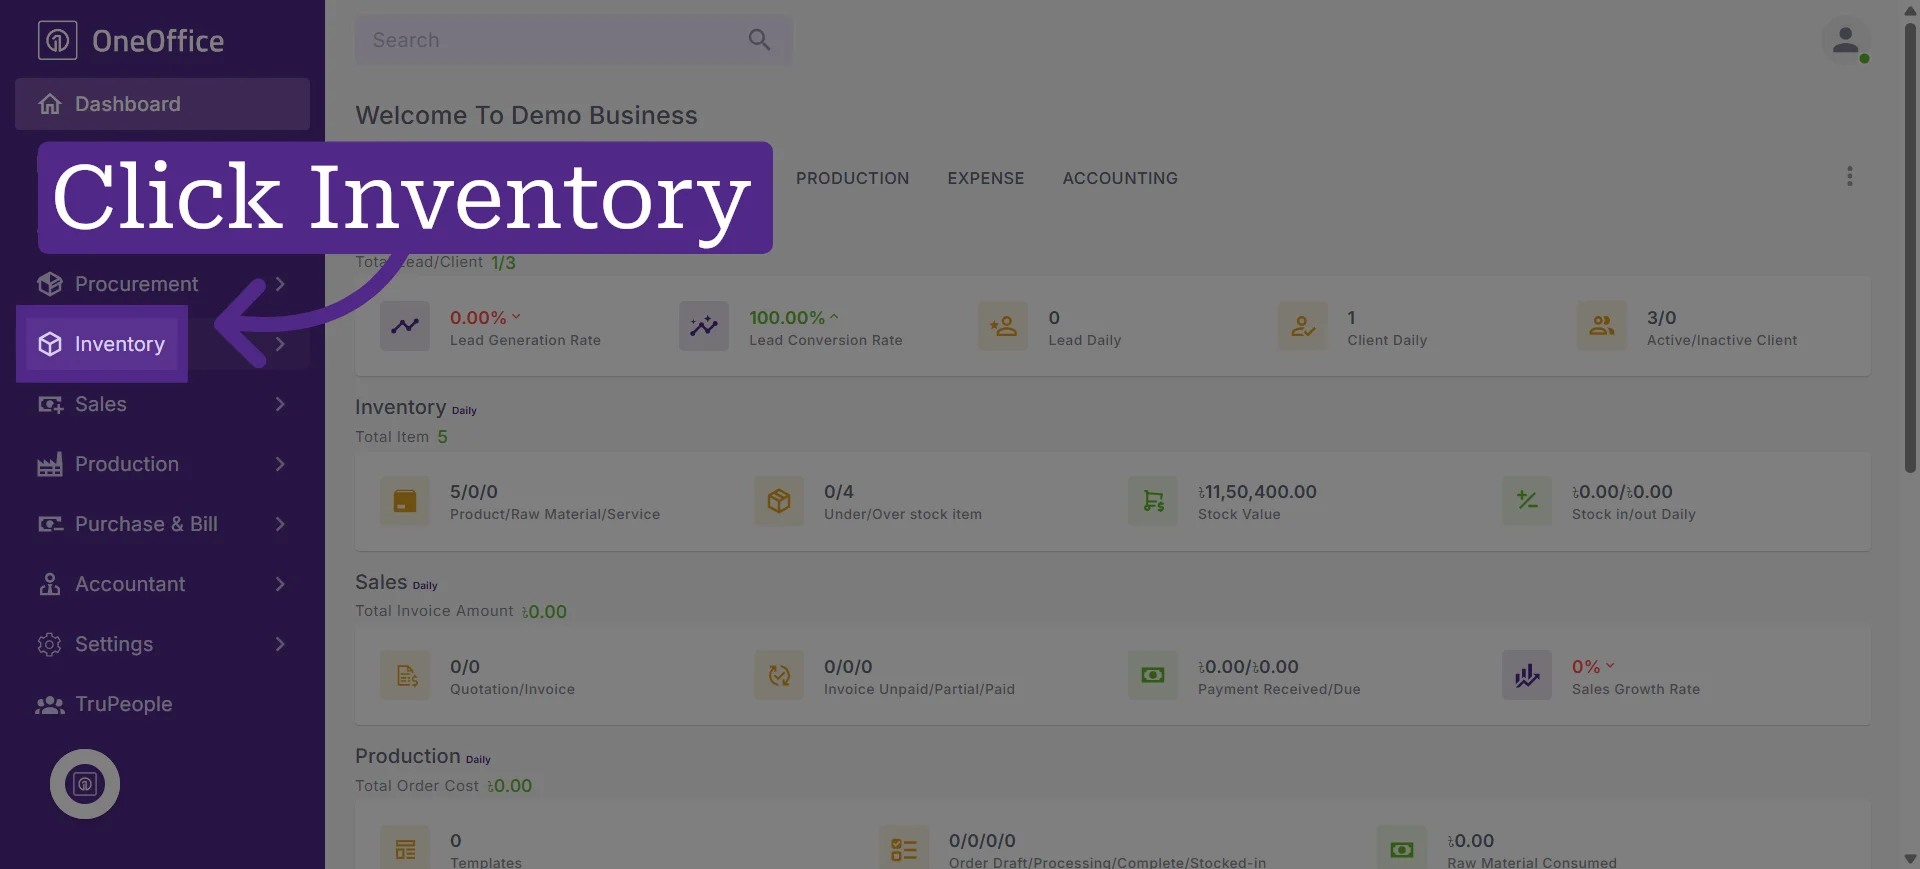
1. Click "Inventory" from the navigation menu
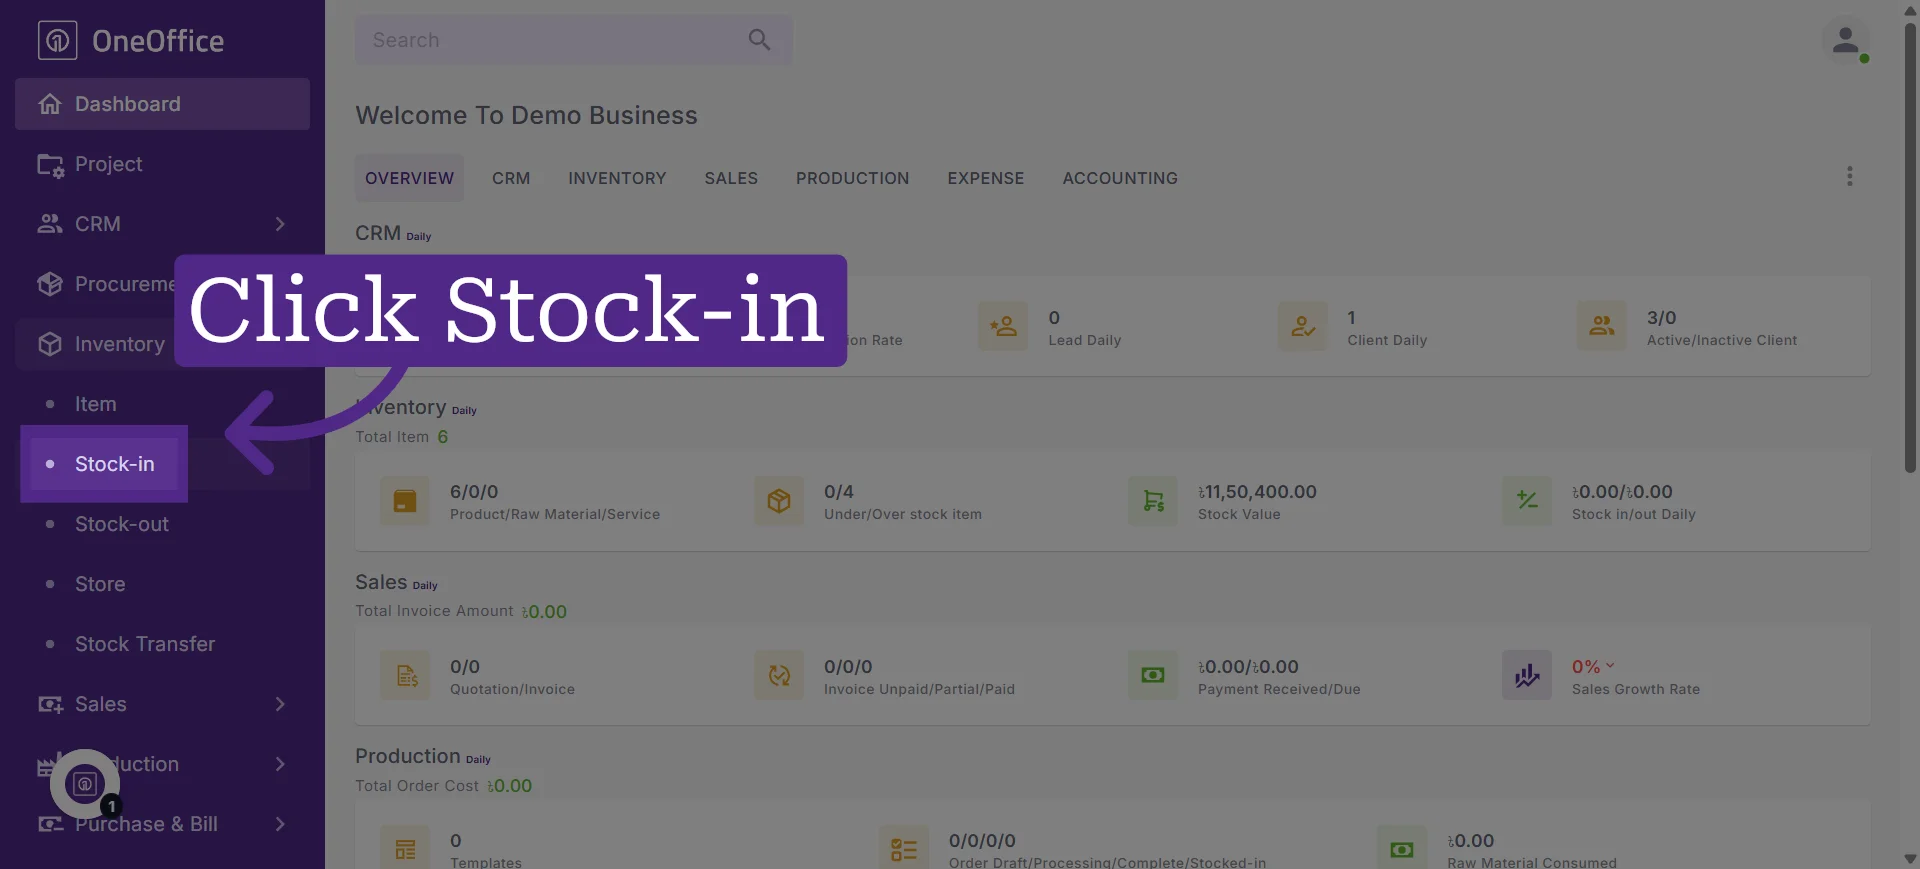
2. Click "Stock-in" to access the stock-in section
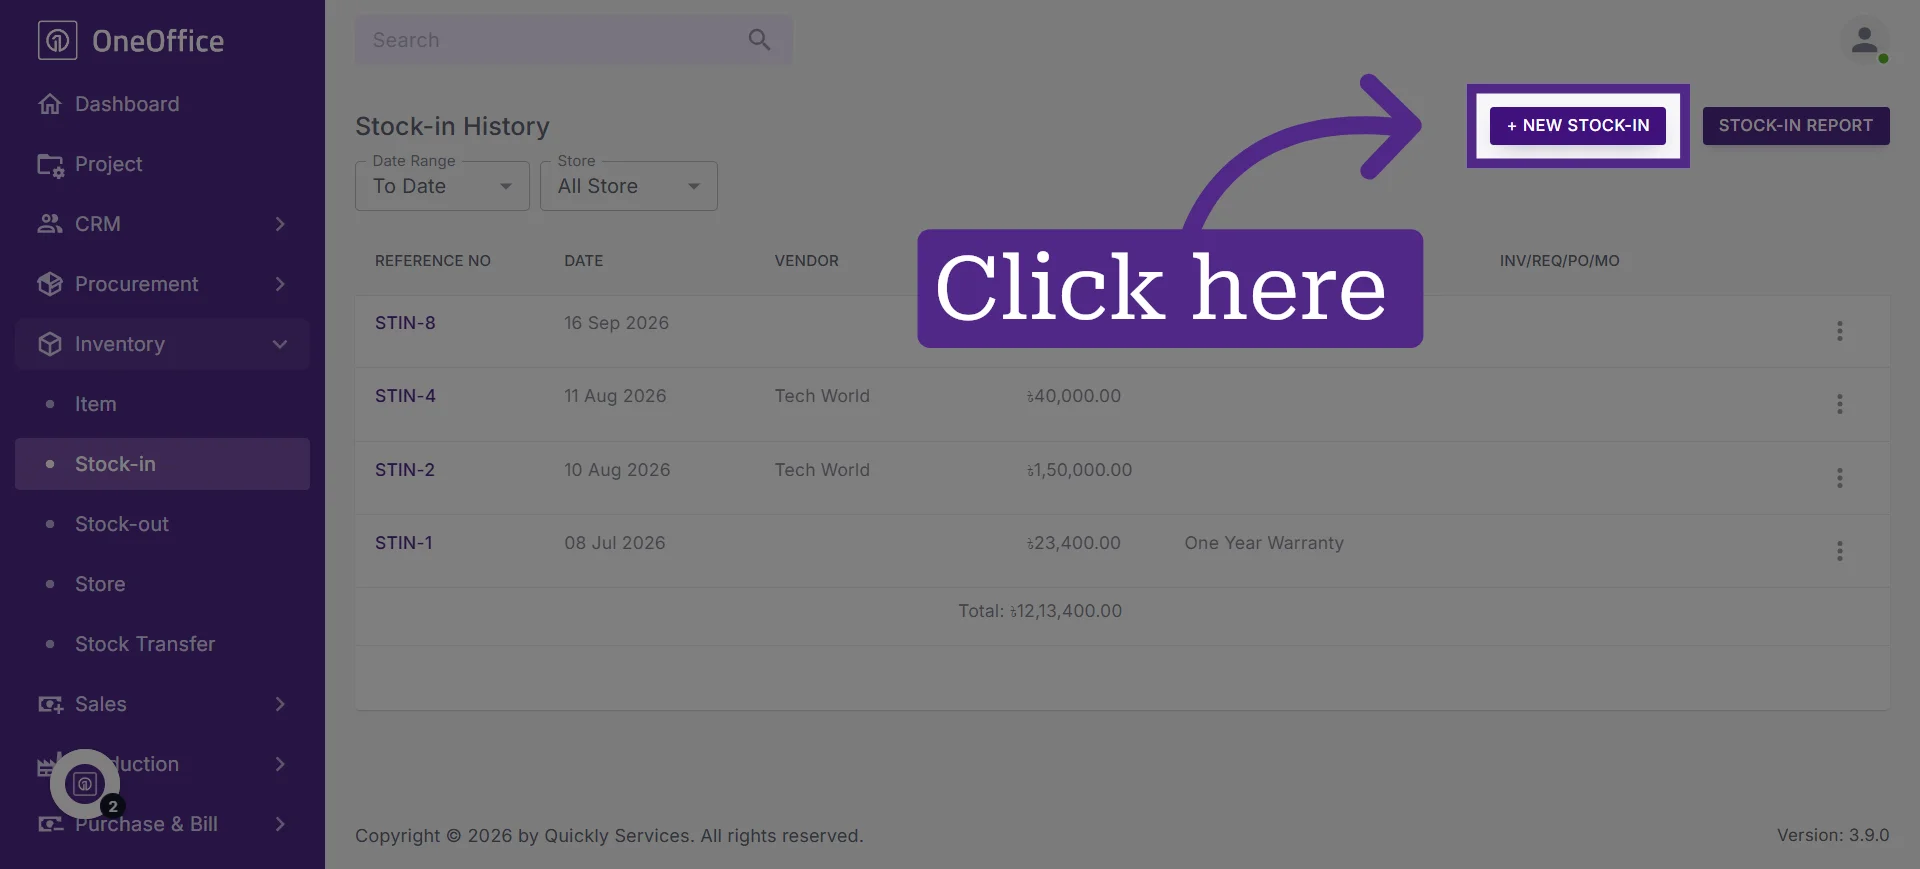
3. Click "New Stock-in" to create a new stock-in entry
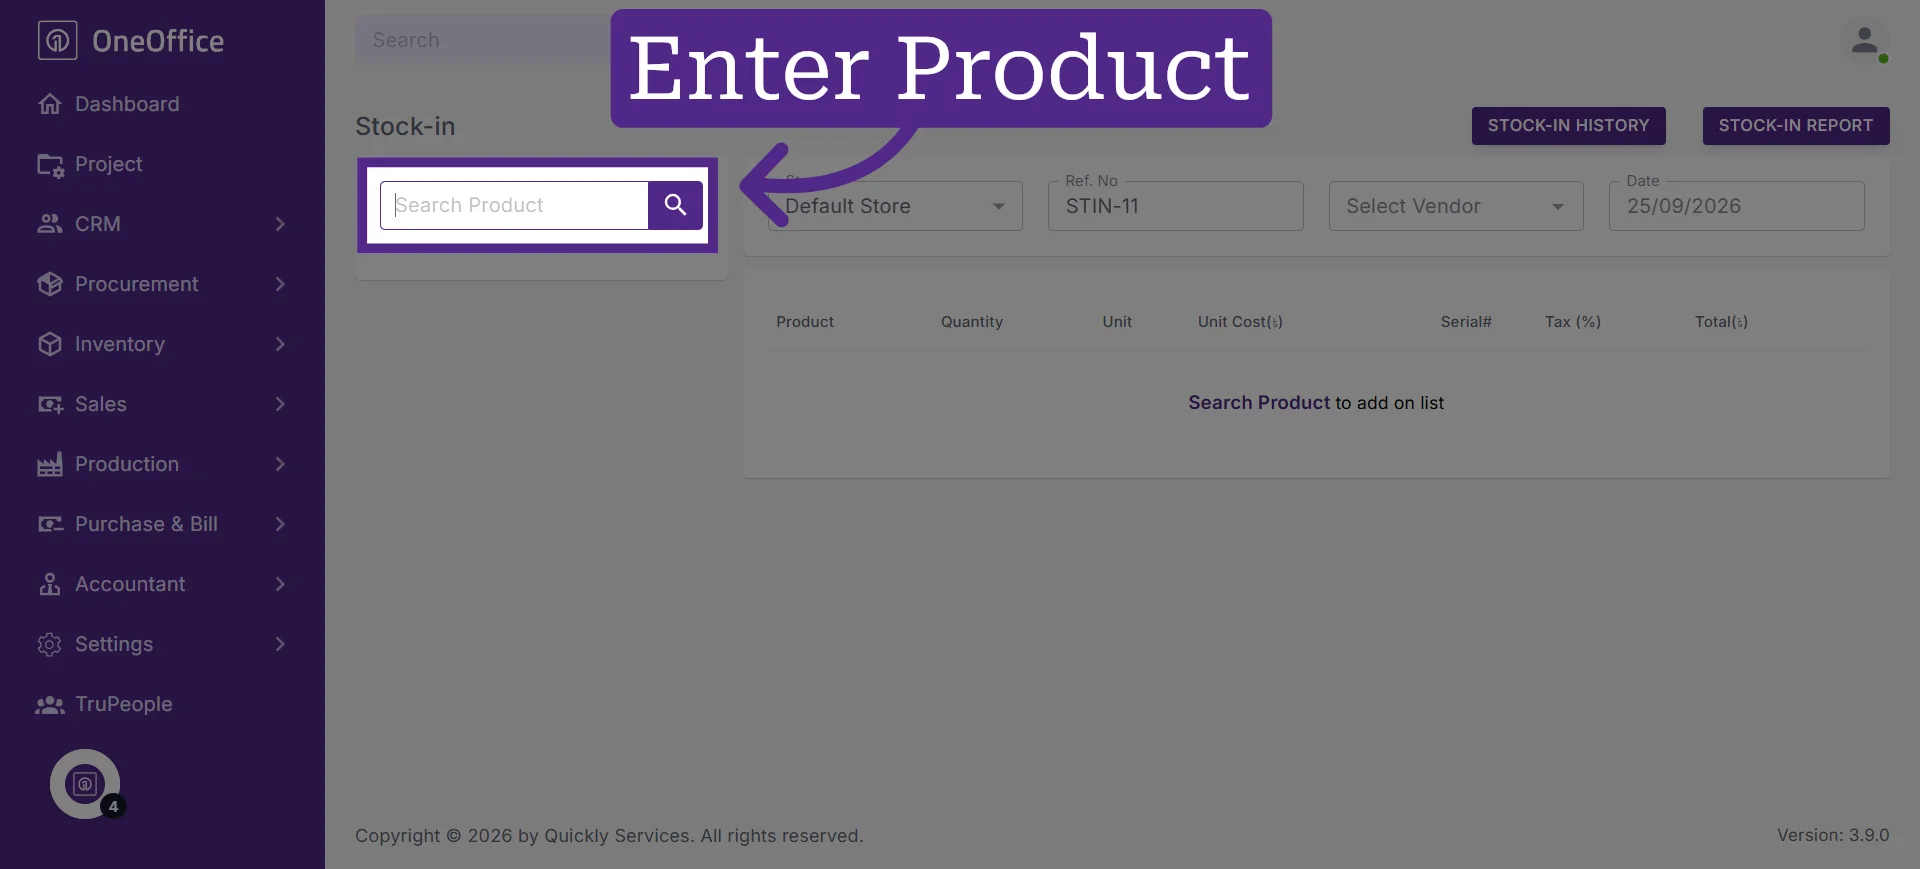
4. Search for the product you want to stock in and select it
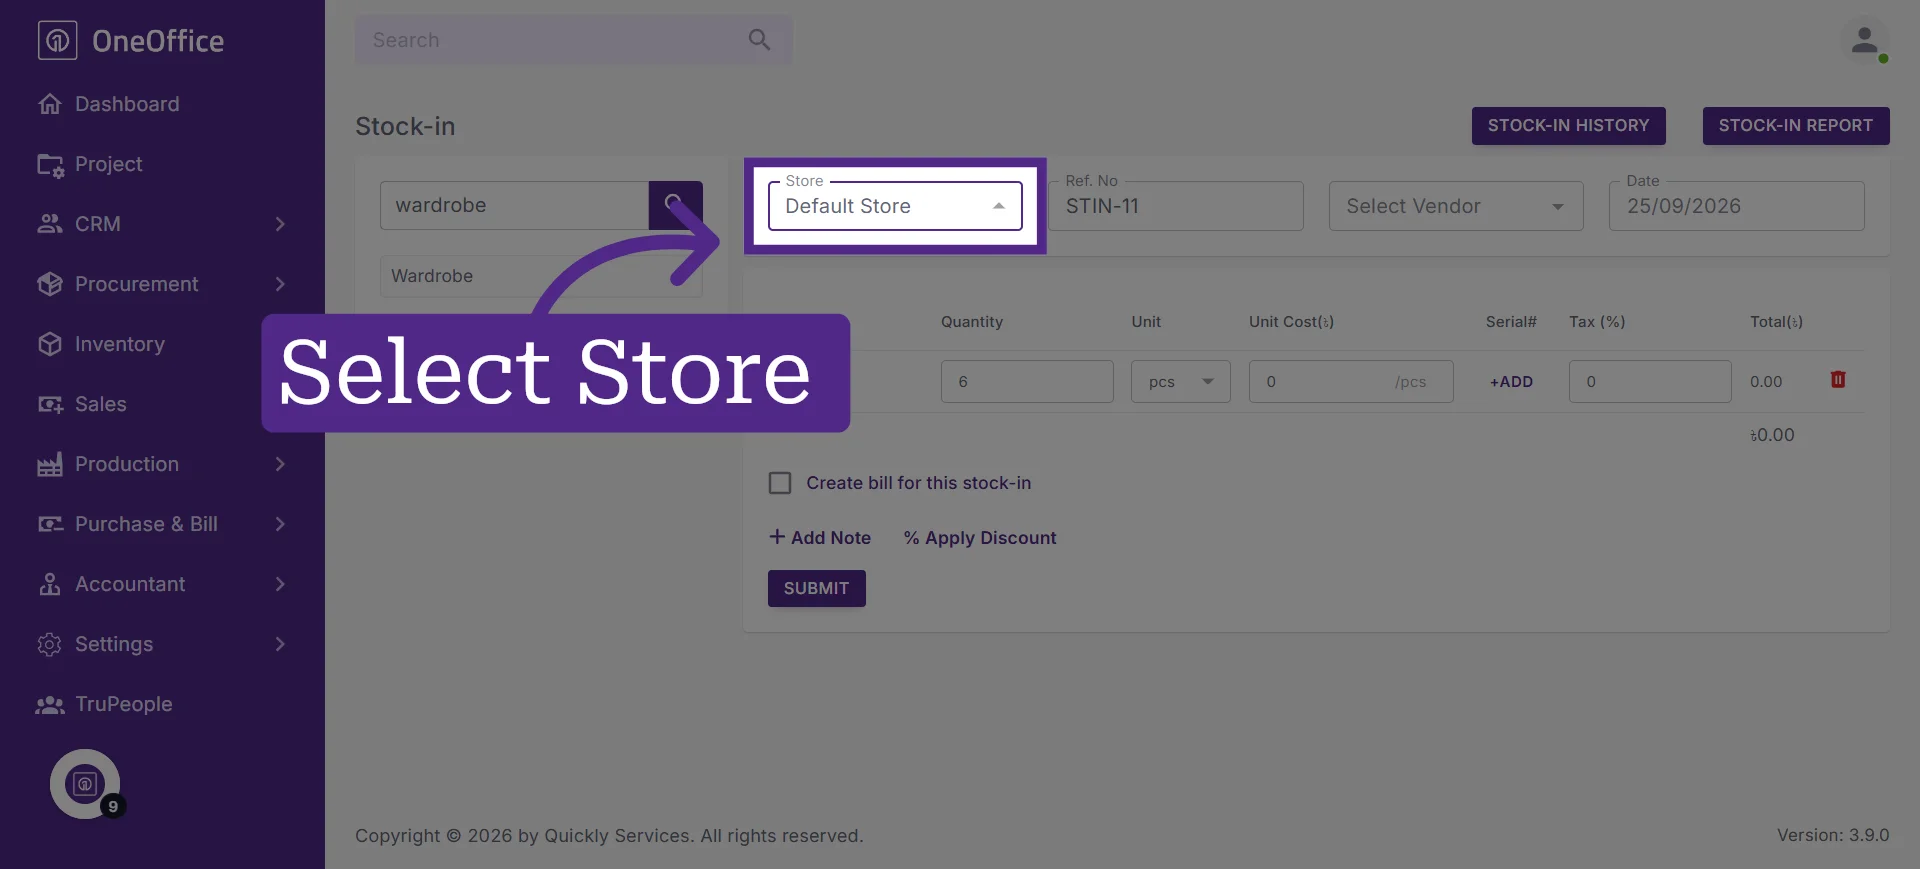
5. Select the store where you want to add the stock
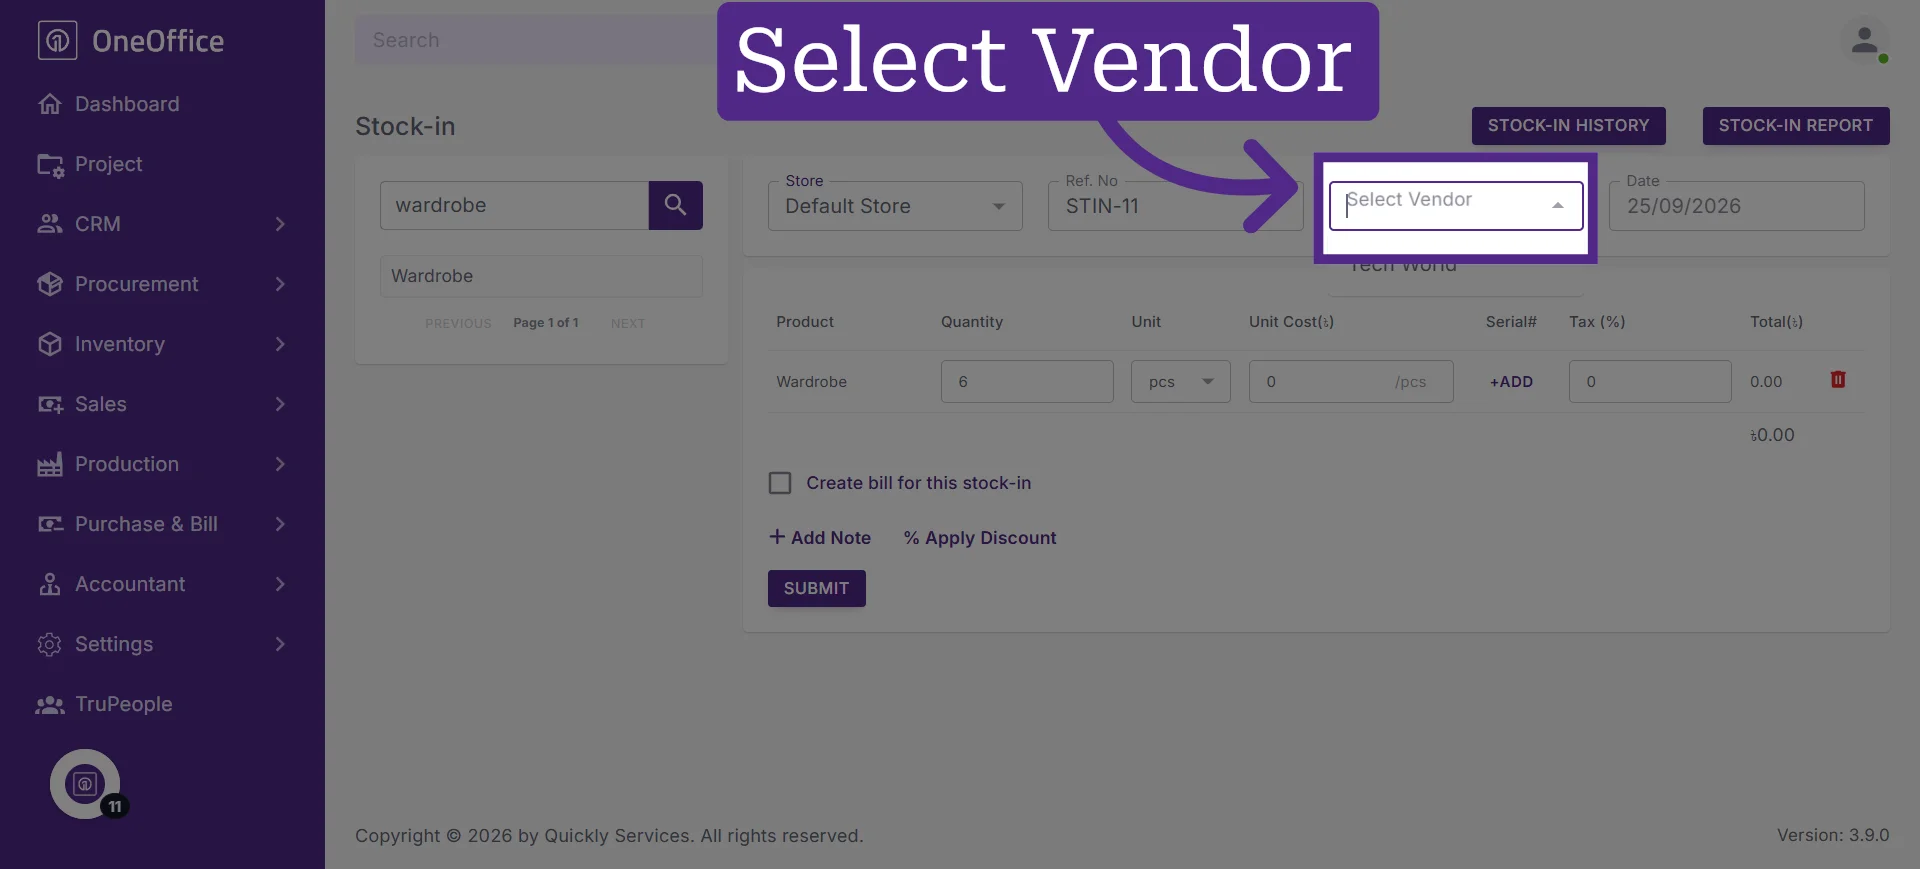
6. Select the vendor supplying the product
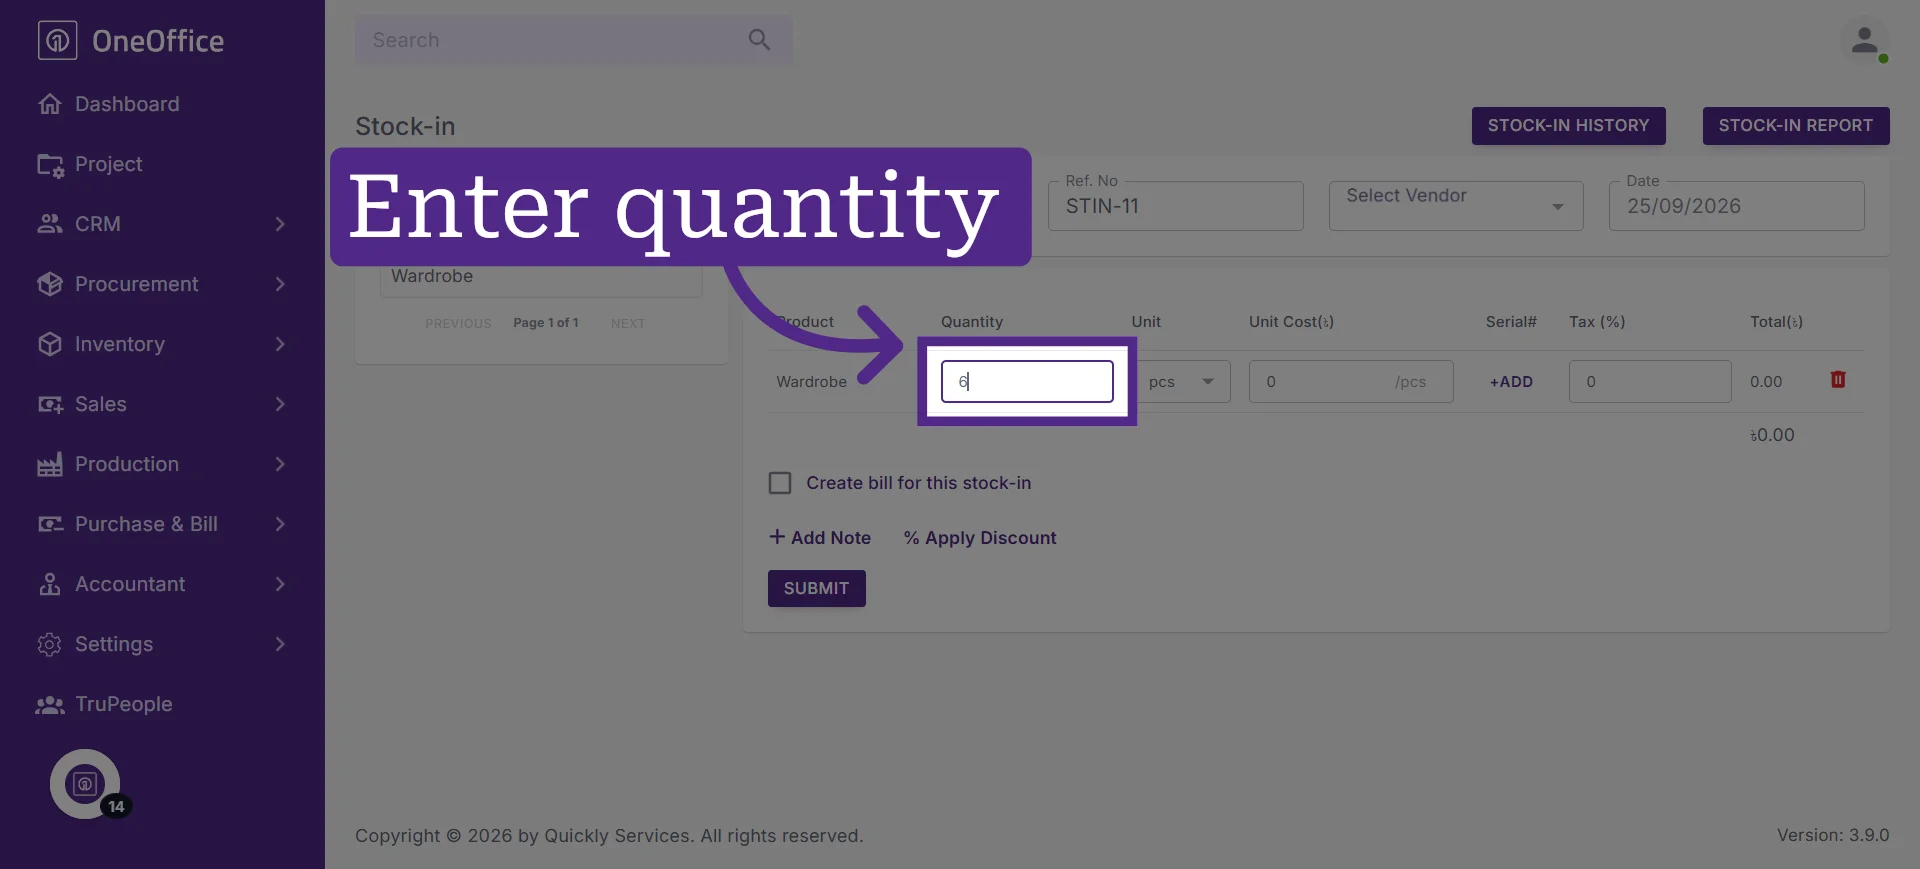
7. Specify the quantity of the product you want to stock in
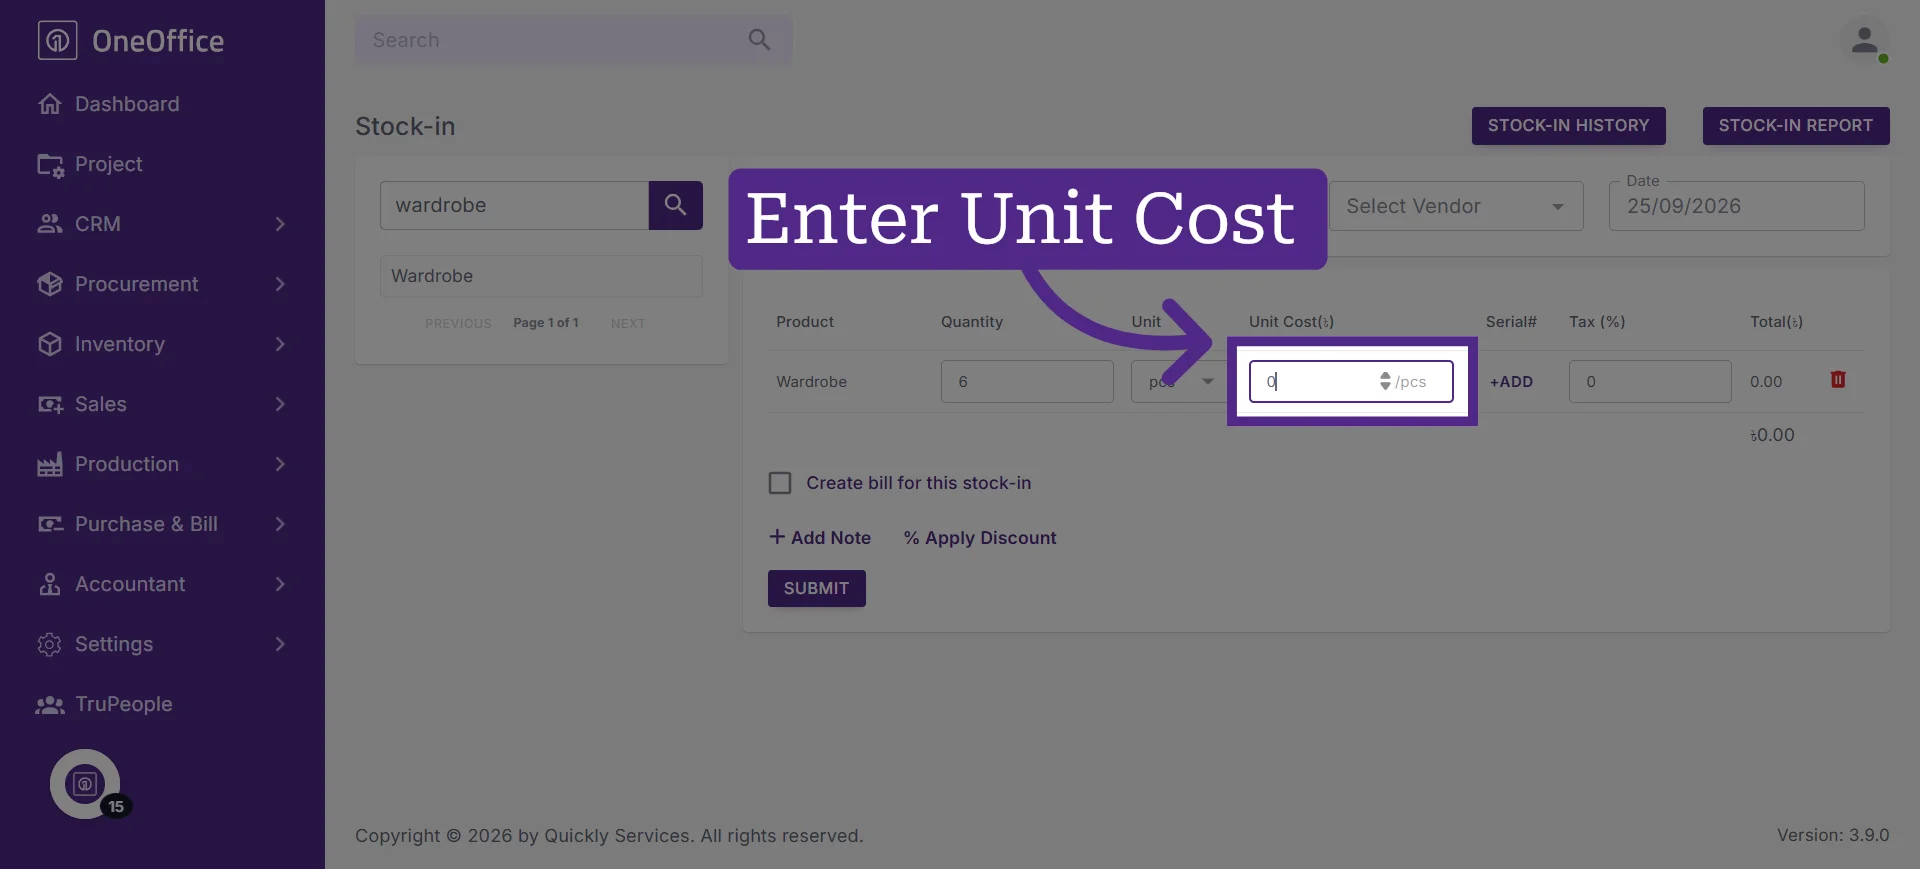
8. Enter the unit cost of the product
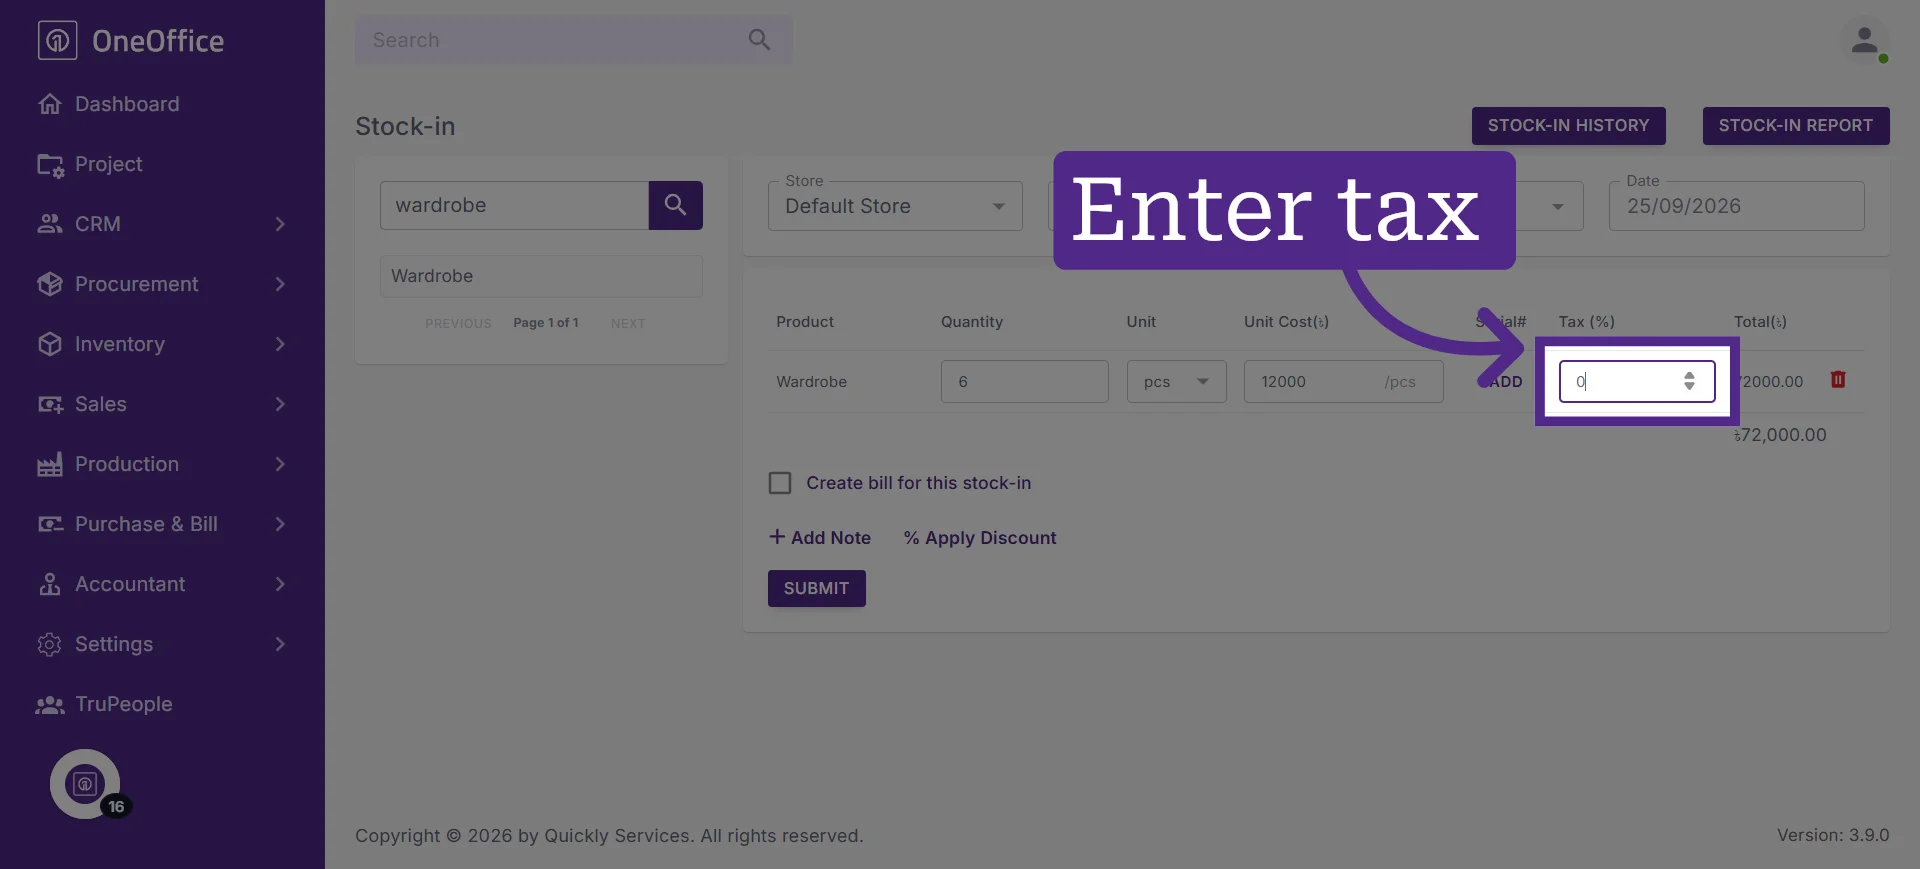
9. Specify the applicable tax percentage
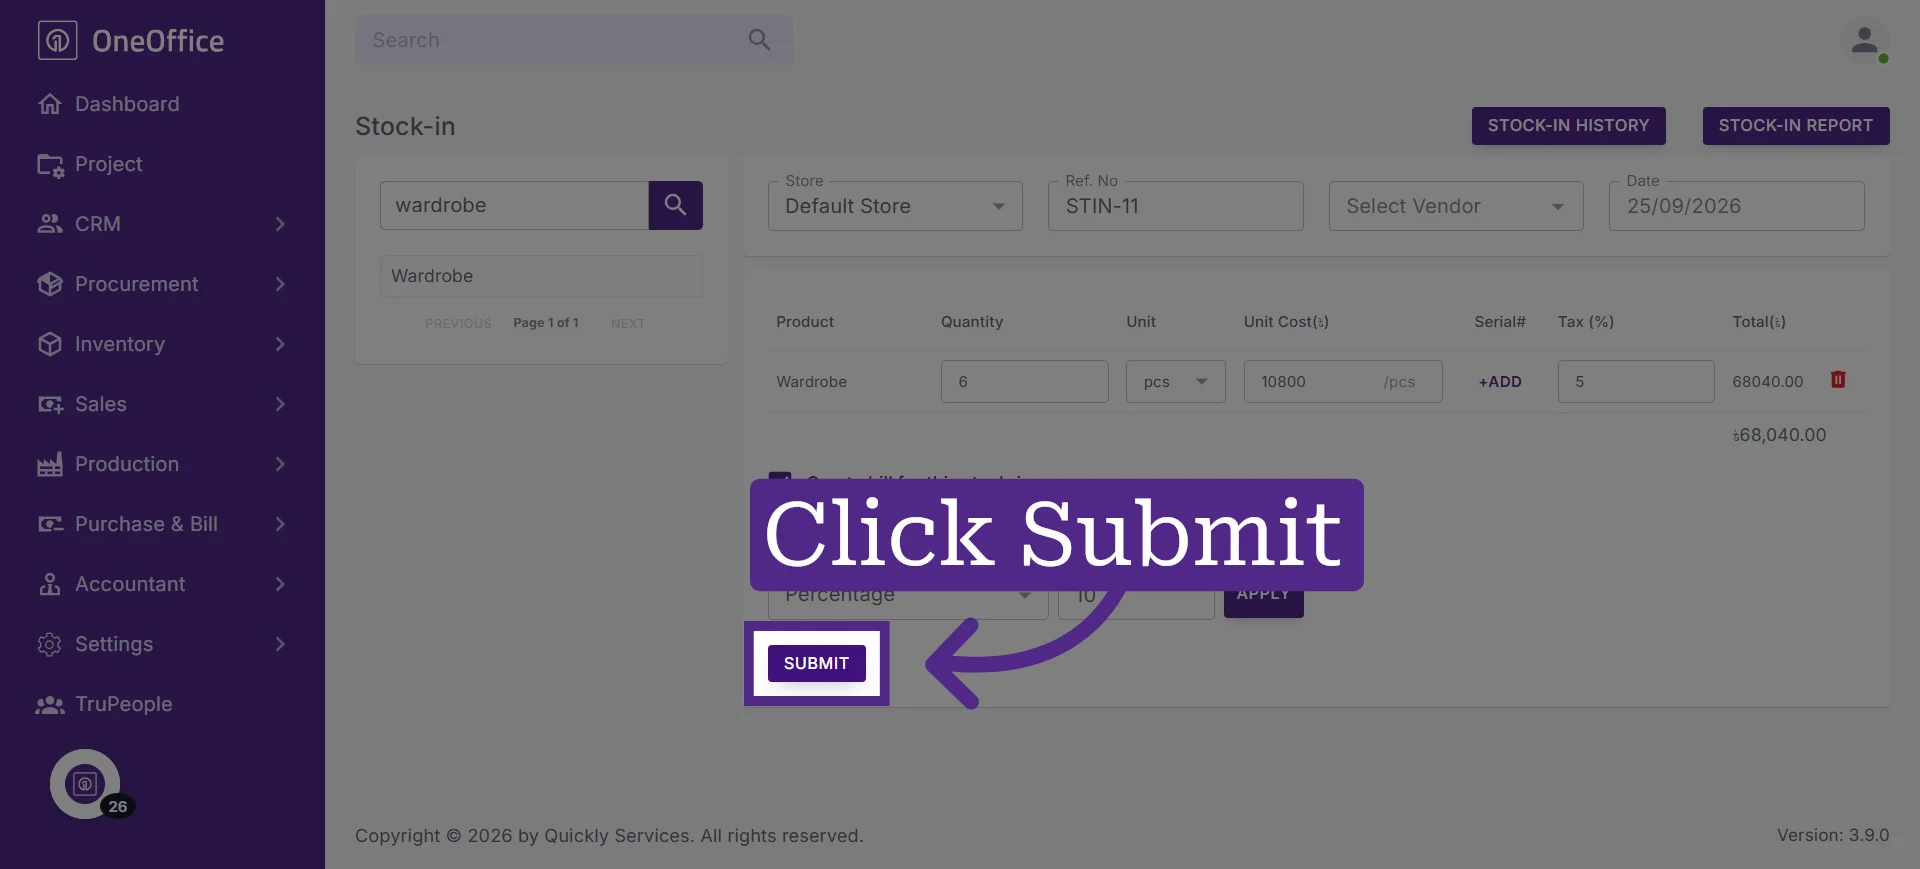
10. Click "Submit" to record the new stock
The total amount will be calculated automatically based on the information you entered.
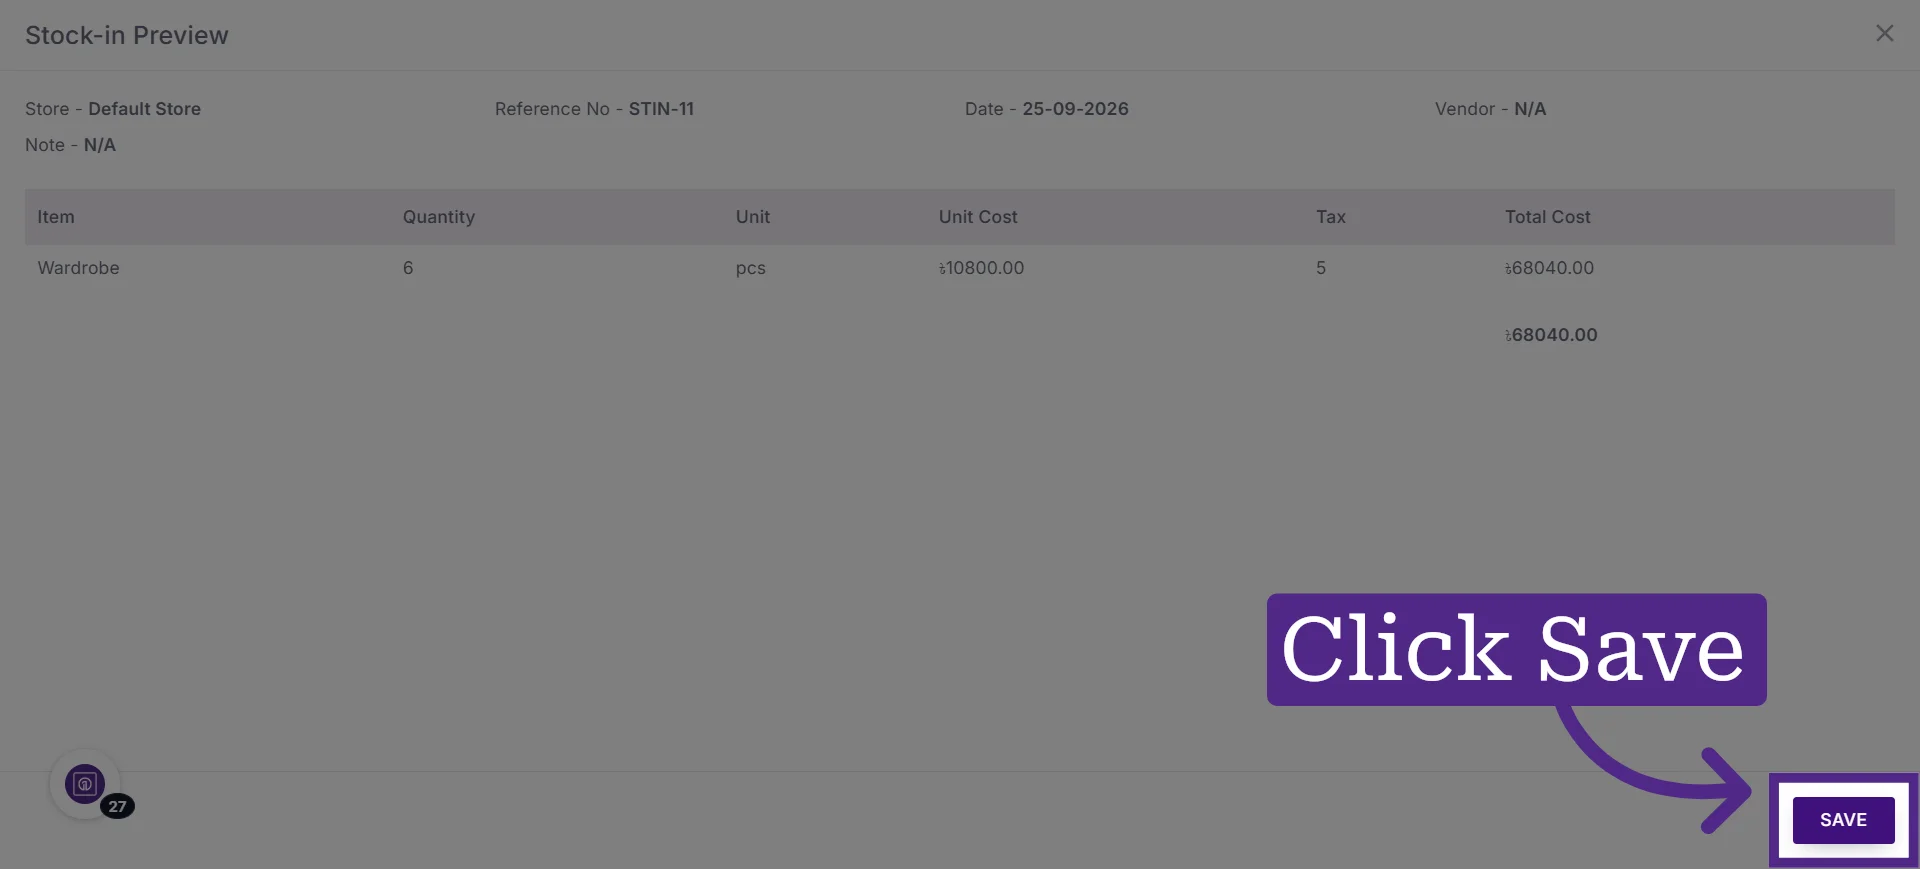
11. Review the stock-in details and click "Save" to finalize the entry
12. The product you stocked in earlier will now be reflected in the inventory