How to Add Multiple Variants to a Product in RetailLife Business Portal
This tutorial walks you through the process of adding a new product to the RetailLife Business
Portal and configuring multiple size variants. By the end of this guide, you'll know how to create a
product with different size options for your customers.
Go to
retaillife.quicklyservices.com
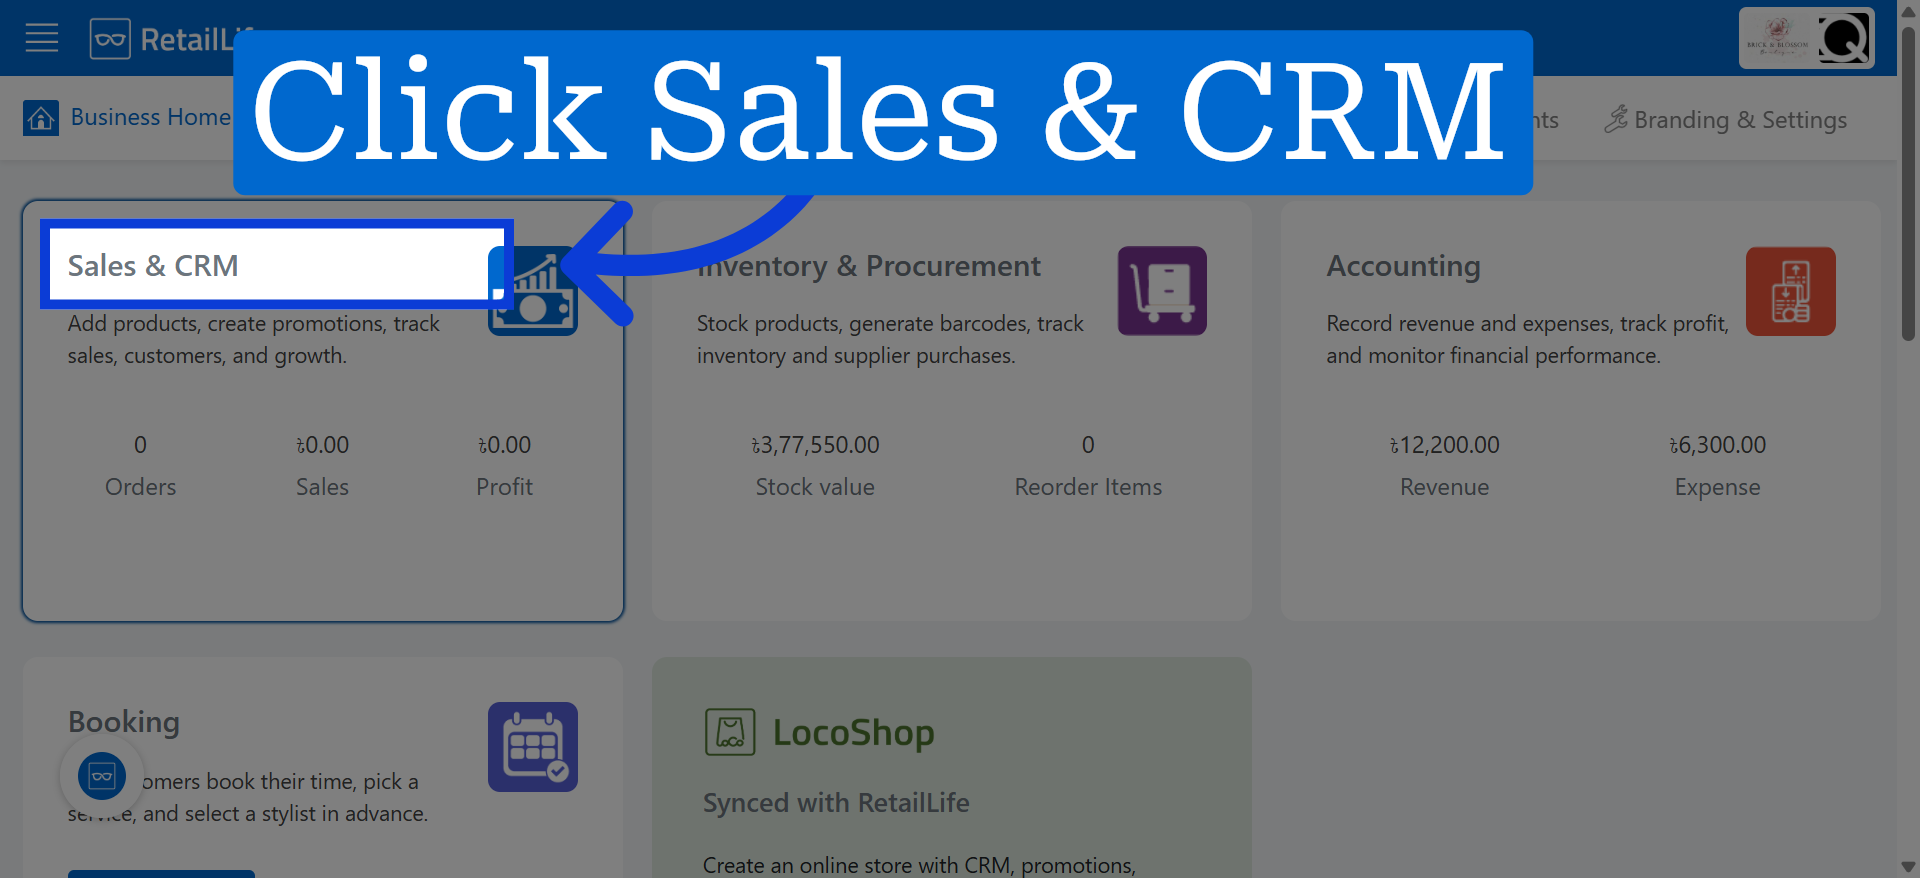
1. Access Sales & CRM Module
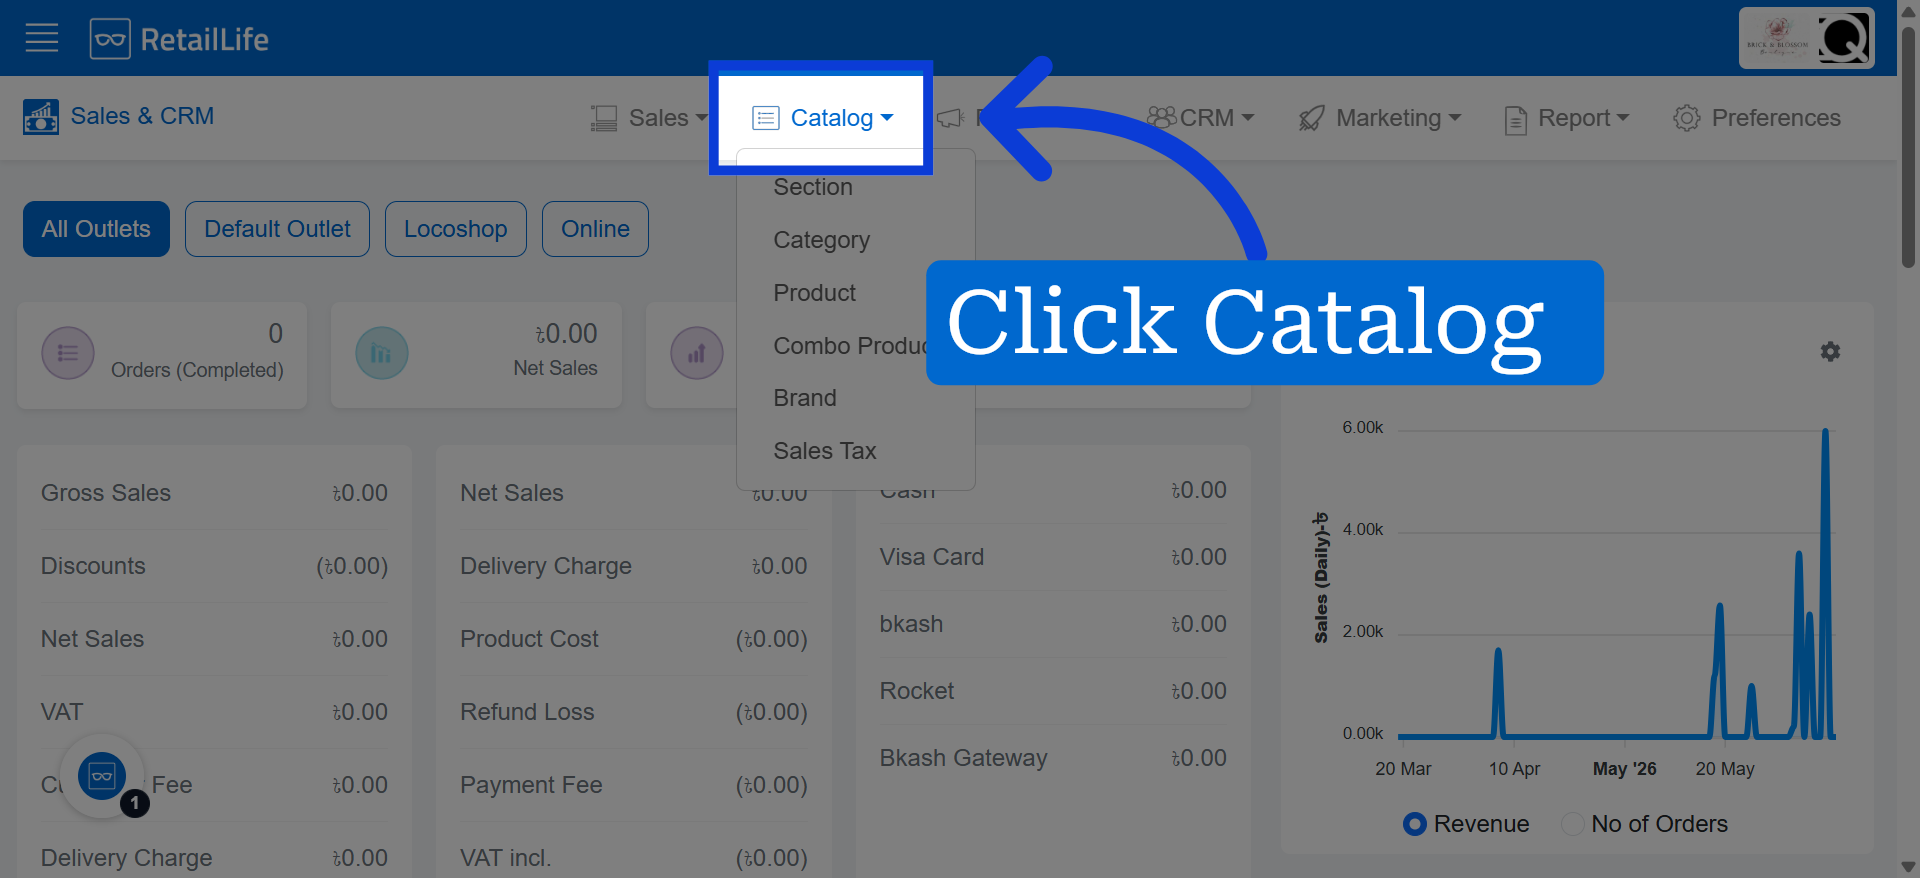
2. Open catalog
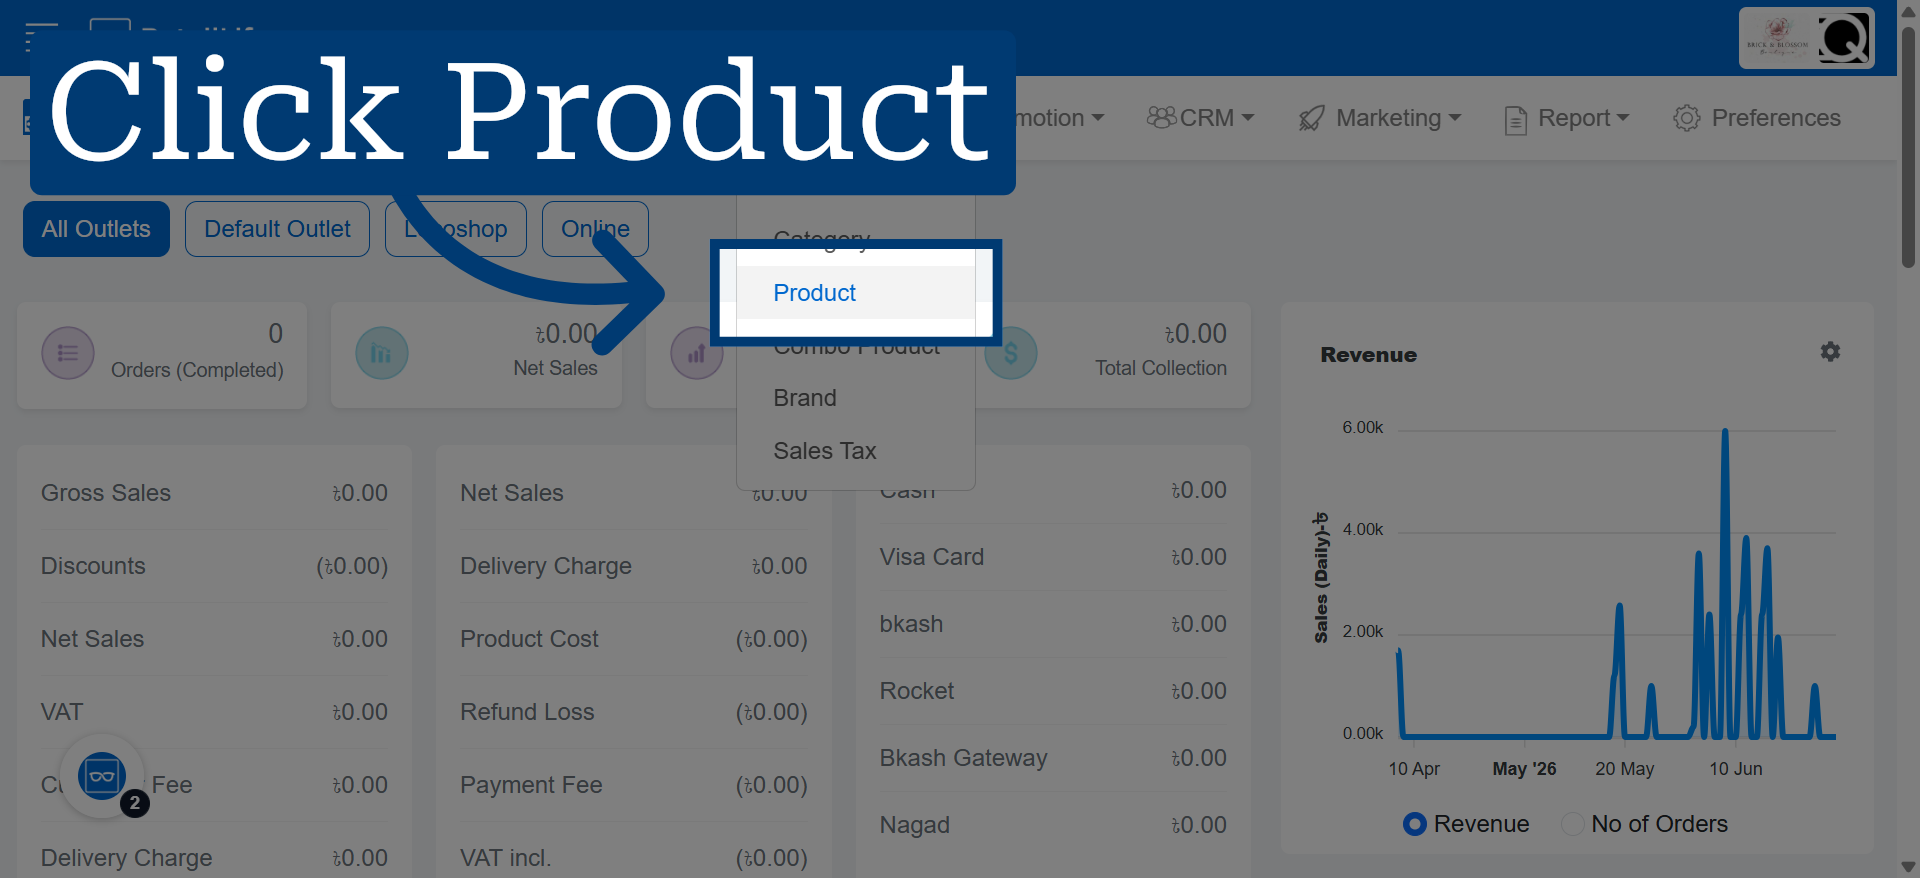
3. Select Product Tab
Click "Brand" to view and manage existing brands in the portal.
4. Initiate New Product Creation
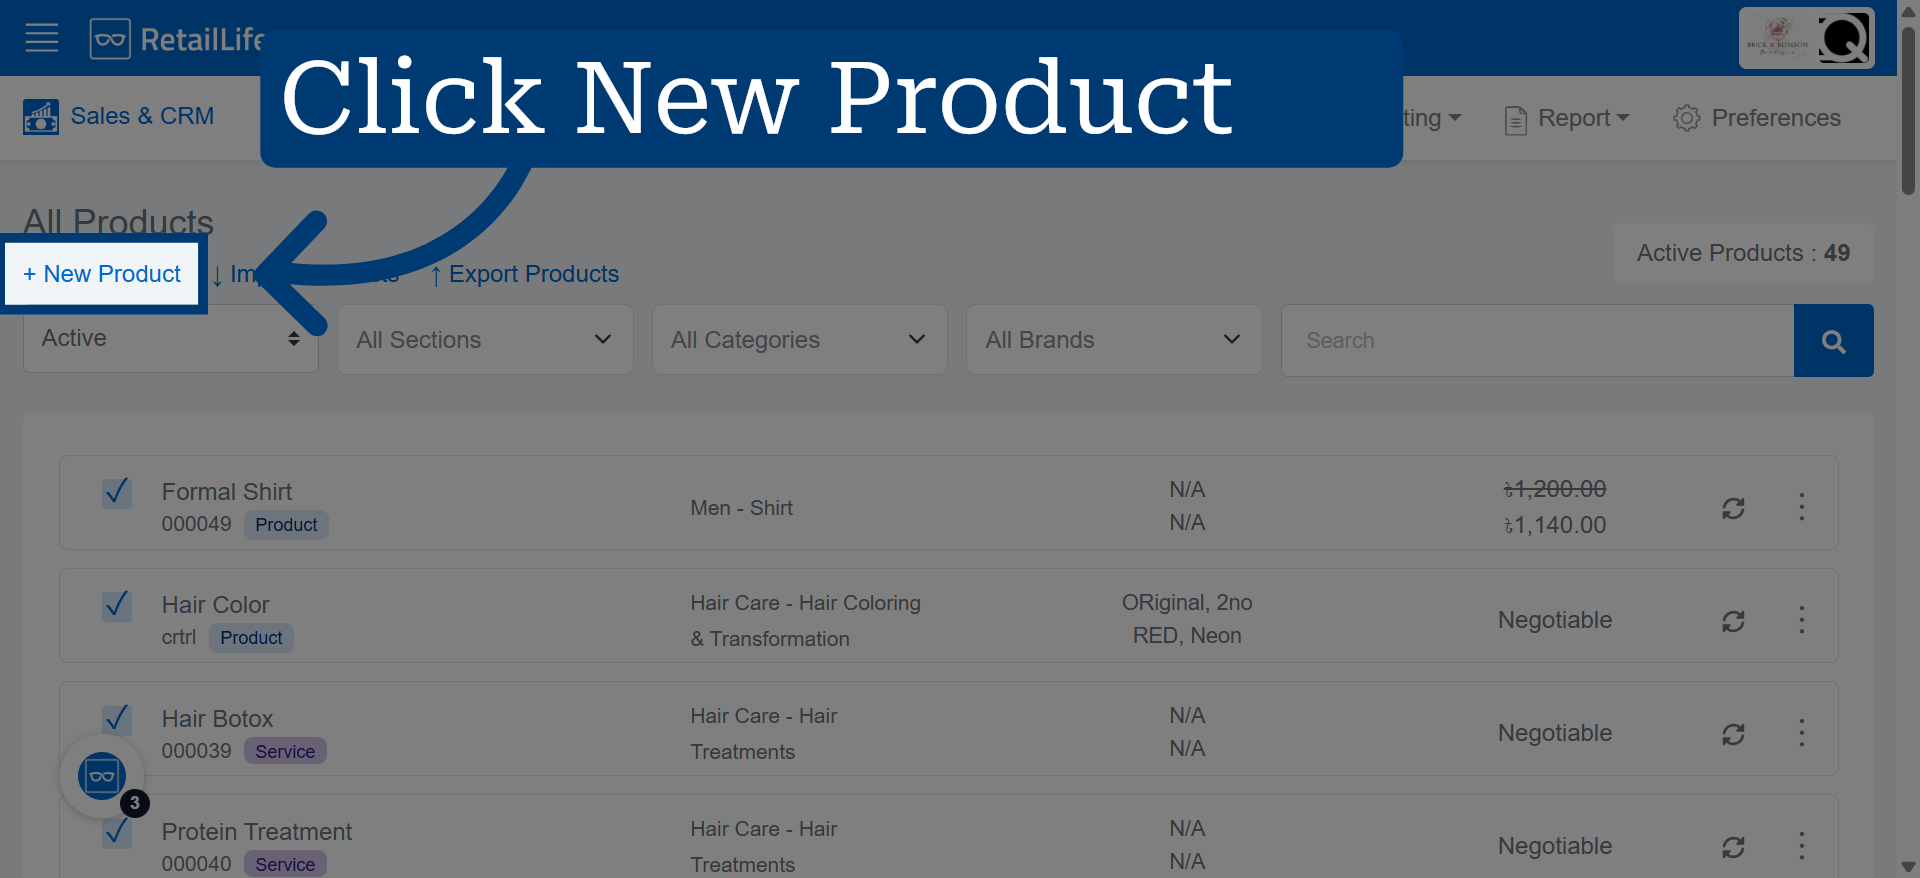
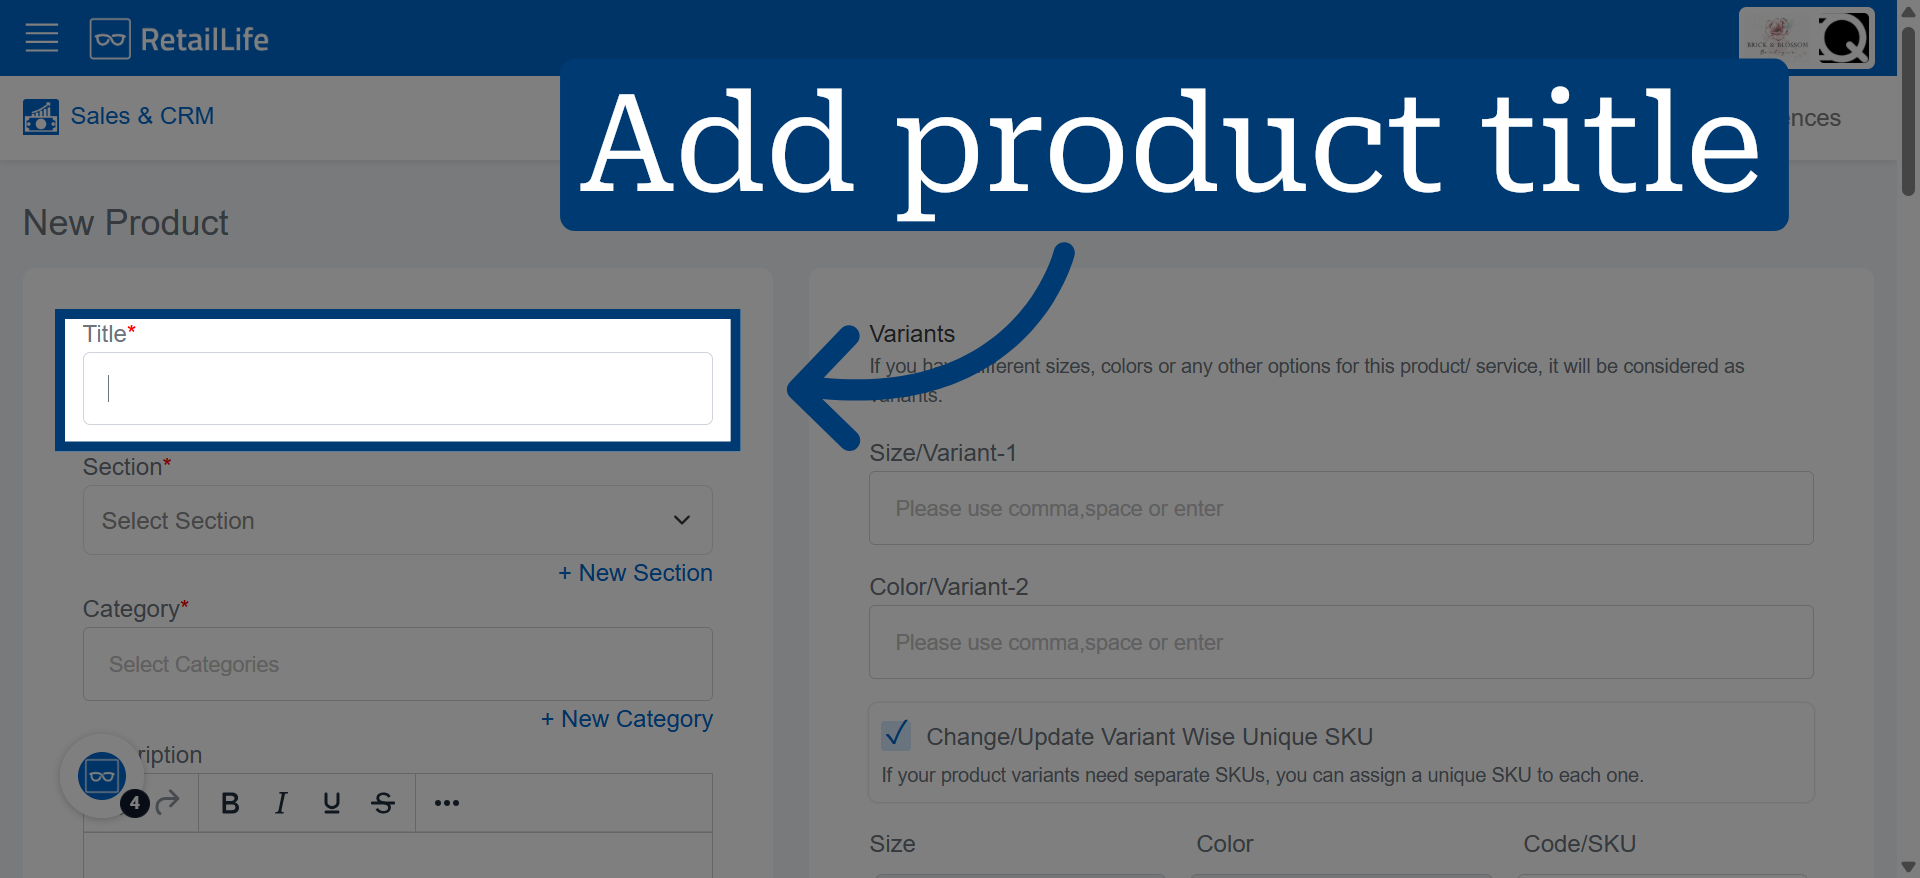
5. Enter Product Name
This title is used to identify the product and will be displayed to customers throughout the store.
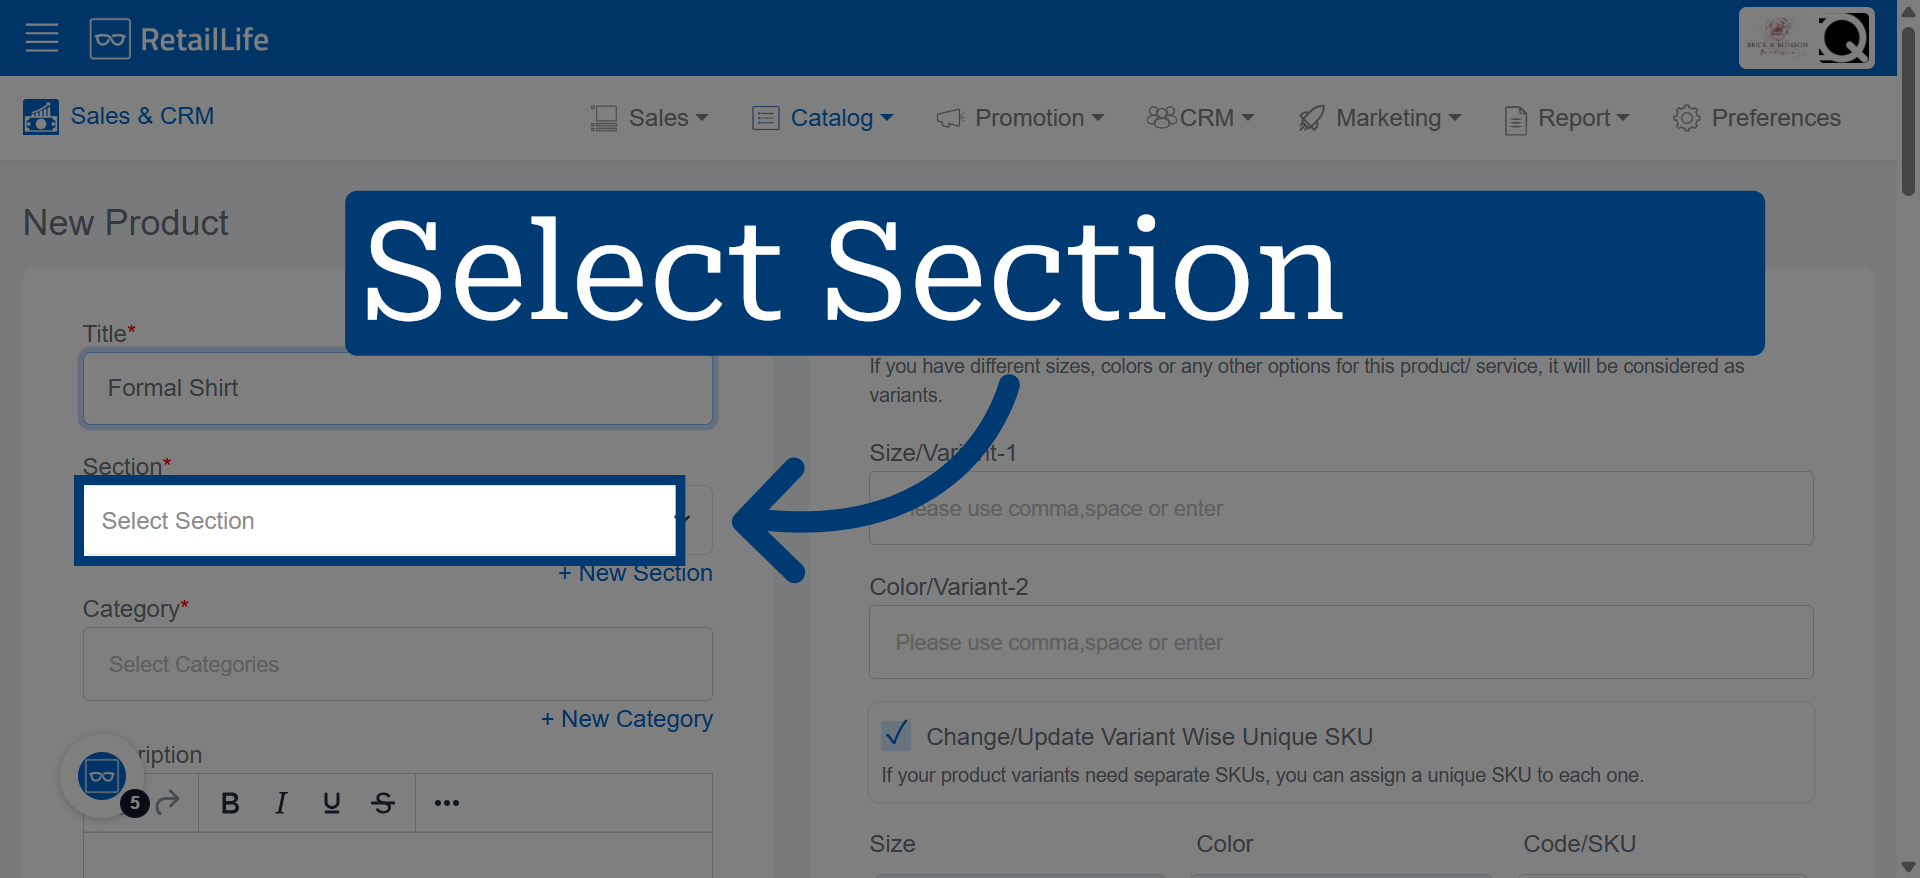
6. Section Selection
Click Select Section to choose the appropriate section for the product. If the required section does not exist, click New Section to create a new one, then assign the product to that section.
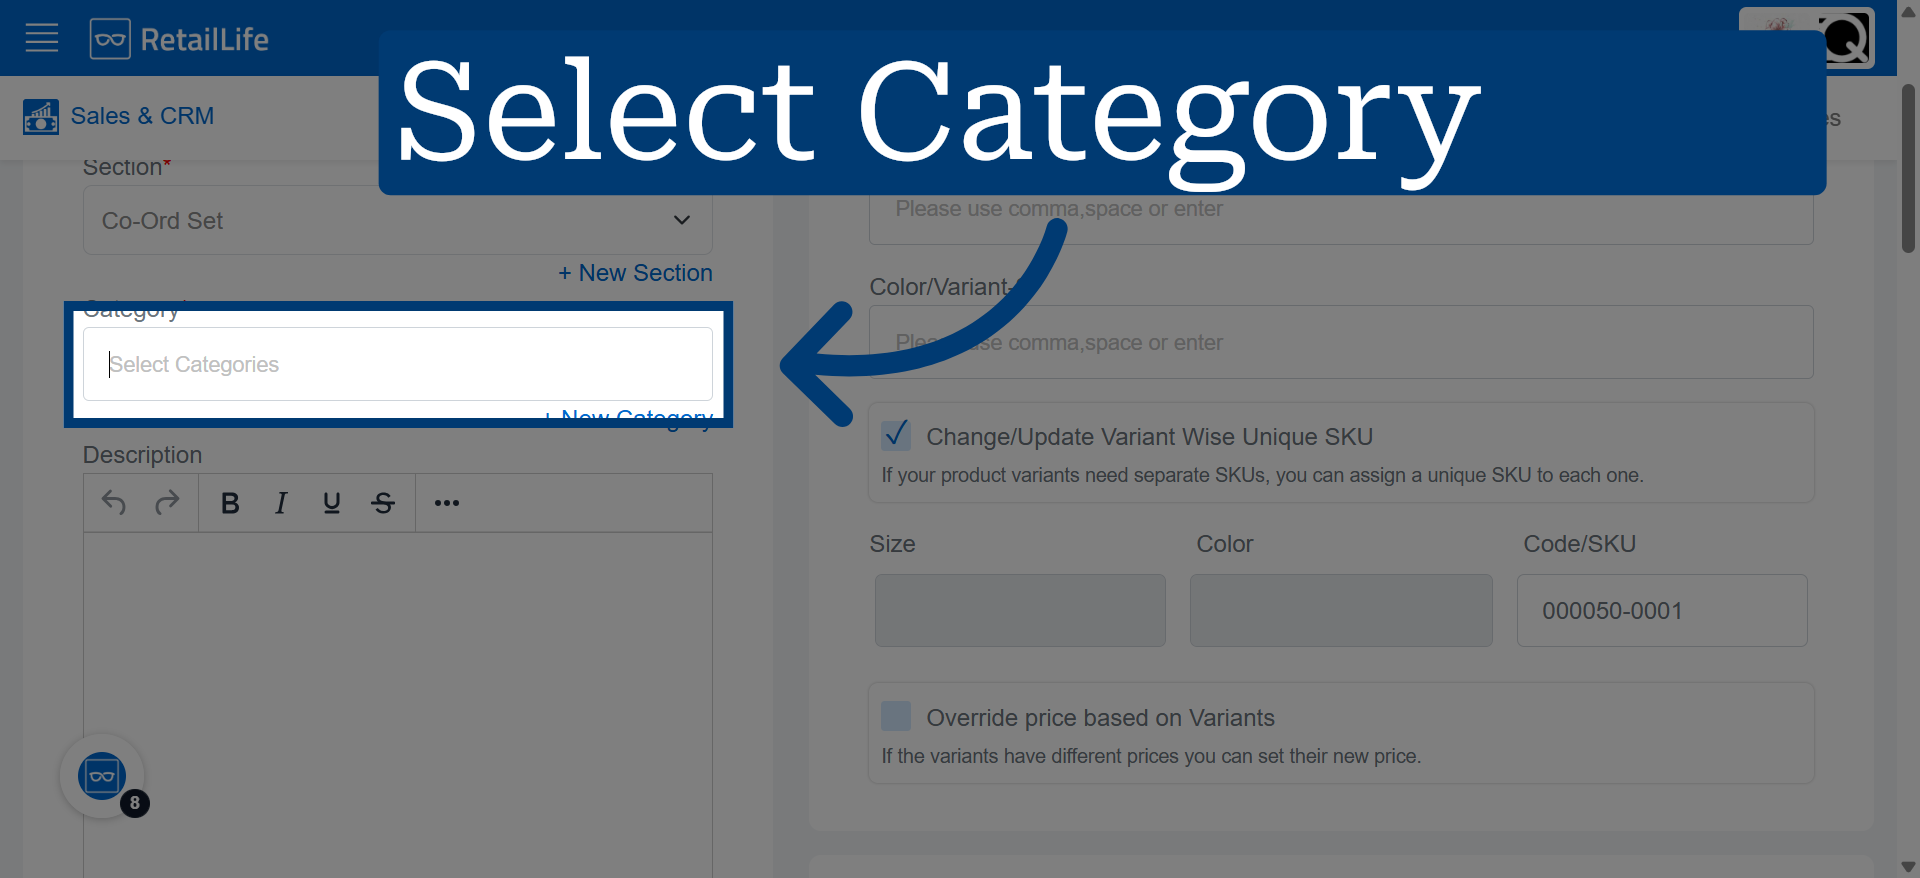
7. Open Category Selection
Click Category Section to choose the appropriate category for the product. If the required category does not exist, click New Category to create a new one, then assign the product to that category.
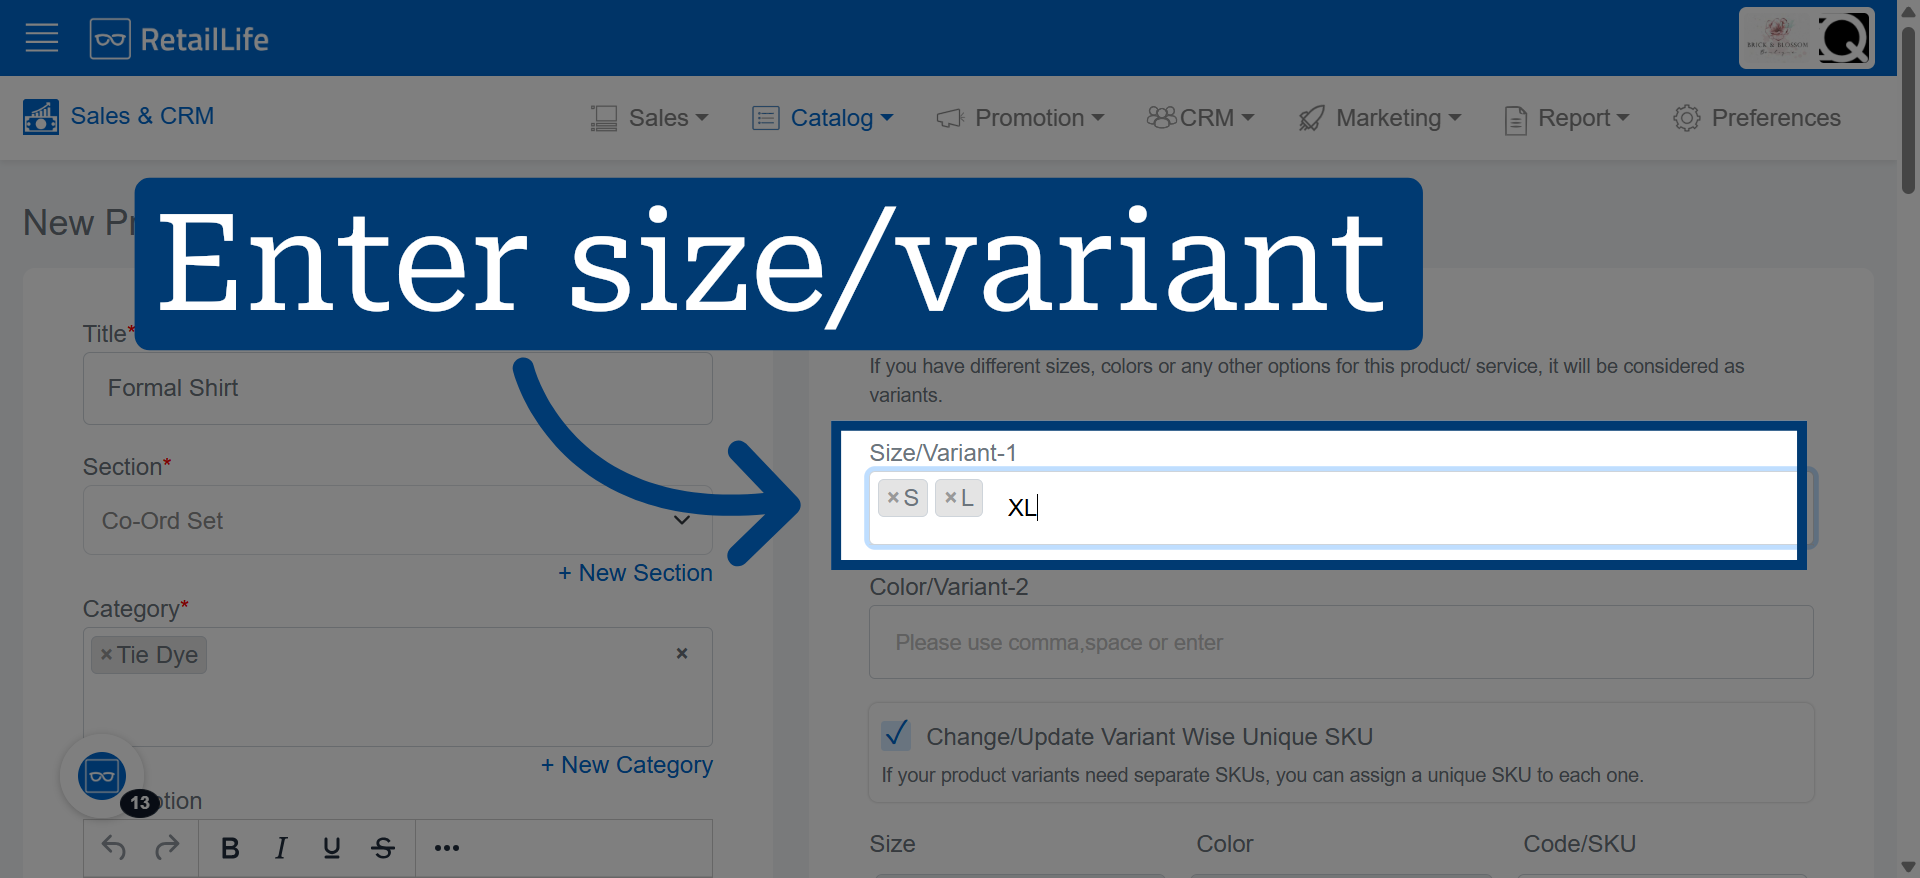
8. Add Product Sizes
Enter your product sizes (e.g., Small, Medium, Large) and press Enter after each size to save it.
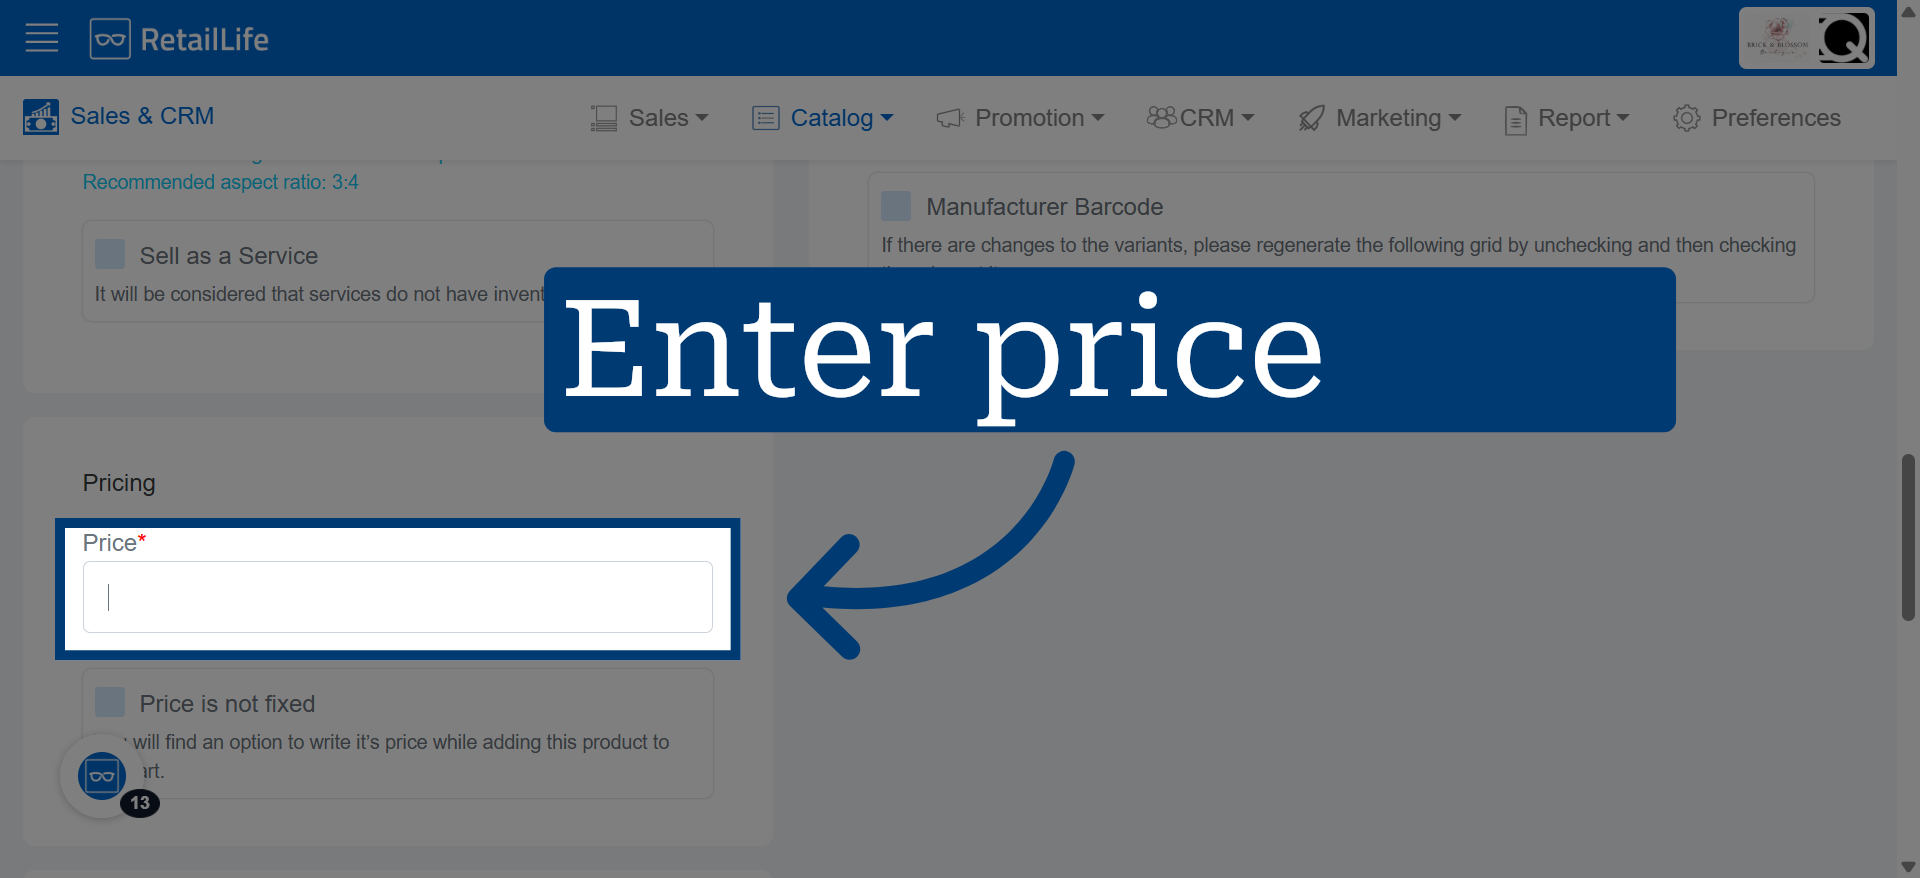
9. Select Price Field
Click the "Price" field to enter the product's selling price.
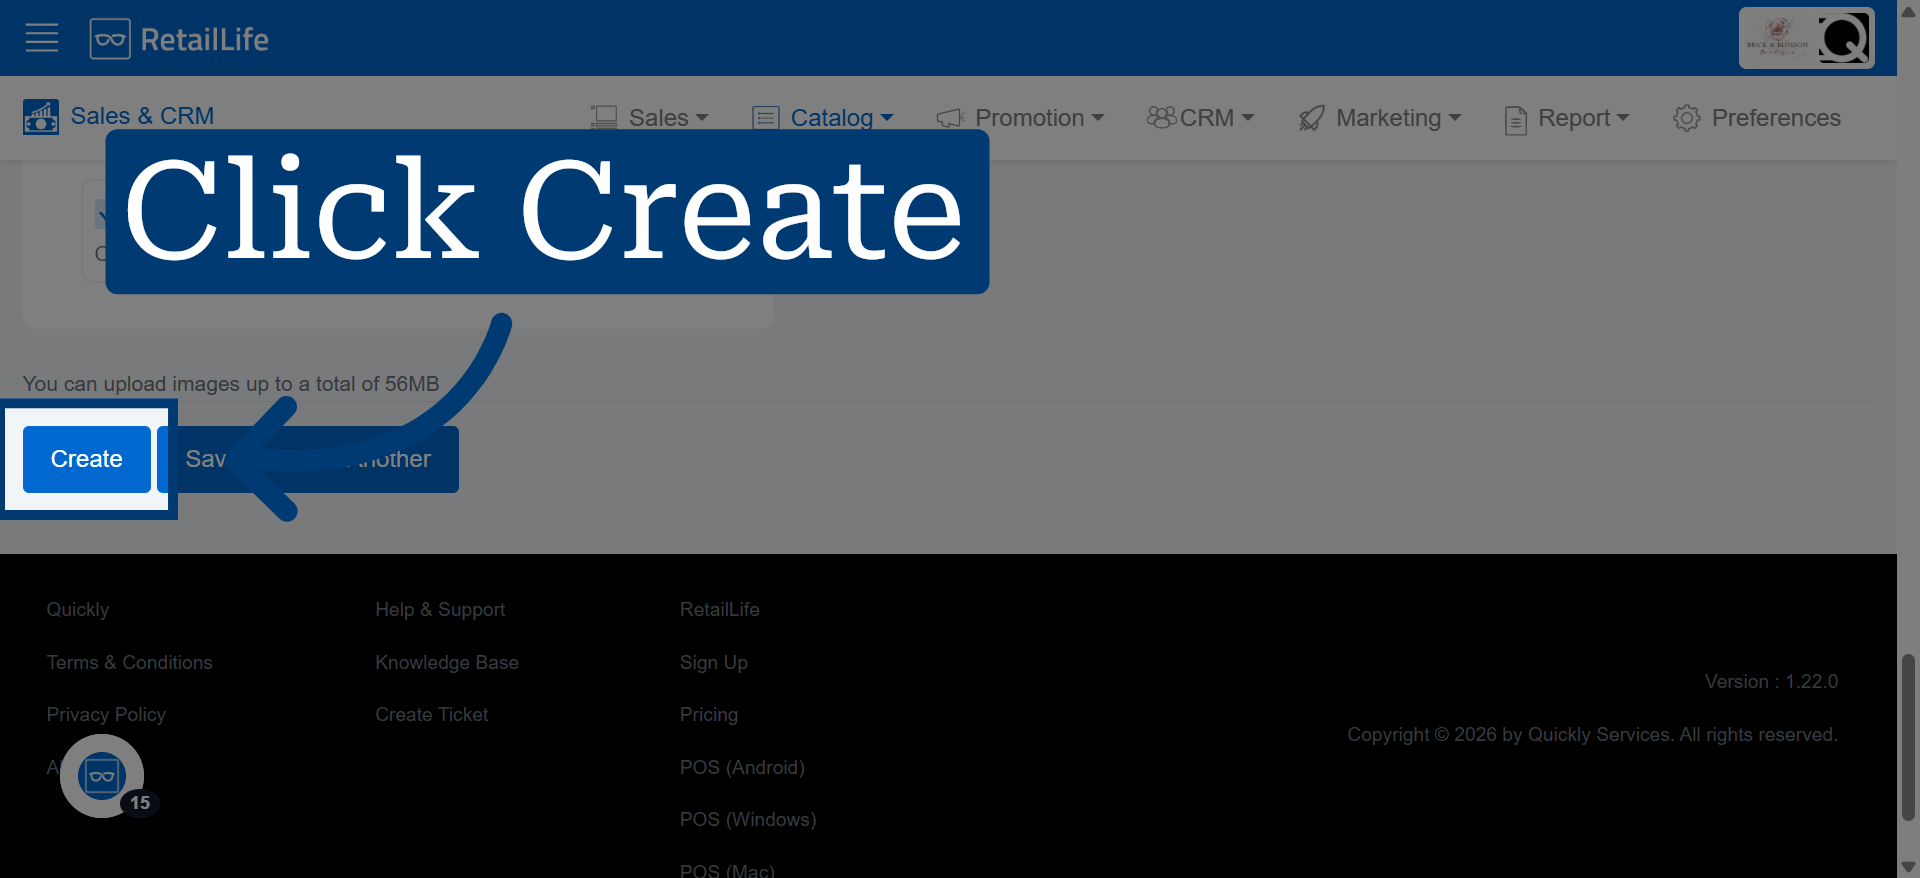
10. Create New Product
Click "Create" to save the new product and add it to your inventory.