How to Create a Membership in RetailLife Business Portal
This tutorial guides you through setting up a new membership offer in the RetailLife Business
Portal. You will learn how to define membership details, configure pricing and benefits, and
activate the membership for customers.
Go to
retaillife.quicklyservices.com
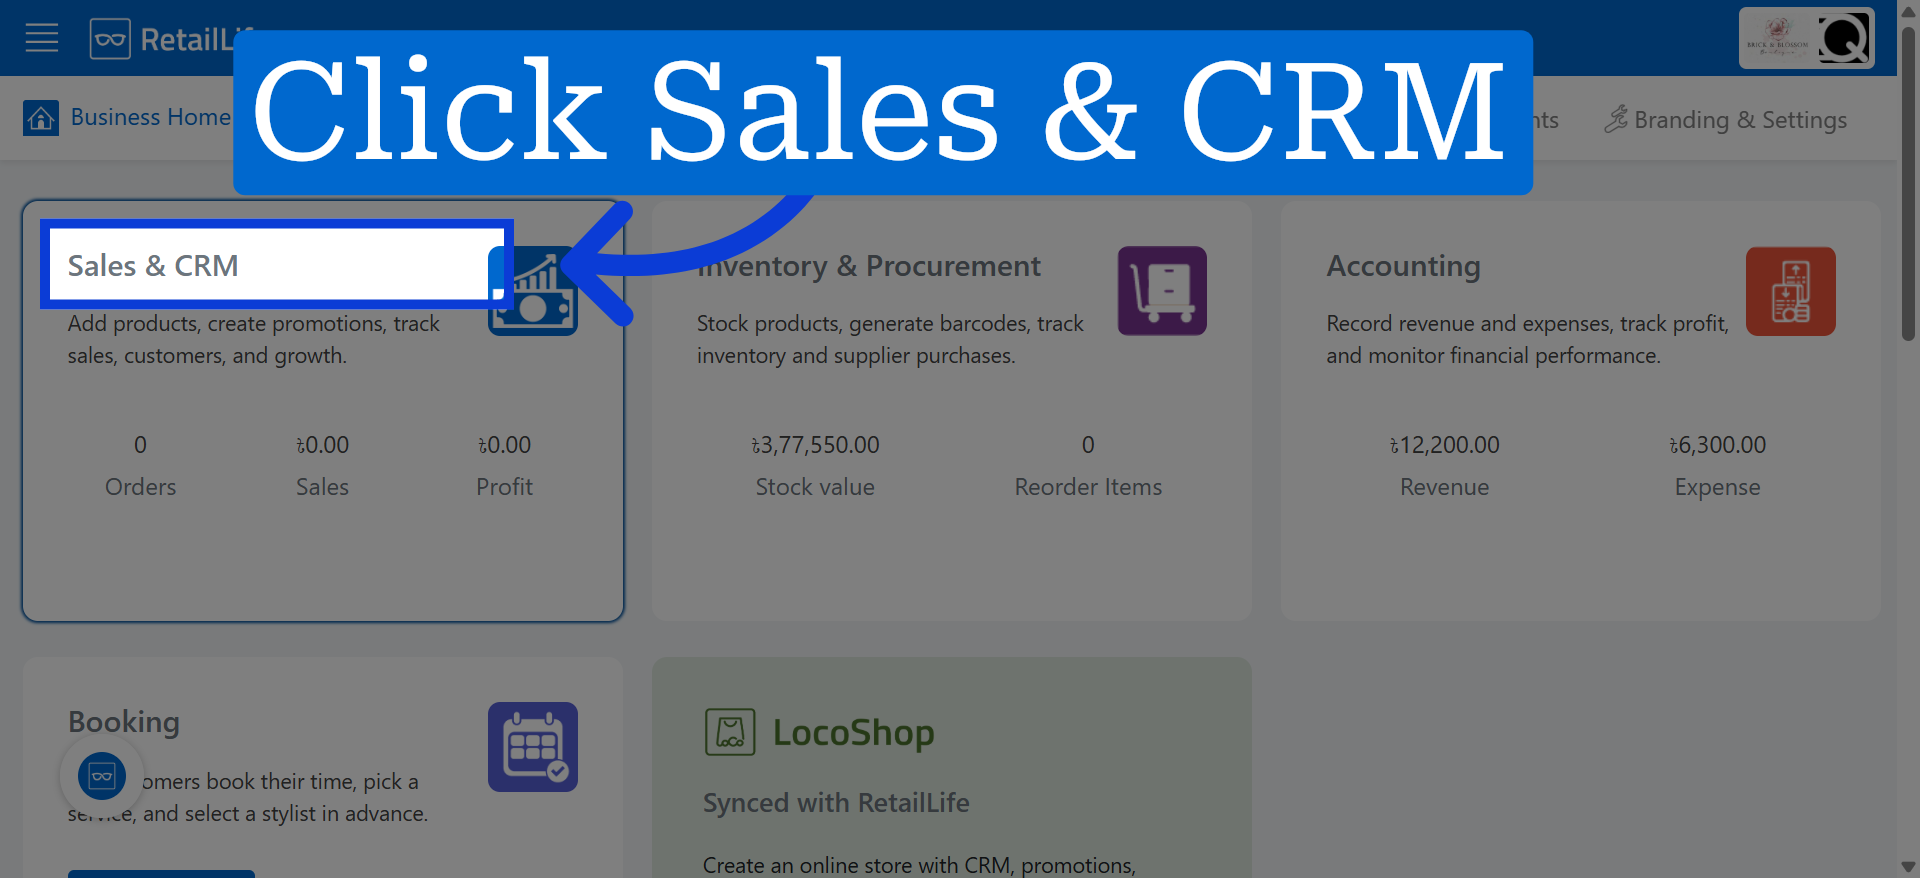
1. Access Sales & CRM Module
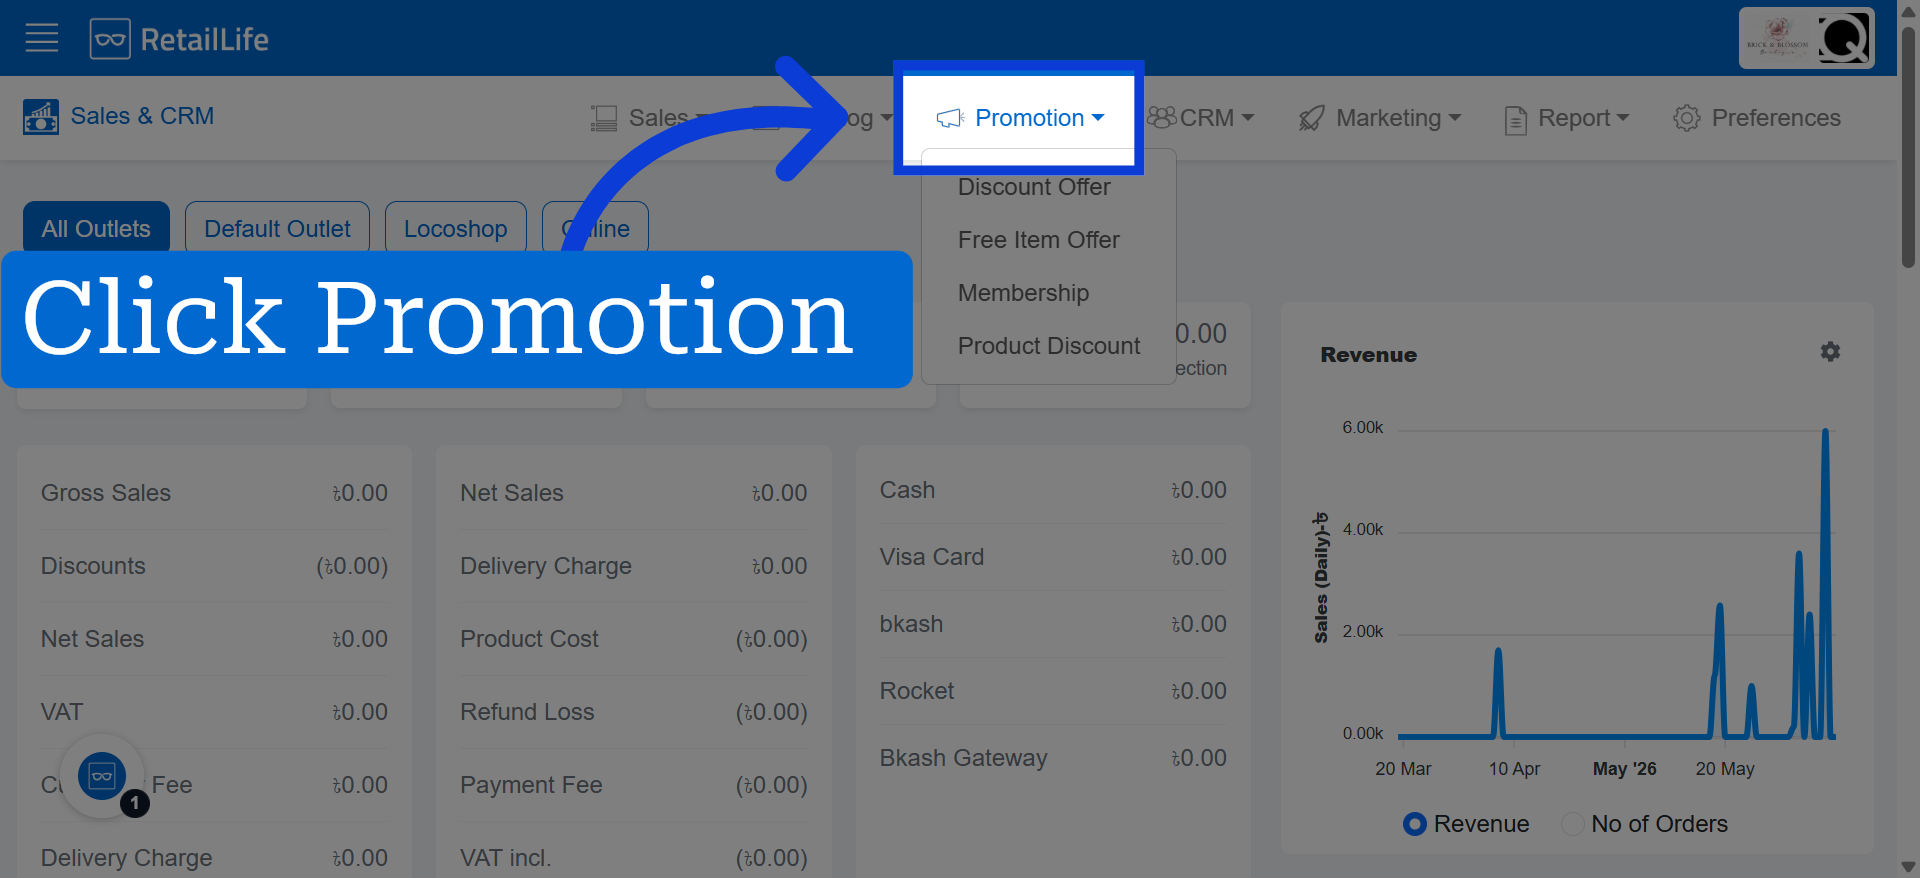
2. Select Promotion
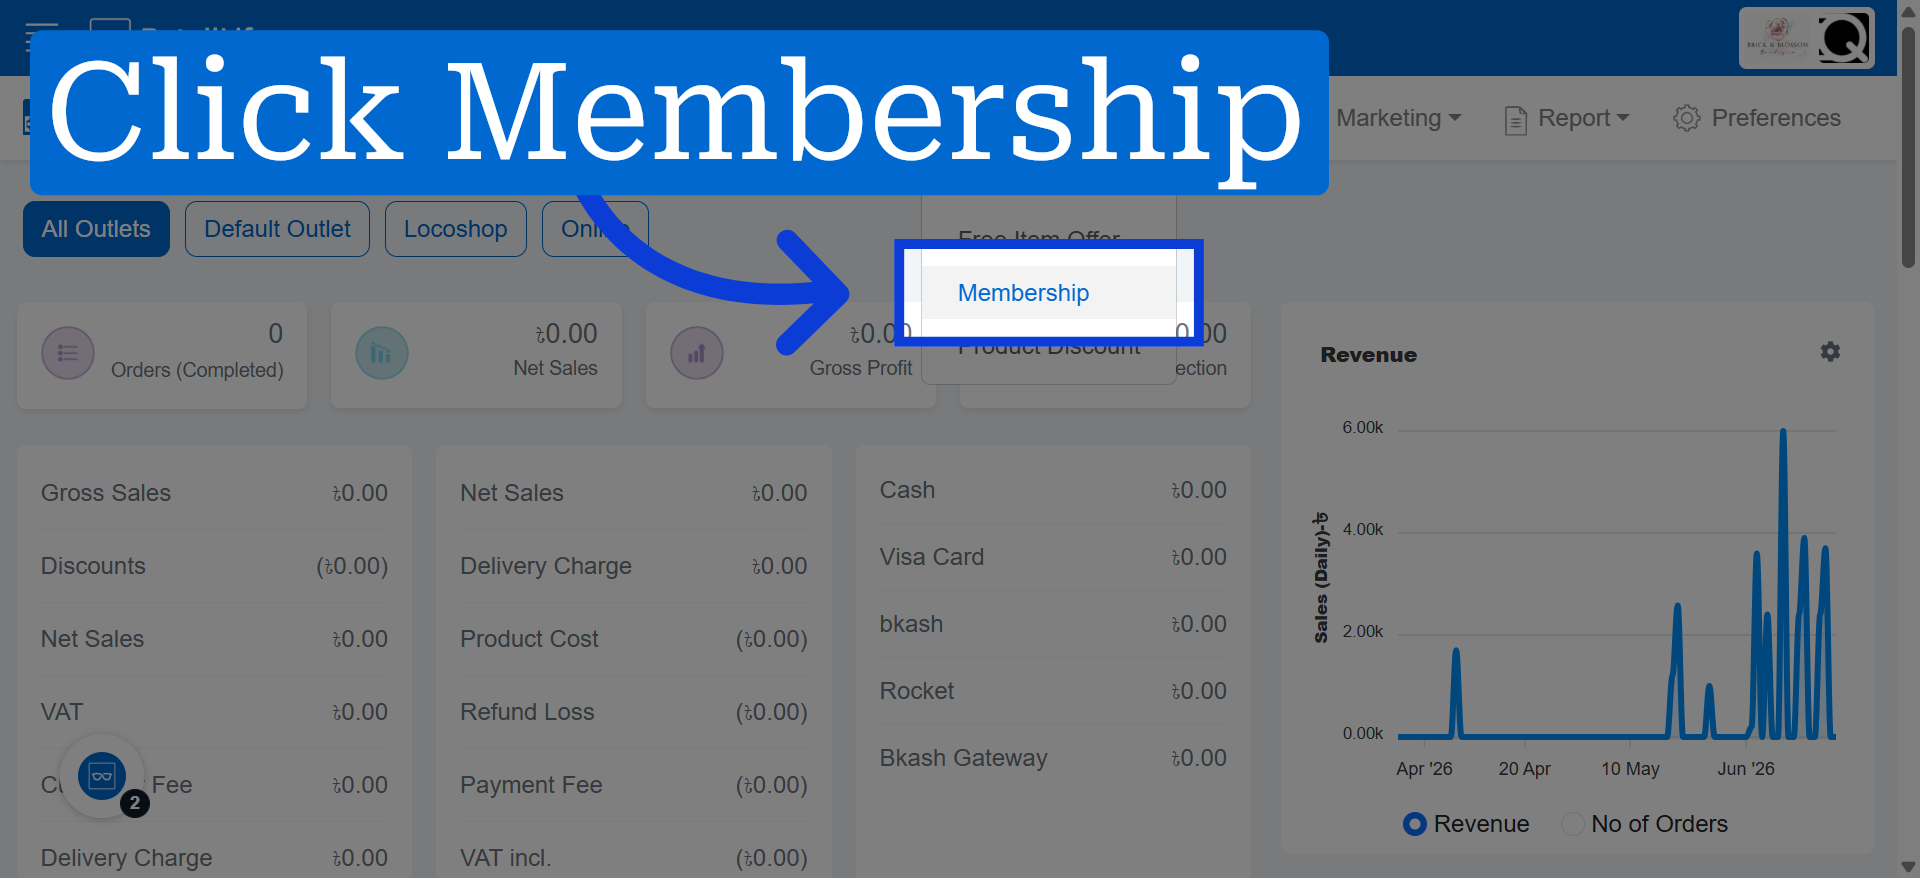
3. Select Membership
Click "Membership" to view and manage existing membership offers and settings.
4. Initiate New Membership Creation
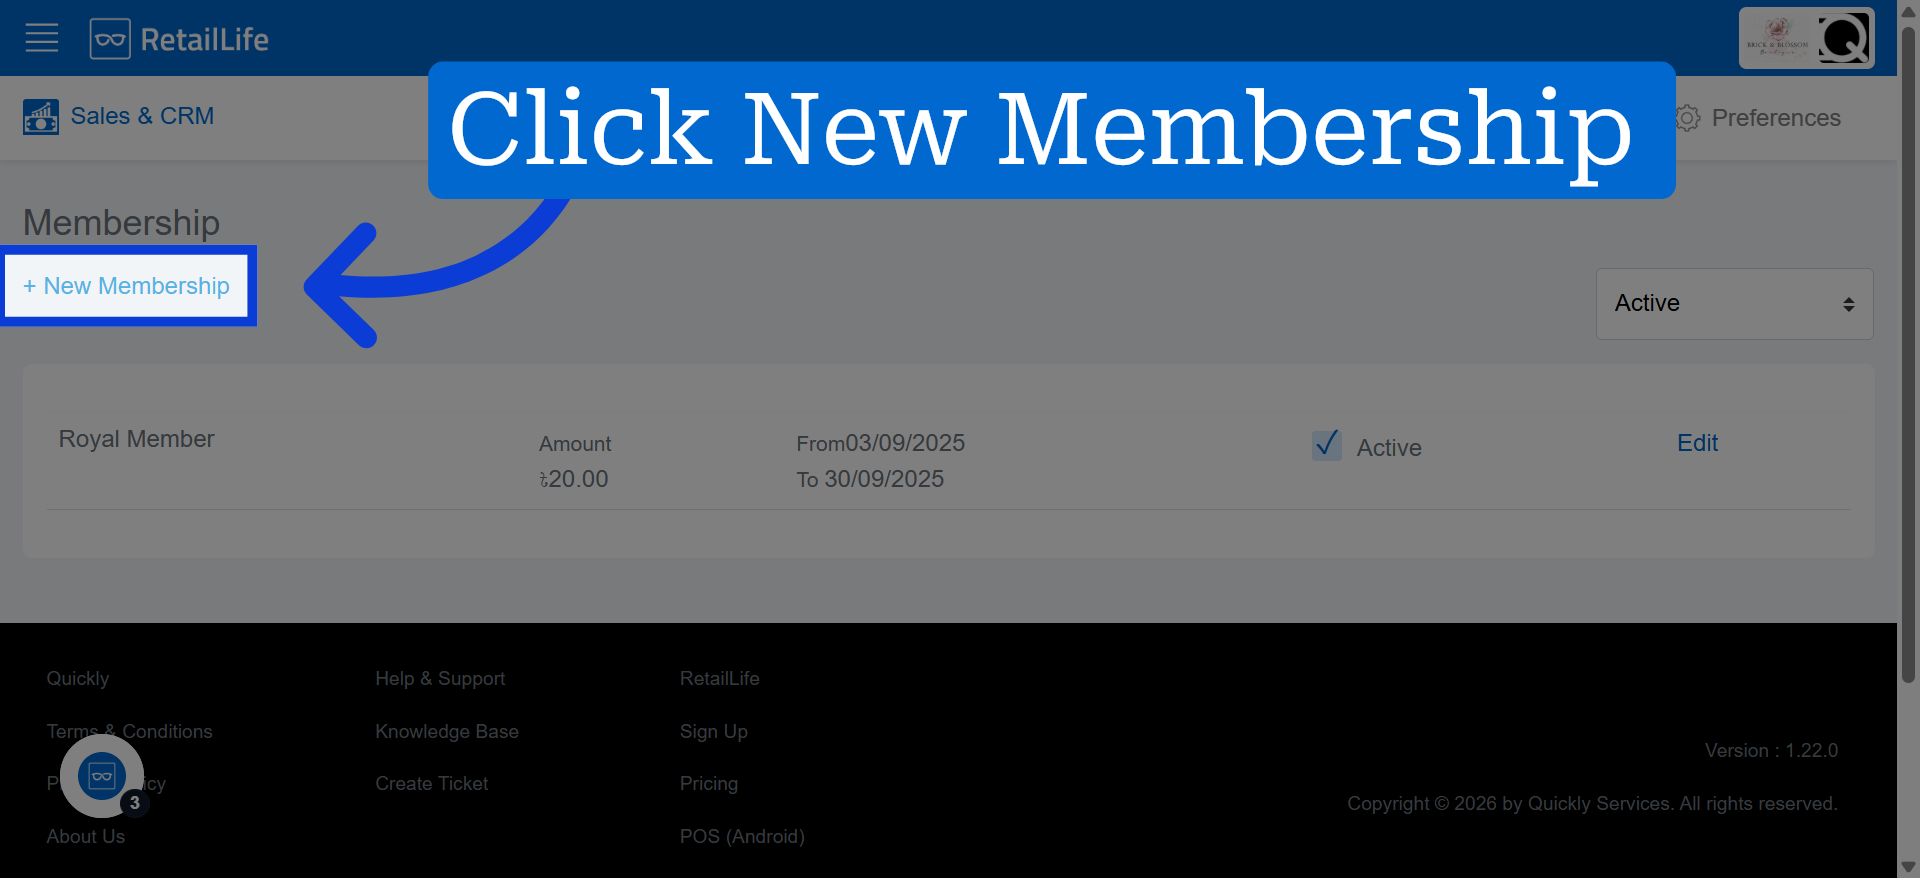
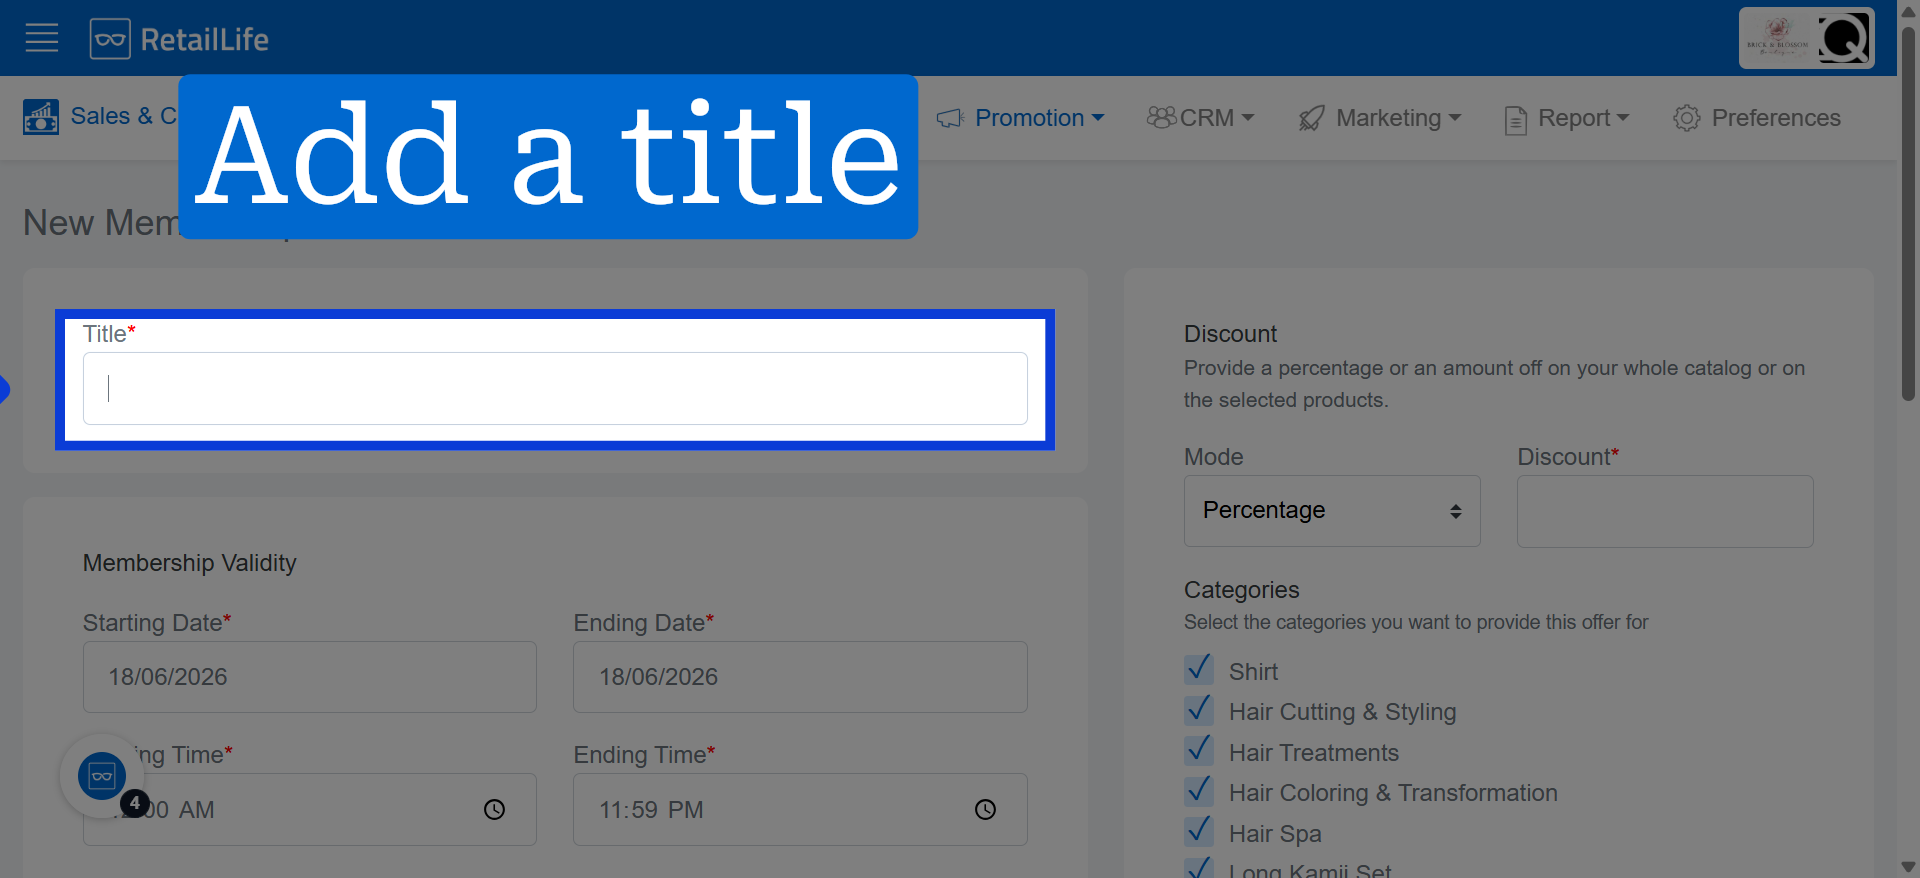
5. Add a Membership Title
It helps users quickly recognize what the membership is (e.g., Gold Membership, Premium Plan).
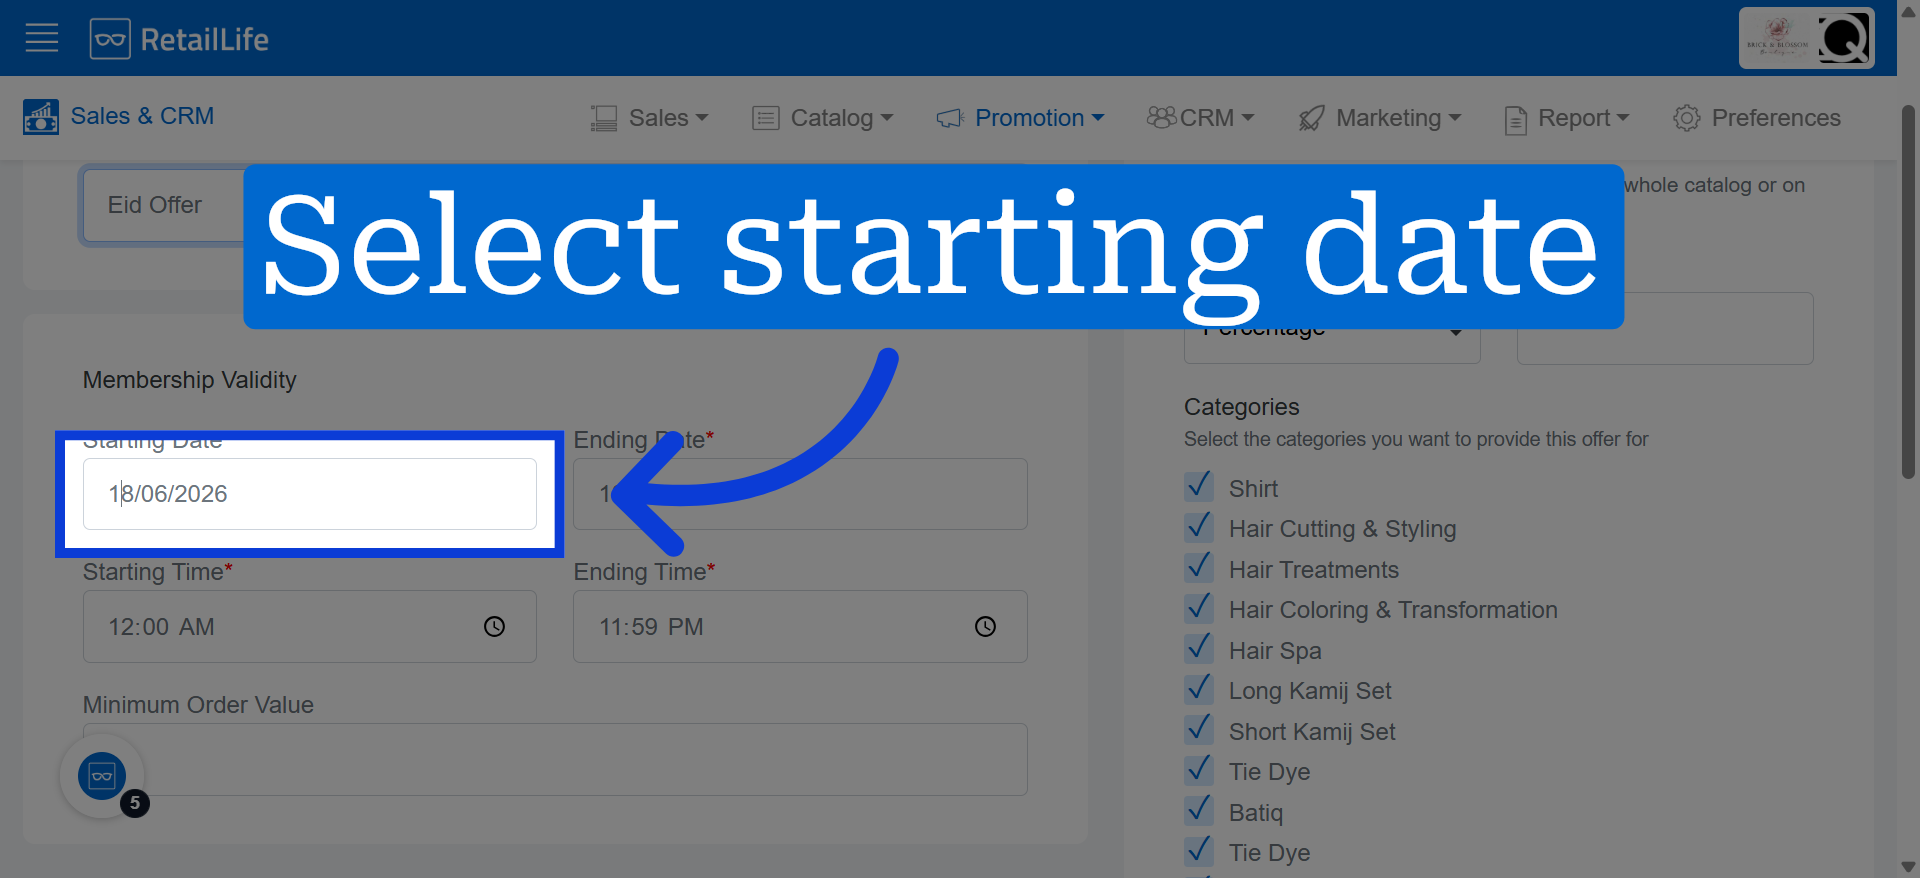
6. Set Starting Date
Click "Starting Date" to select the date when the membership offer will begin.
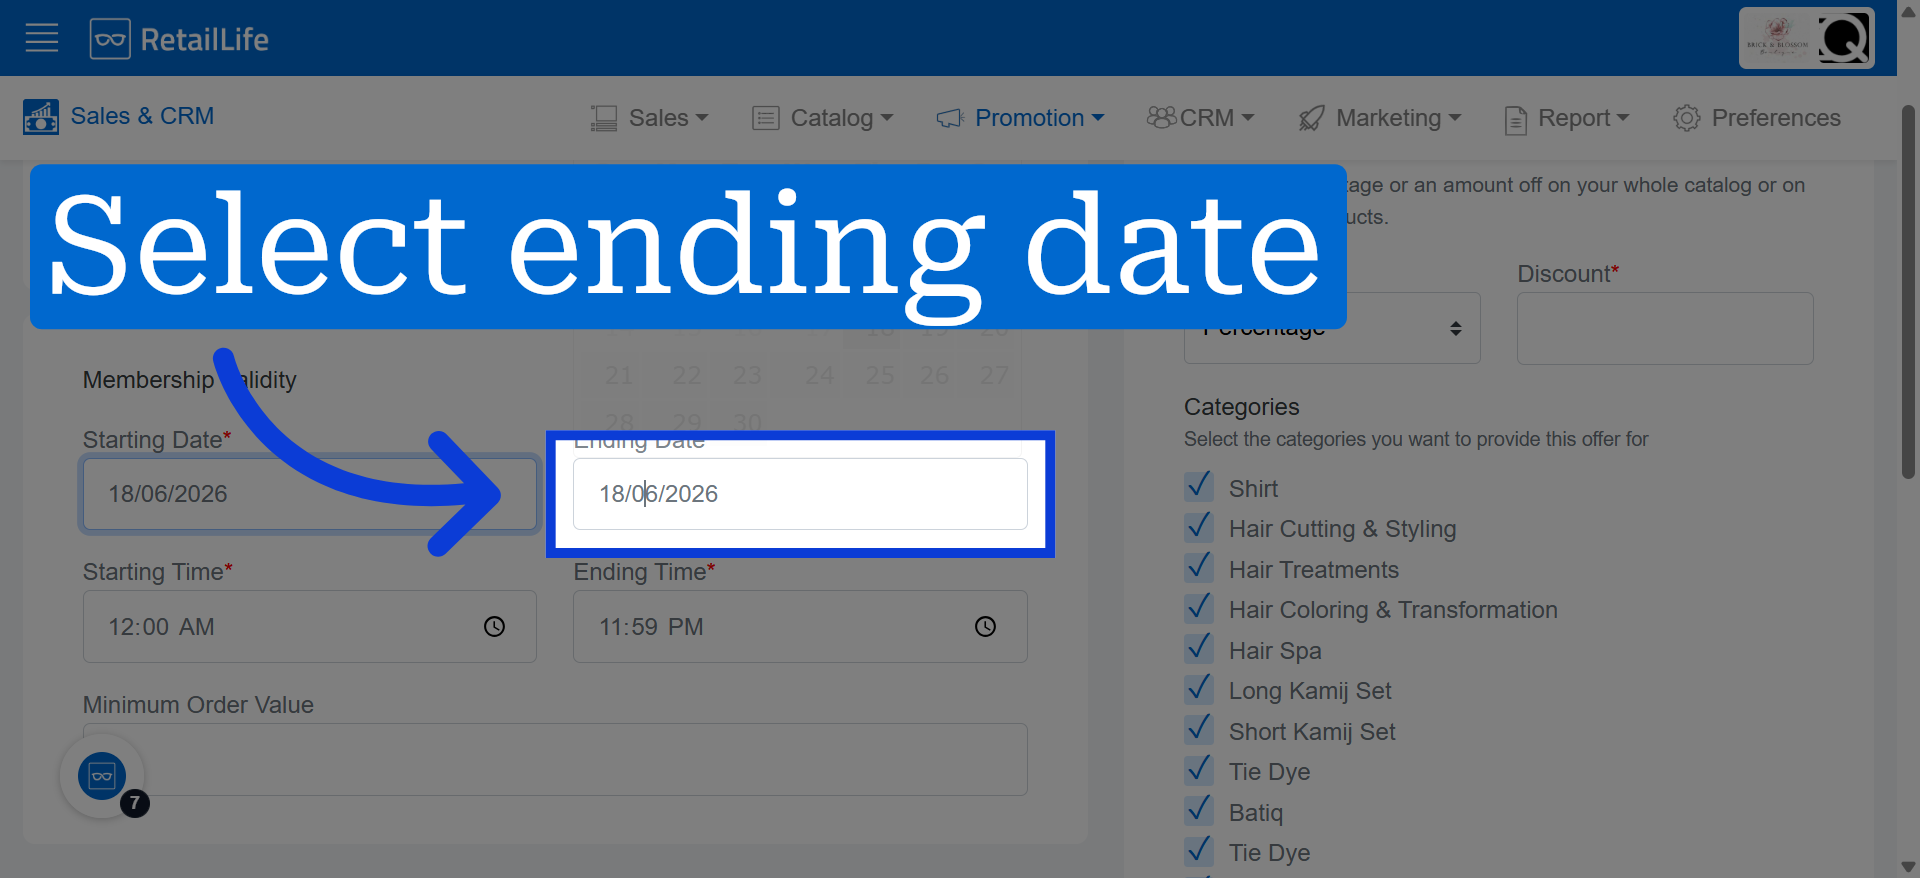
7. Set Ending Date
Click "Ending Date" to choose the date when the membership offer will expire.
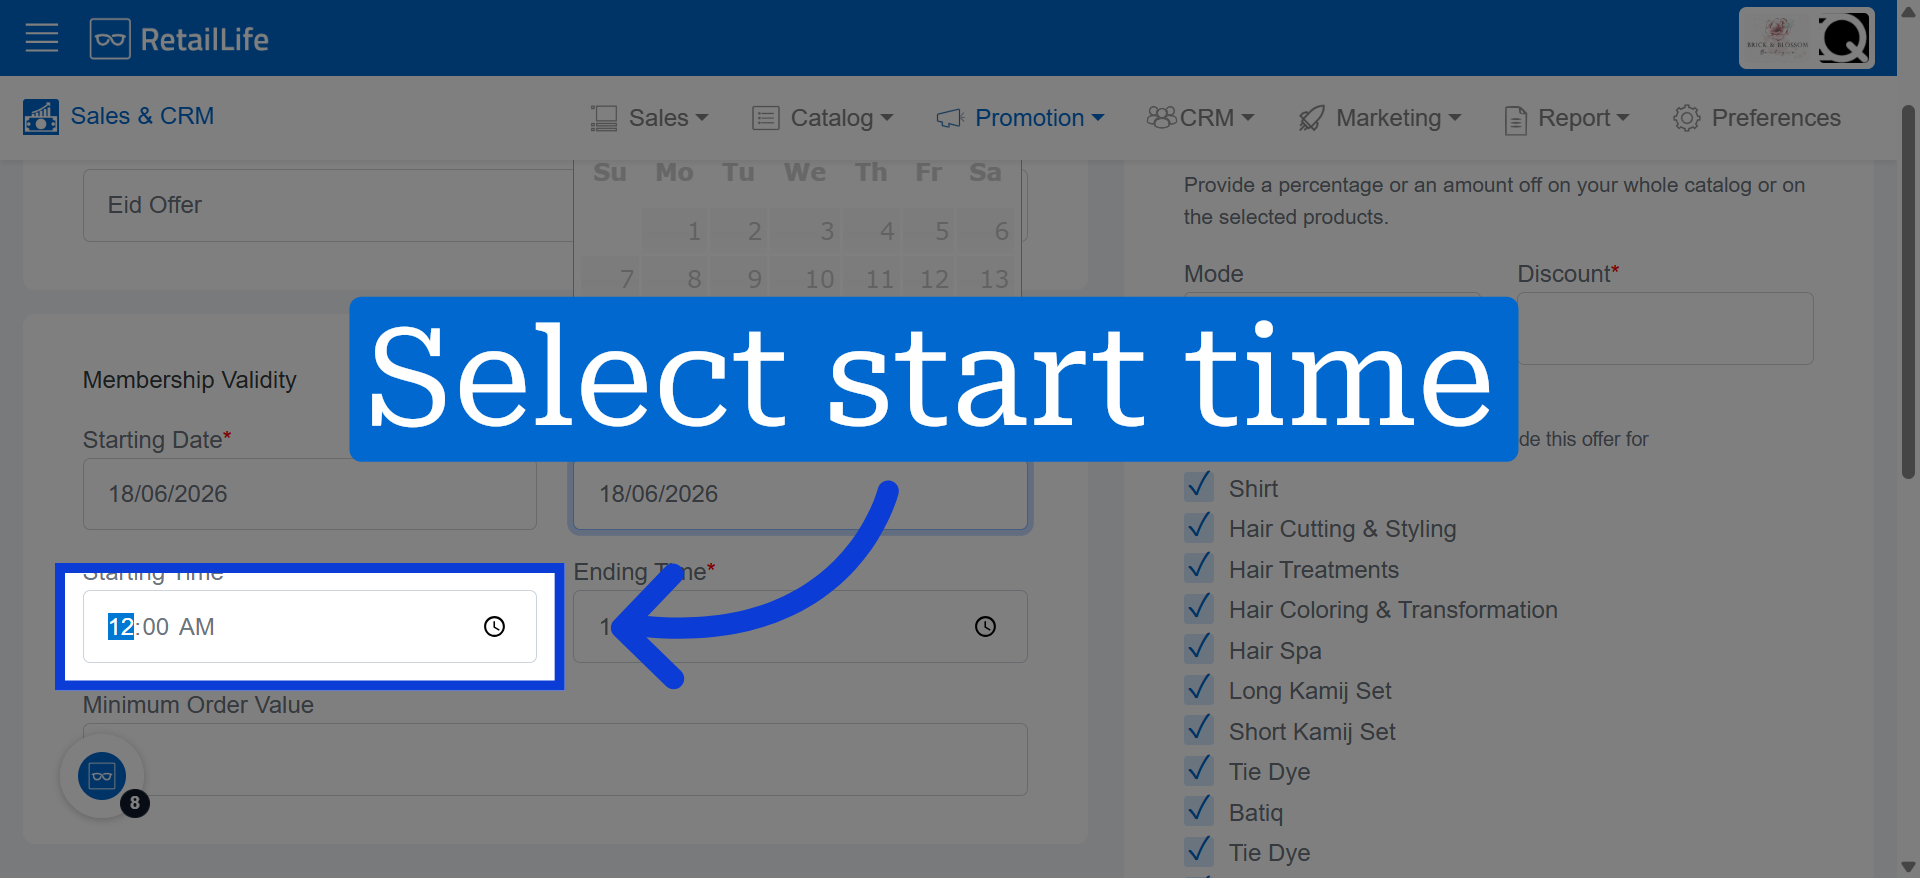
8. Choose Start Time
Set the starting time for the membership offer.
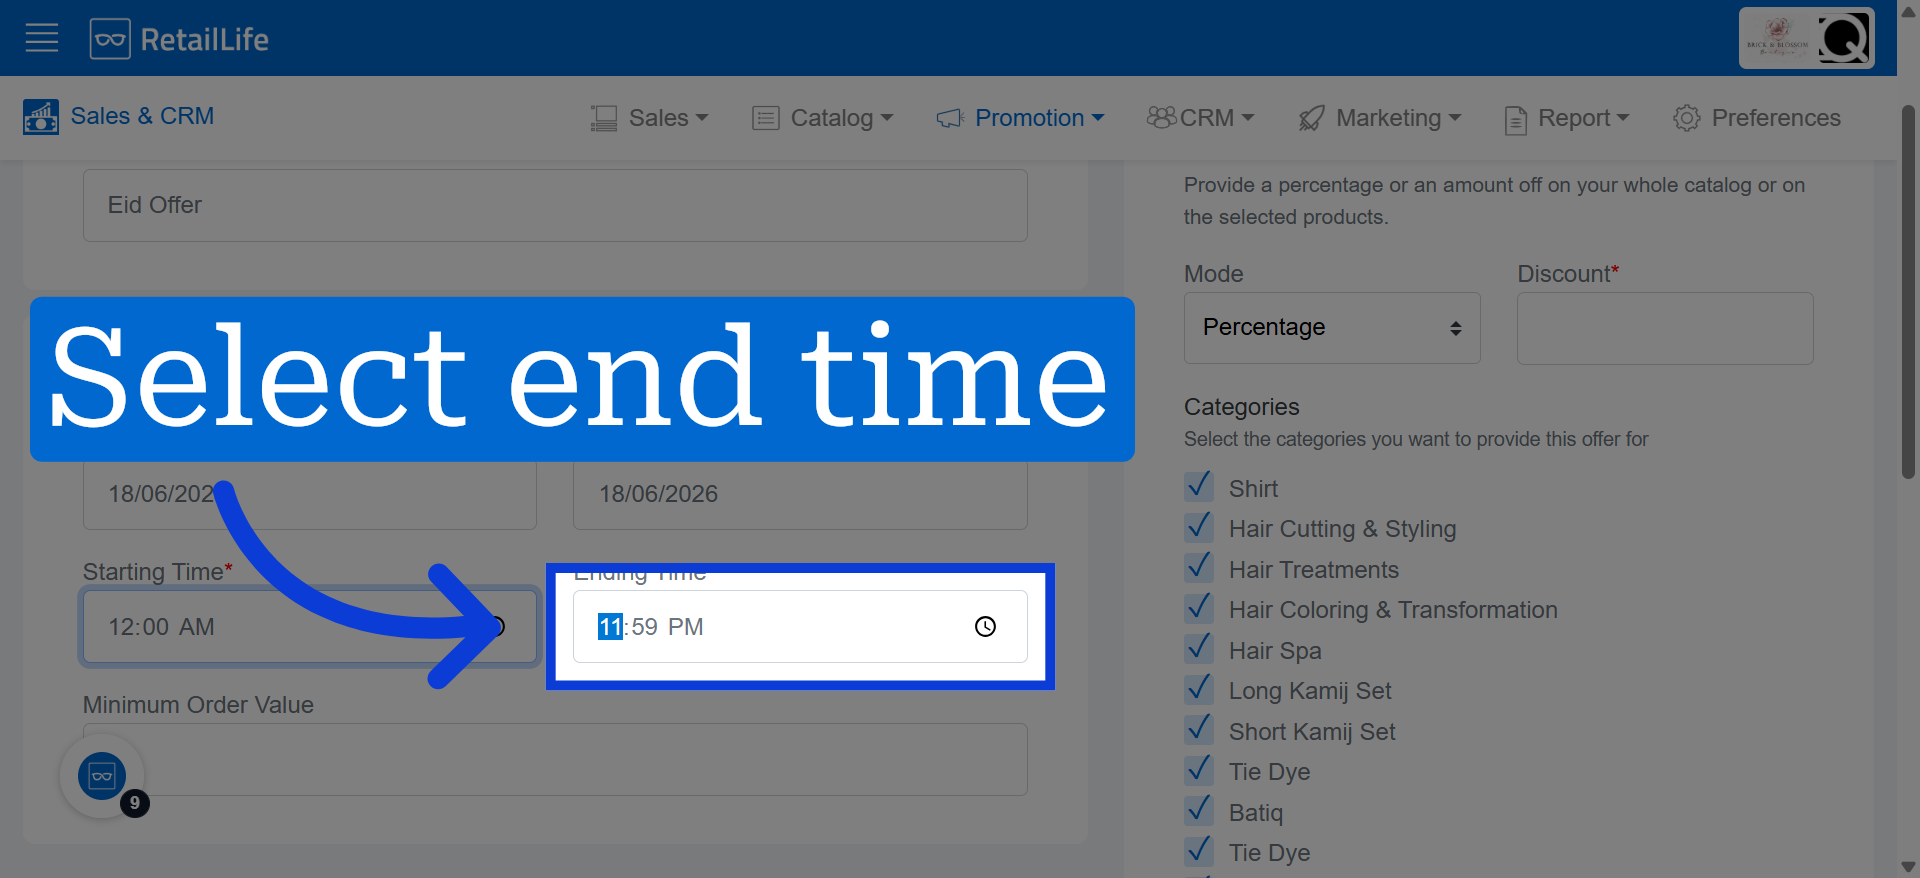
9. Choose End Time
Set the ending time for the membership offer.
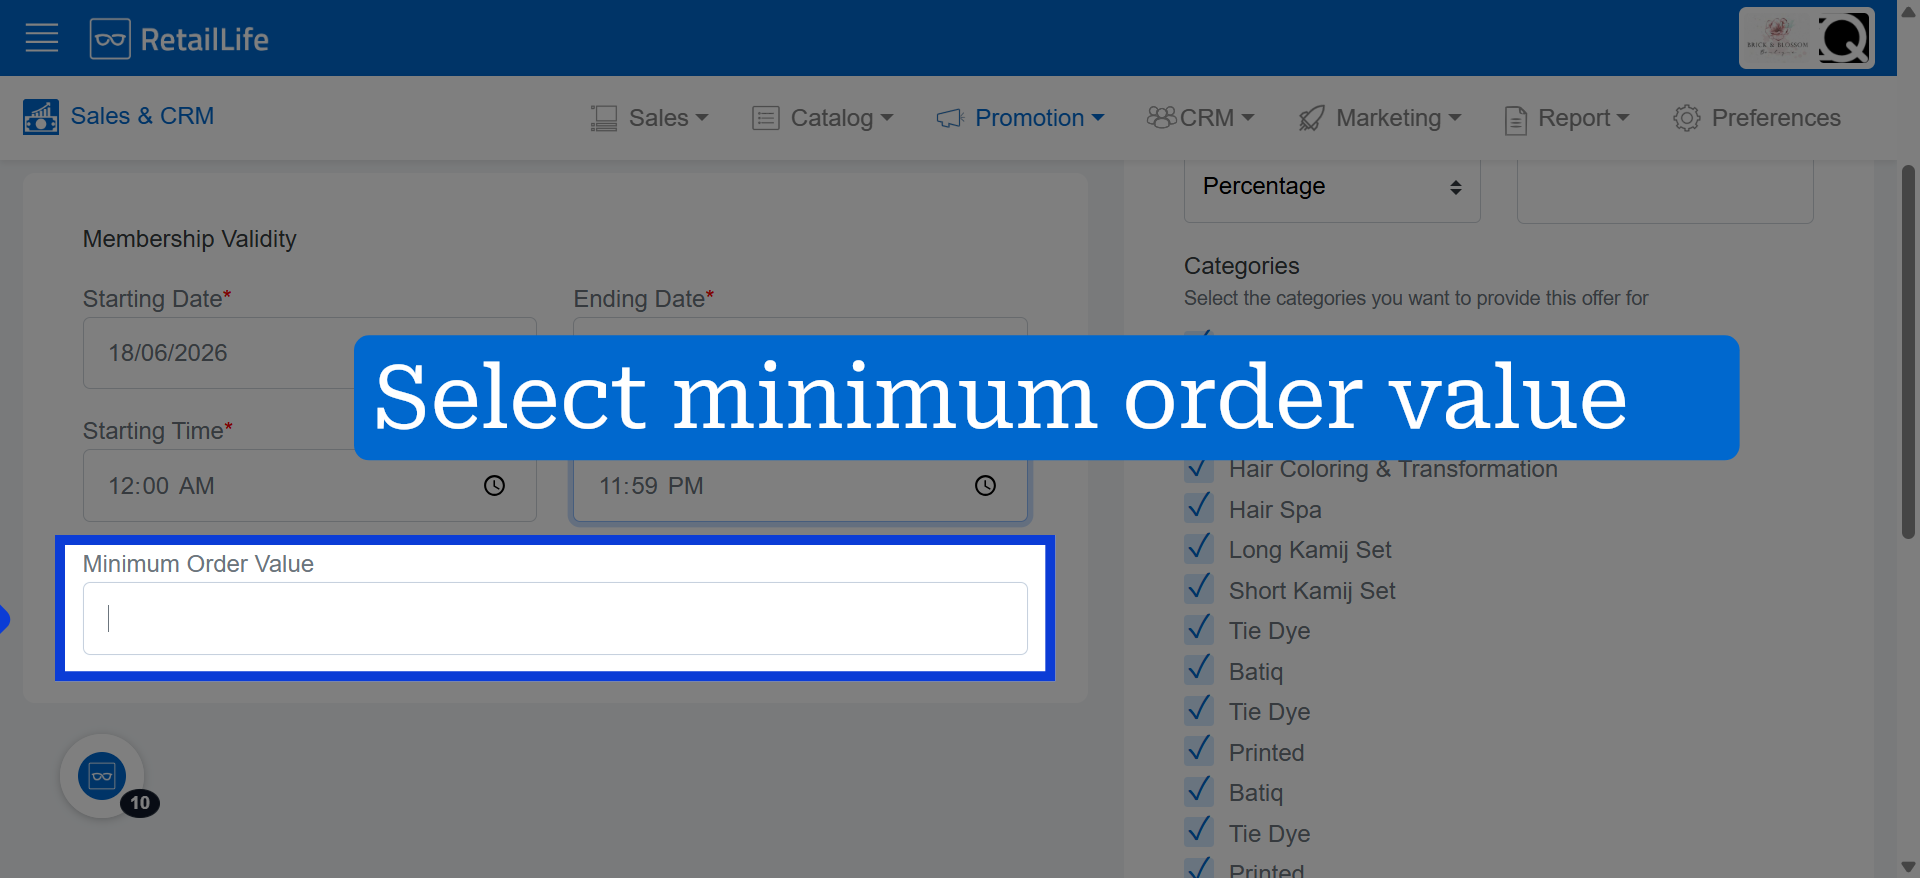
10. Select Minimum Order Value
Minimum order value defines the minimum purchase amount a customer must meet to be eligible for membership. It can be set to zero or any positive value depending on the membership rules.
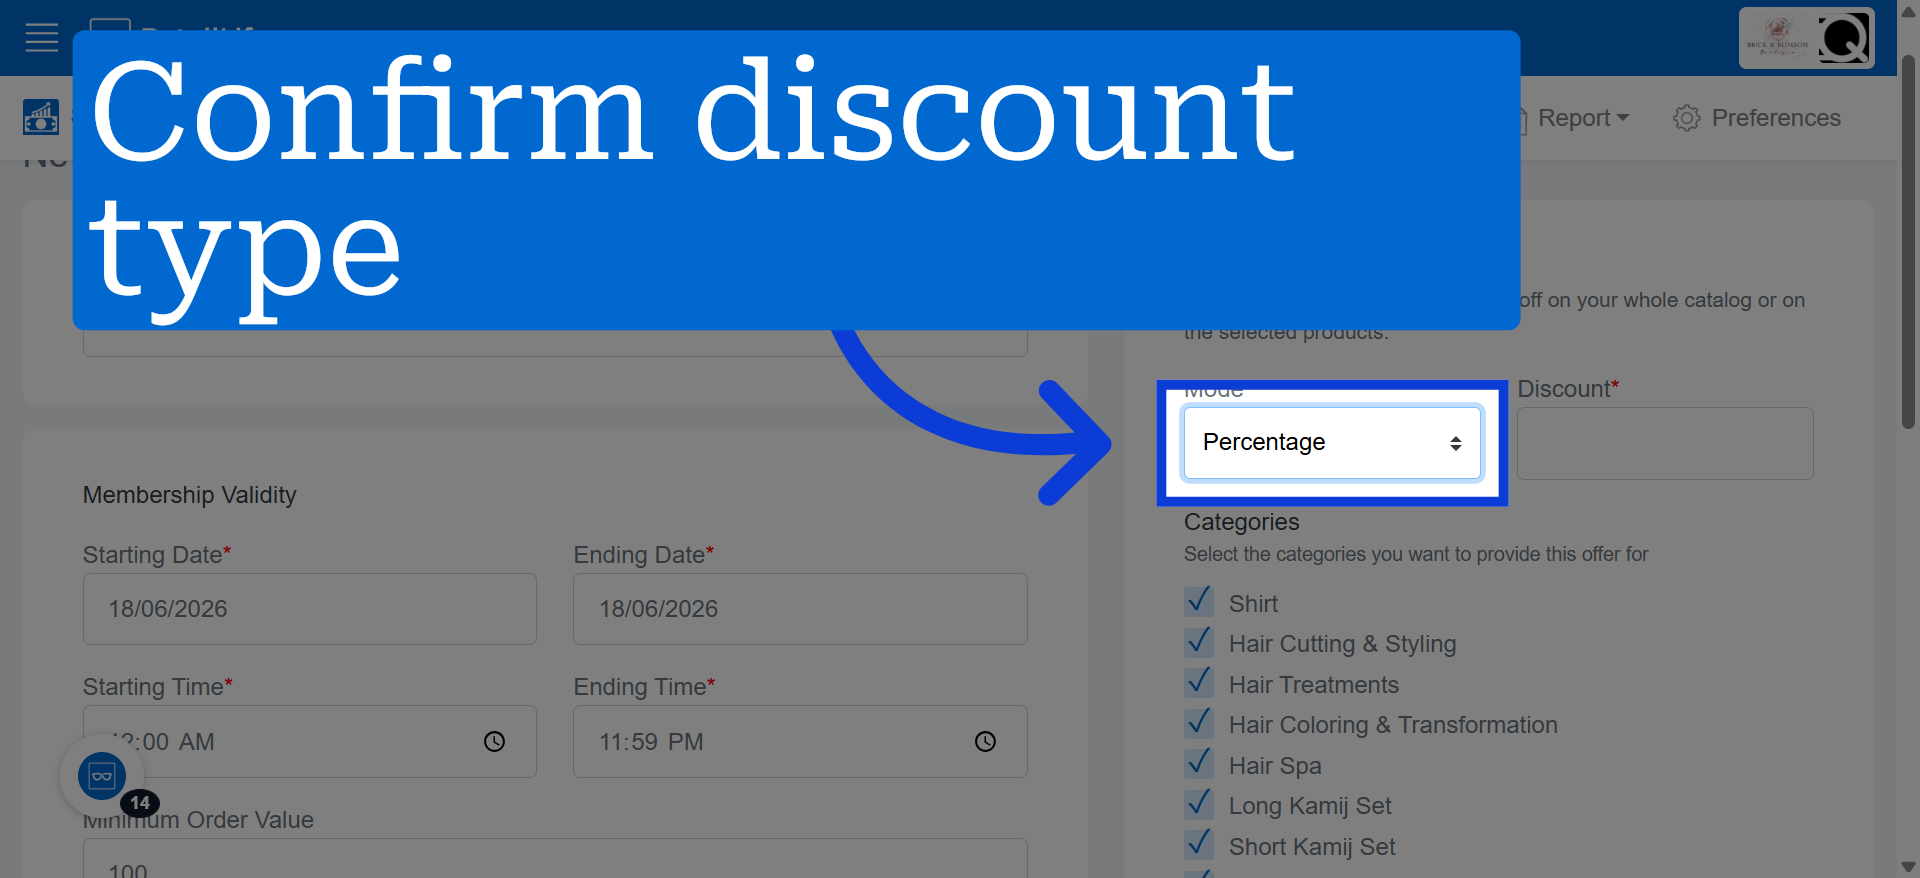
11. Confirm Discount Type
Click "Amount/Percentage" to choose the discount type between amount or percentage.
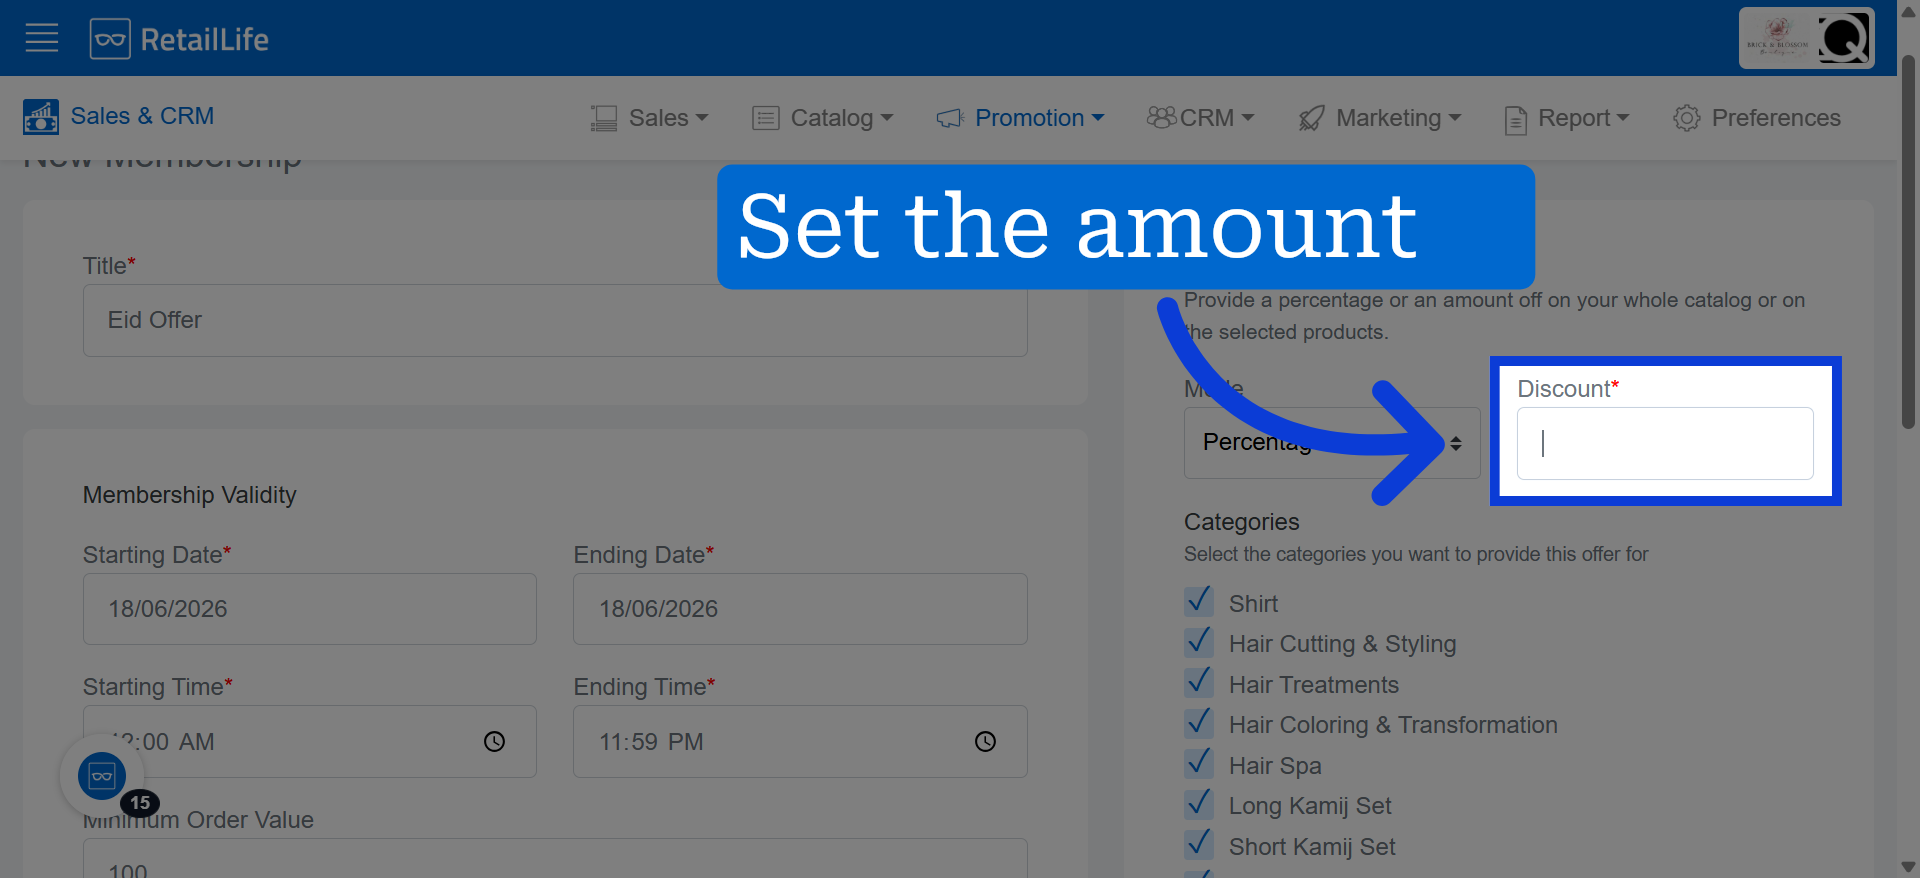
12. Define Discount Amount
Define how much discount is applied to membership orders.
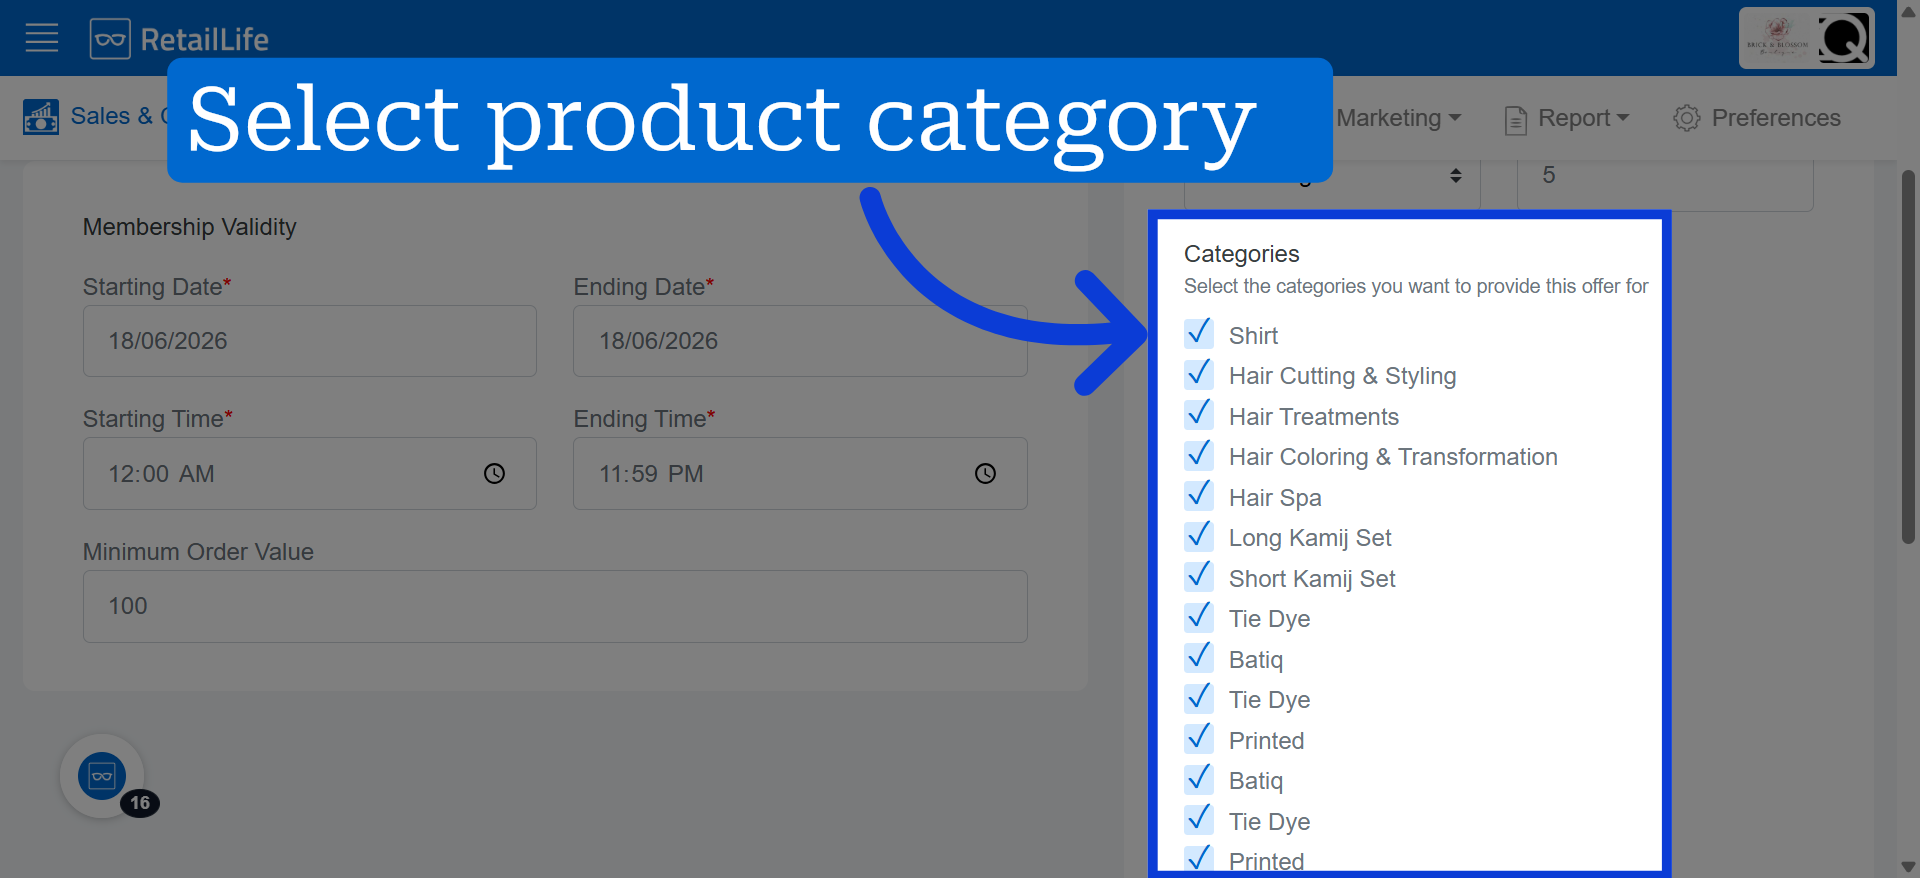
13. Choose Product Category
Select a product category to define where the discount will be applied accordingly.
14. Create Membership Offer
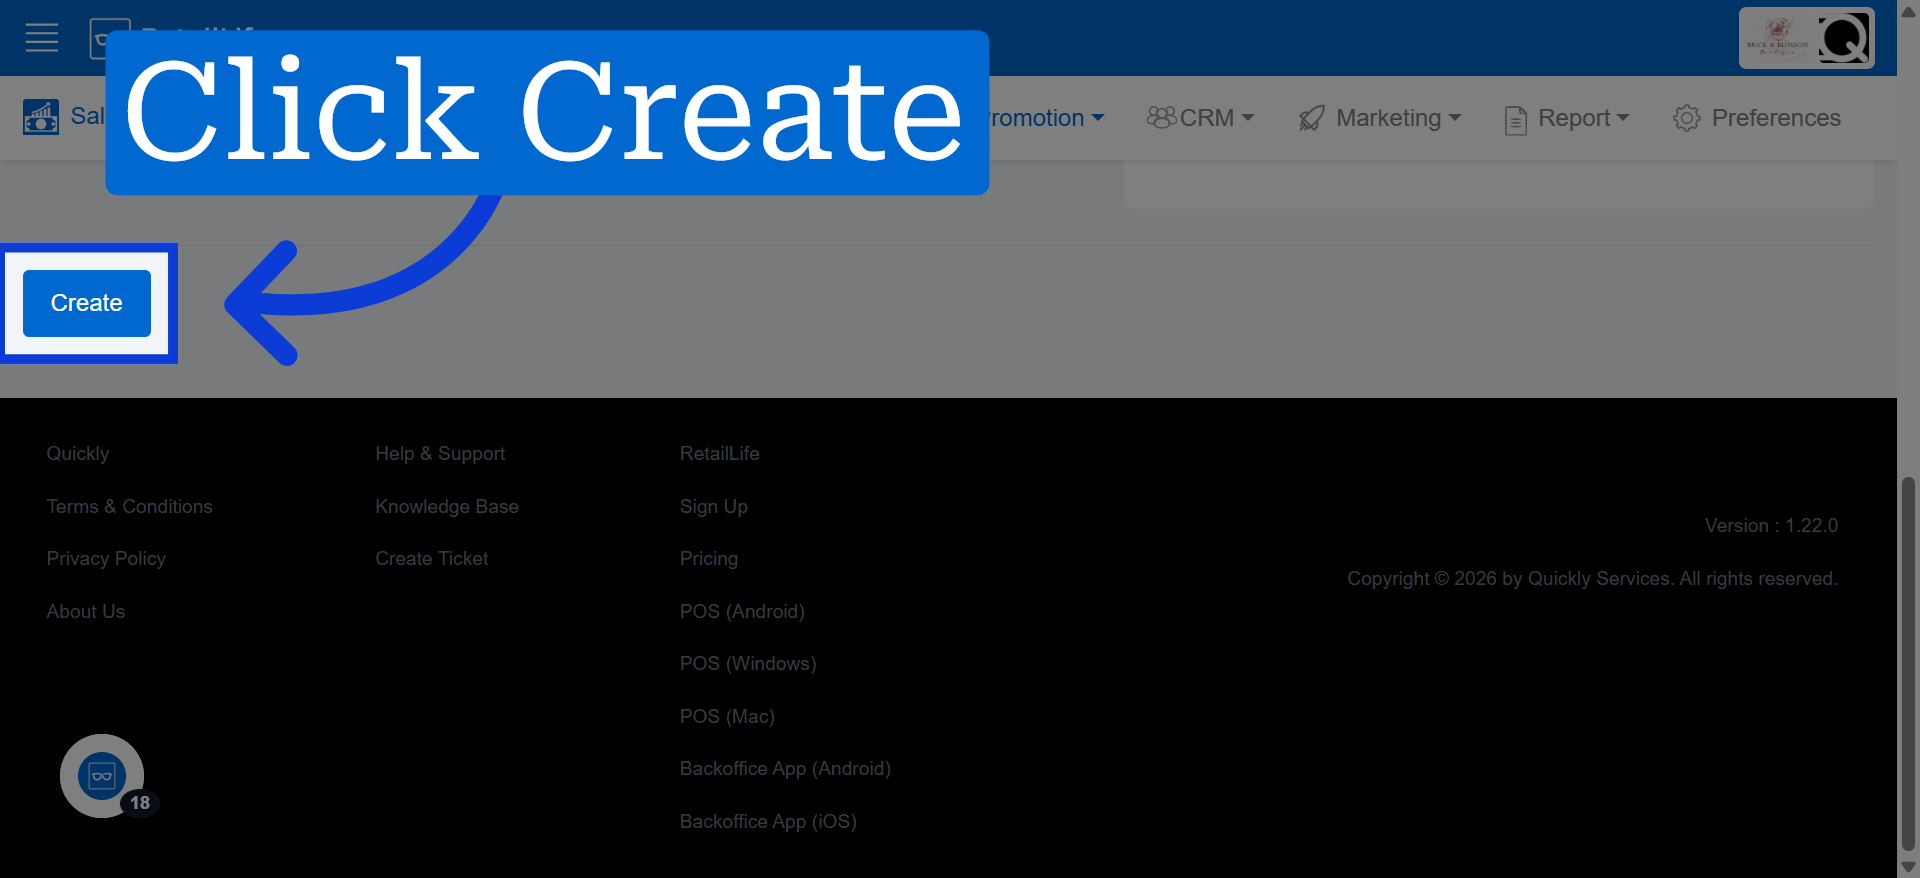
Click "Create" to finalize and save the new membership offer in the Business Portal.