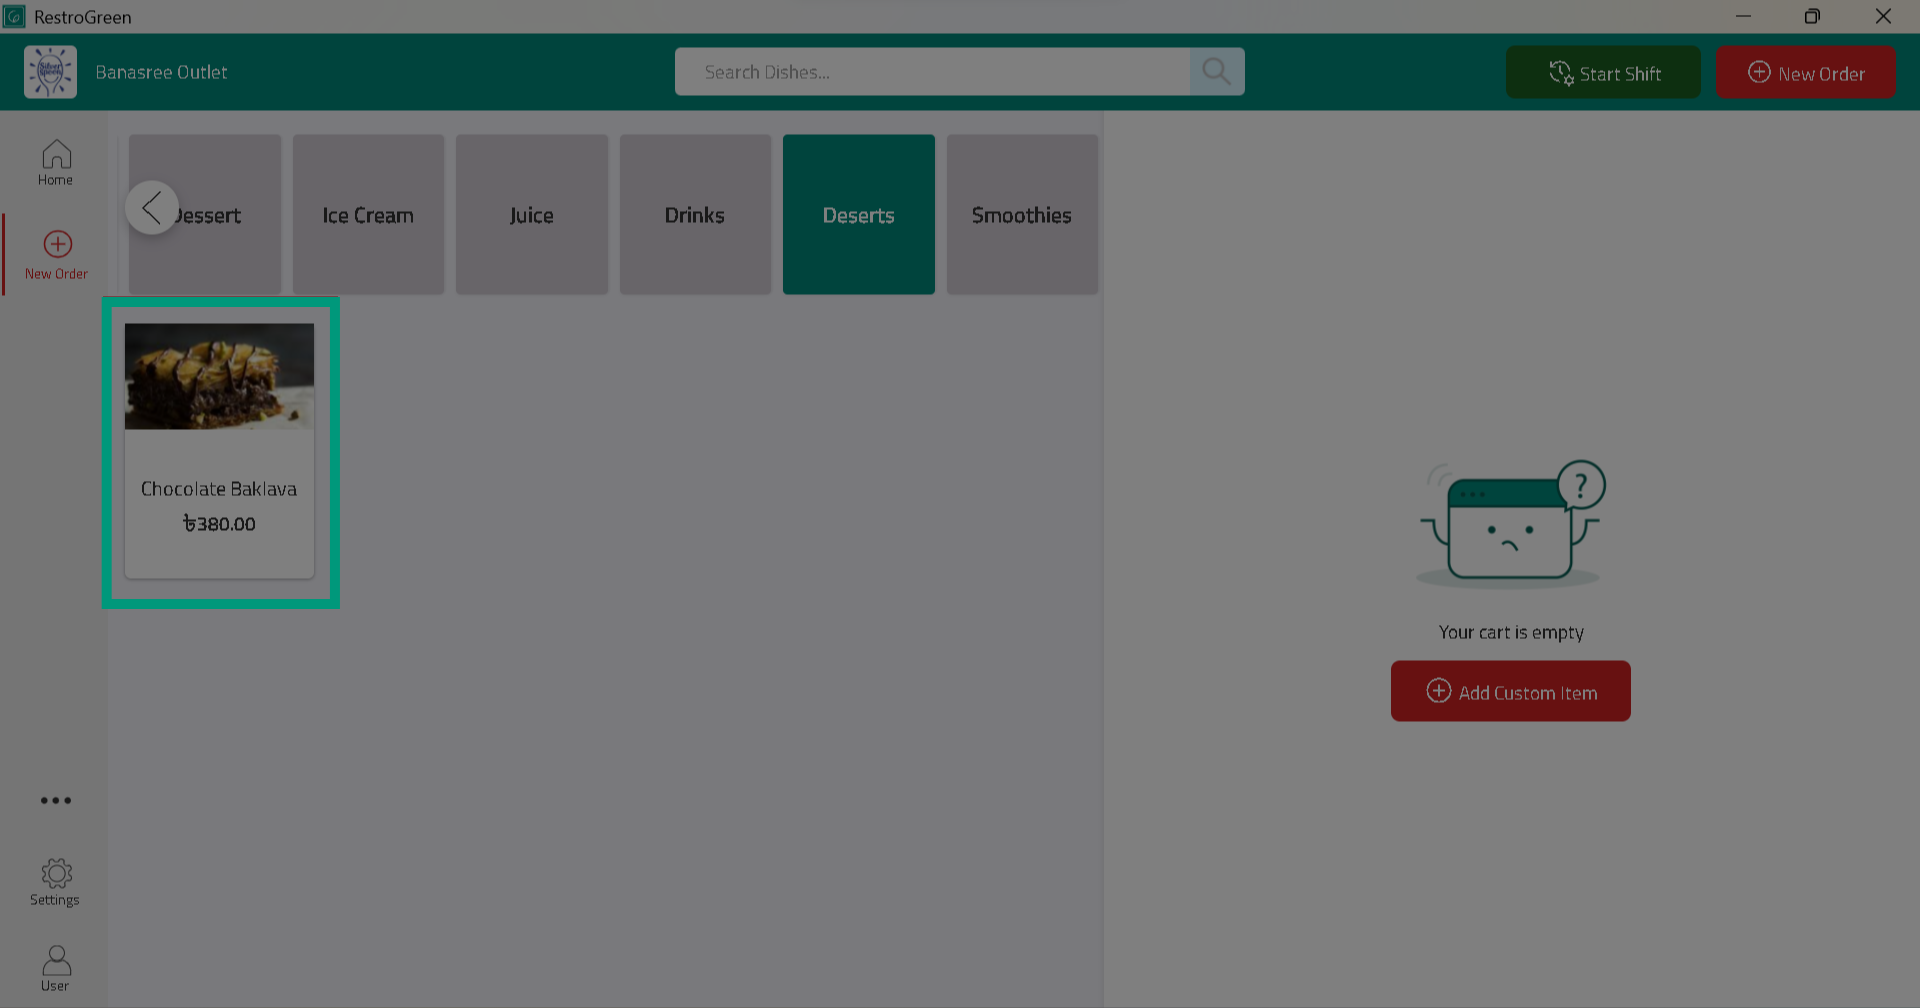
How to Add New Dish to New Menu Category in RestroGreen
This tutorial guides you through creating and managing menu categories and dishes in the
Business Portal.
Go to
restrogreen.quicklyservices.com
1. Login to your Business Portal
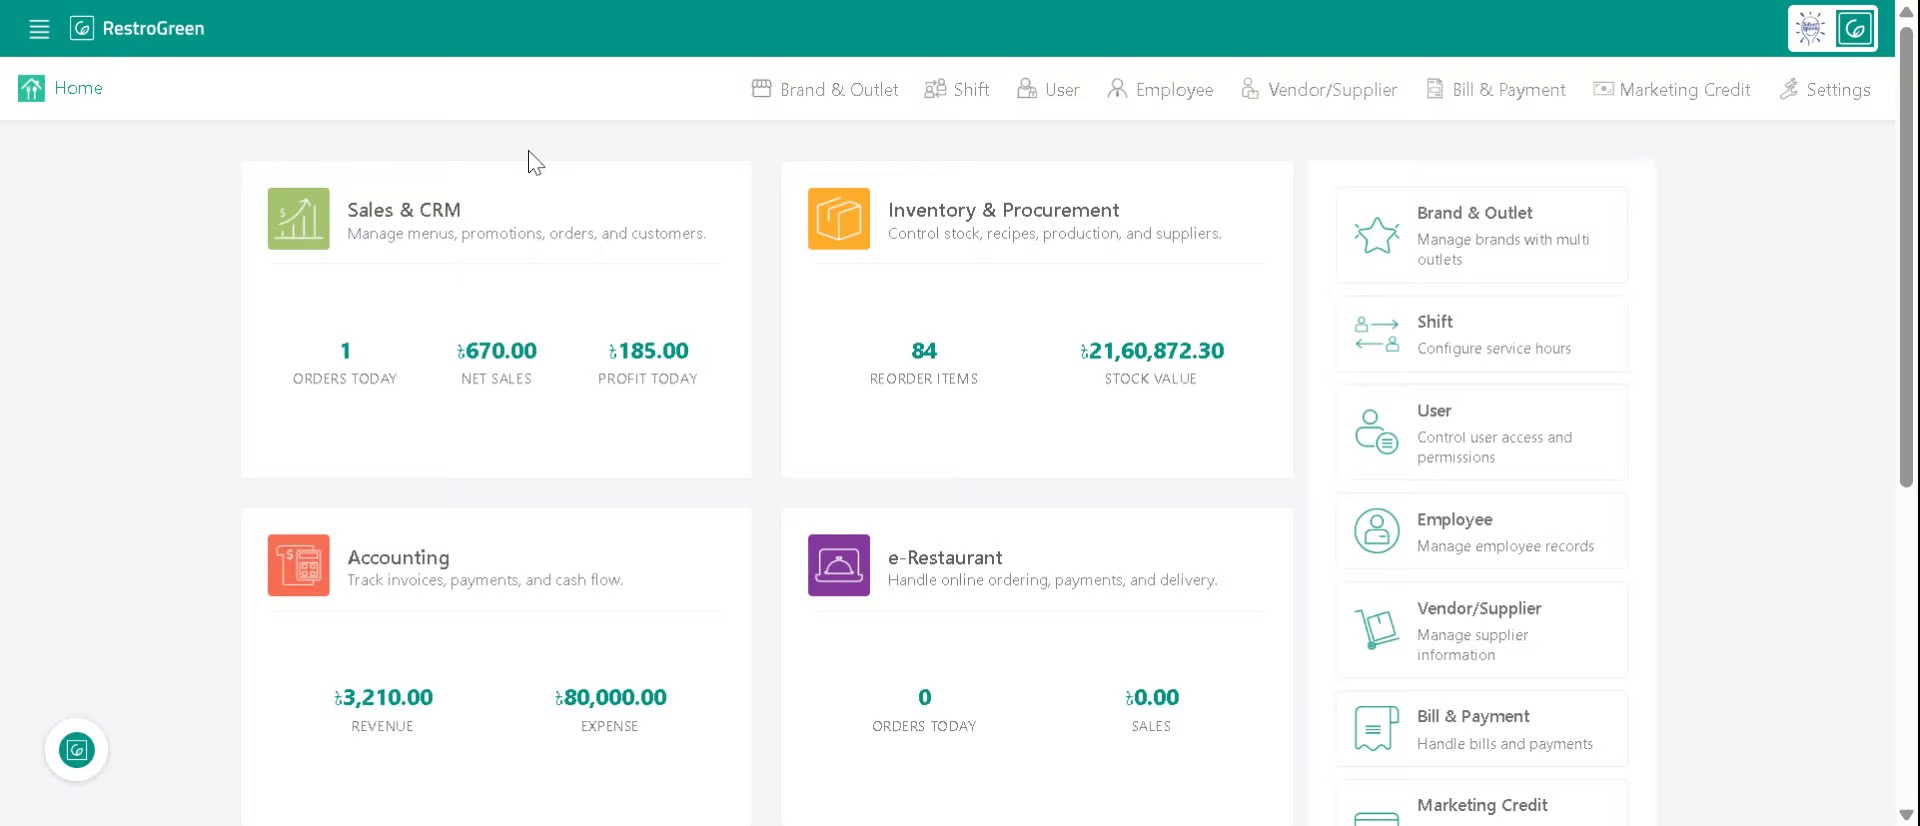
2. Access "Sales & CRM" Module
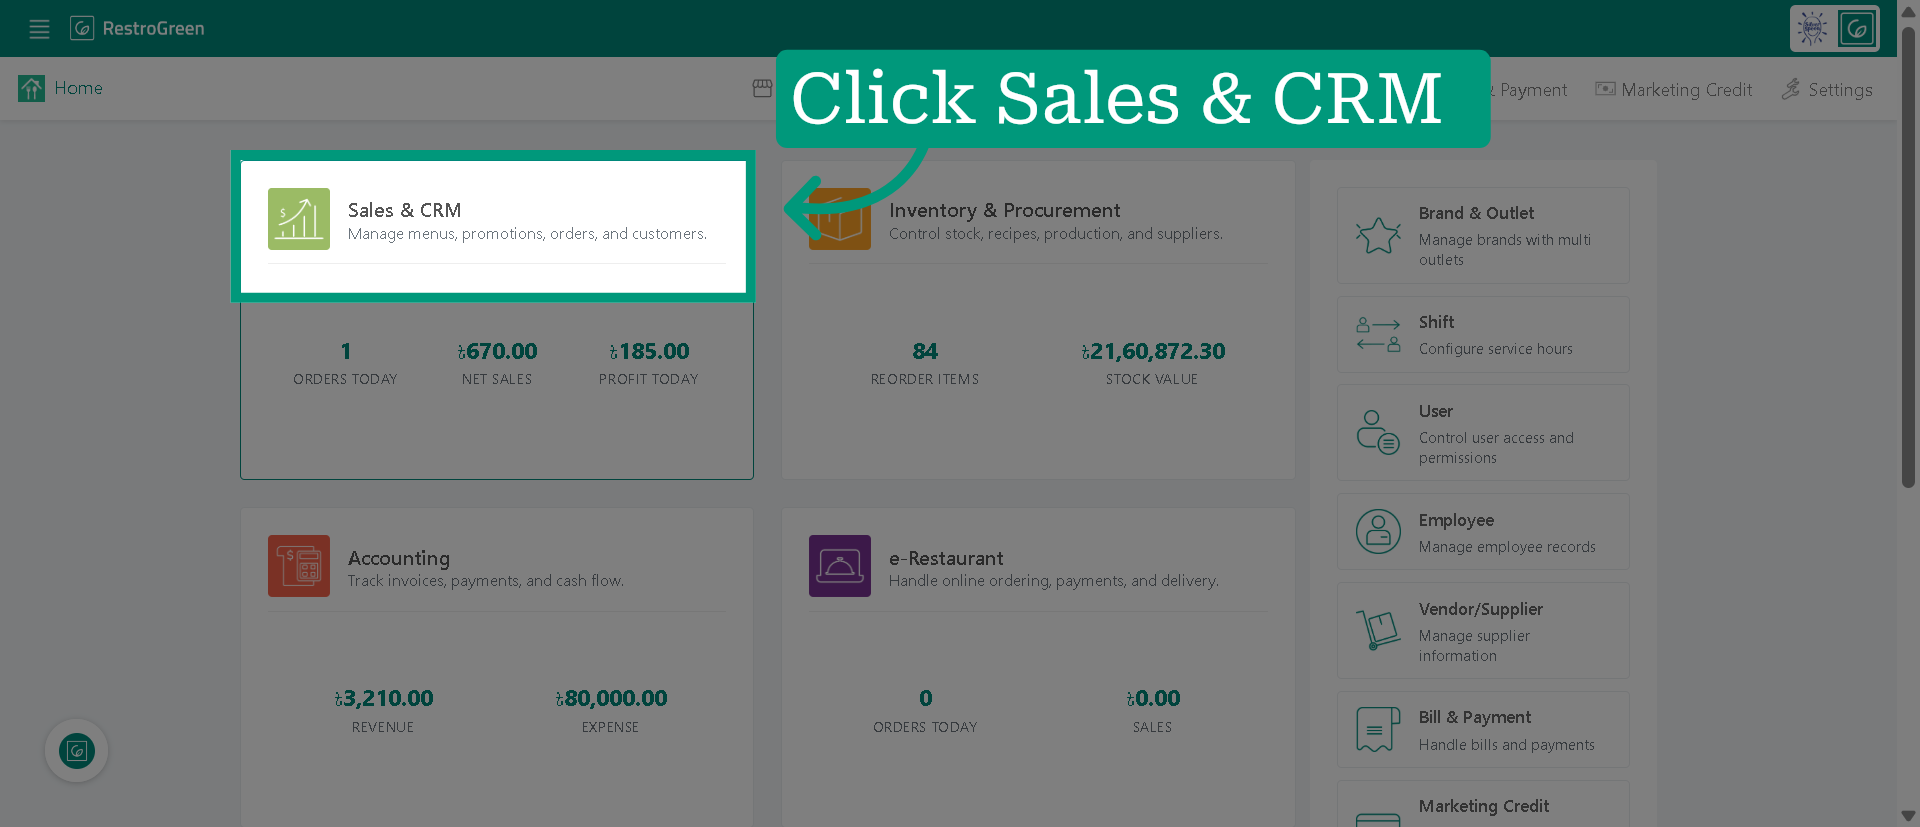
3. Click "Menu" from the top navigation bar
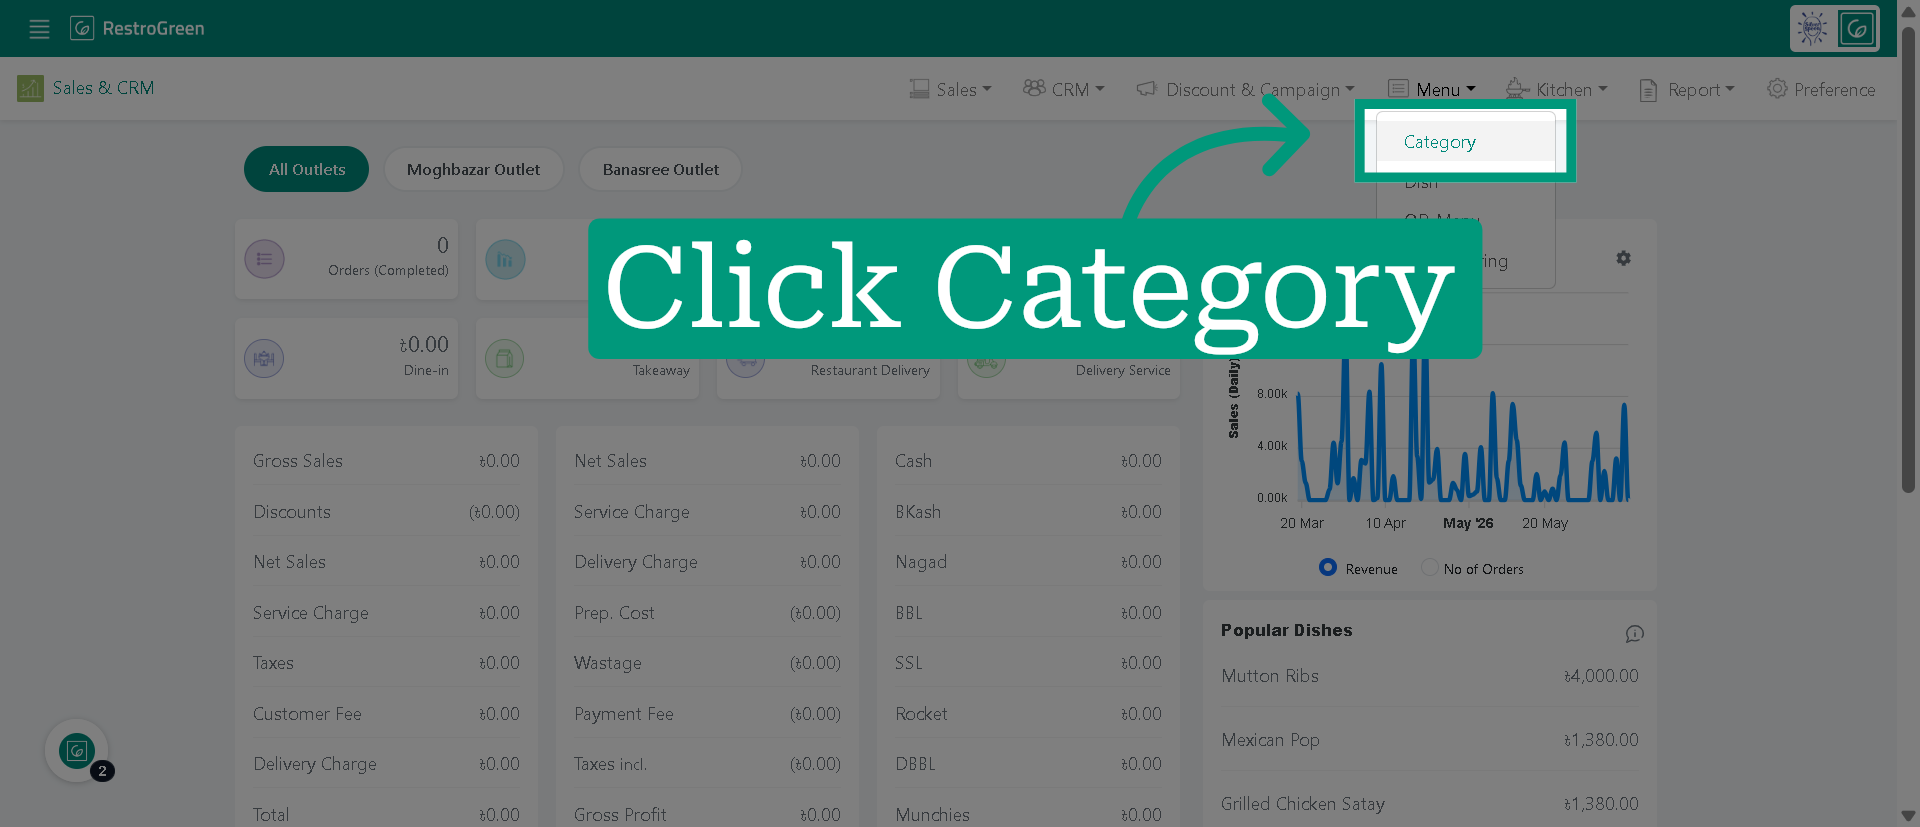
4. Click "Category" to view and manage menu categories
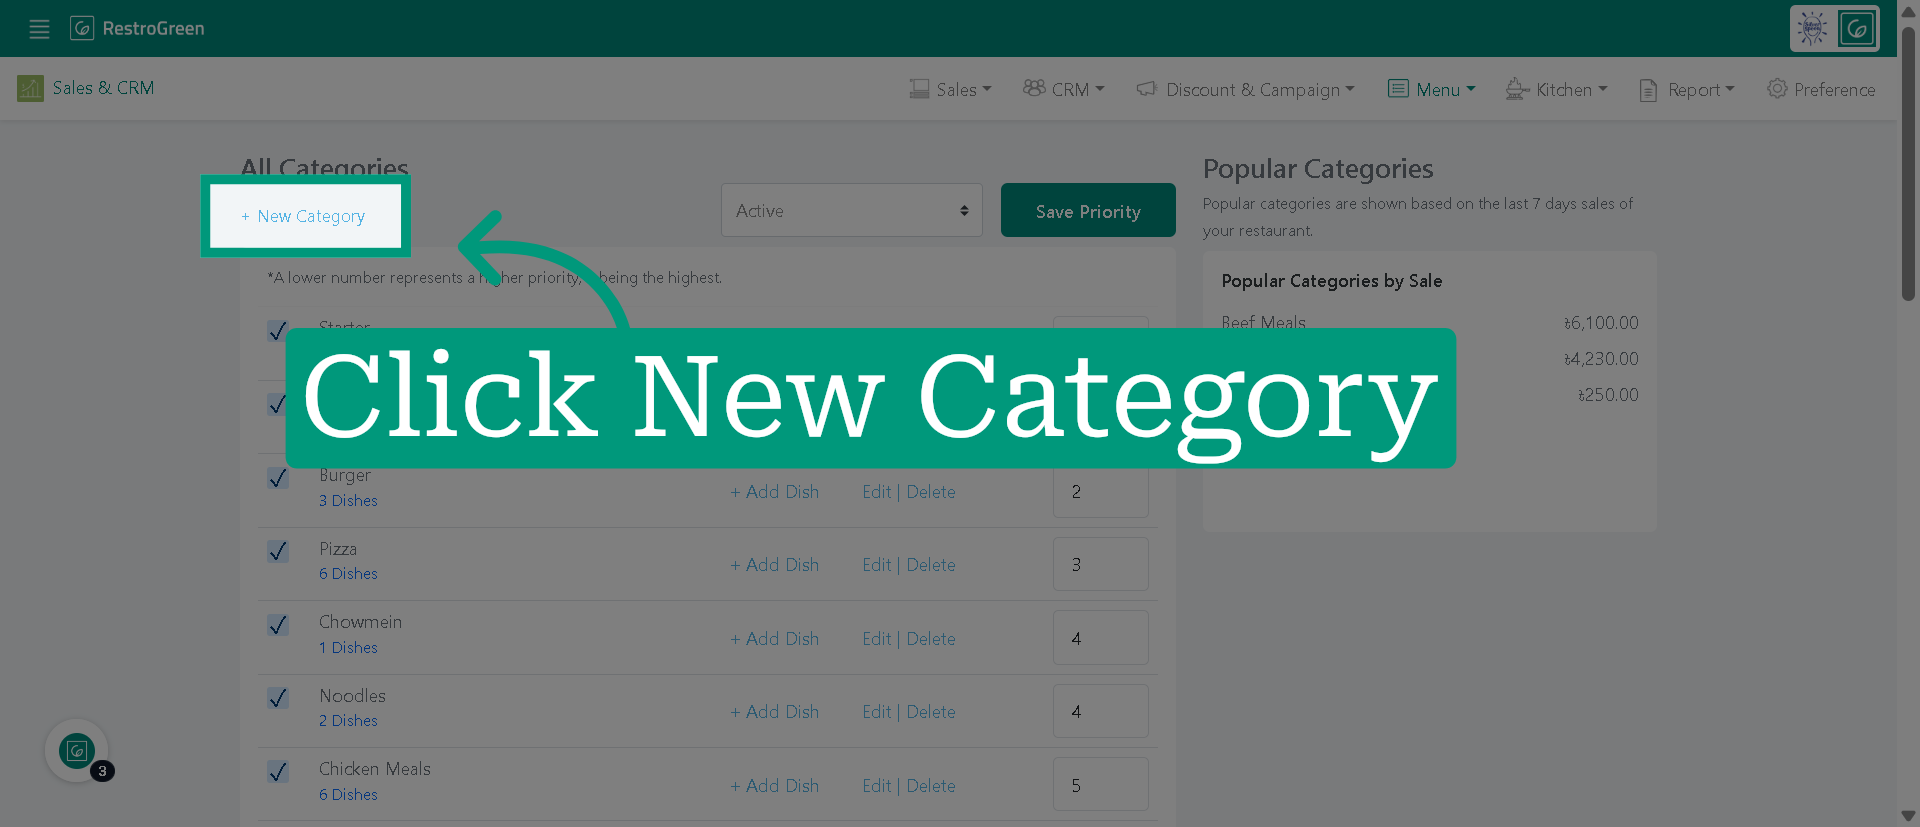
5. Click "+ New Category" to start creating a new menu category
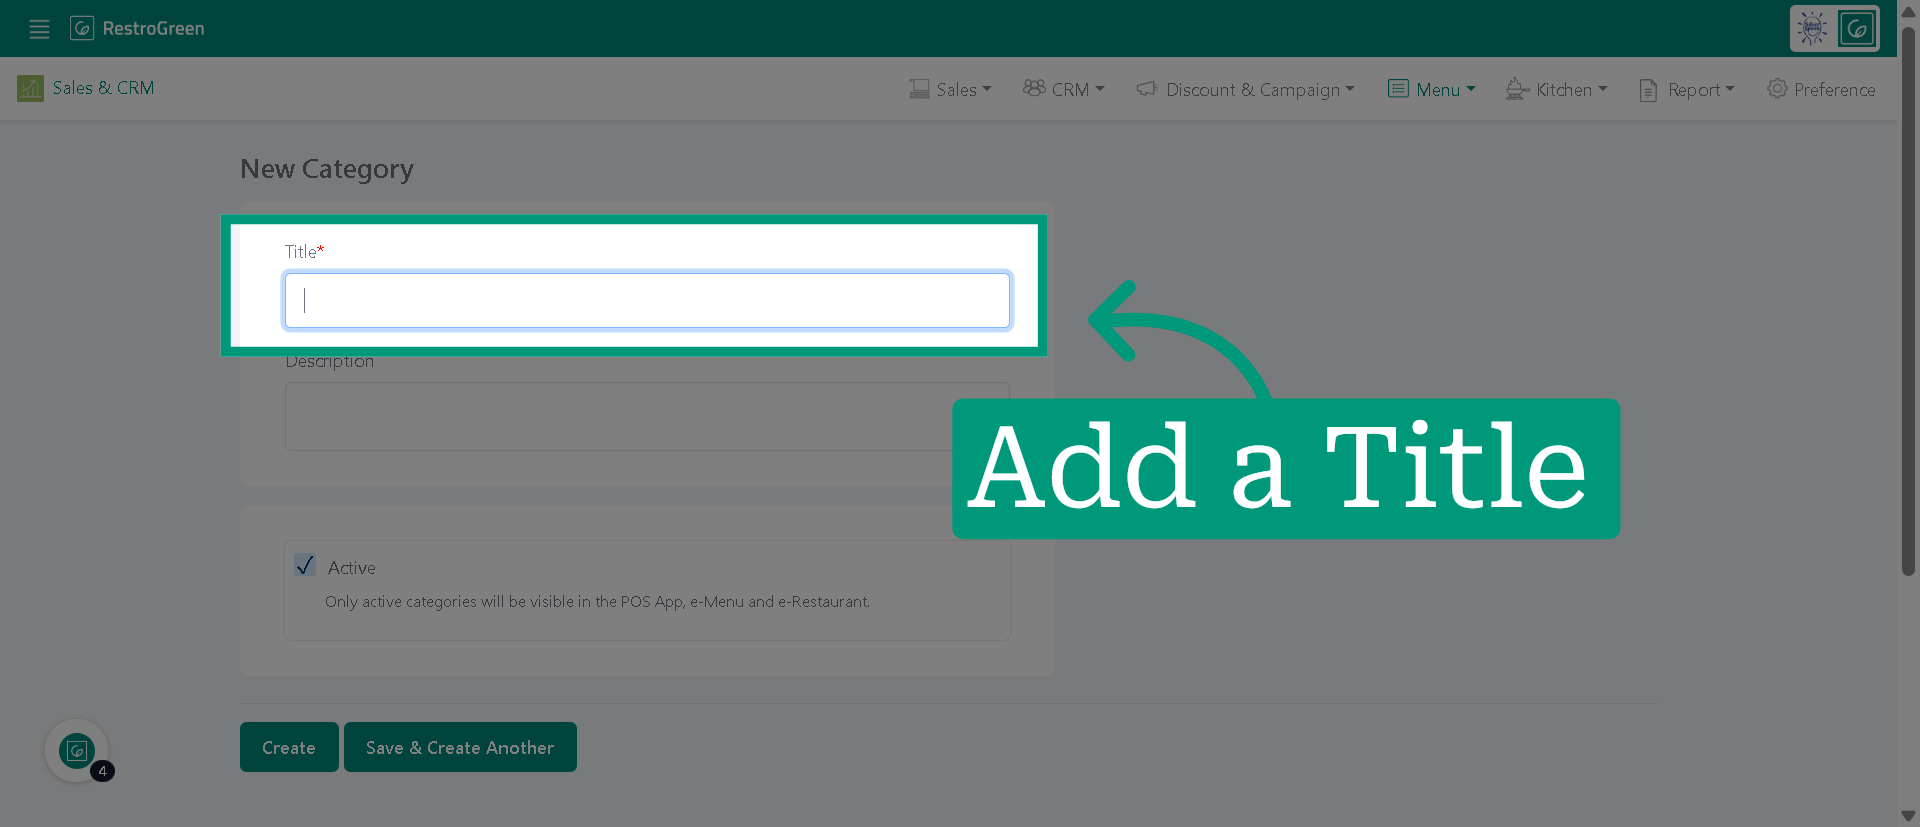
6. Type-in a name for the new category
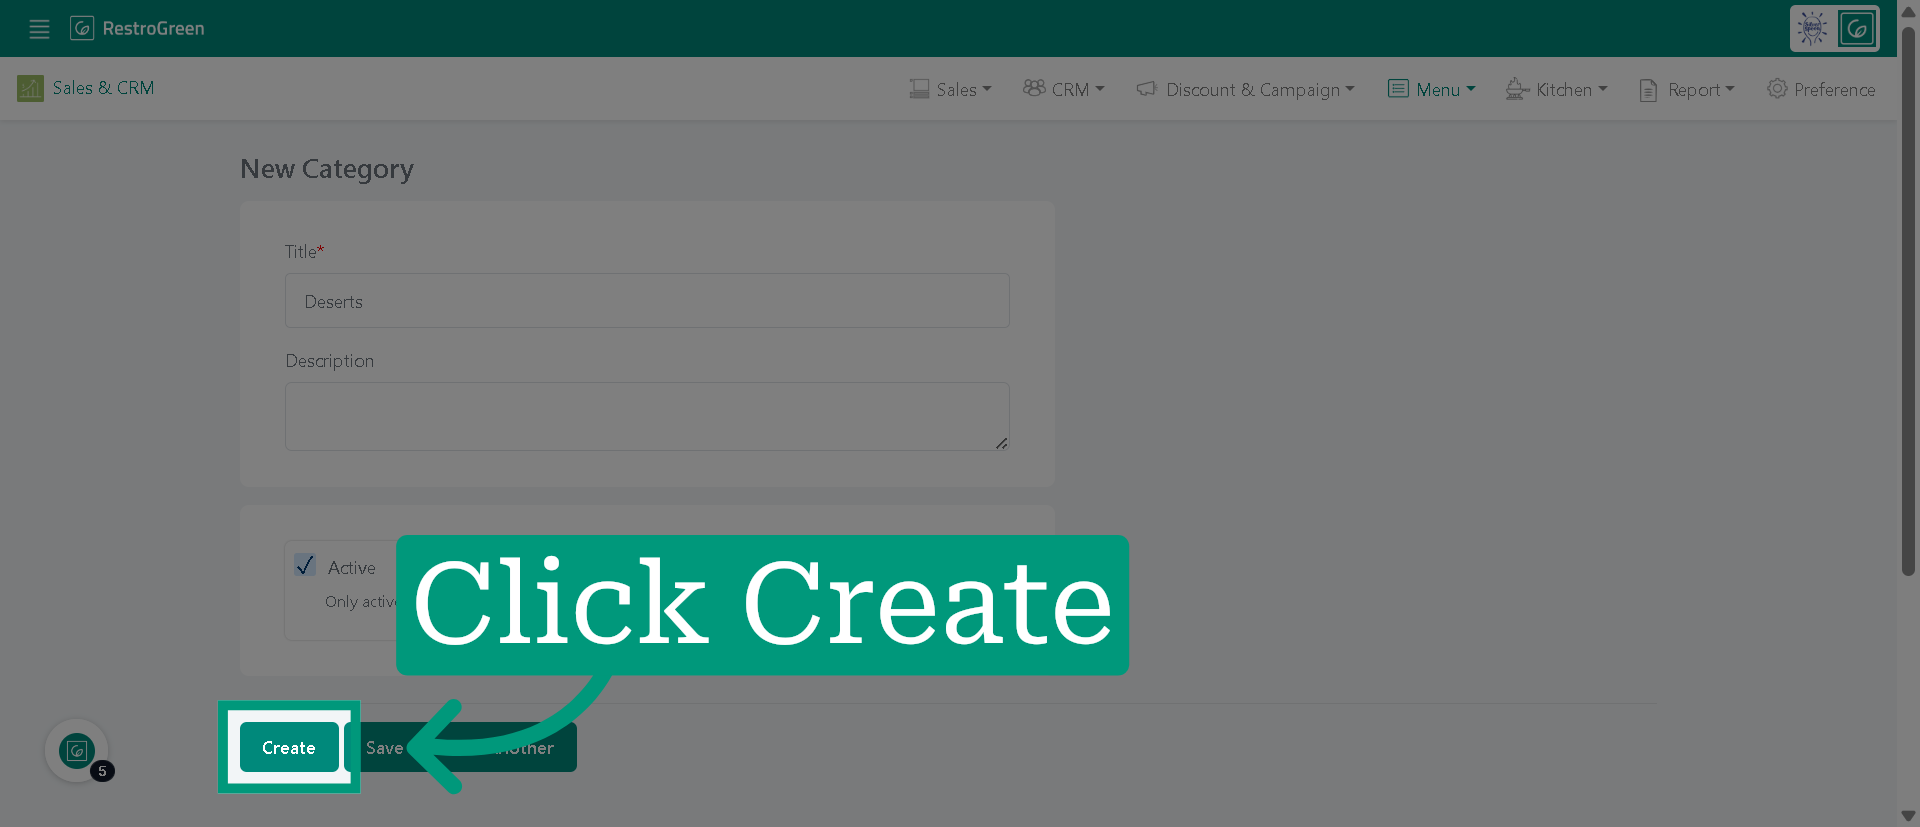
7. Click "Create" to save the new category and add it to your menu
8. Dishes are not yet assigned to the new category we created
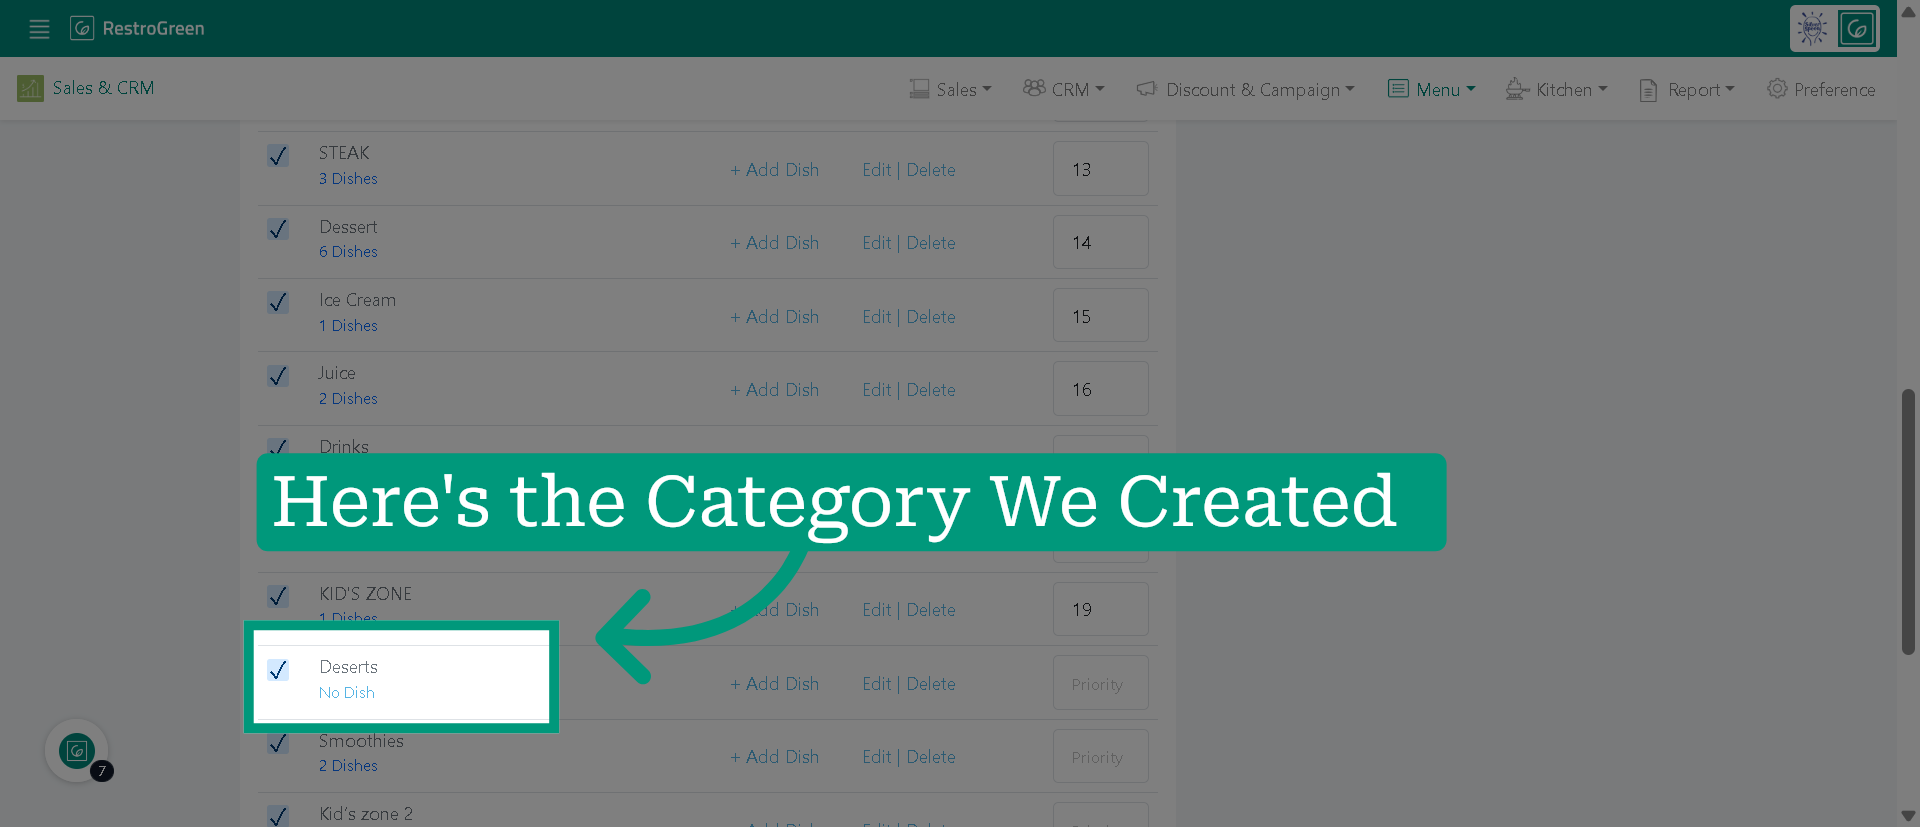
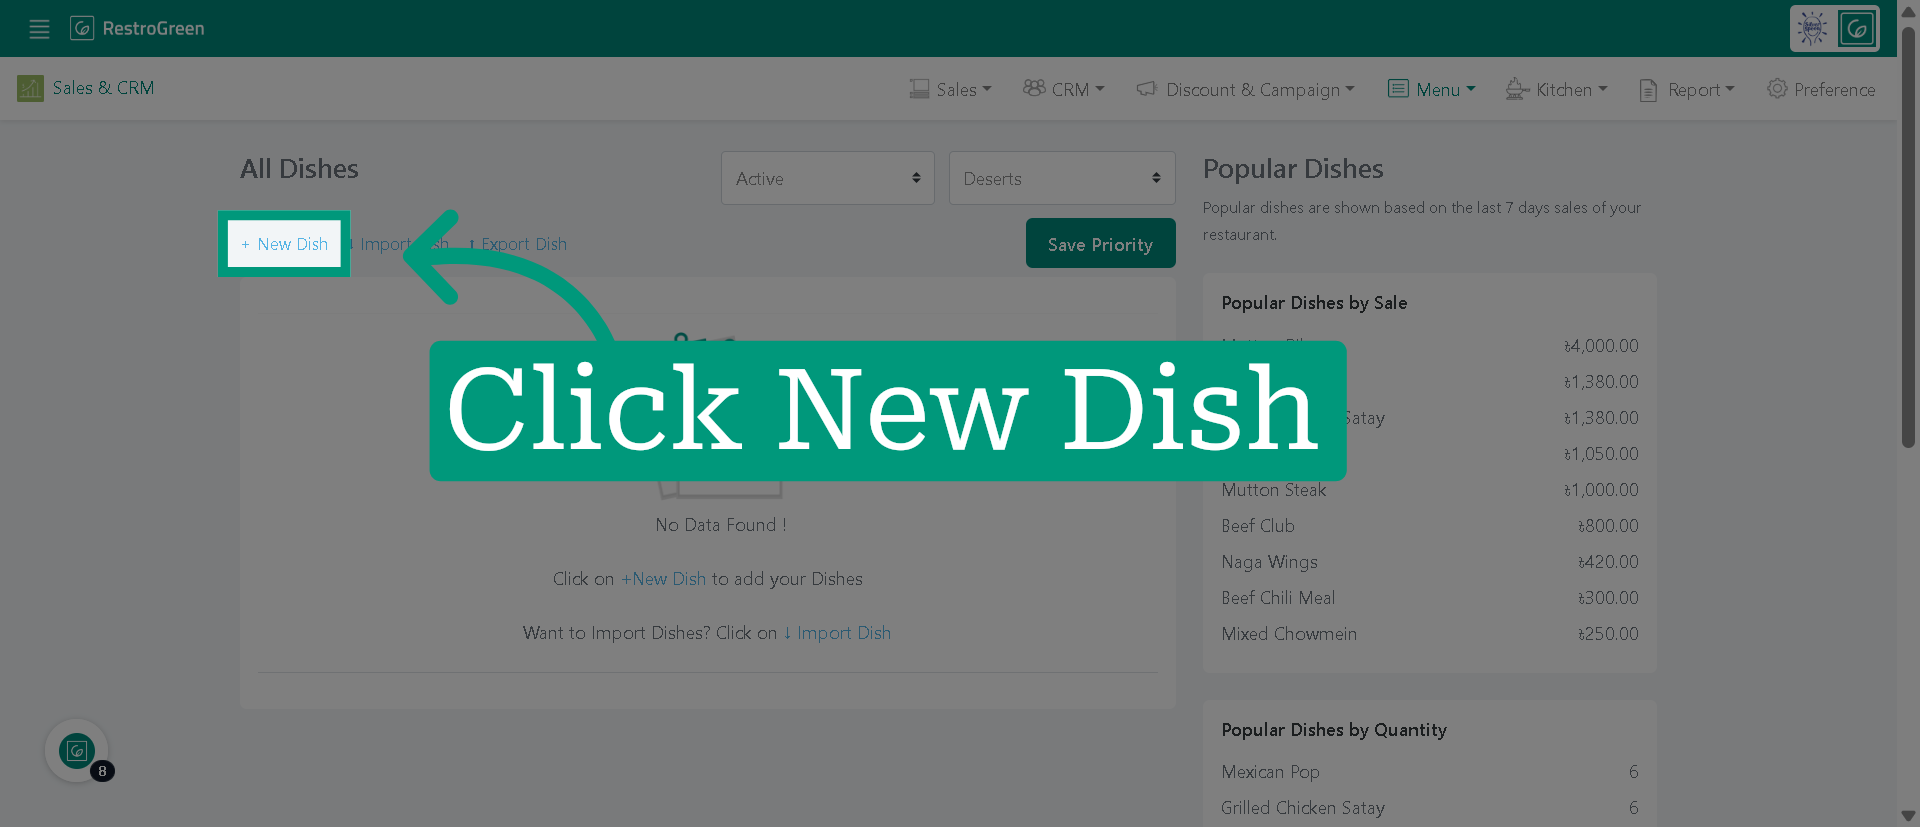
9. Click "+ New Dish" to begin adding a new dish to the new category
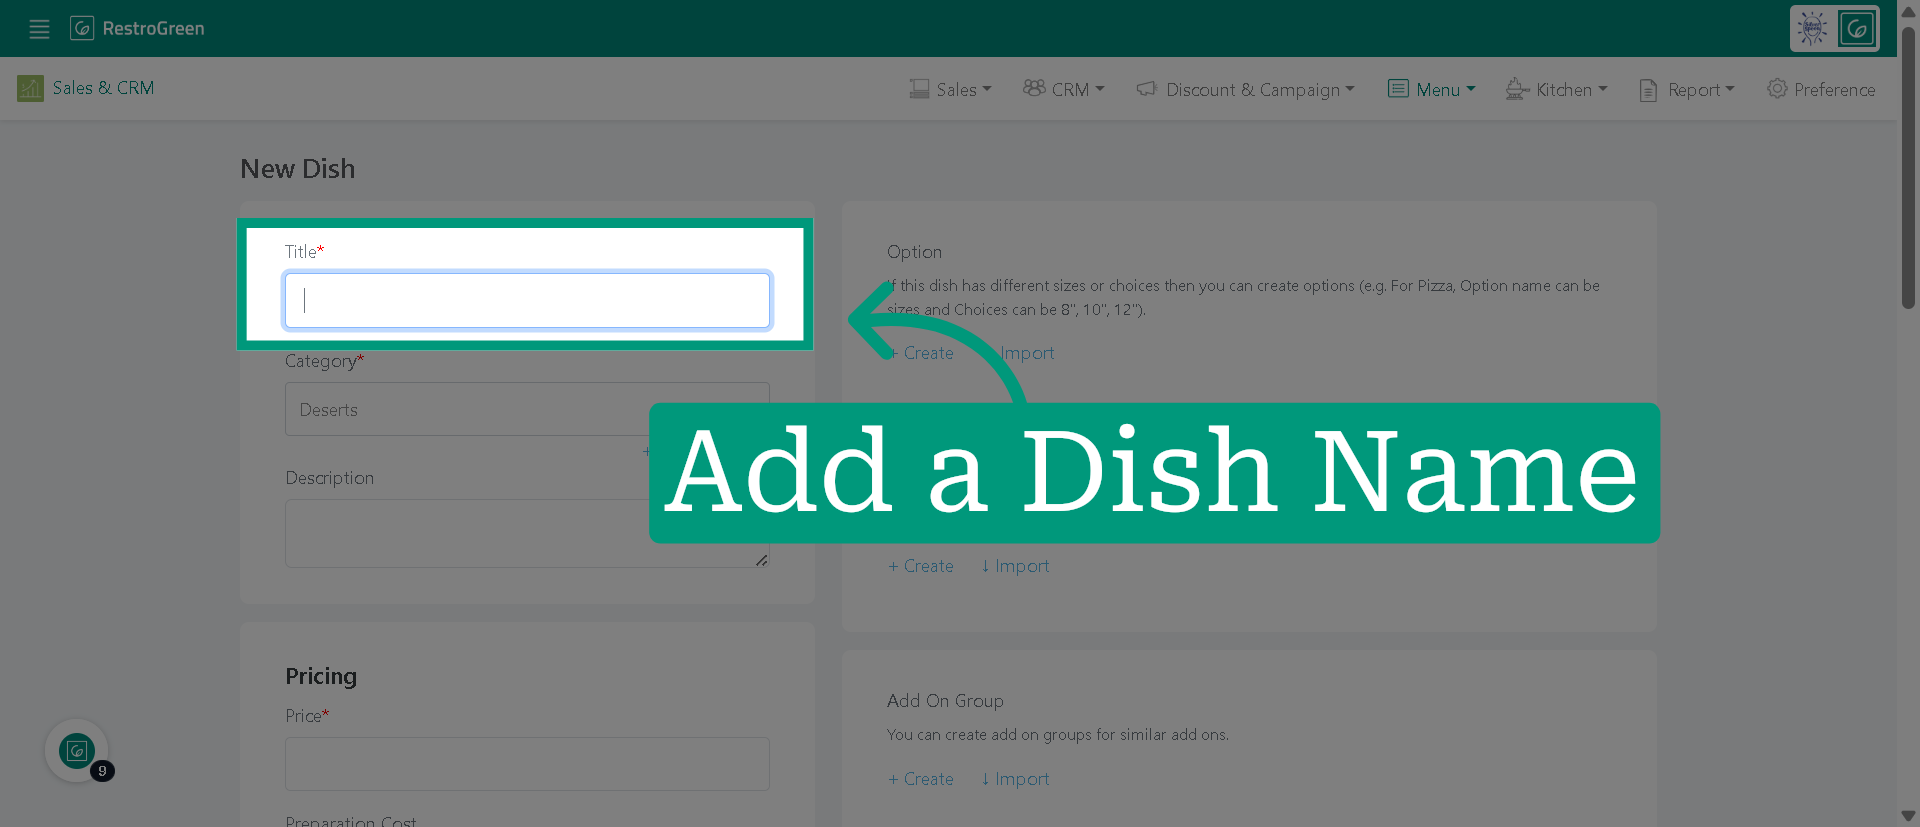
10. Type-in a name for the new dish
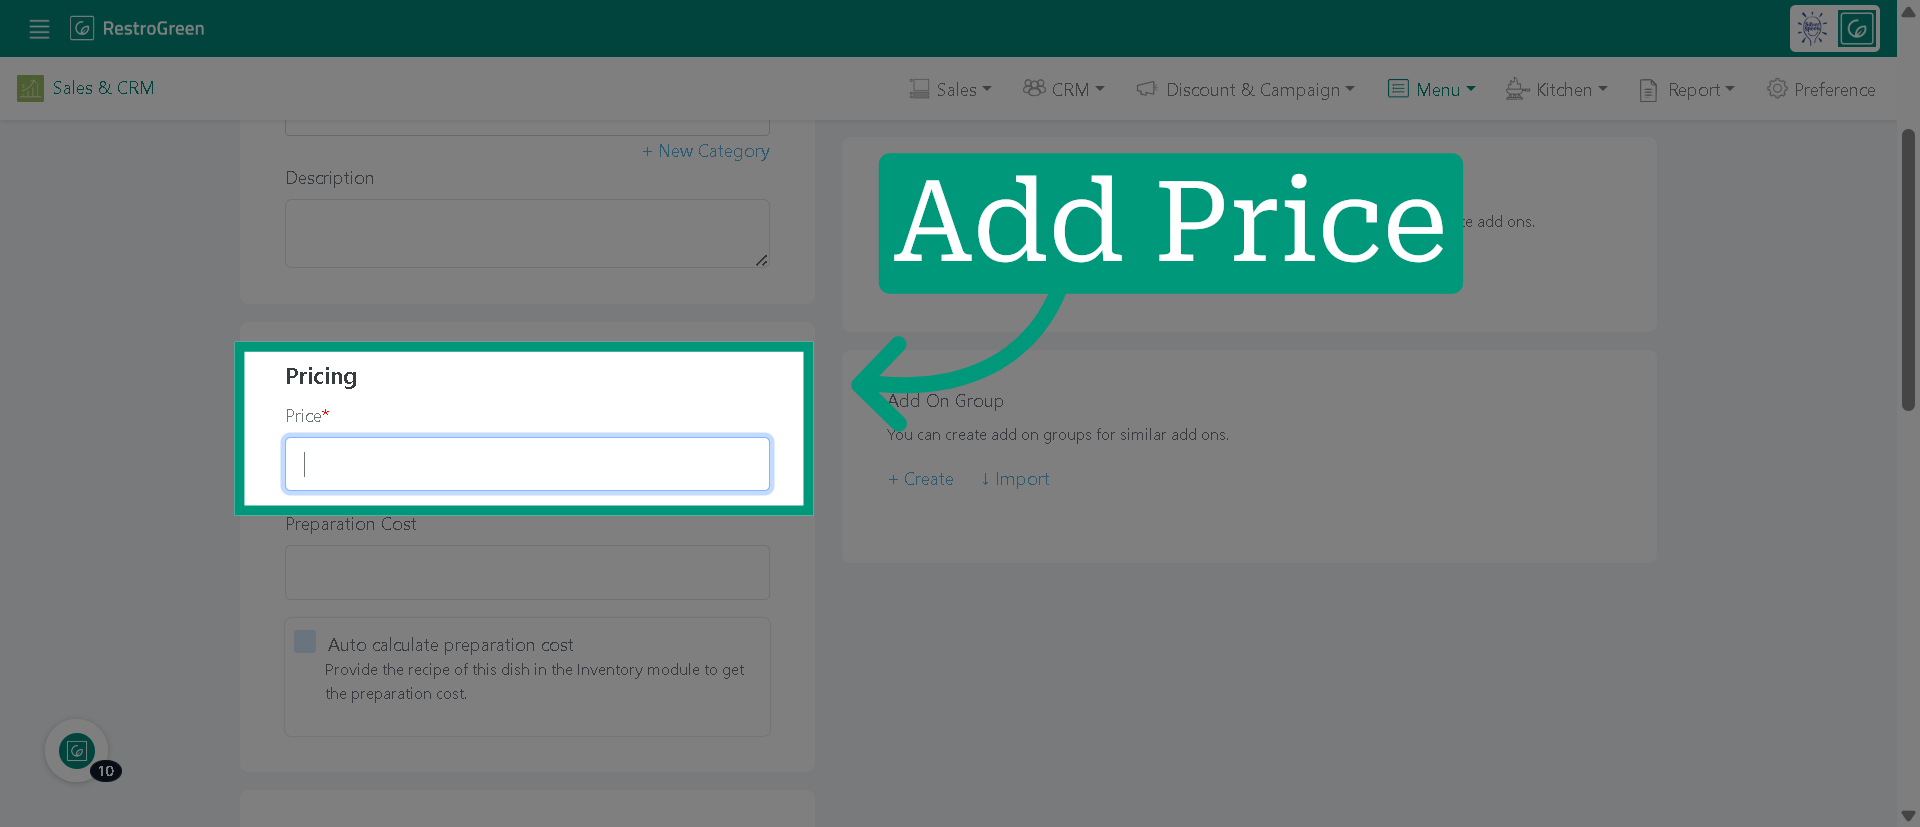
11. Enter the price for this dish
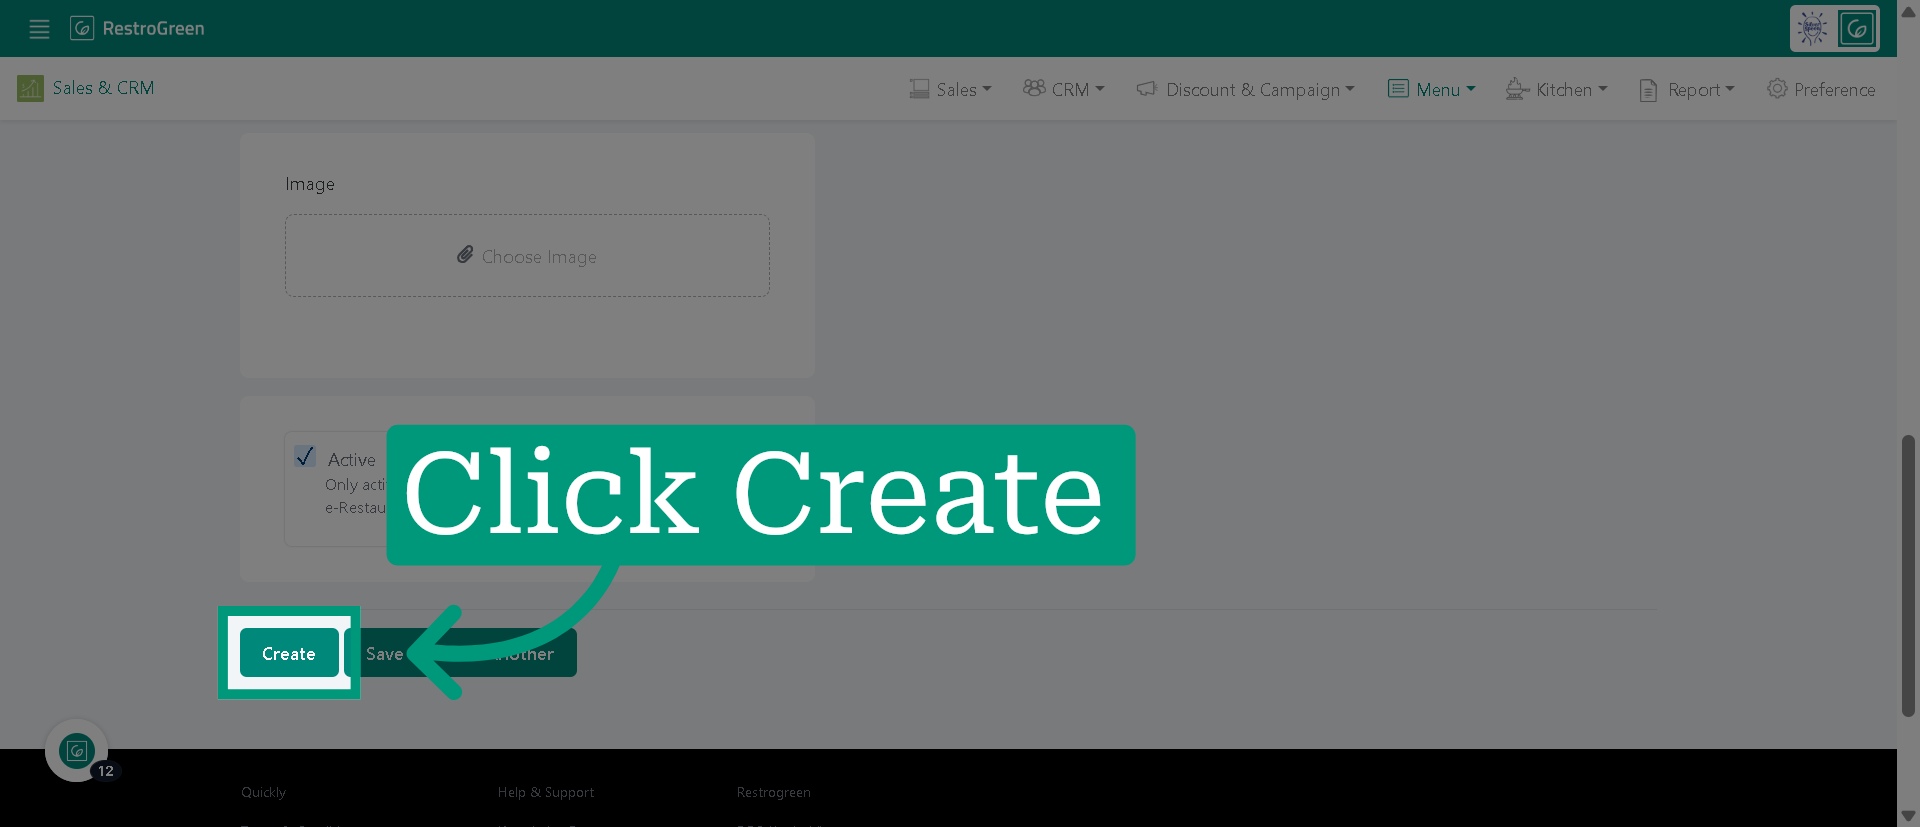
12. Click "Create" to save the new dish and add it to the selected category
13. View Created Dish
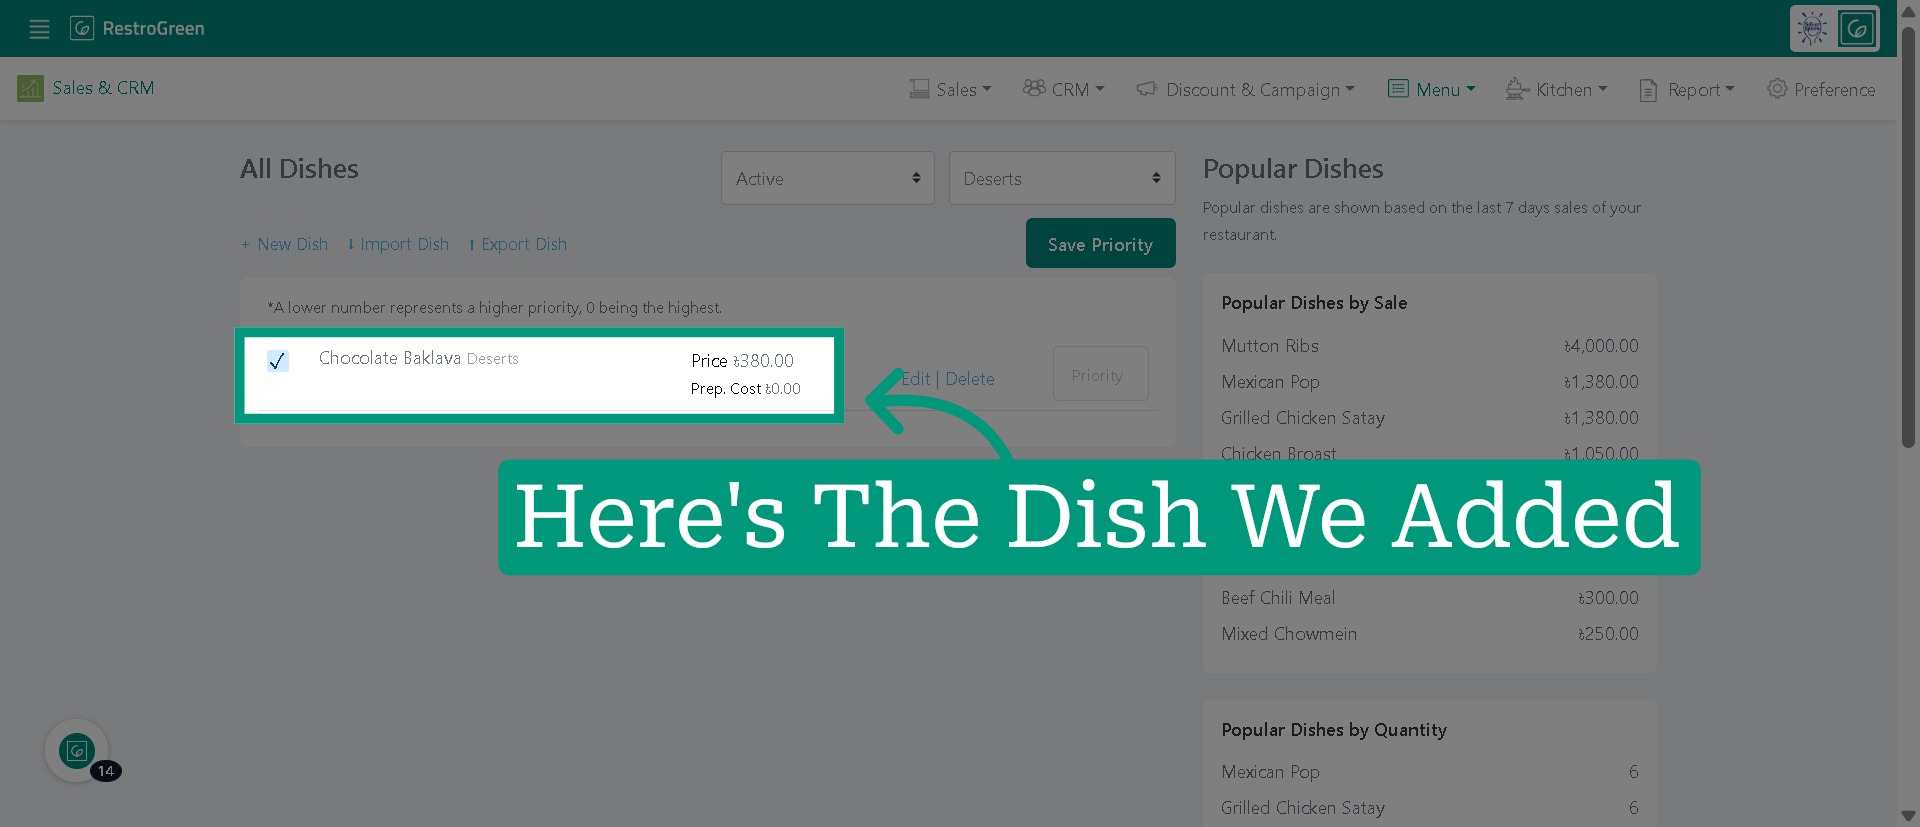
14. The new dish gets synced directly to POS app once you add it in the Business Portal